New Patreon Pattern Launch - August
Stitching Loose Ends
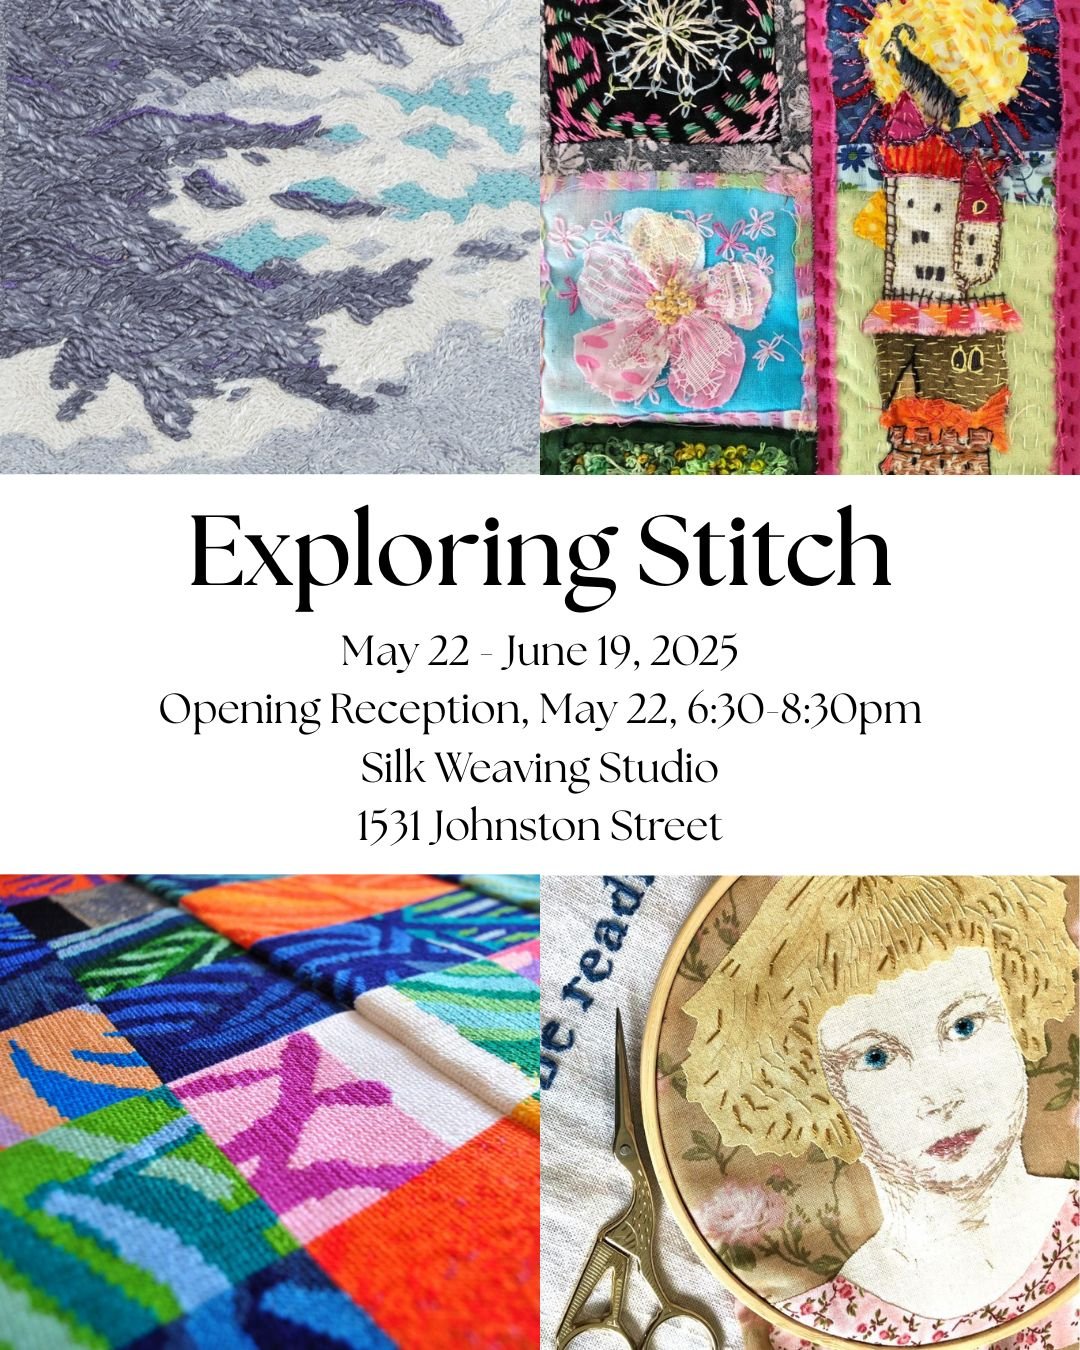
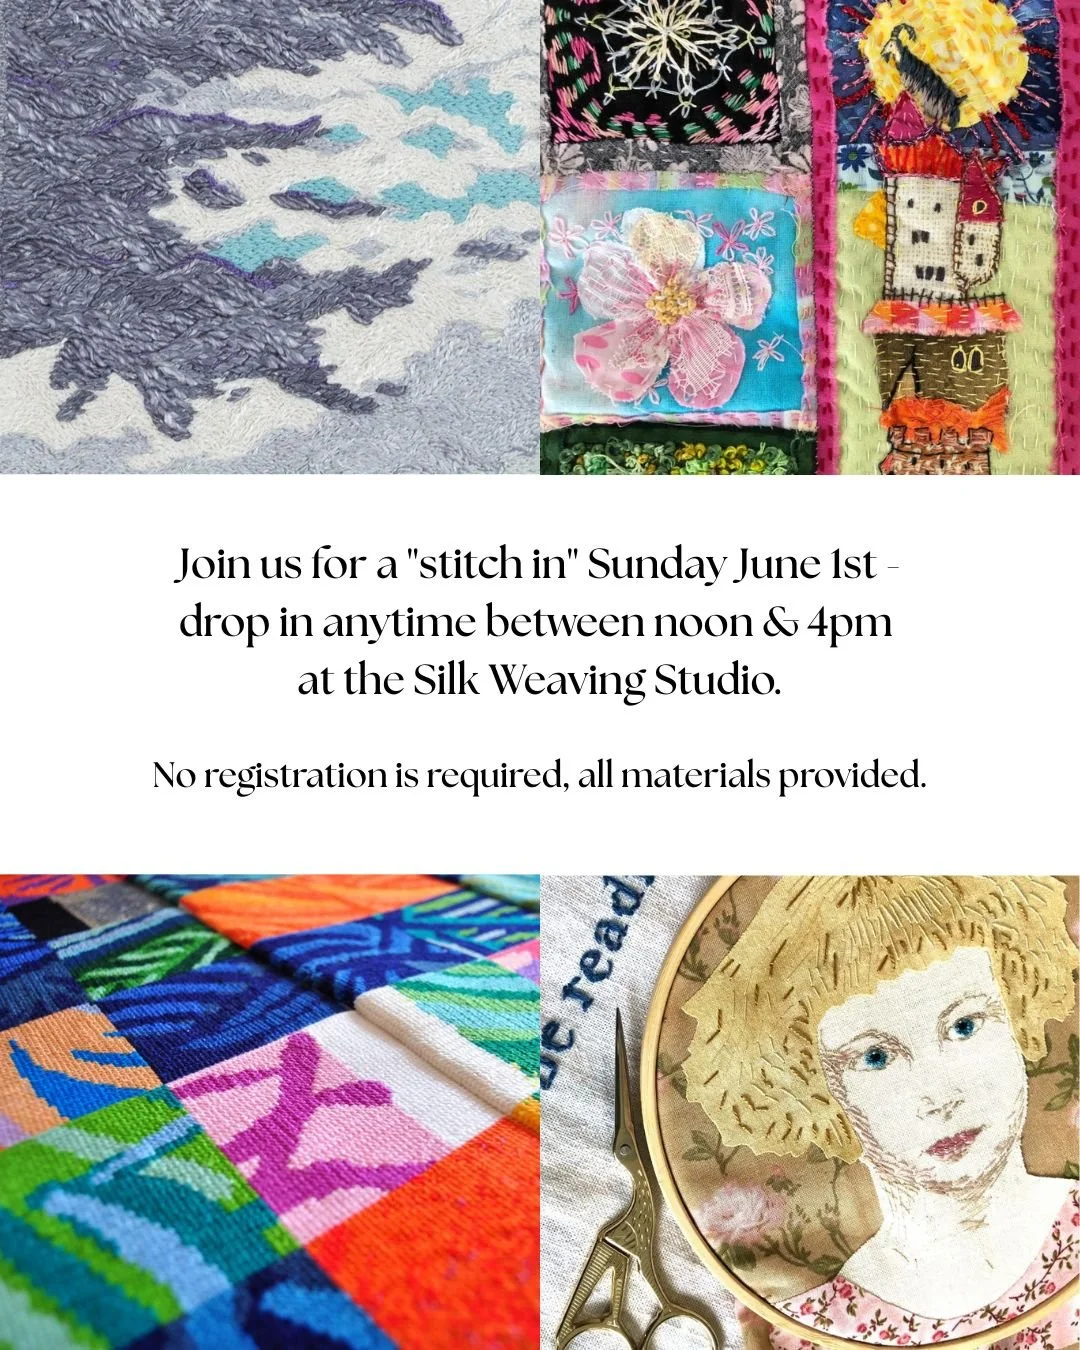
Upcoming Shows/Markets
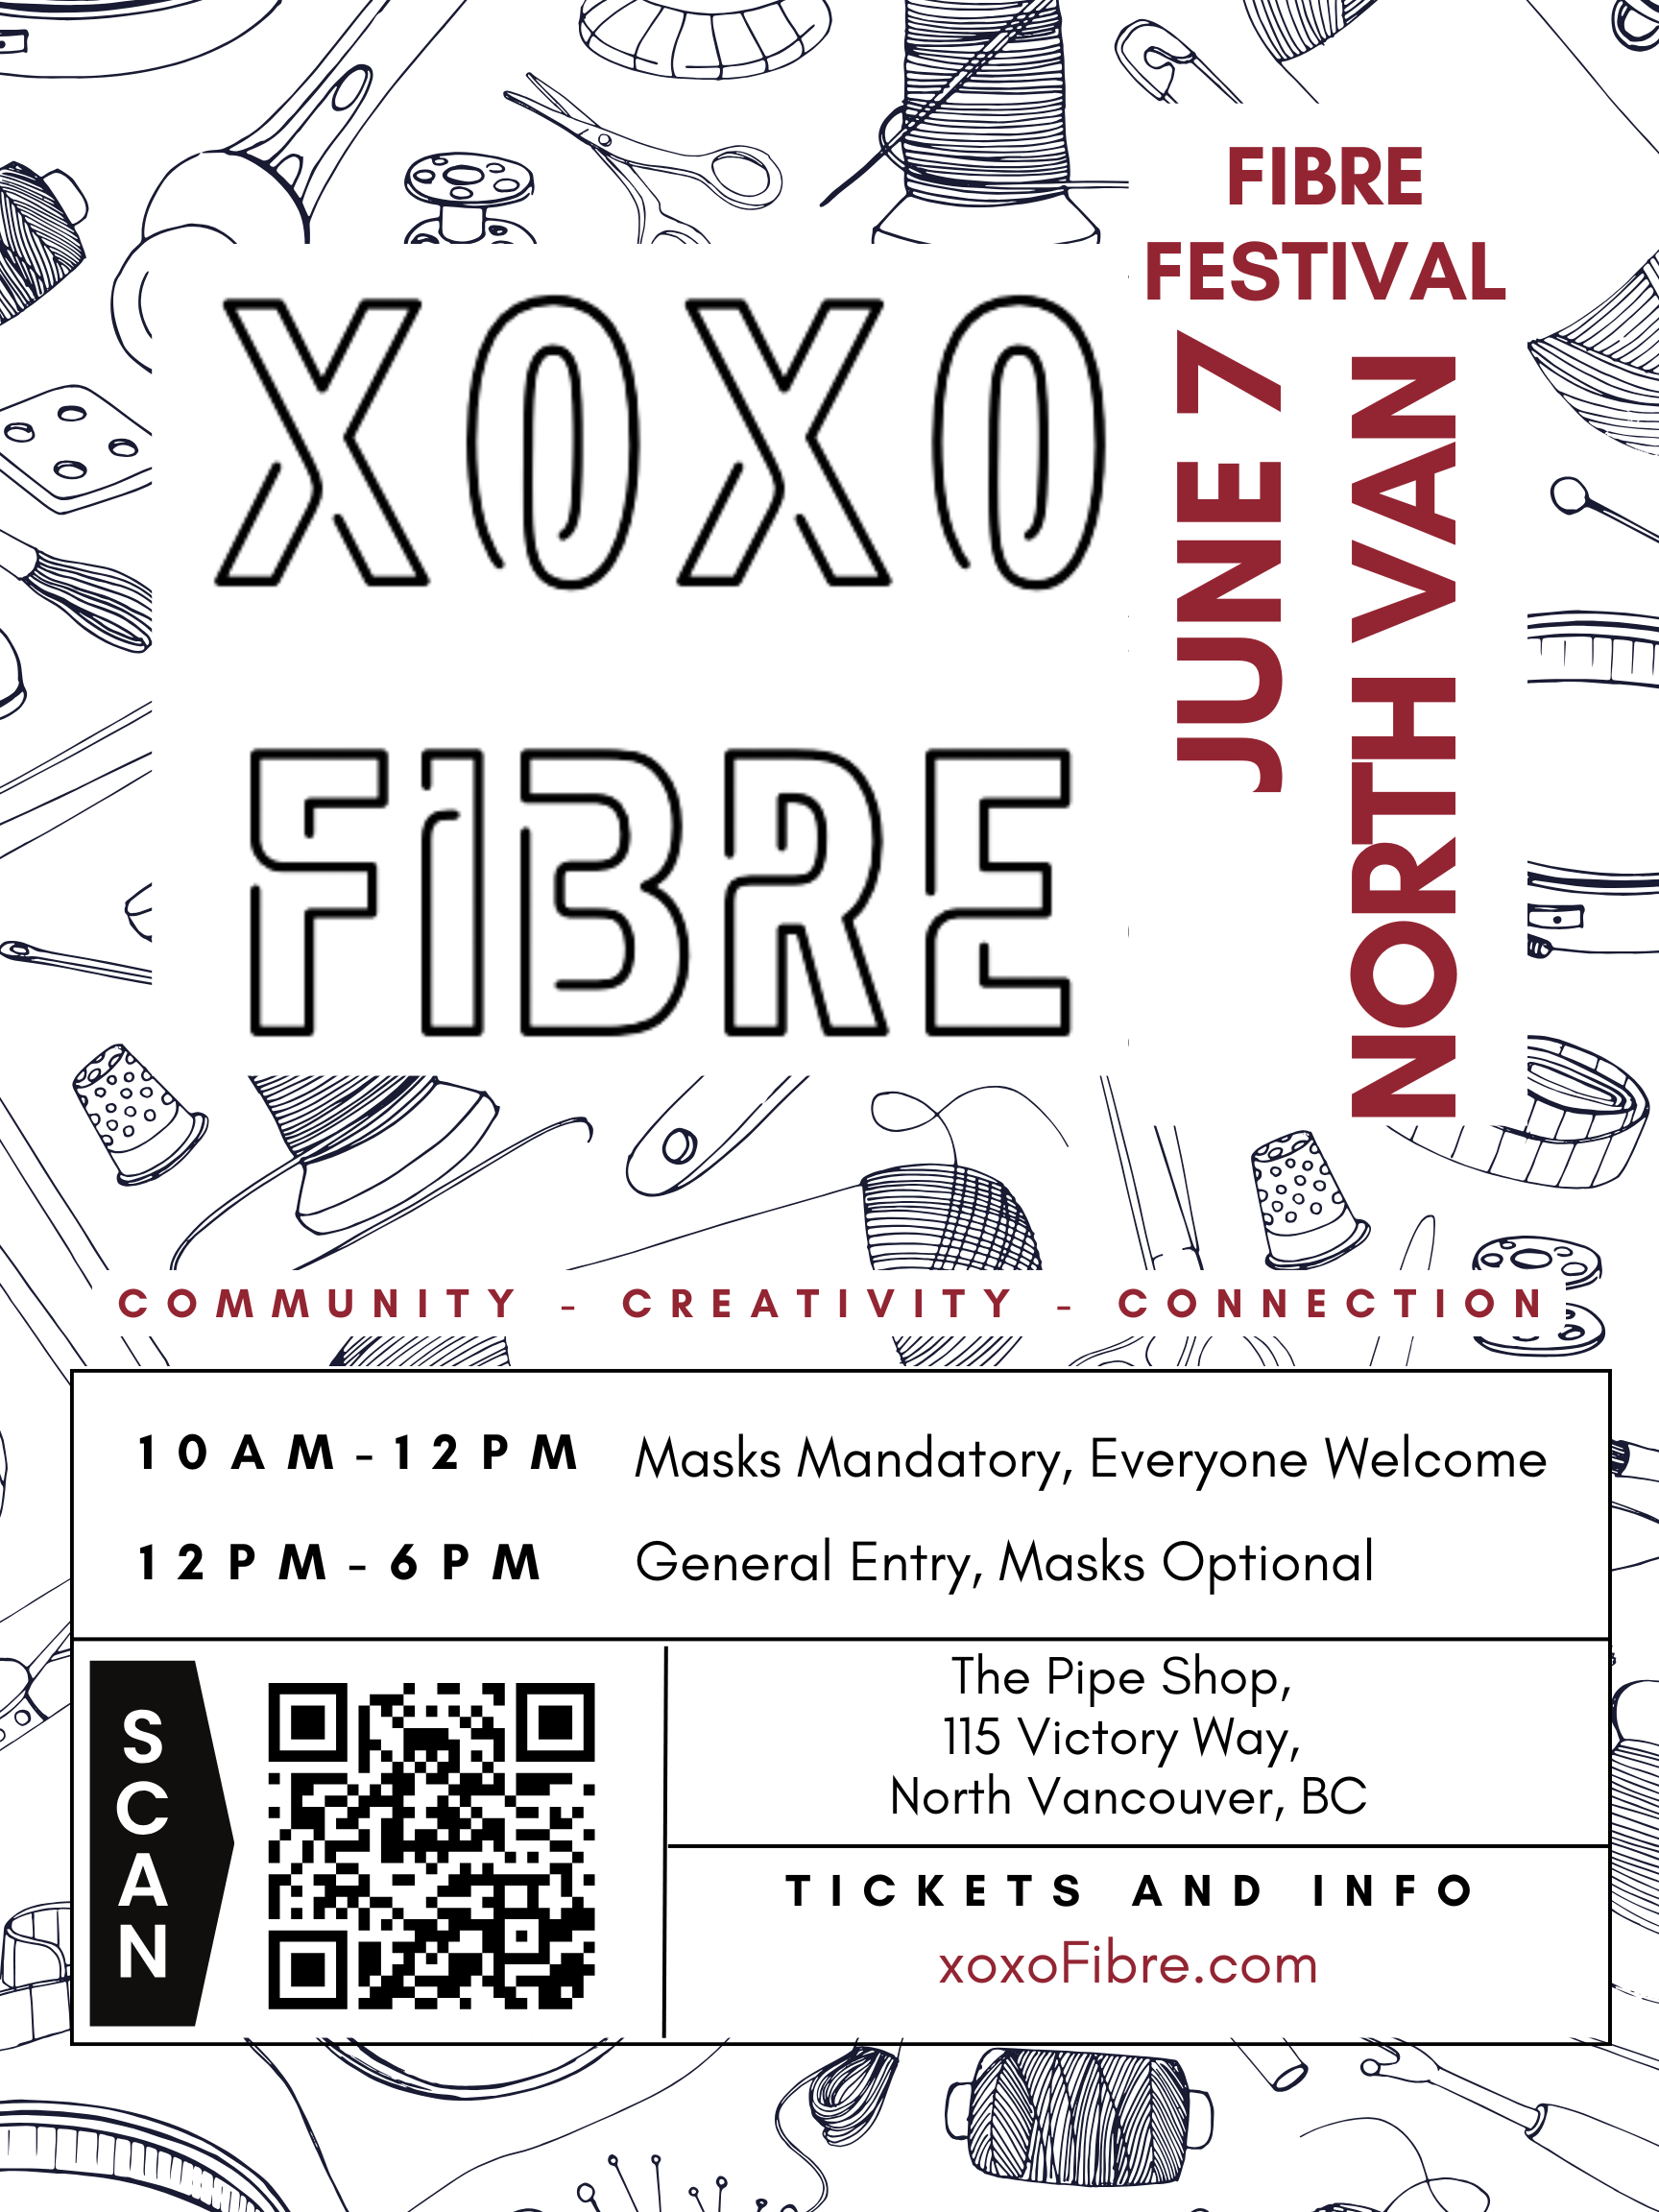
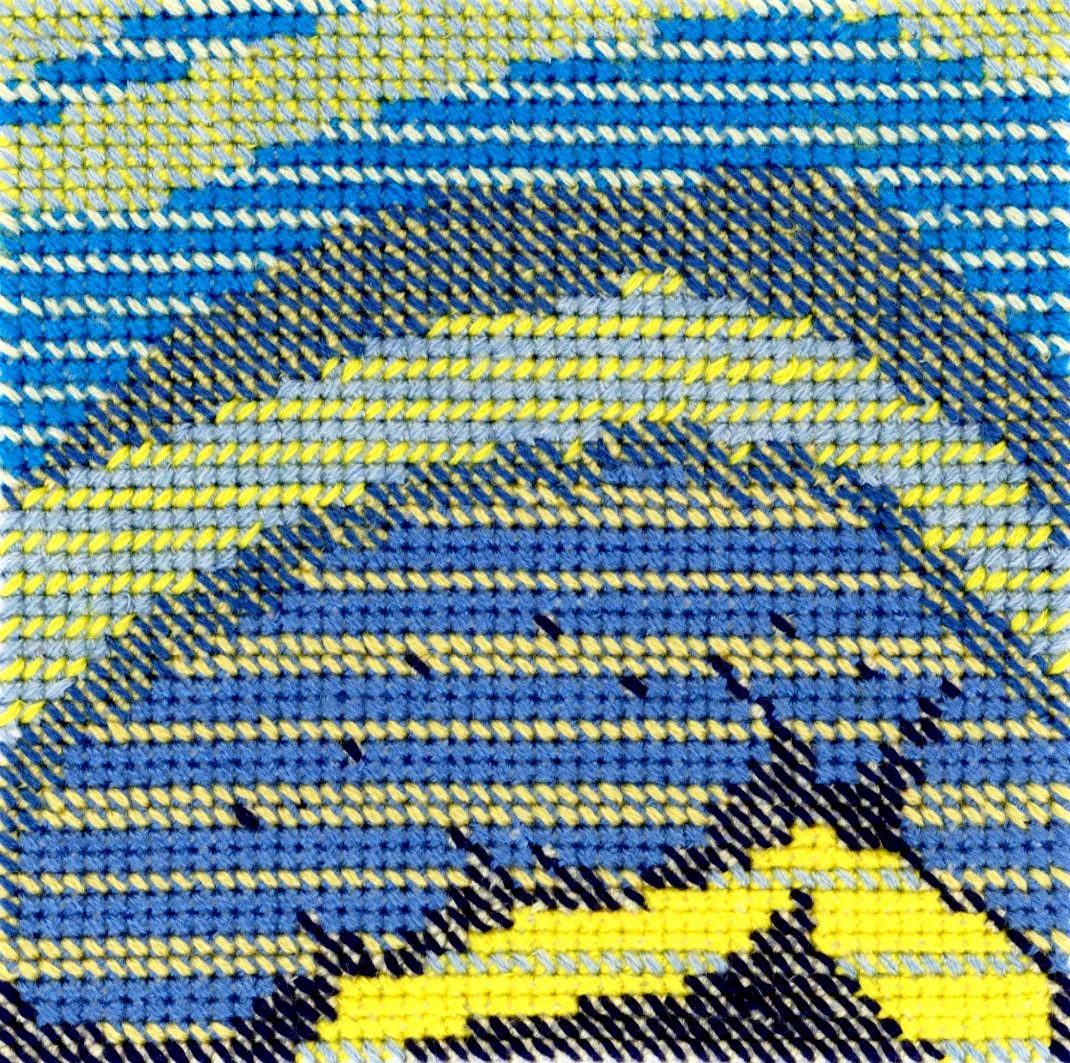
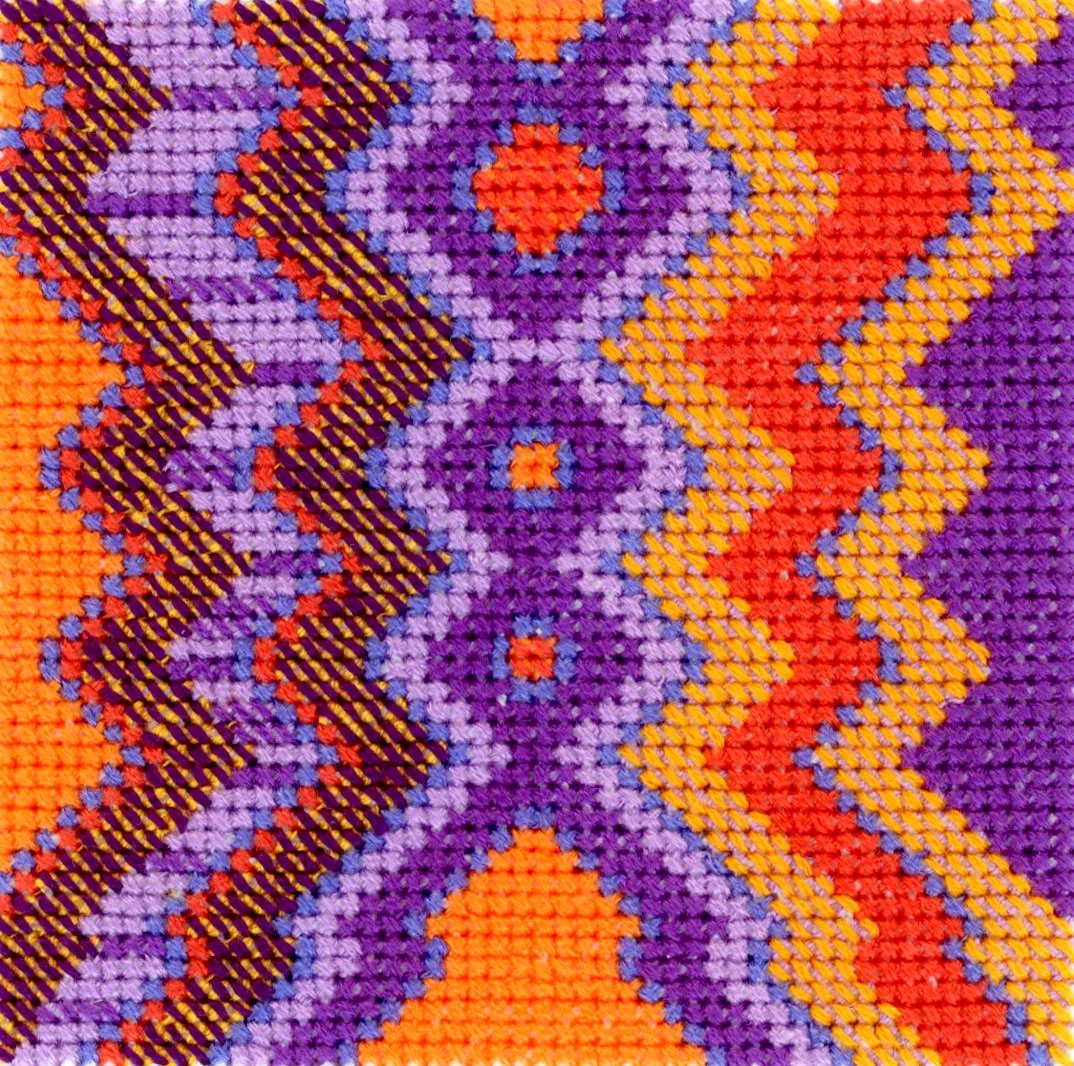
New Patreon Pattern Launch - August
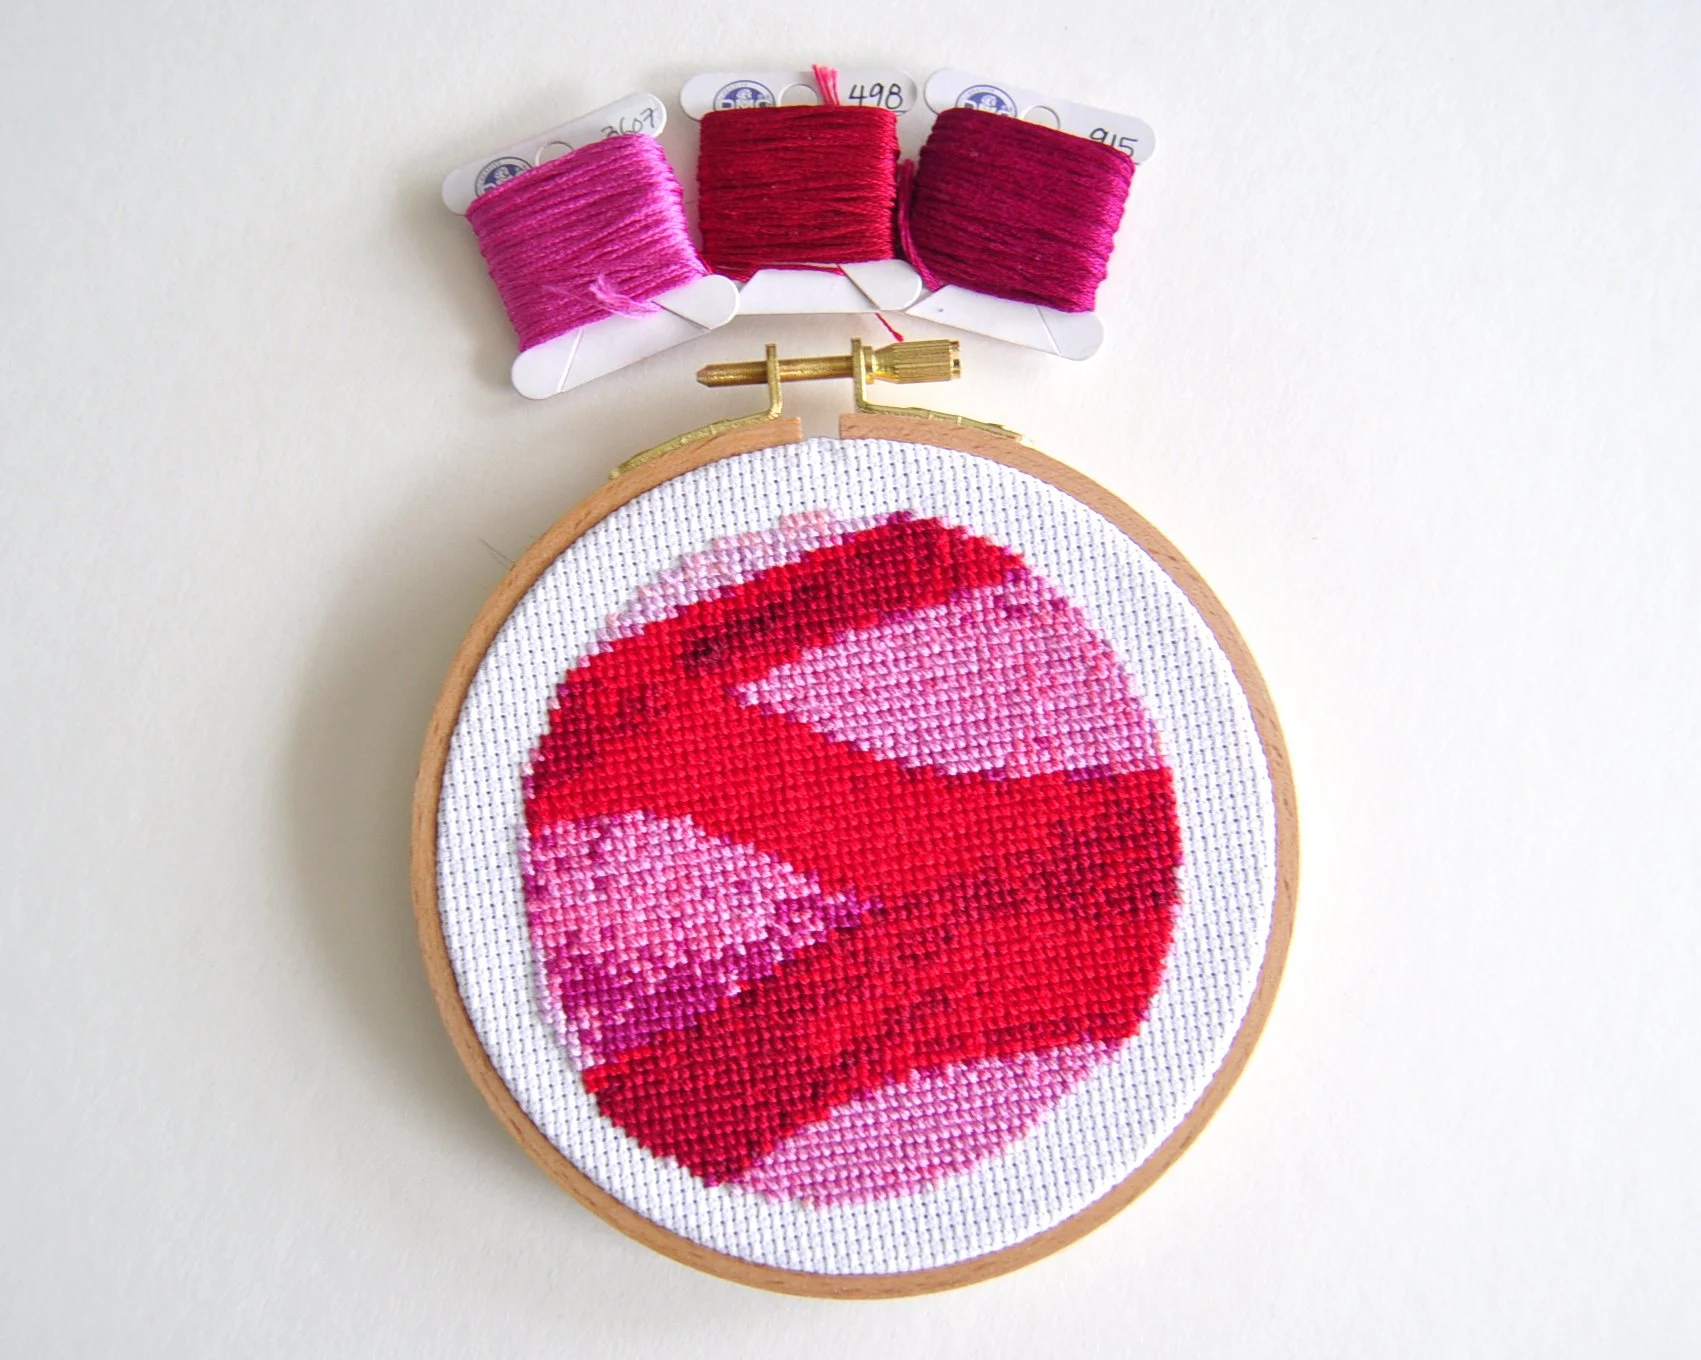
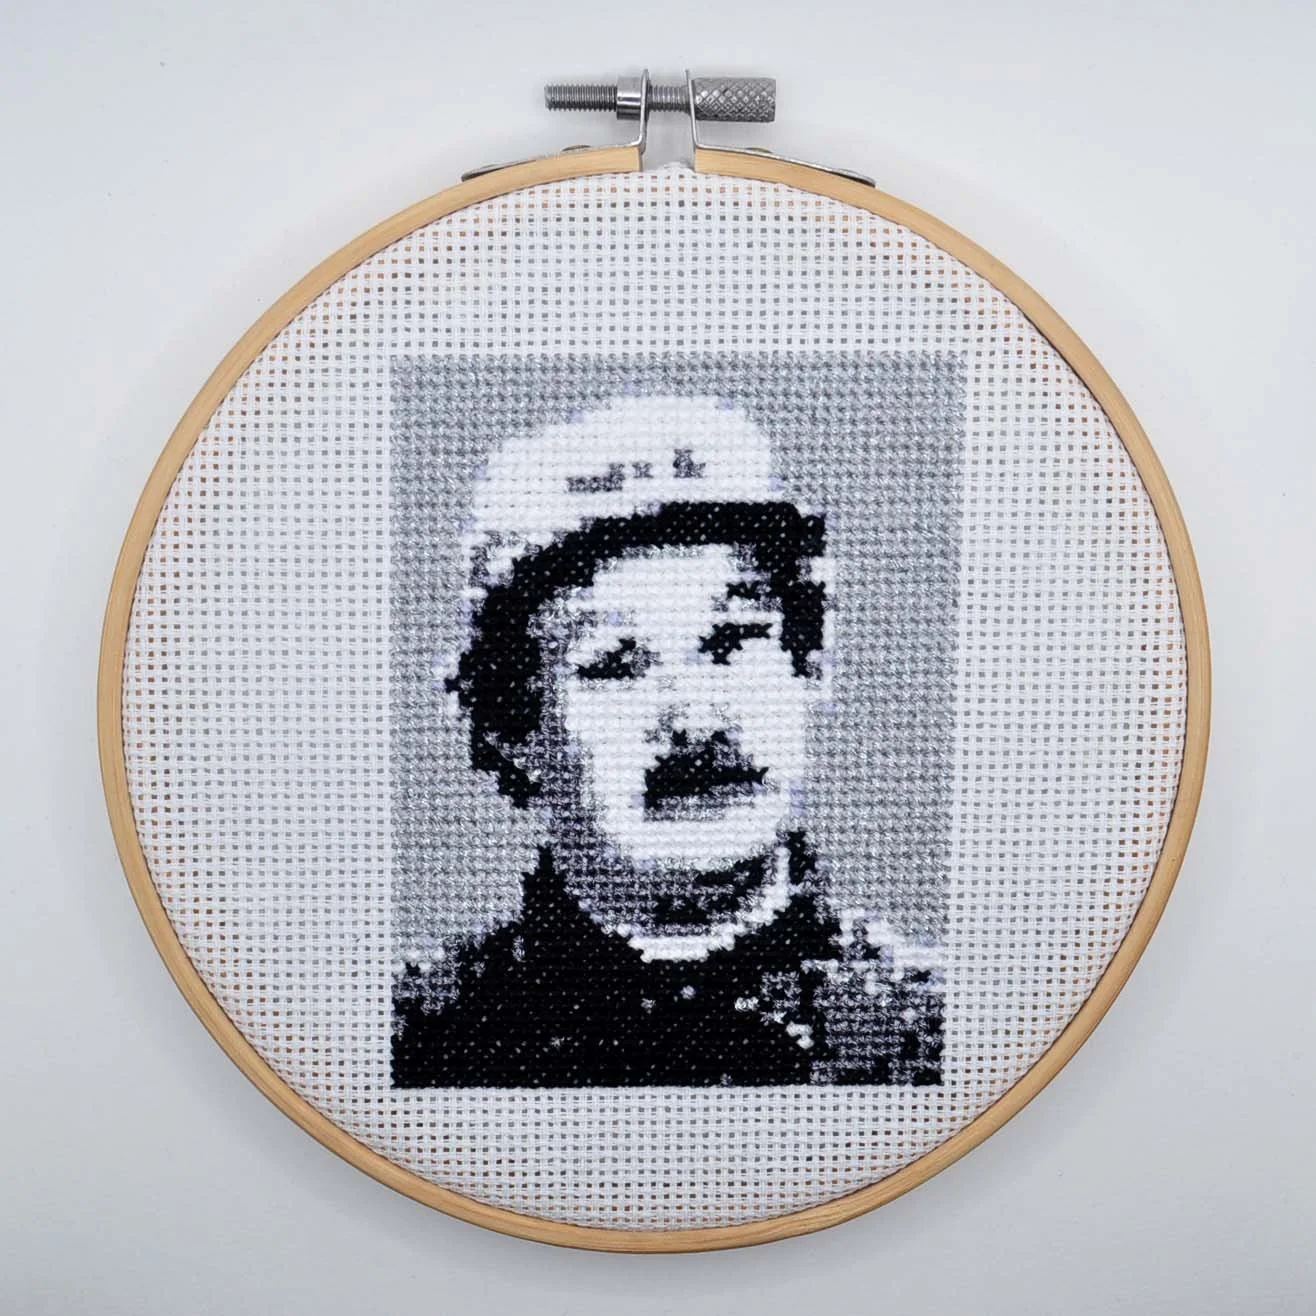
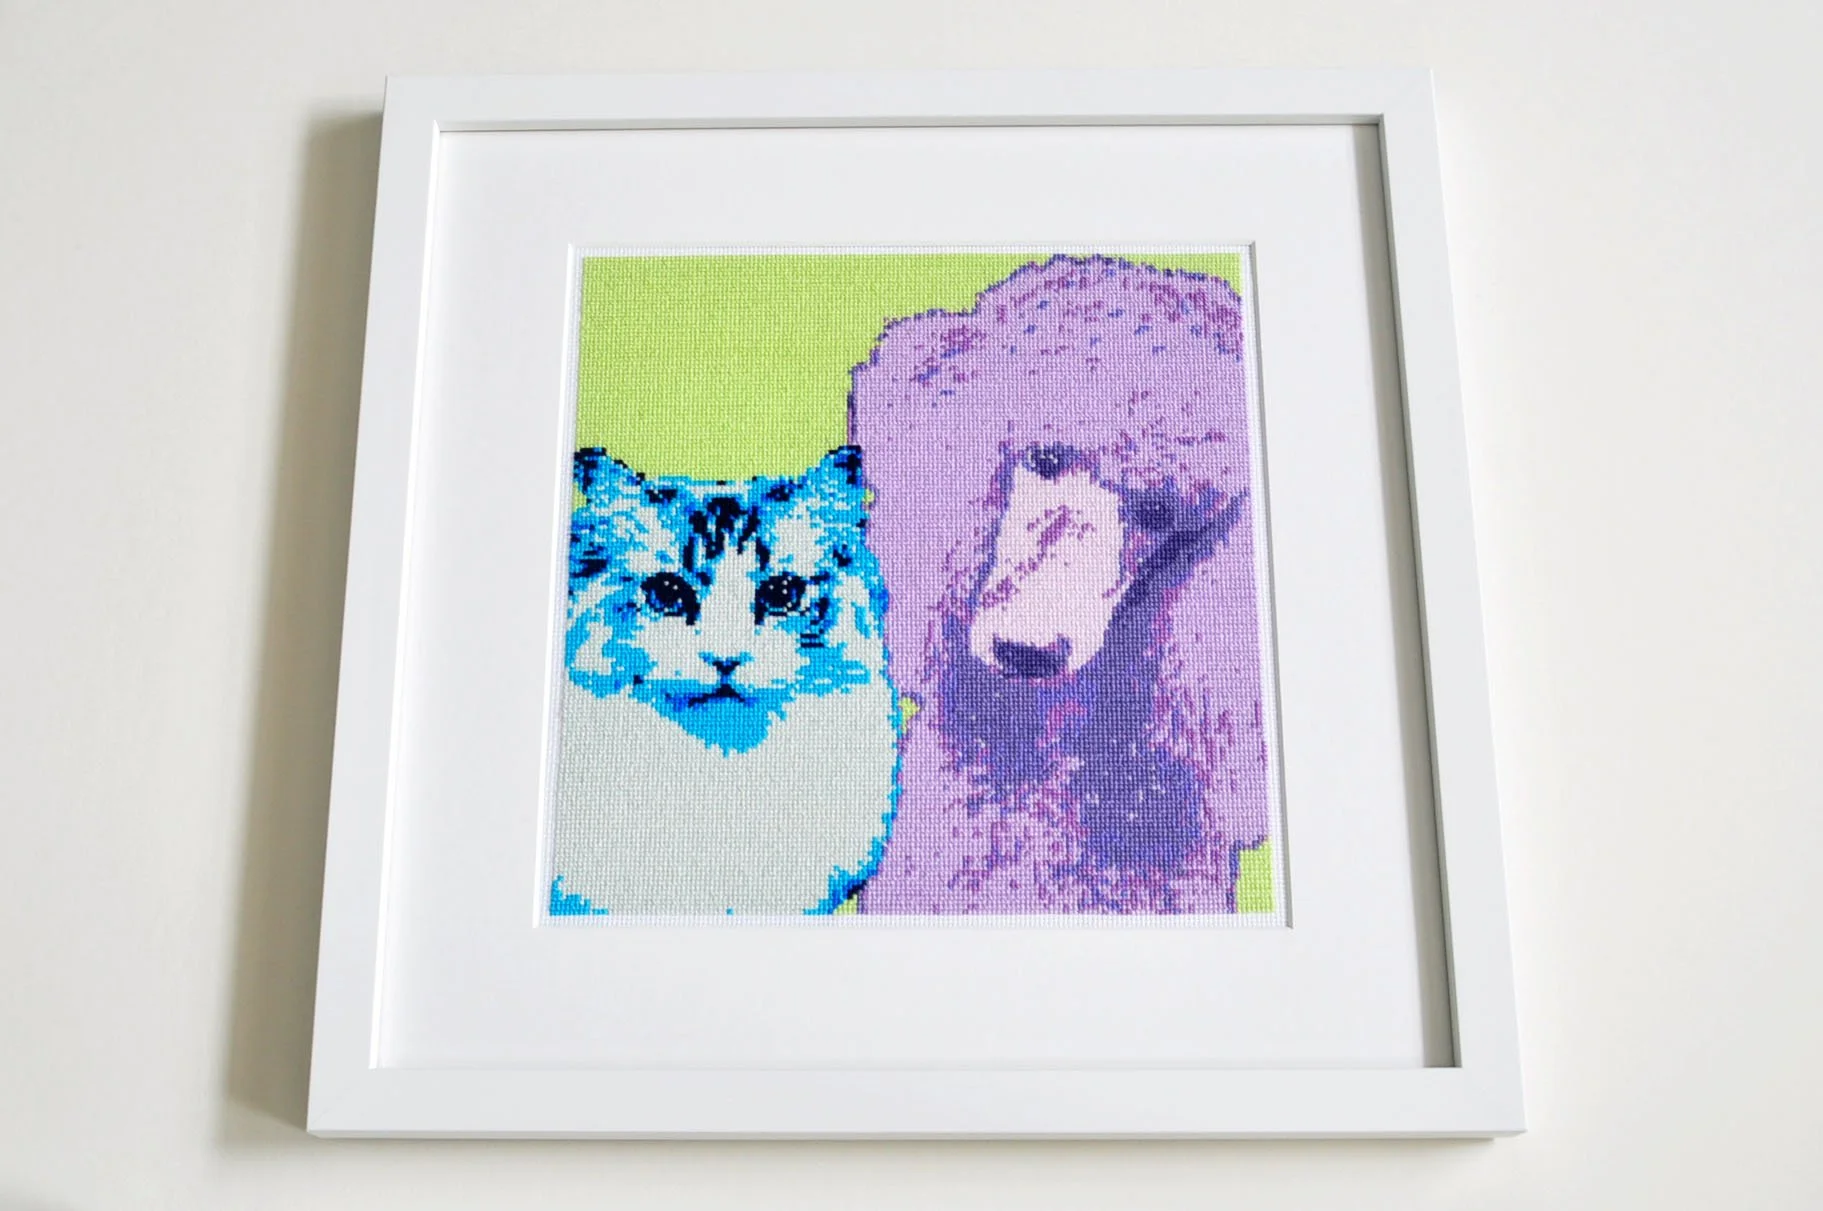
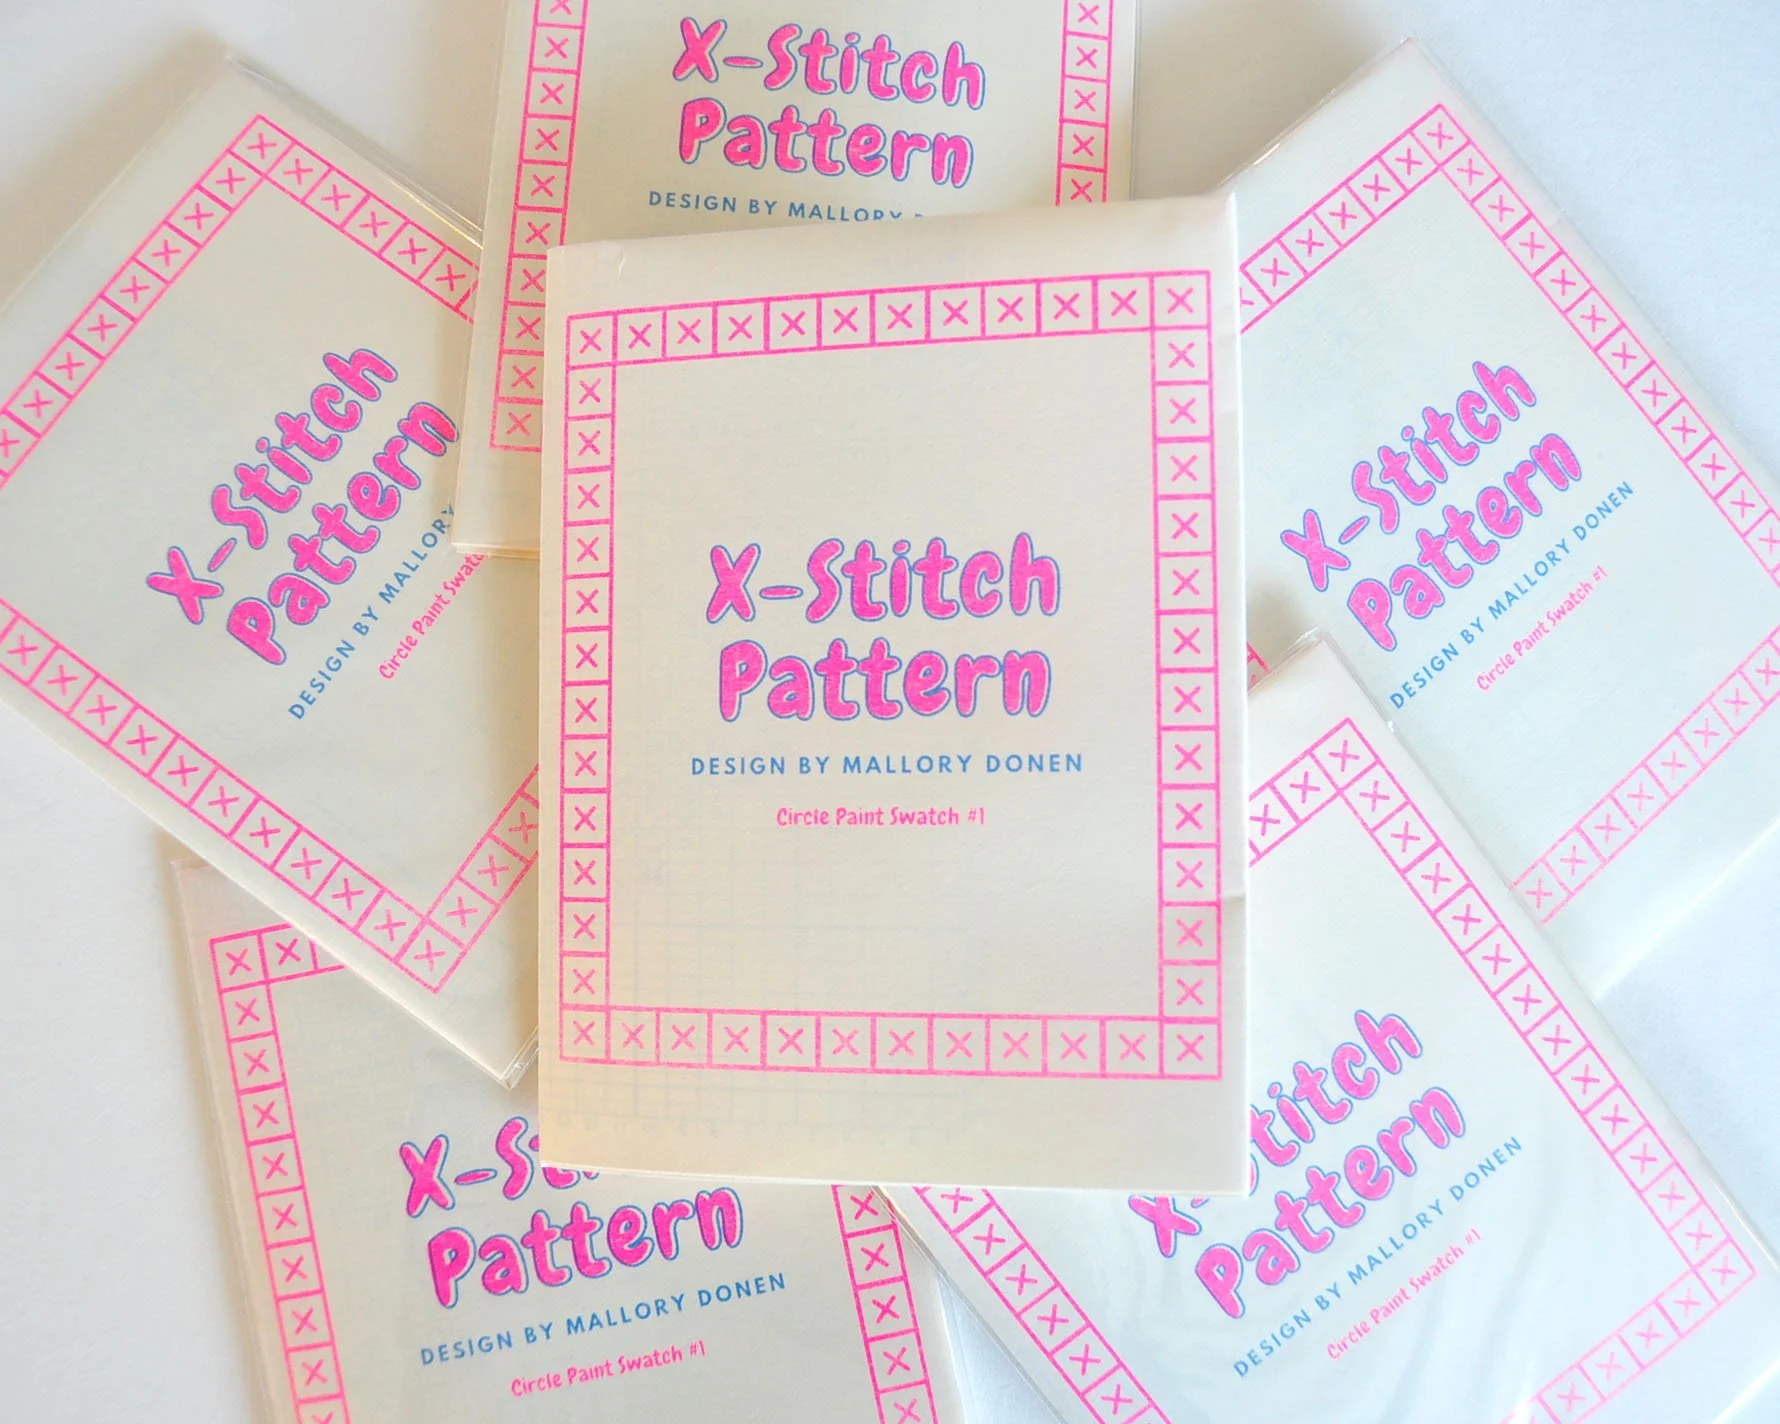
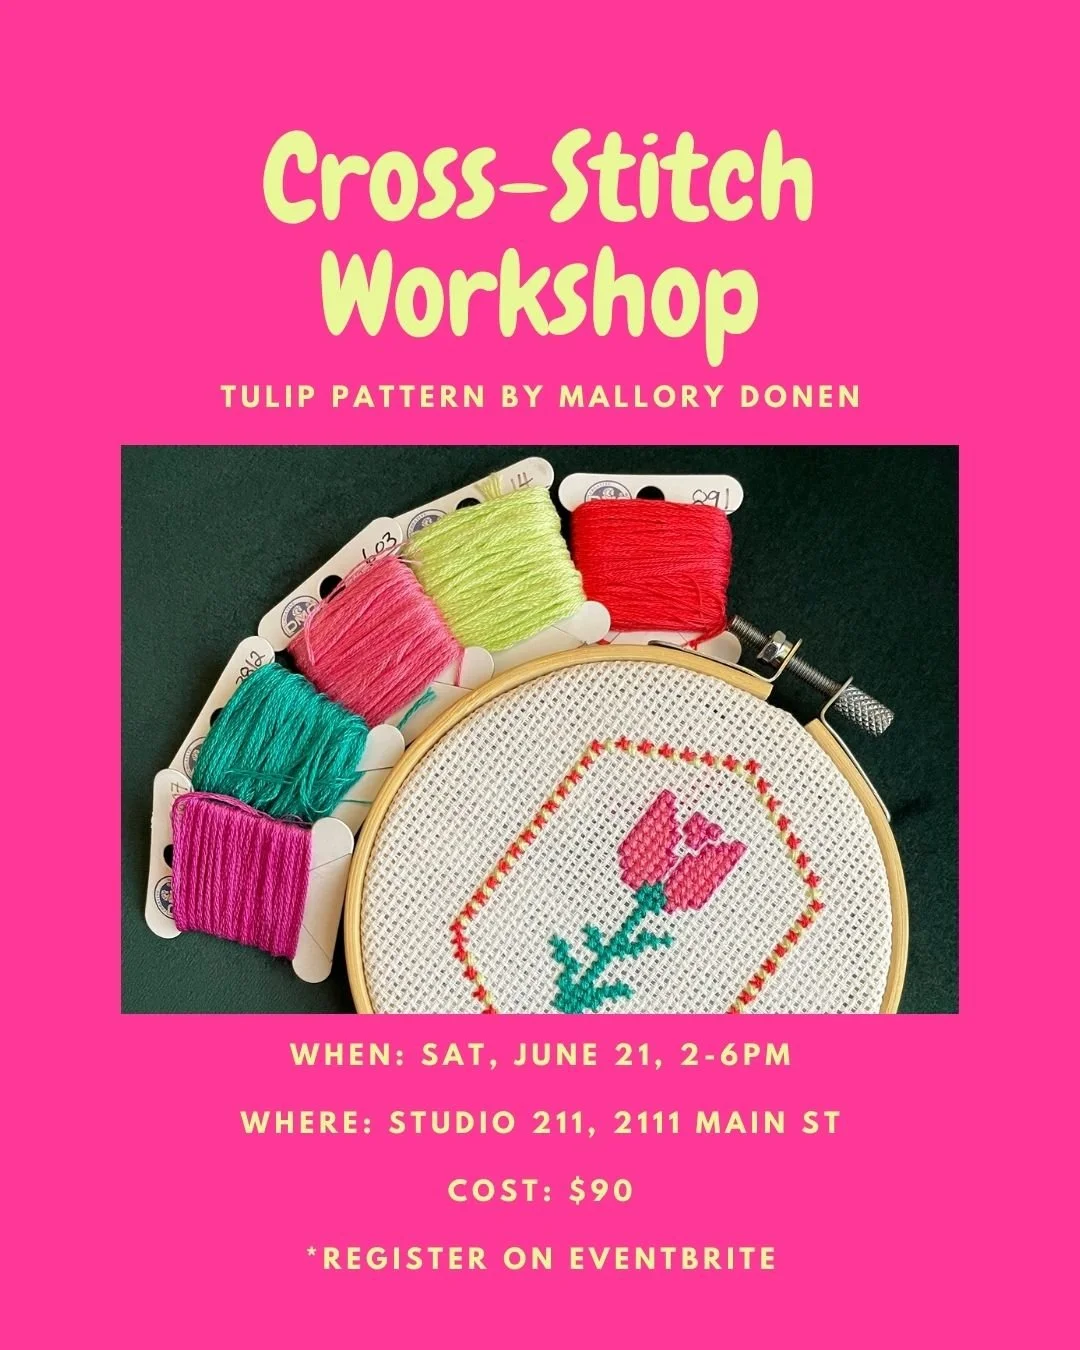
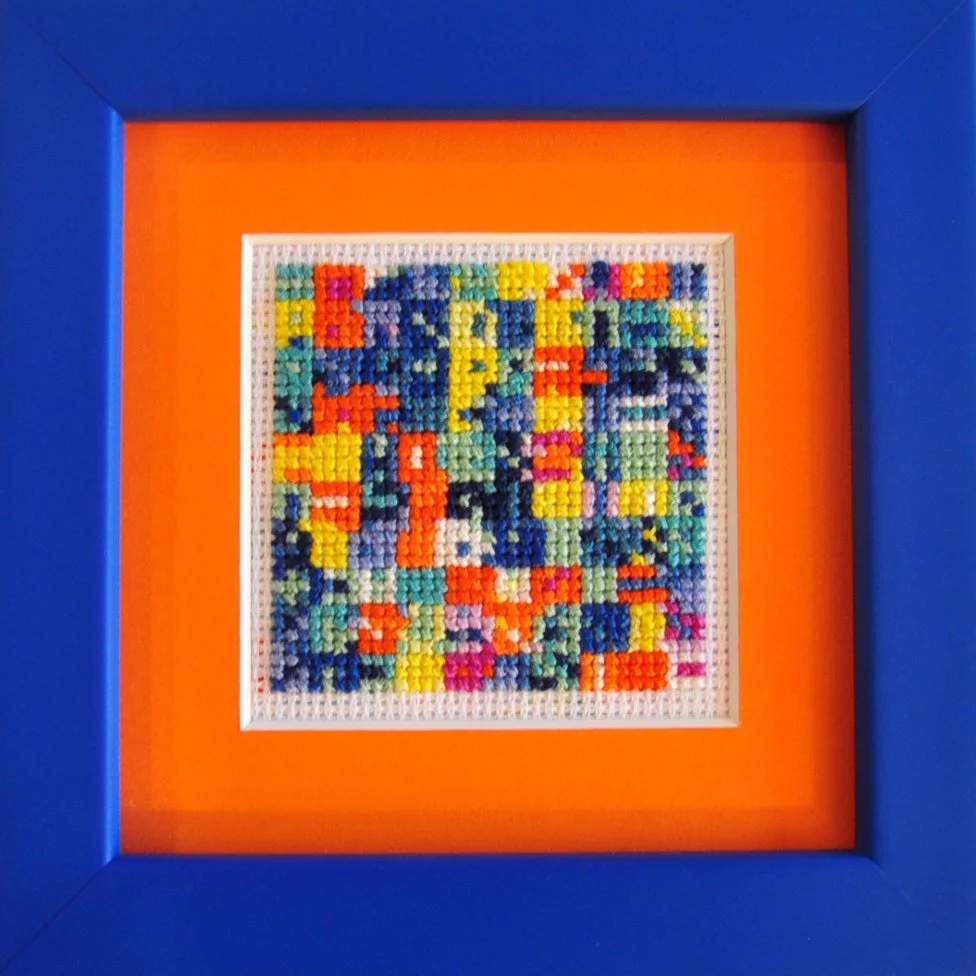
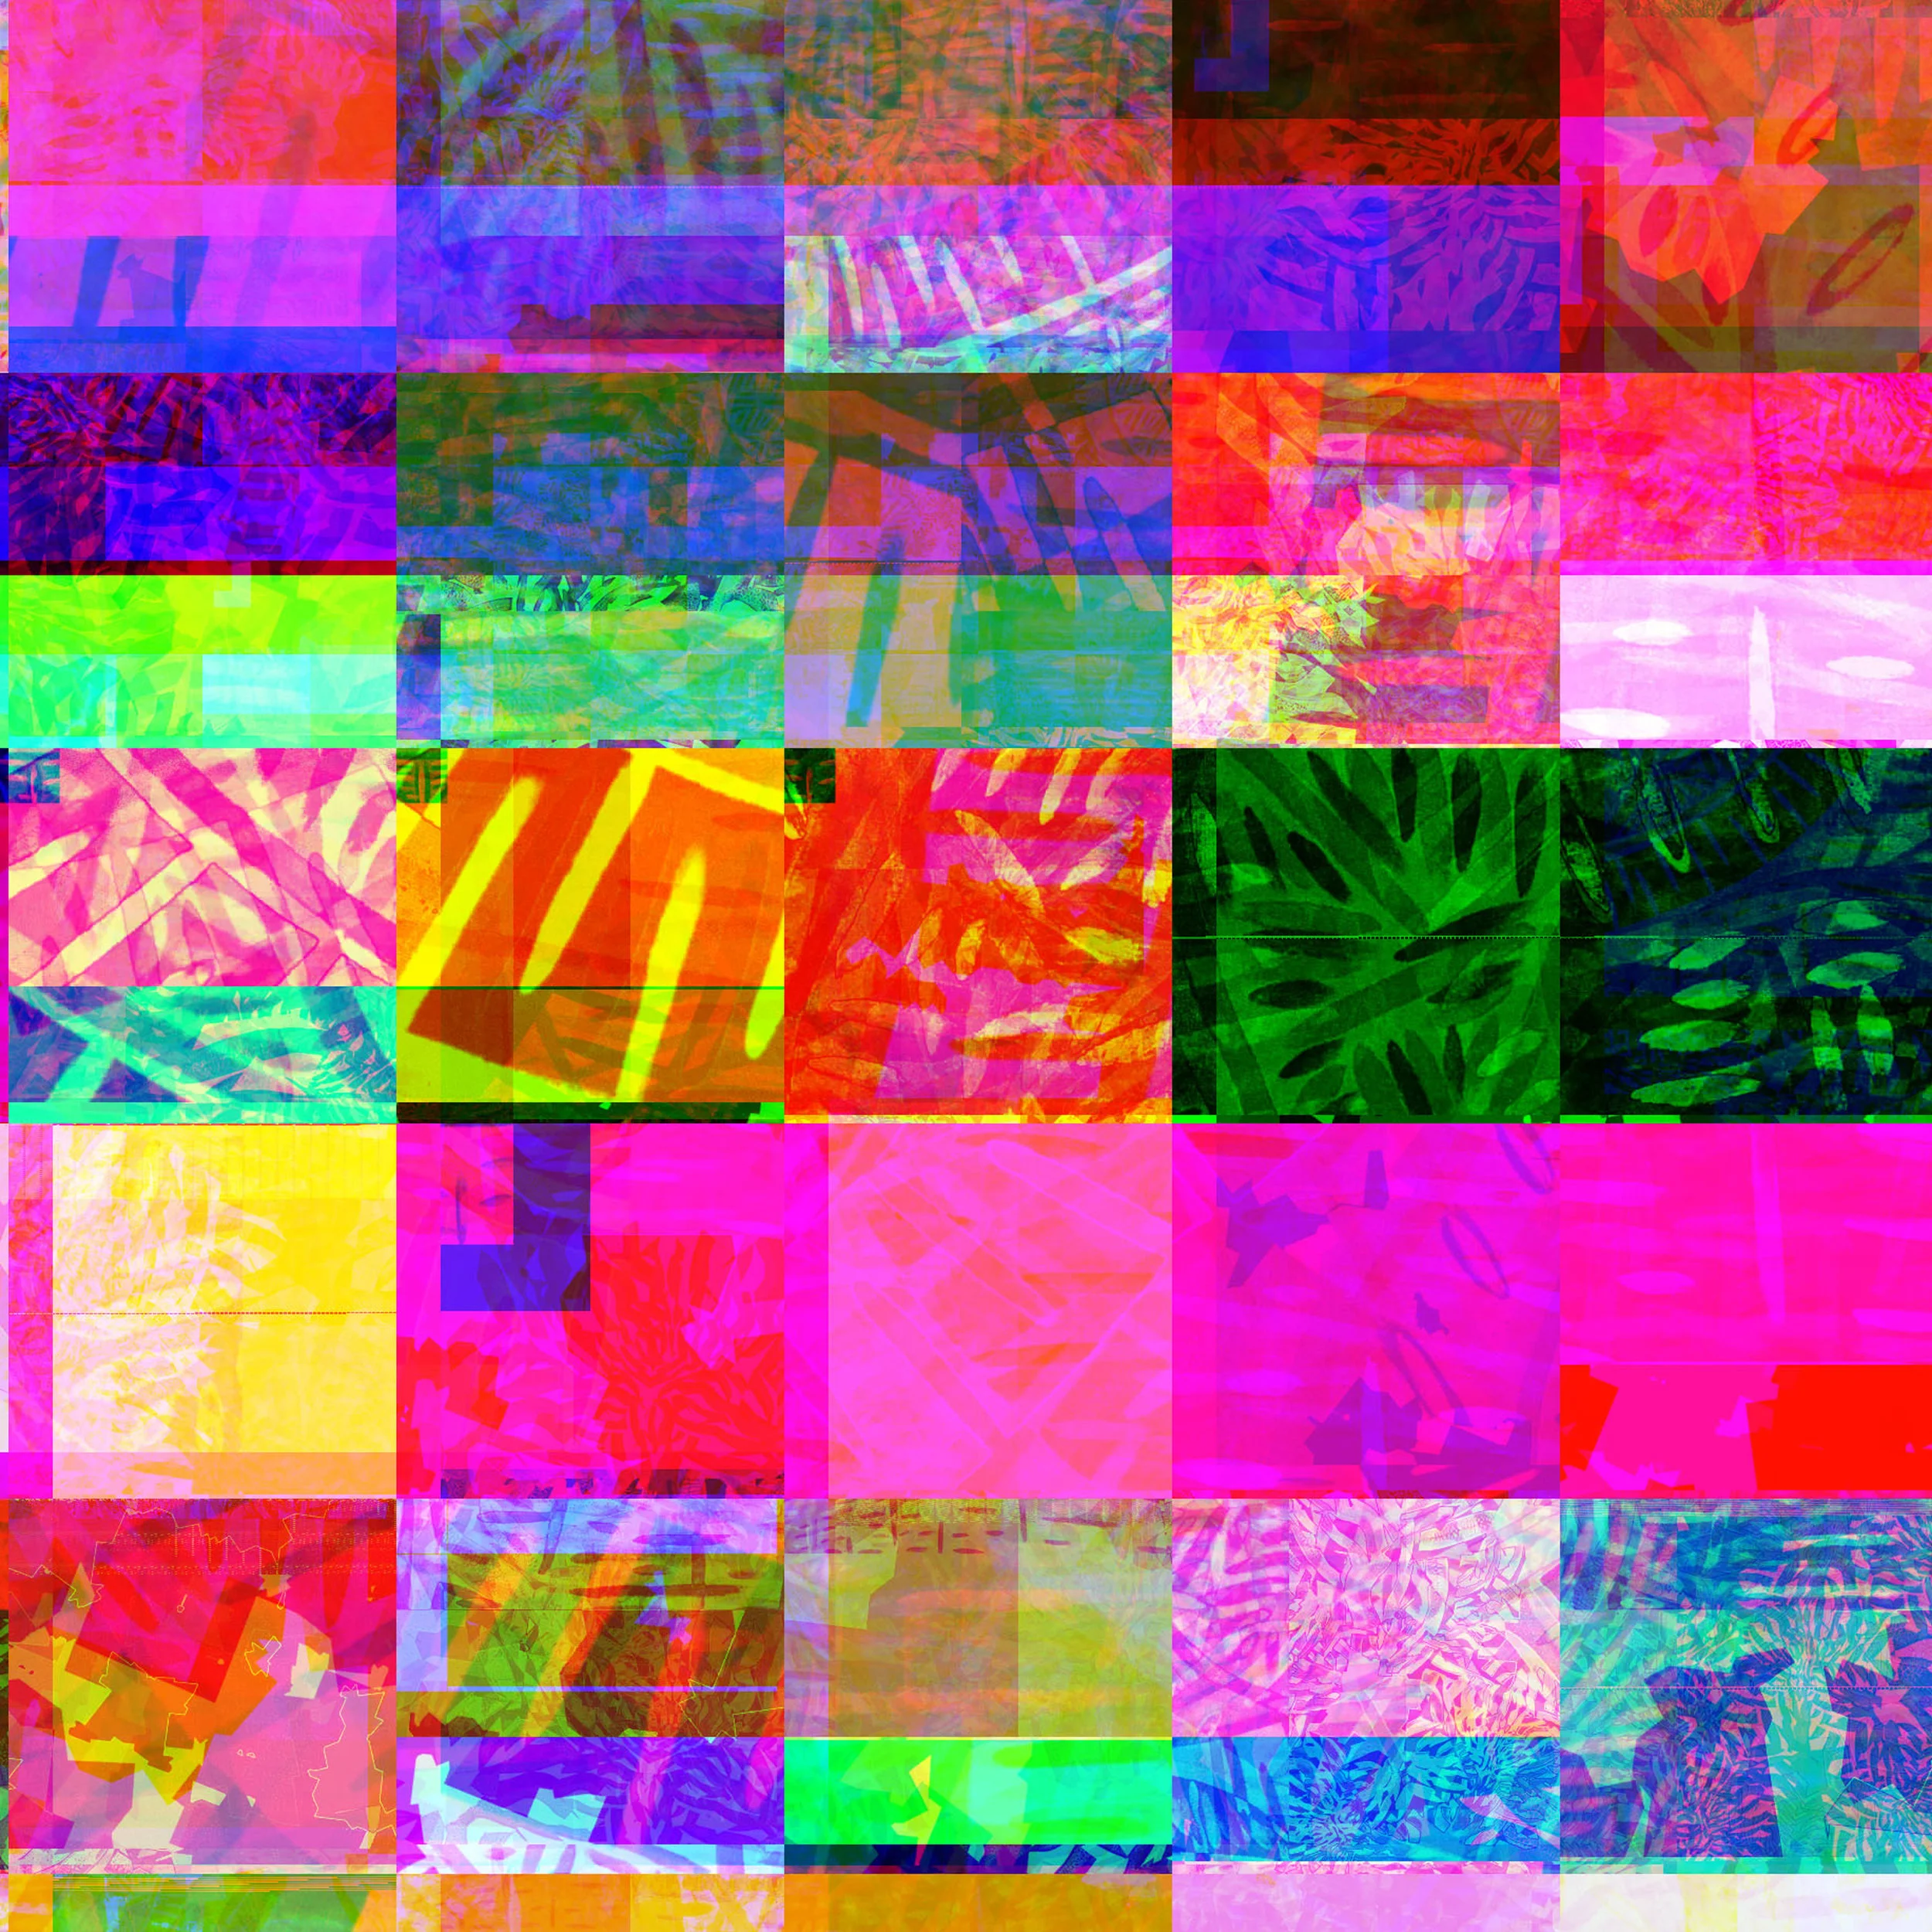
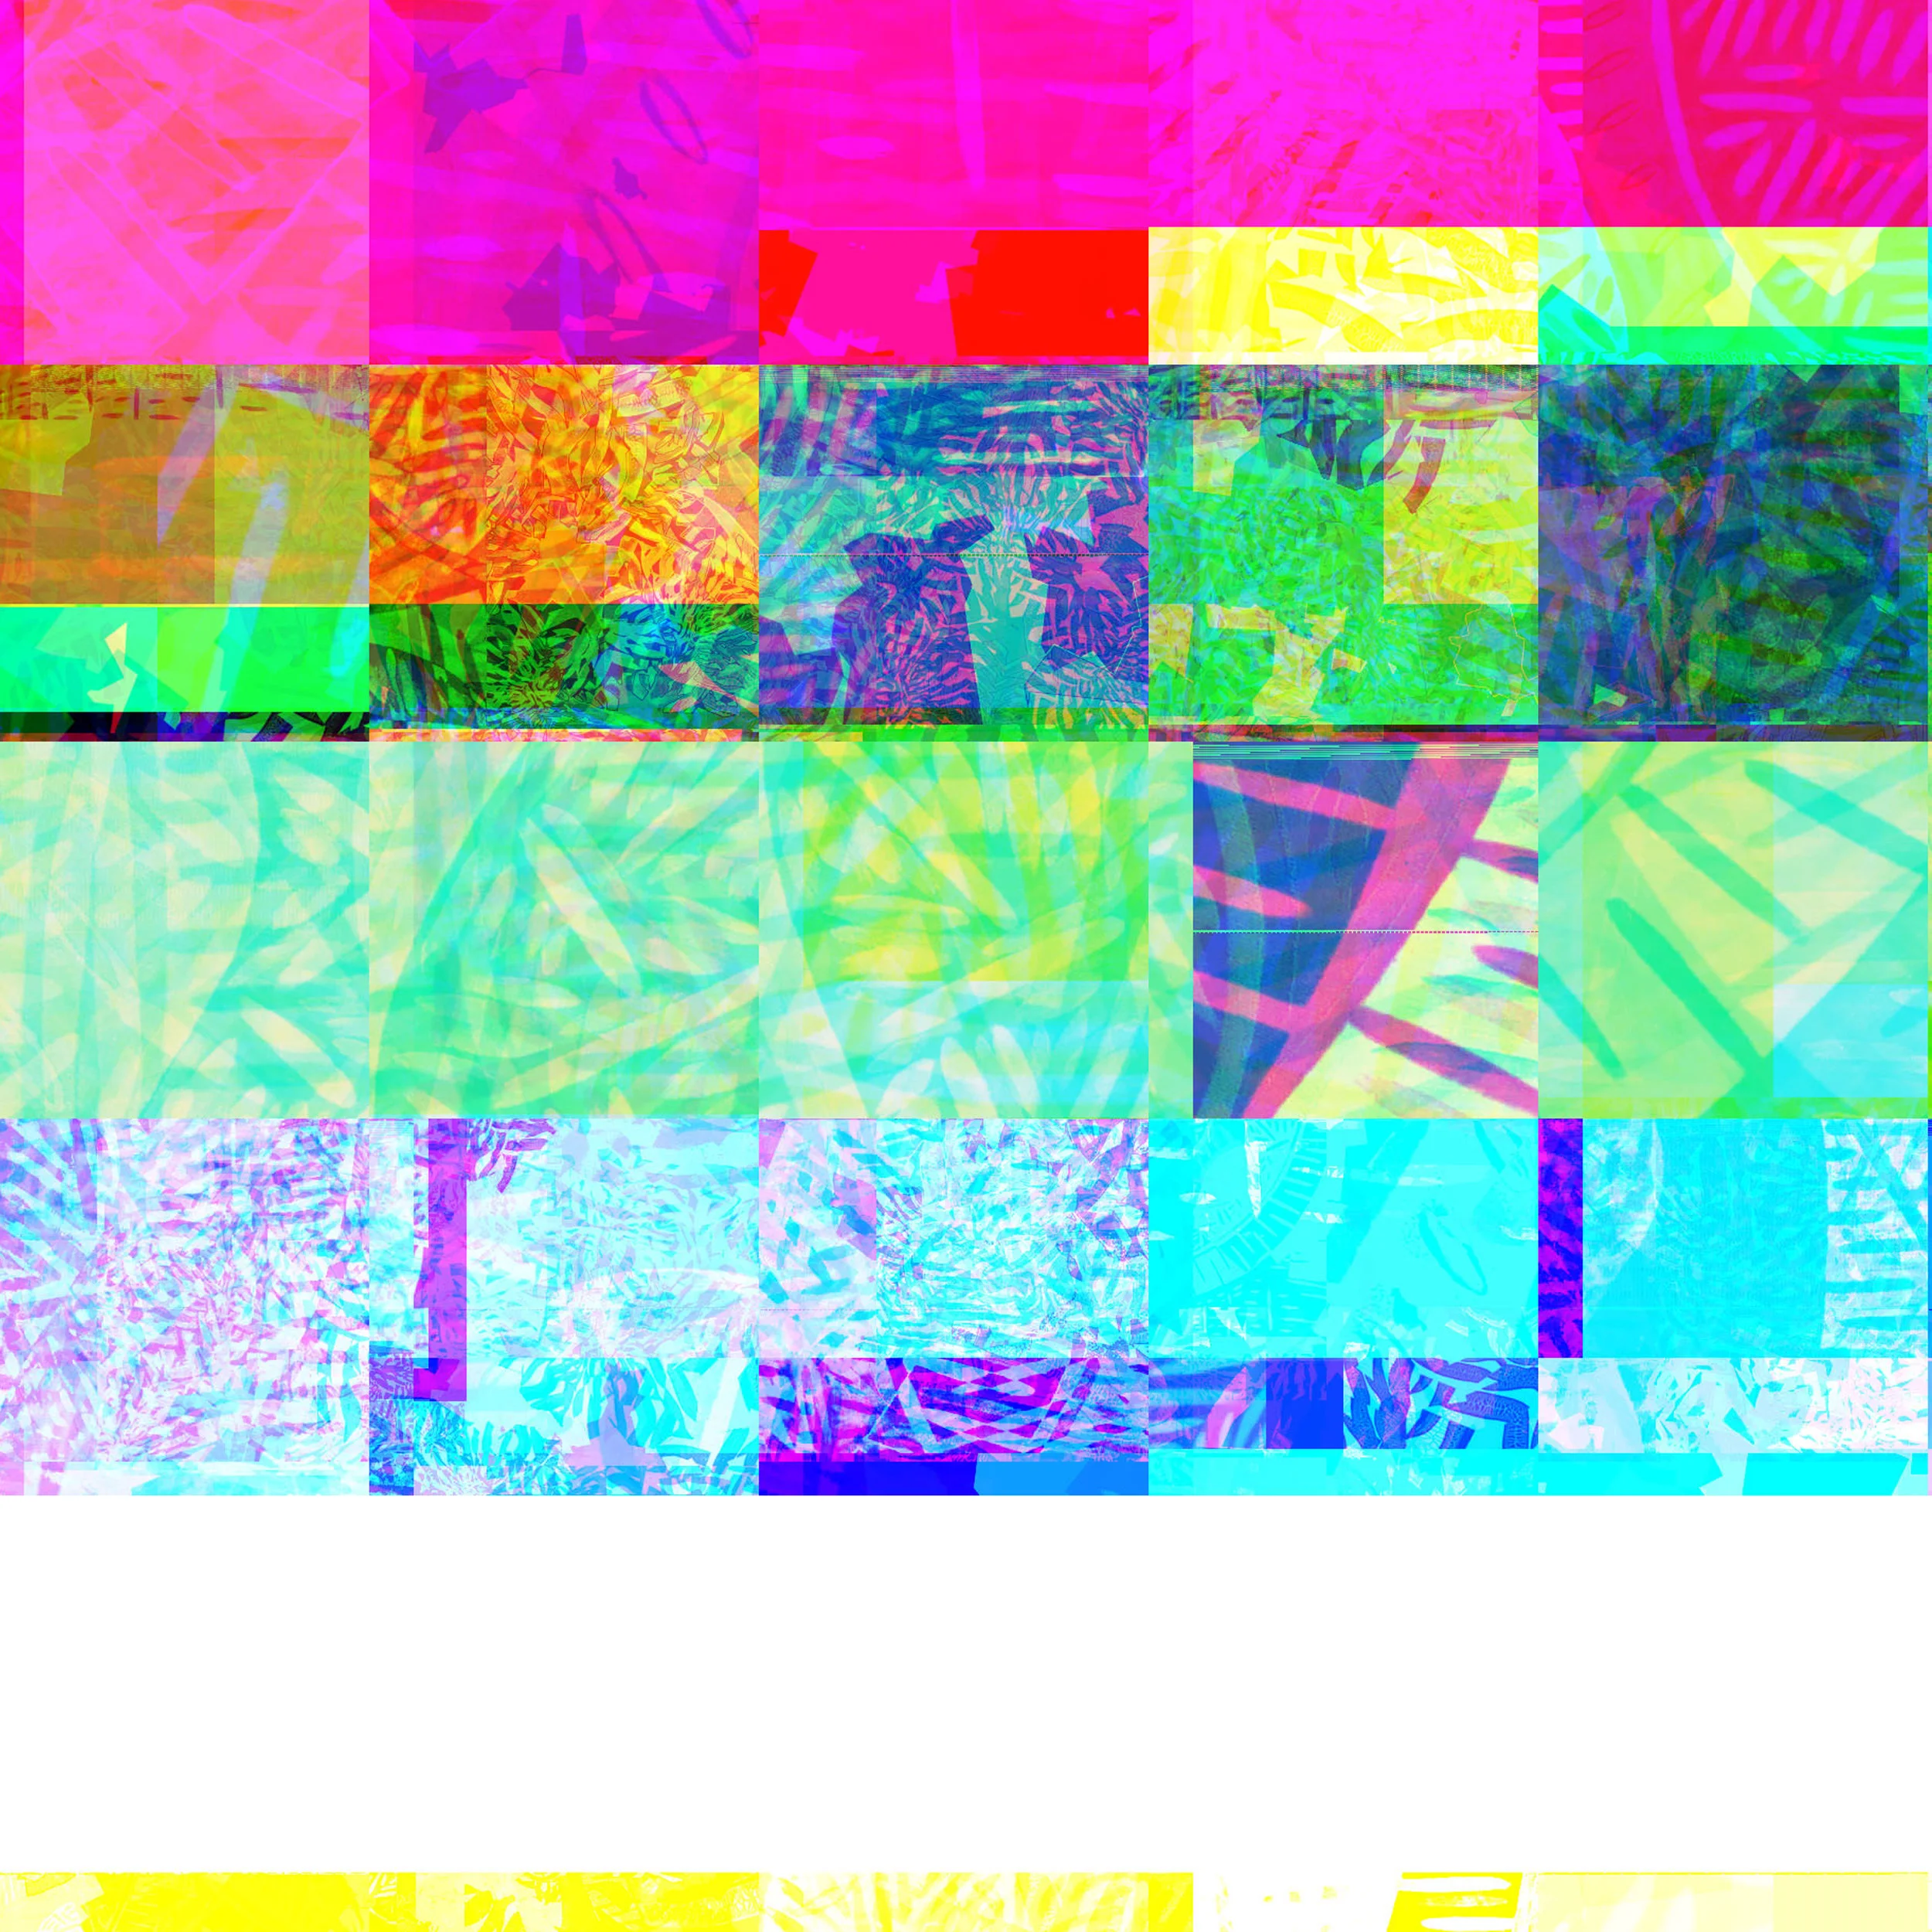
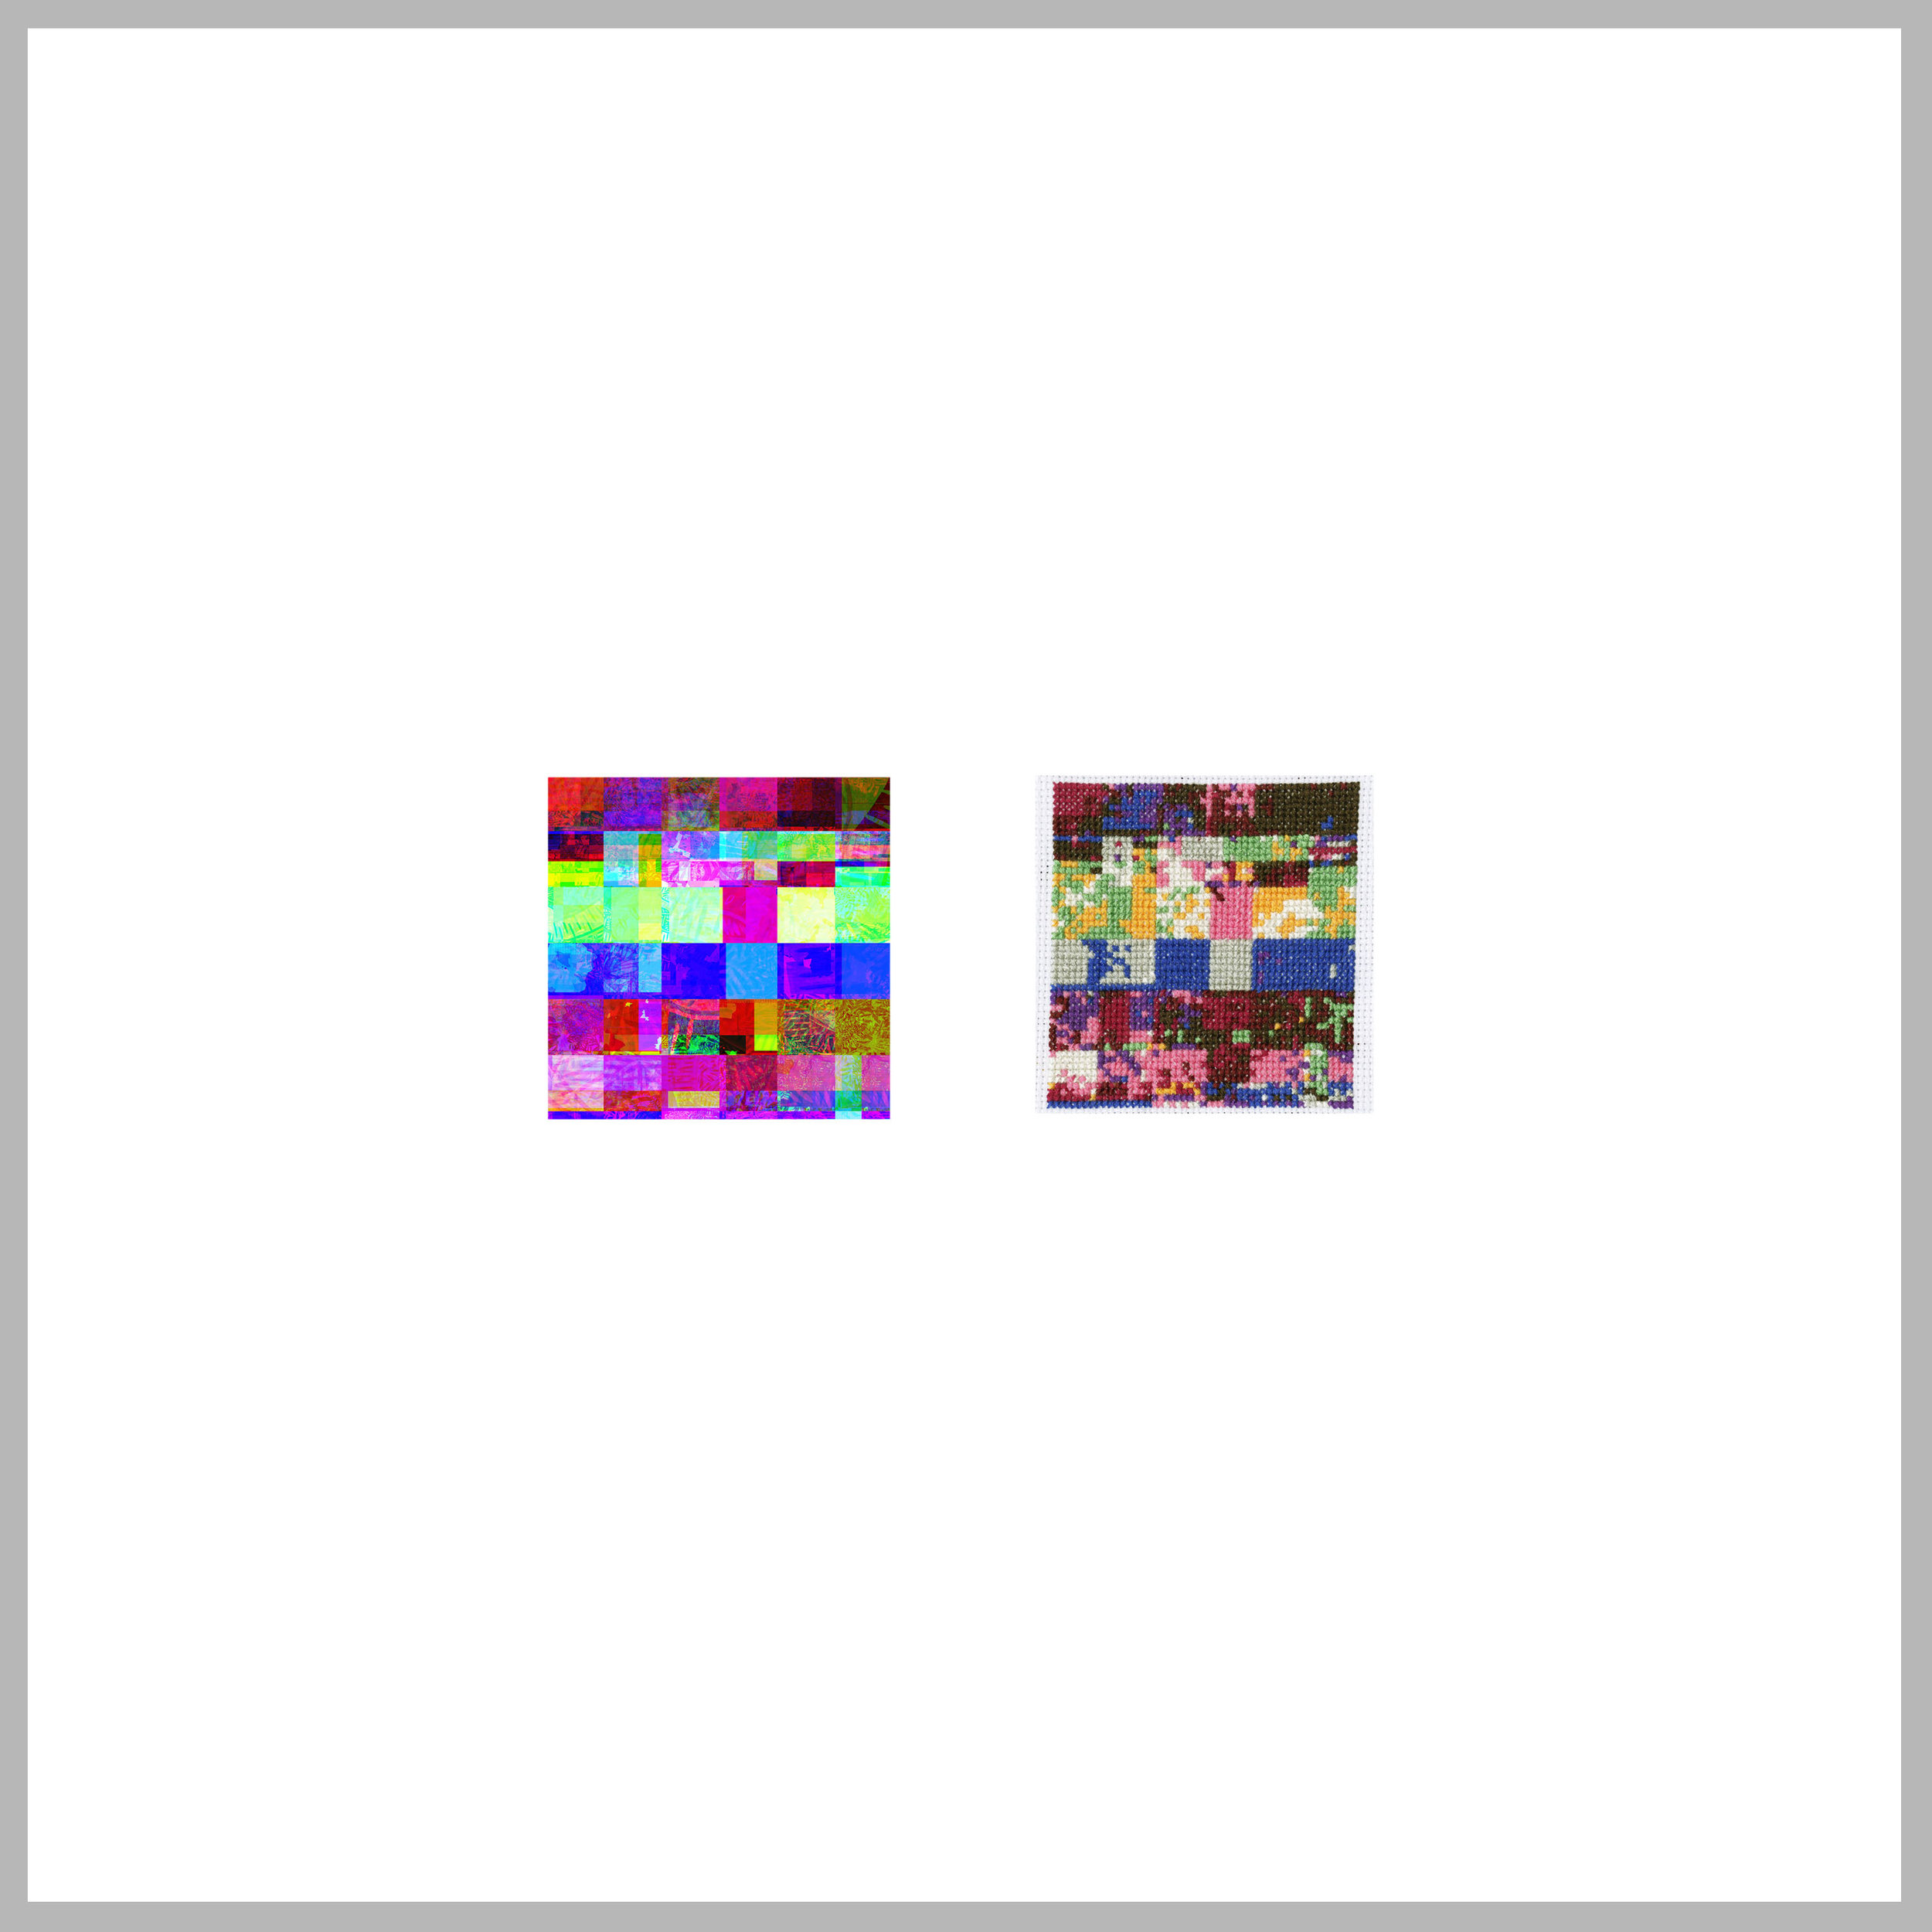
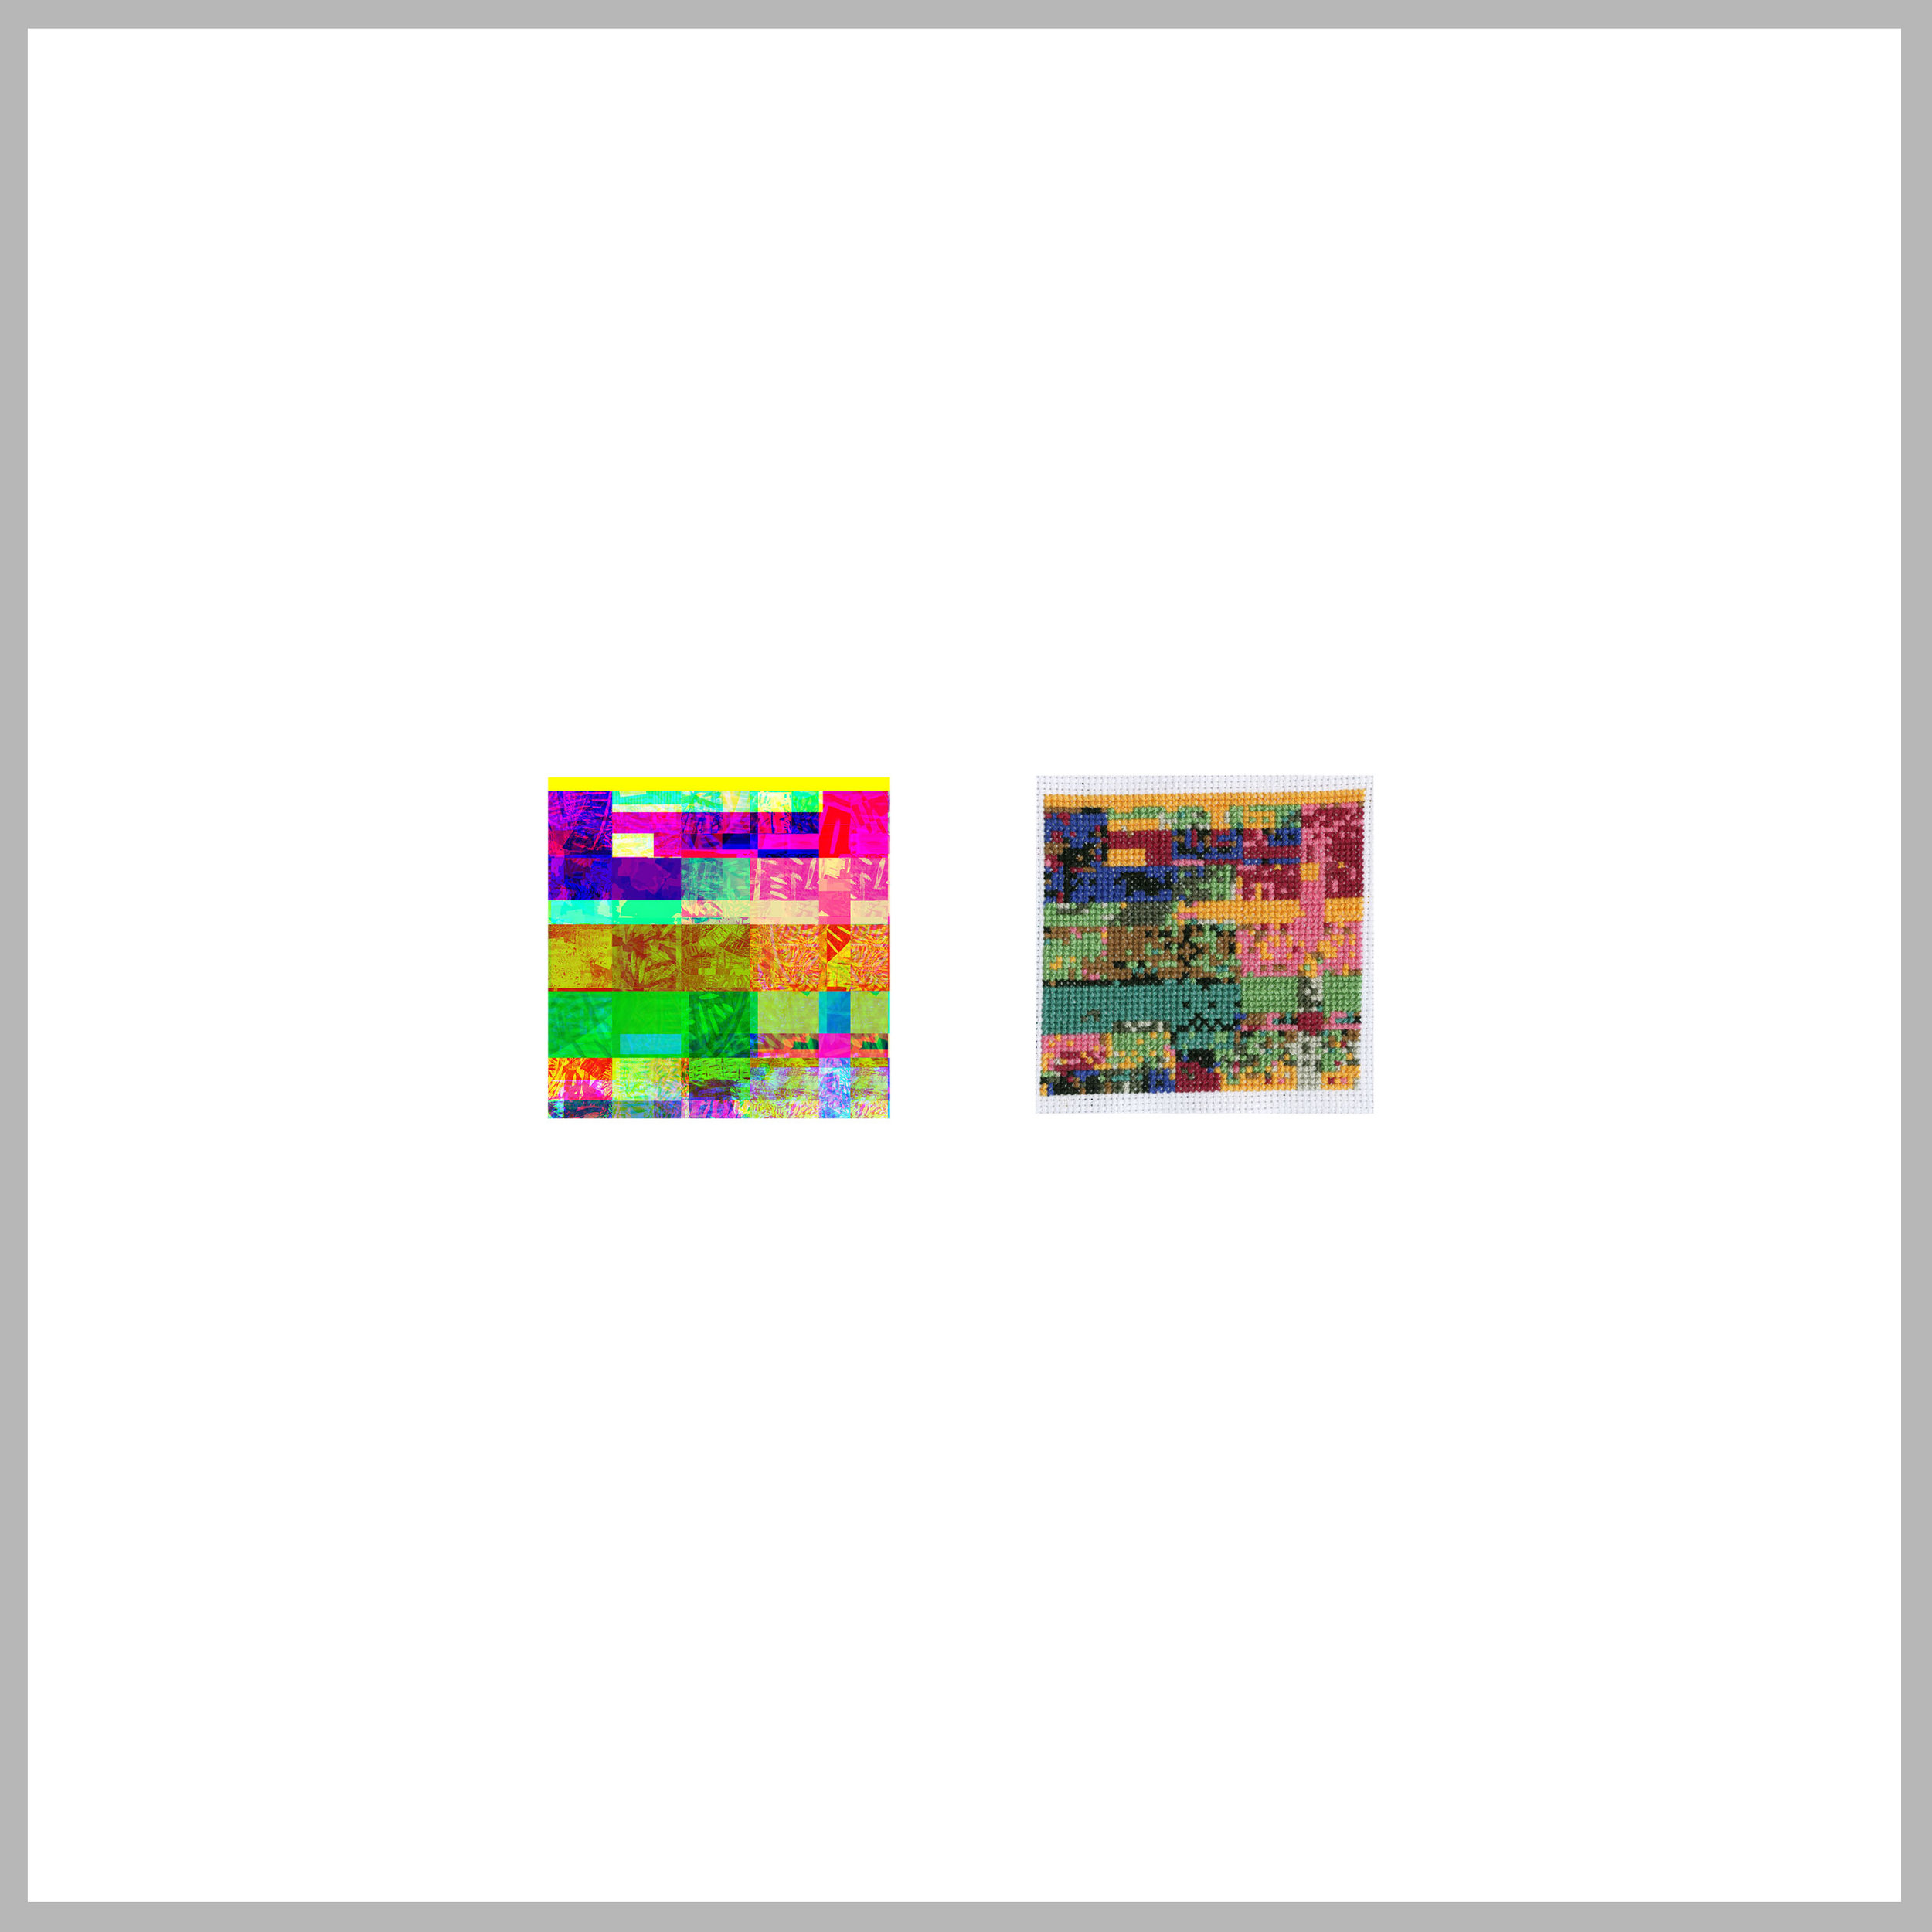
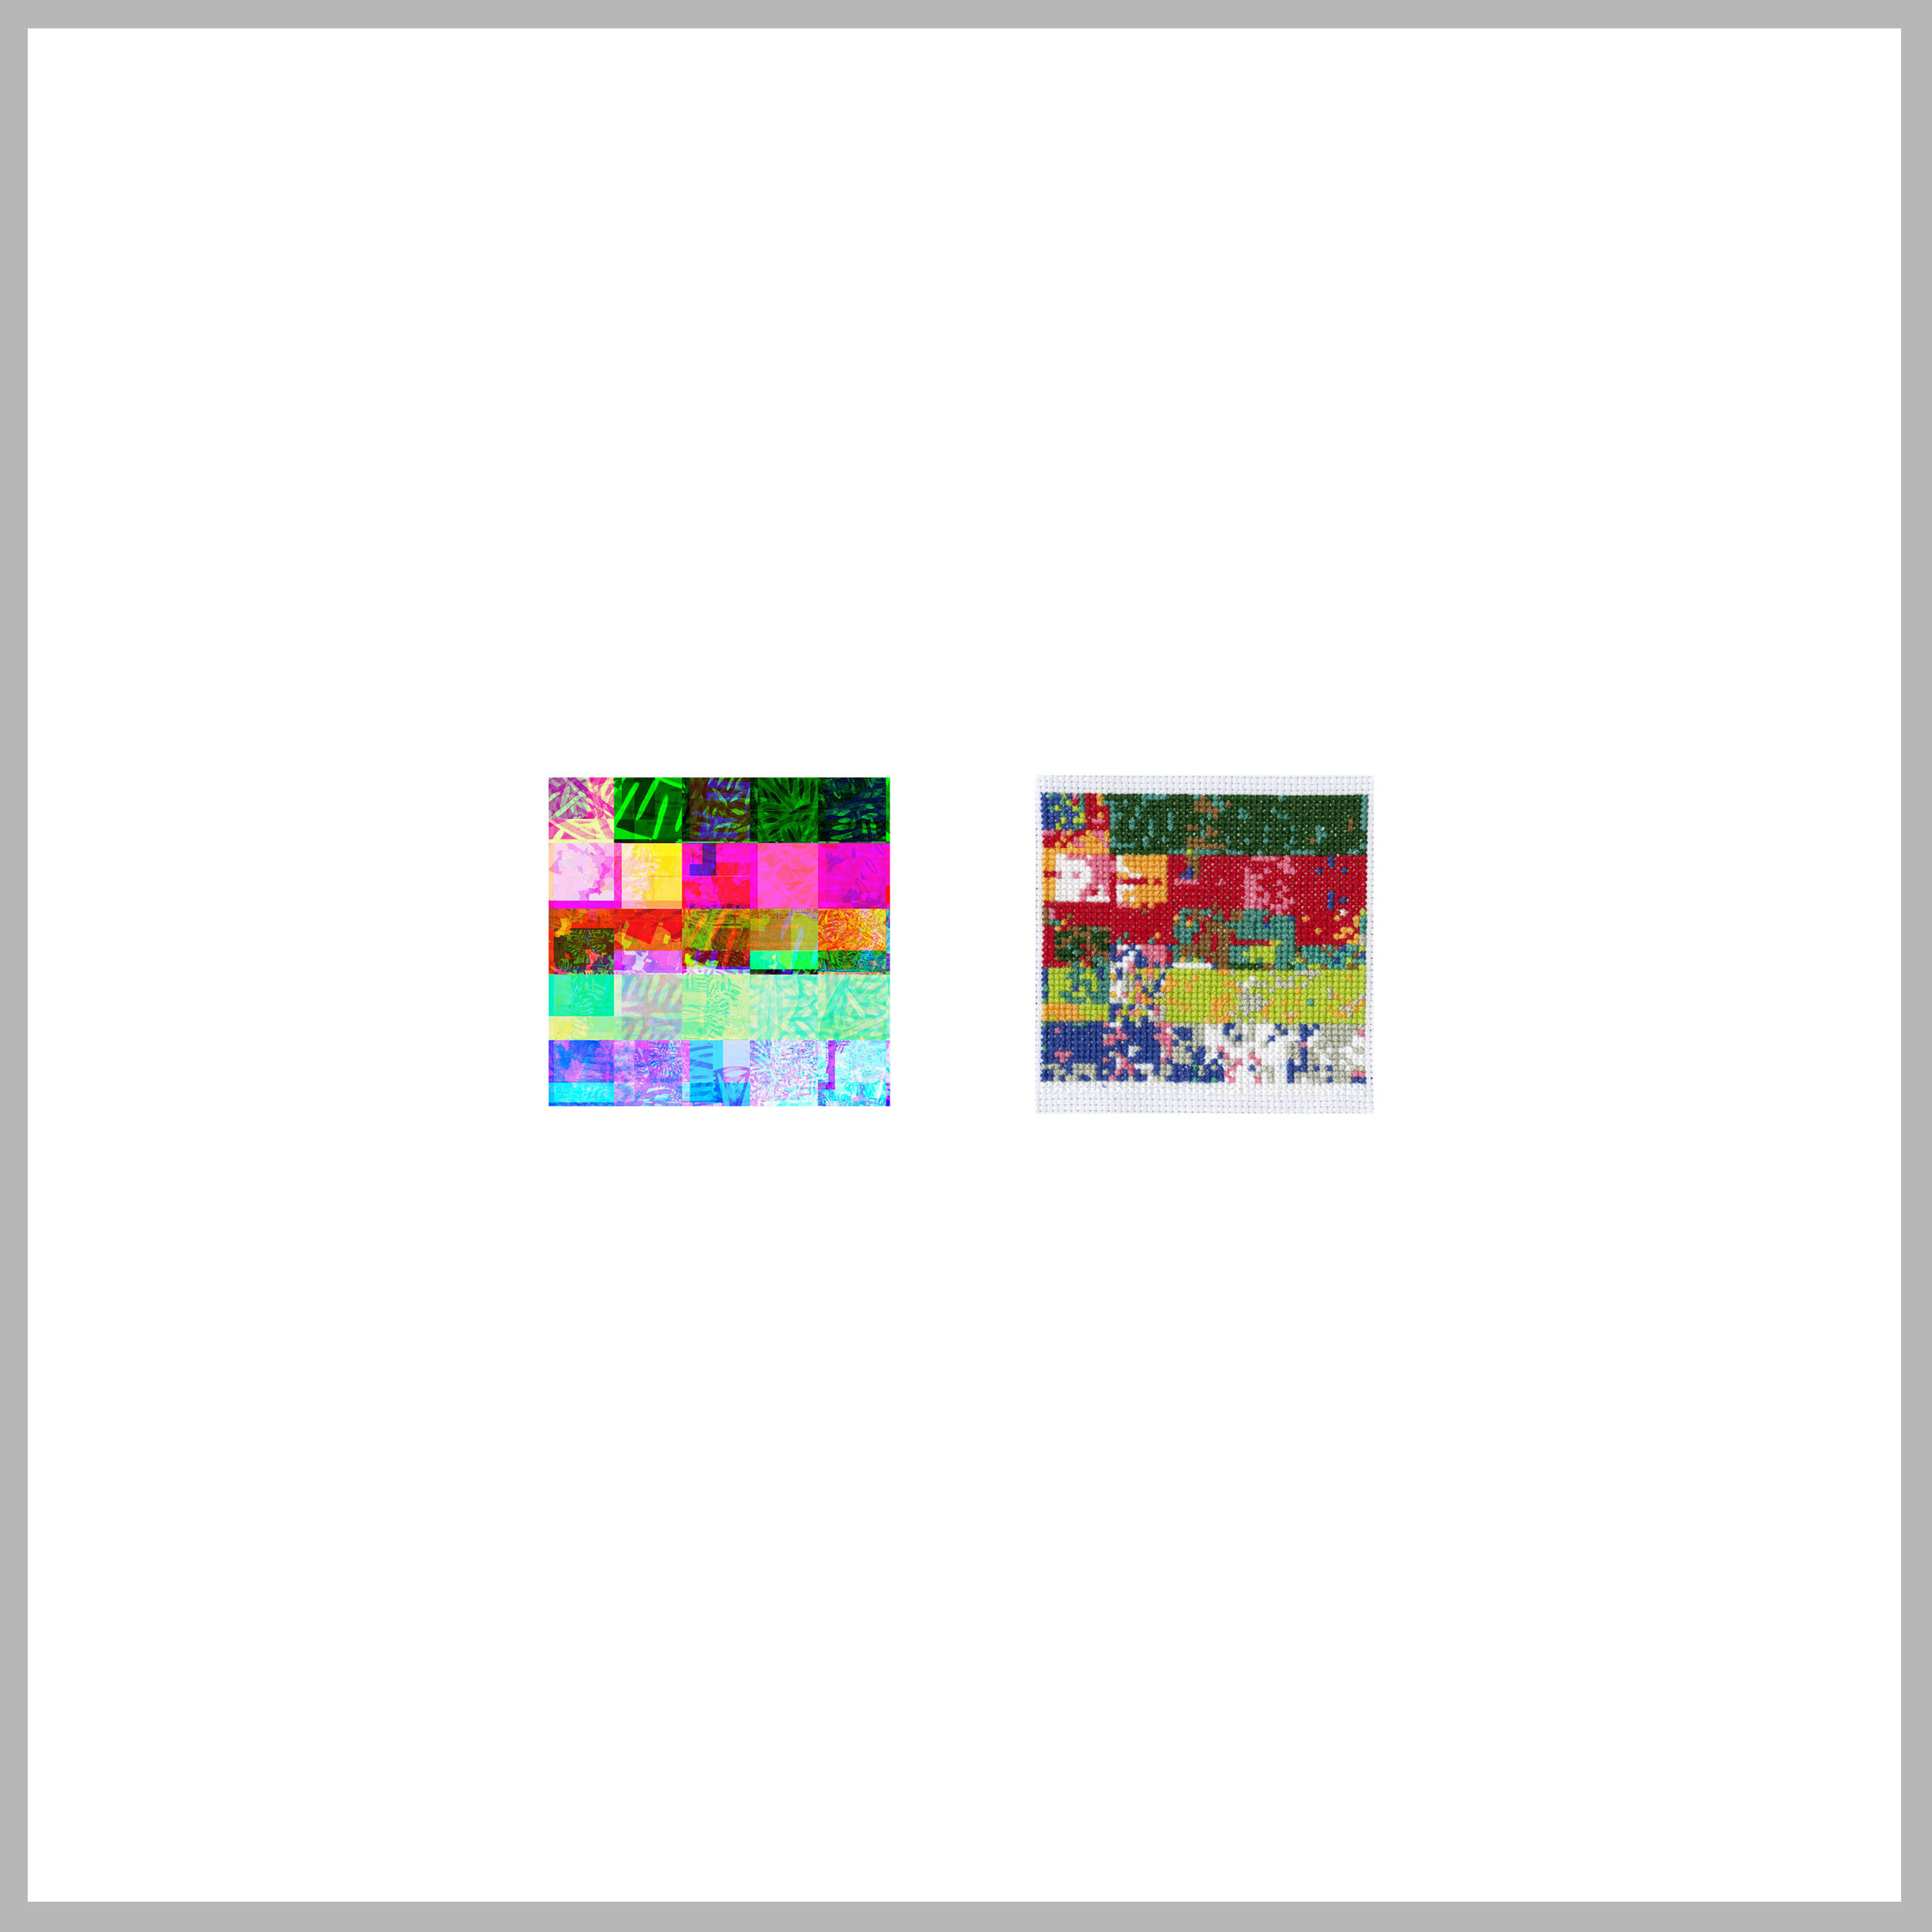
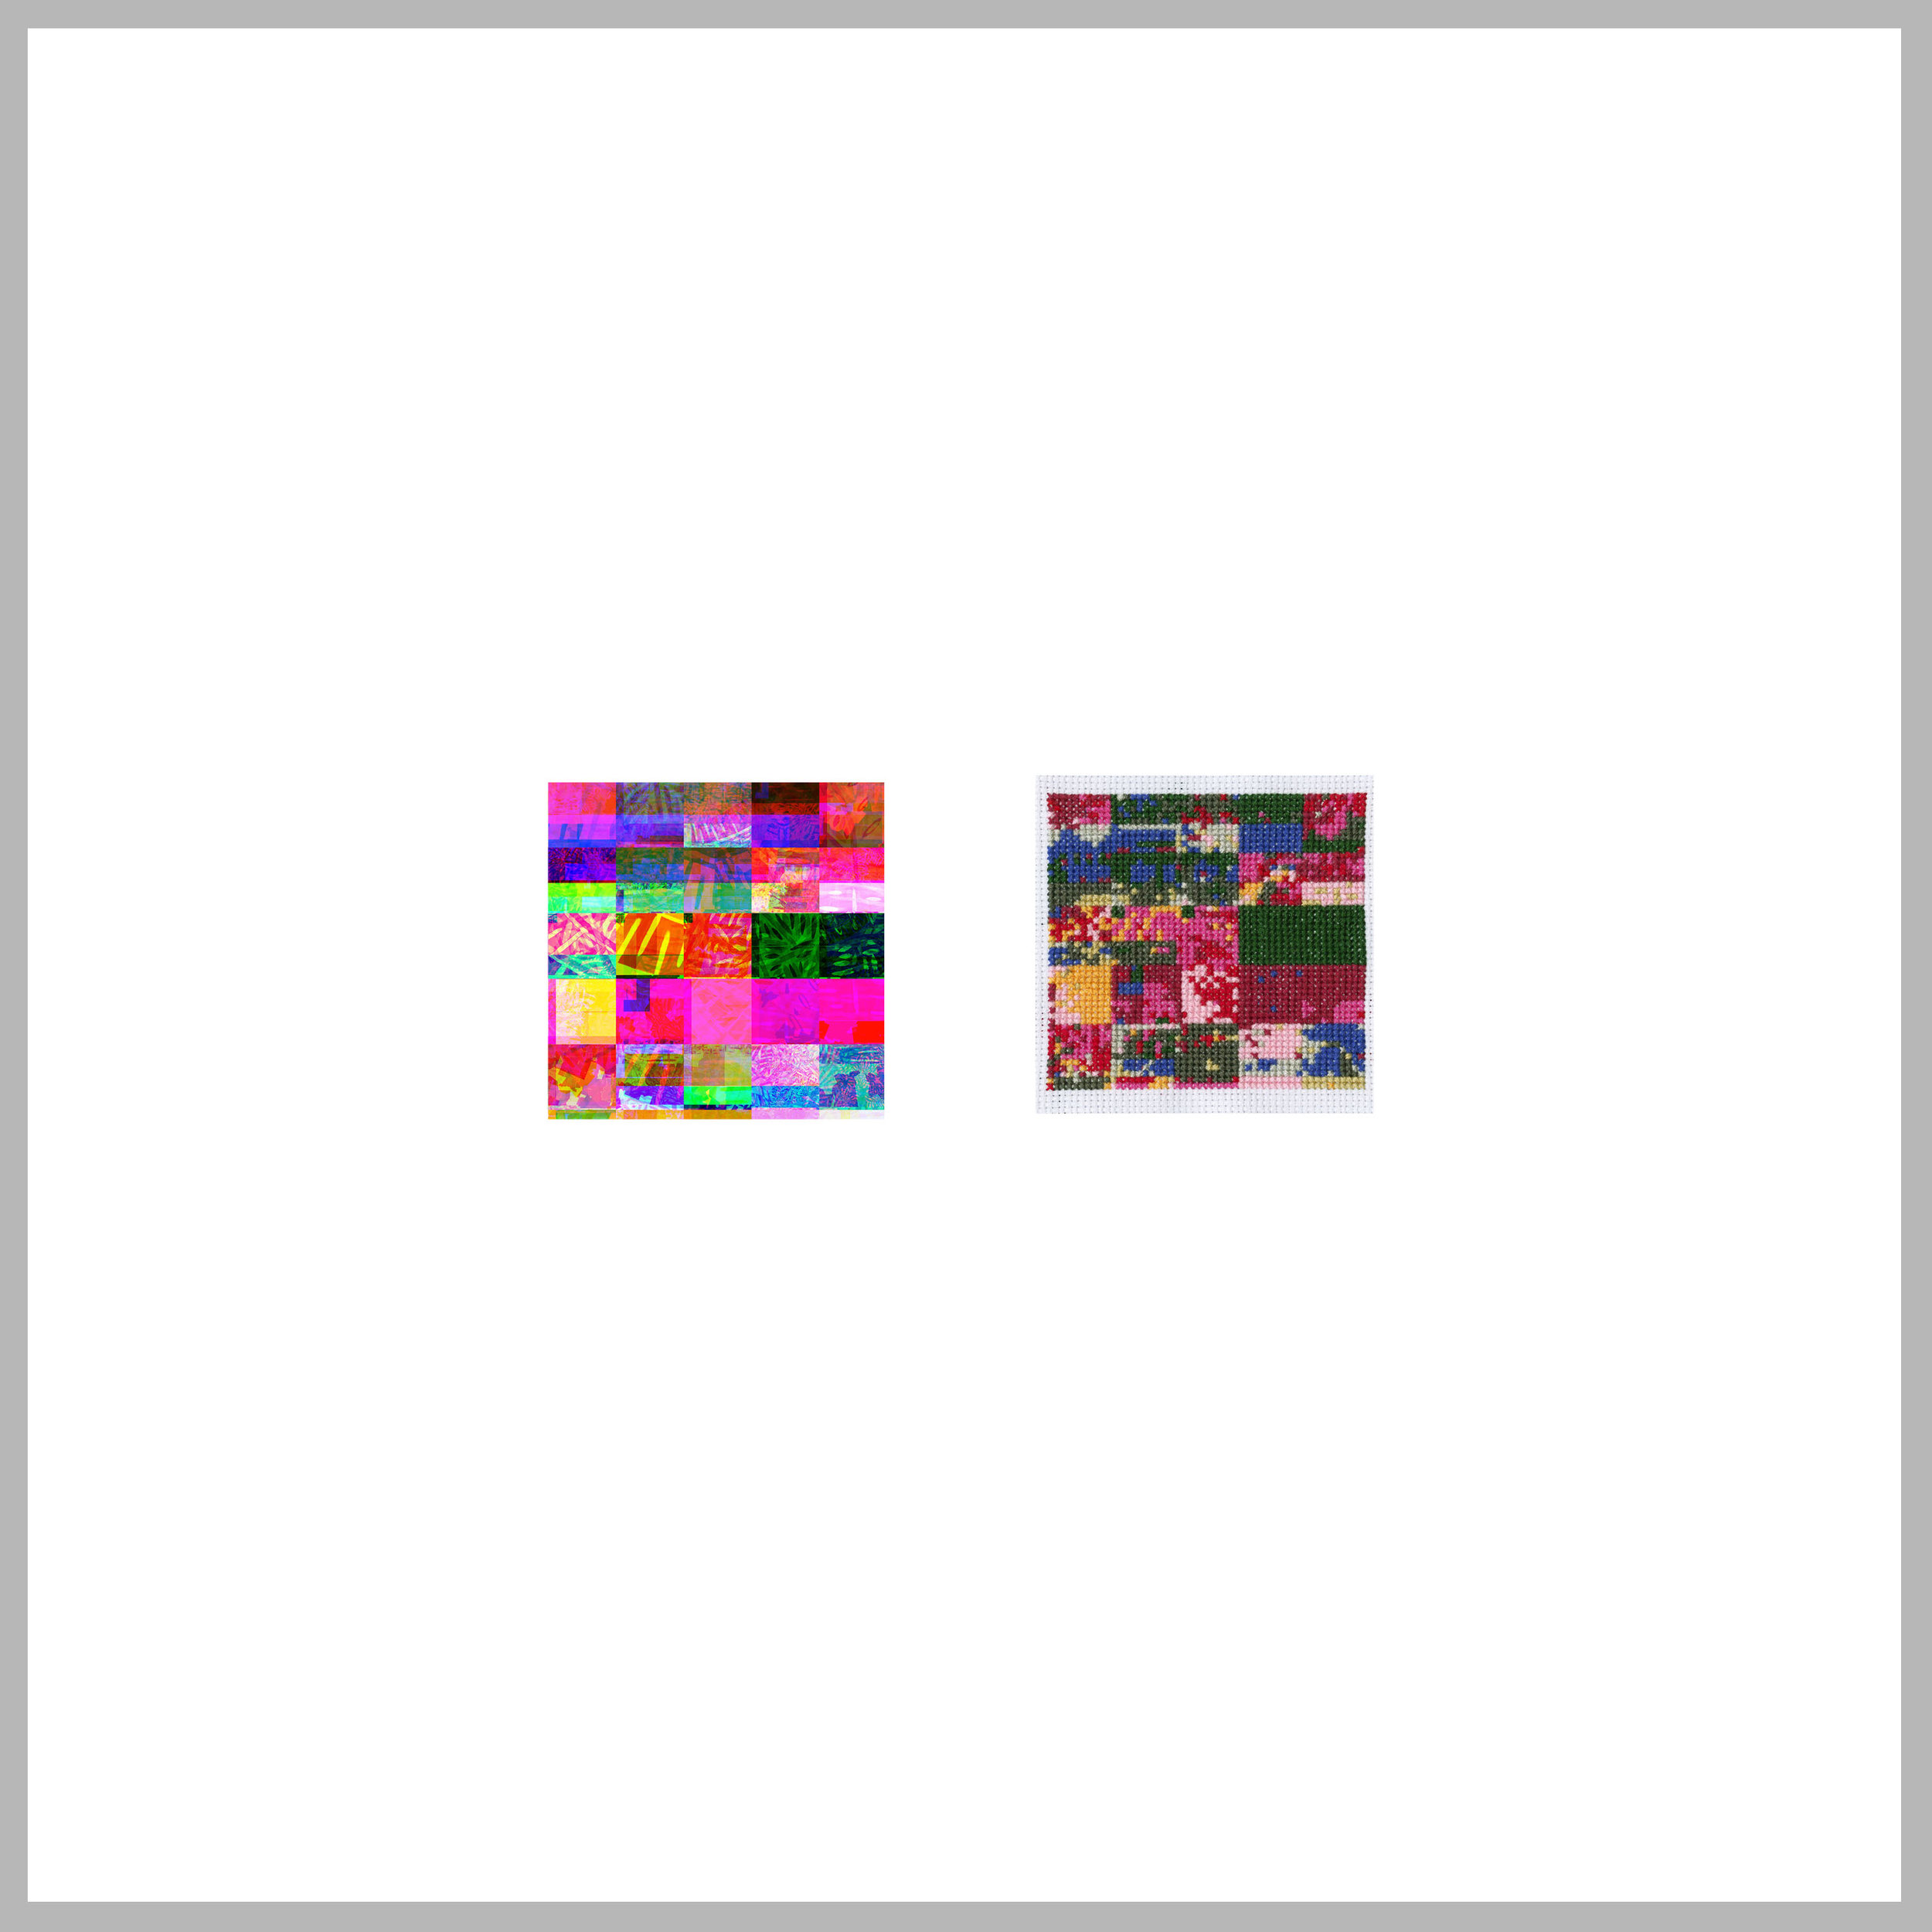
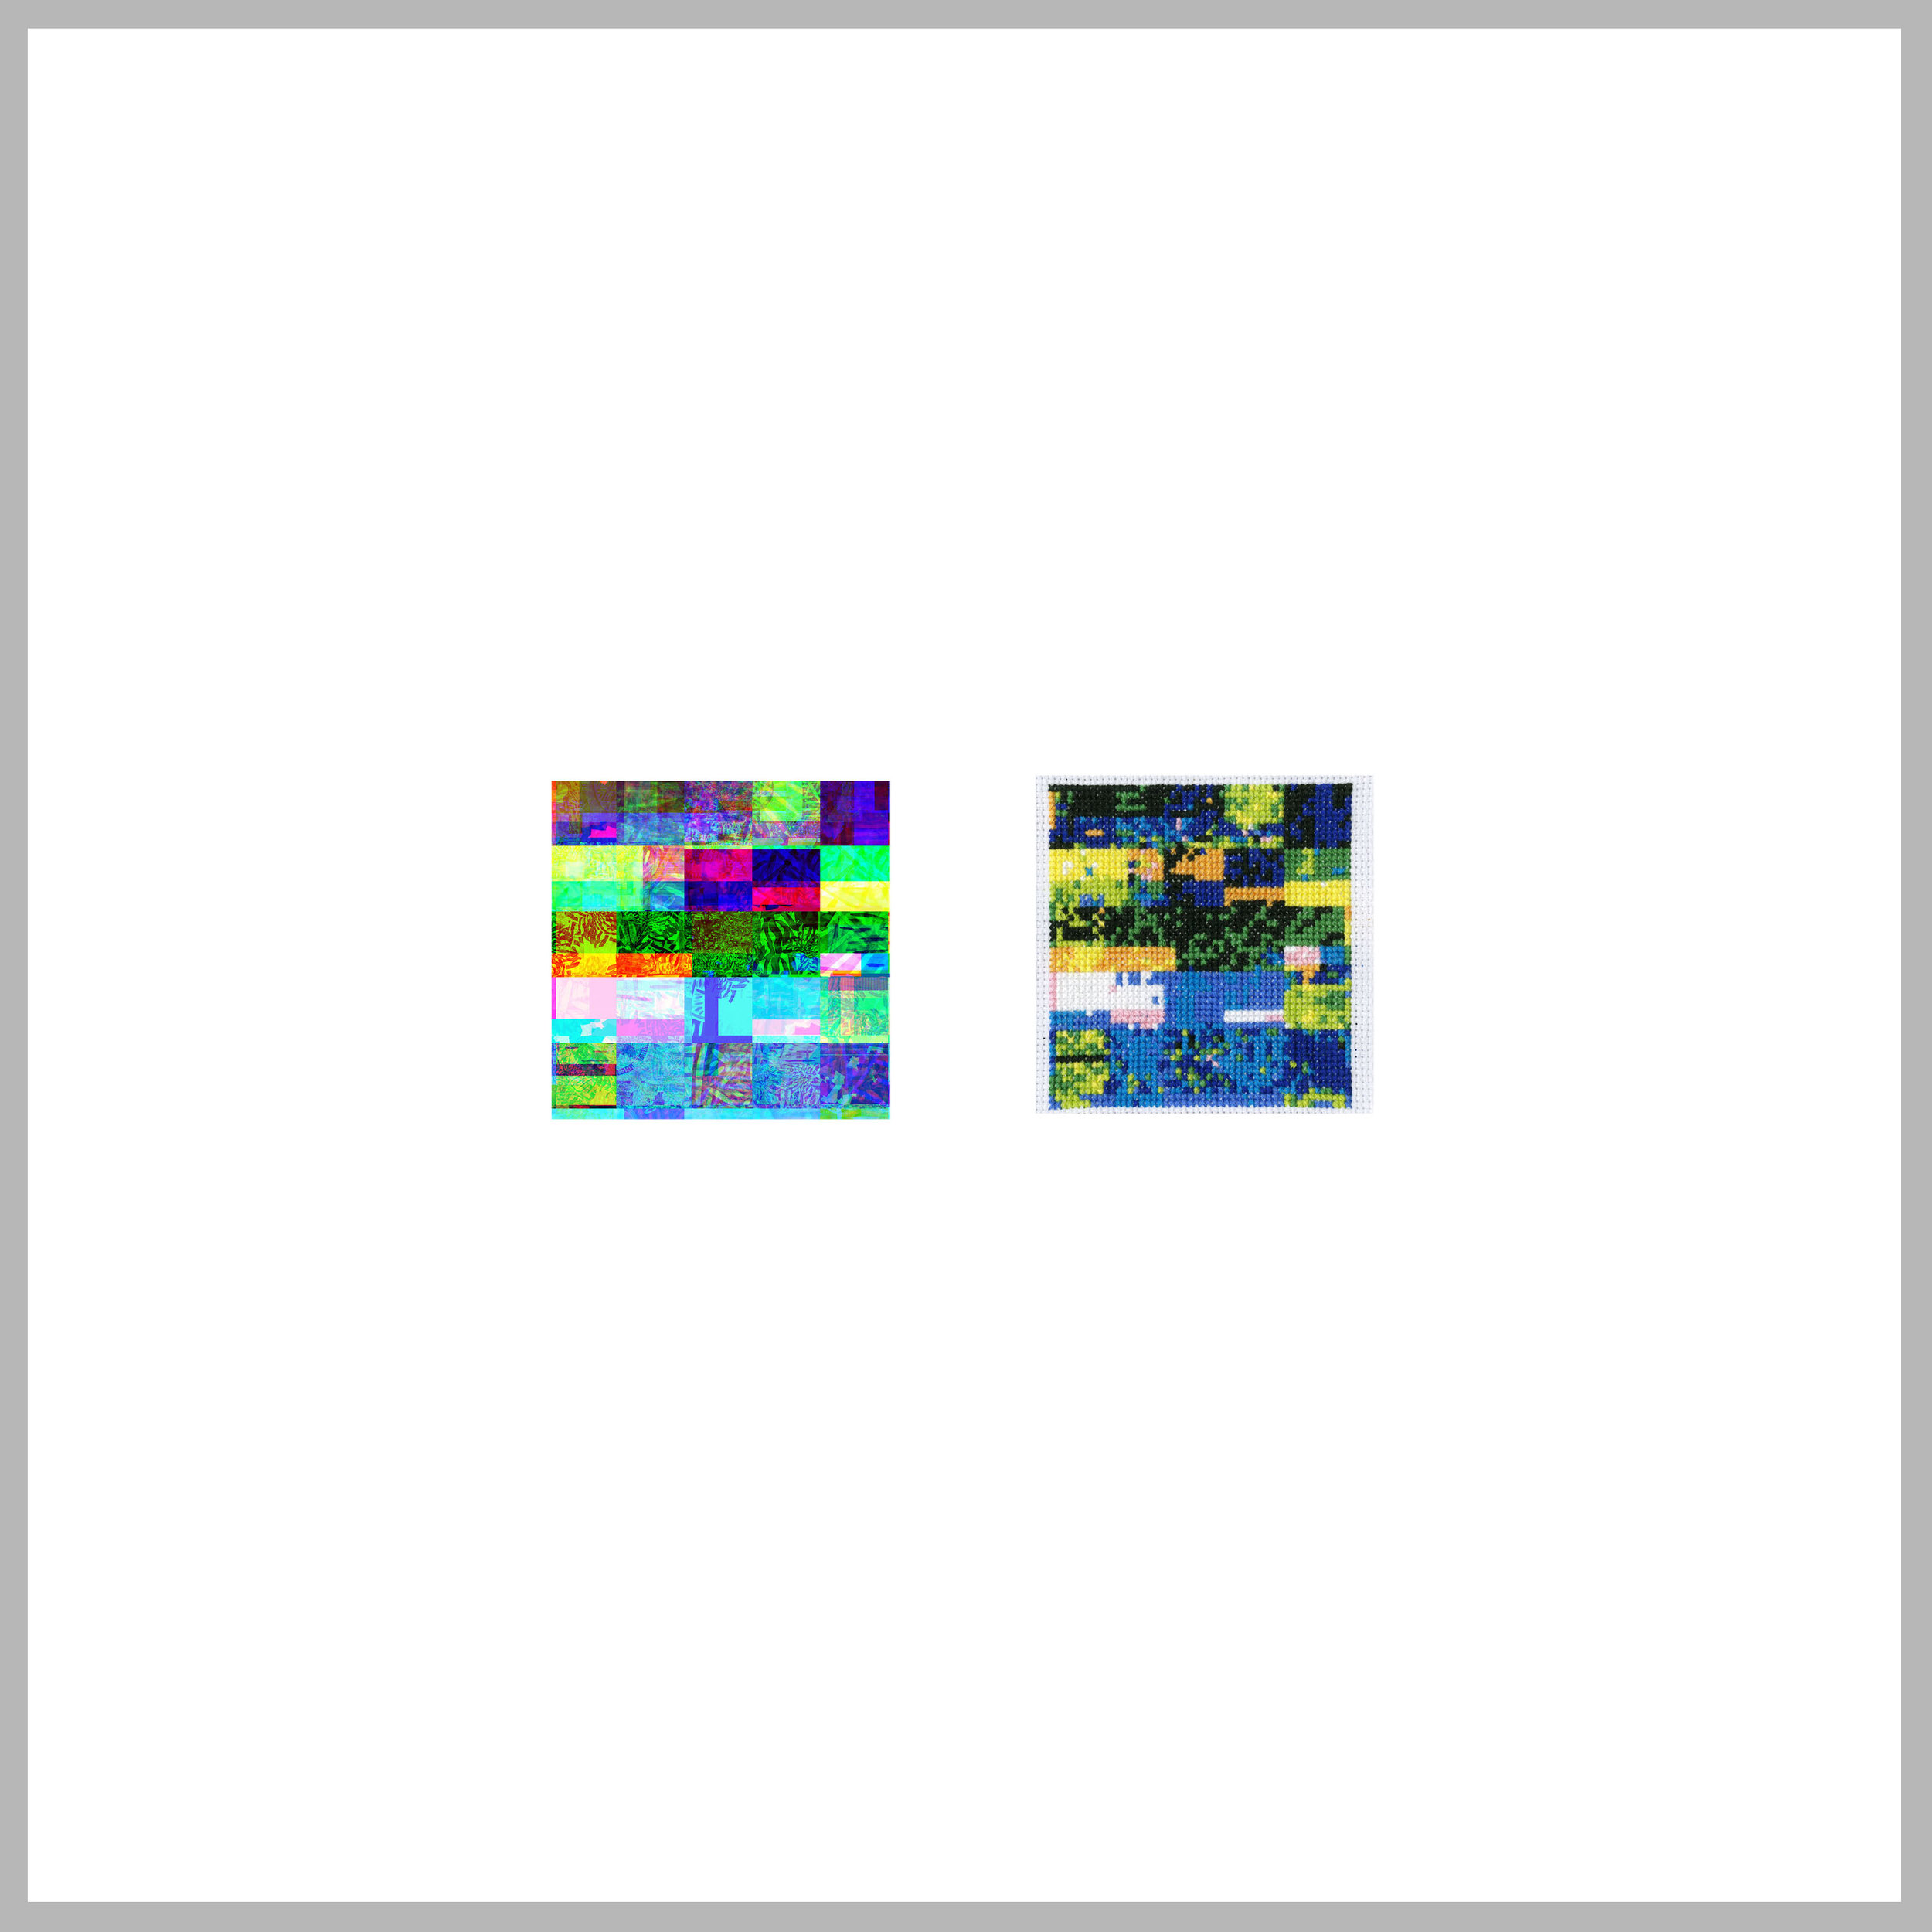
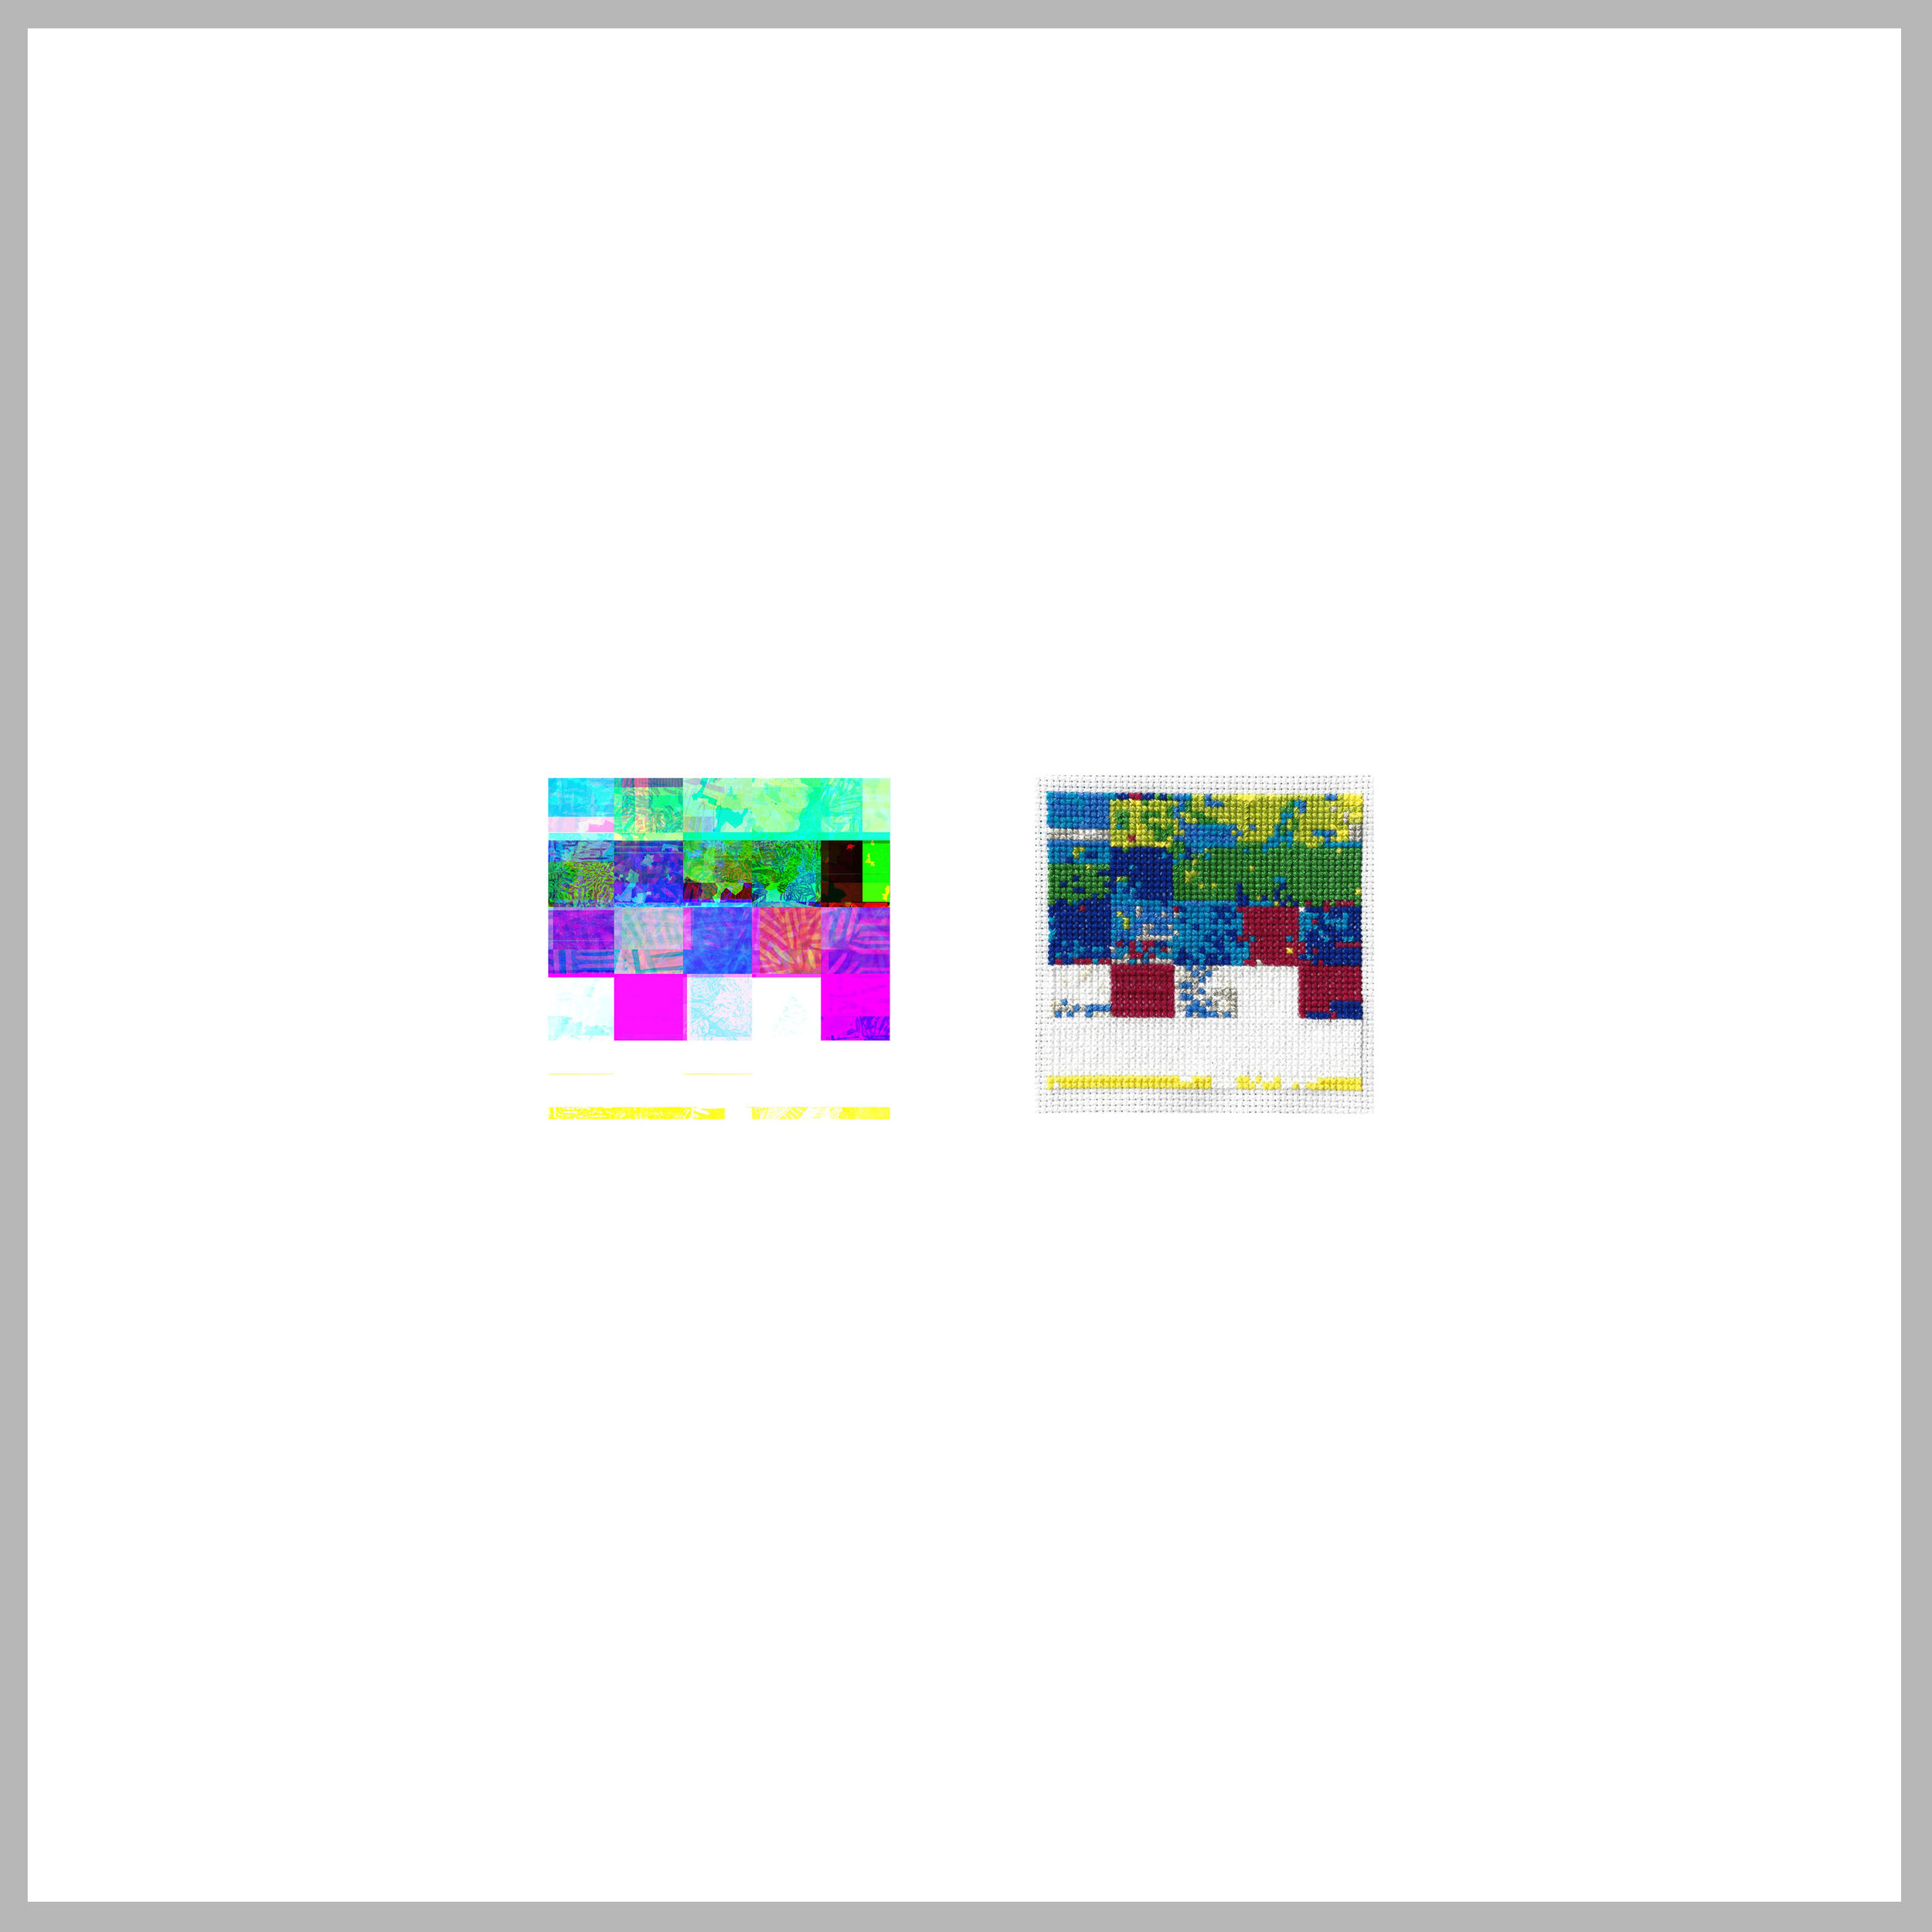
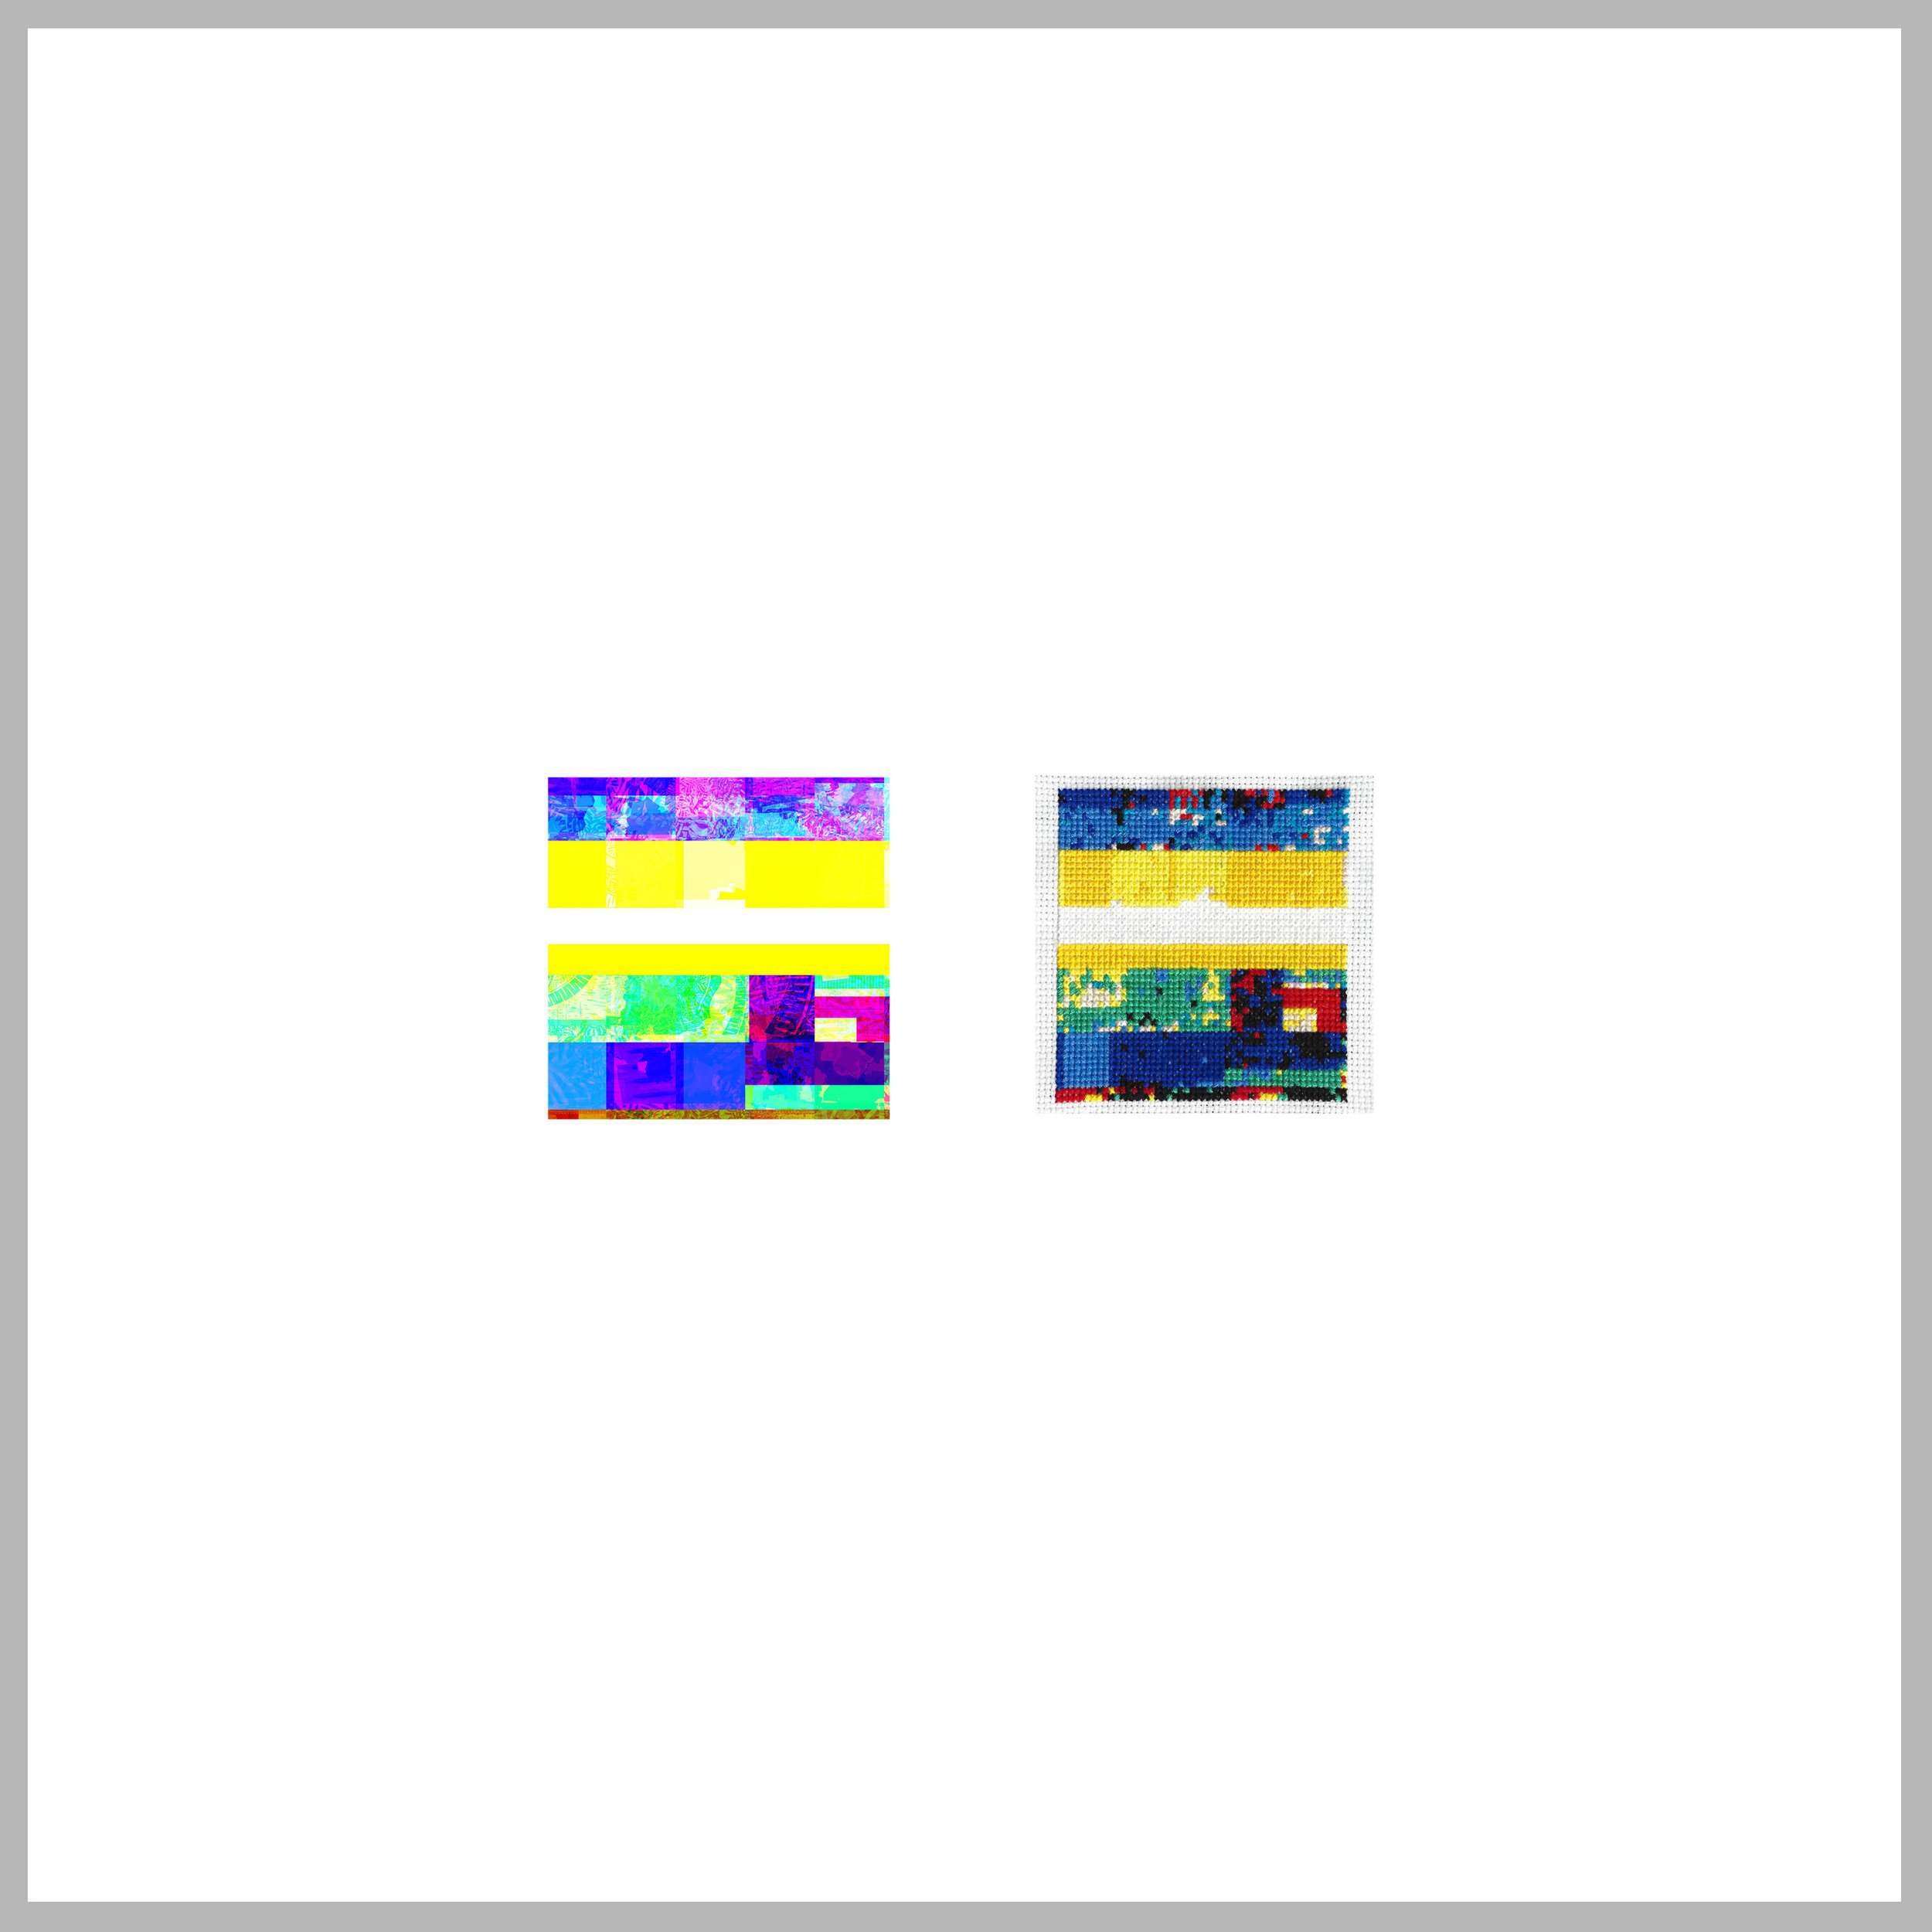
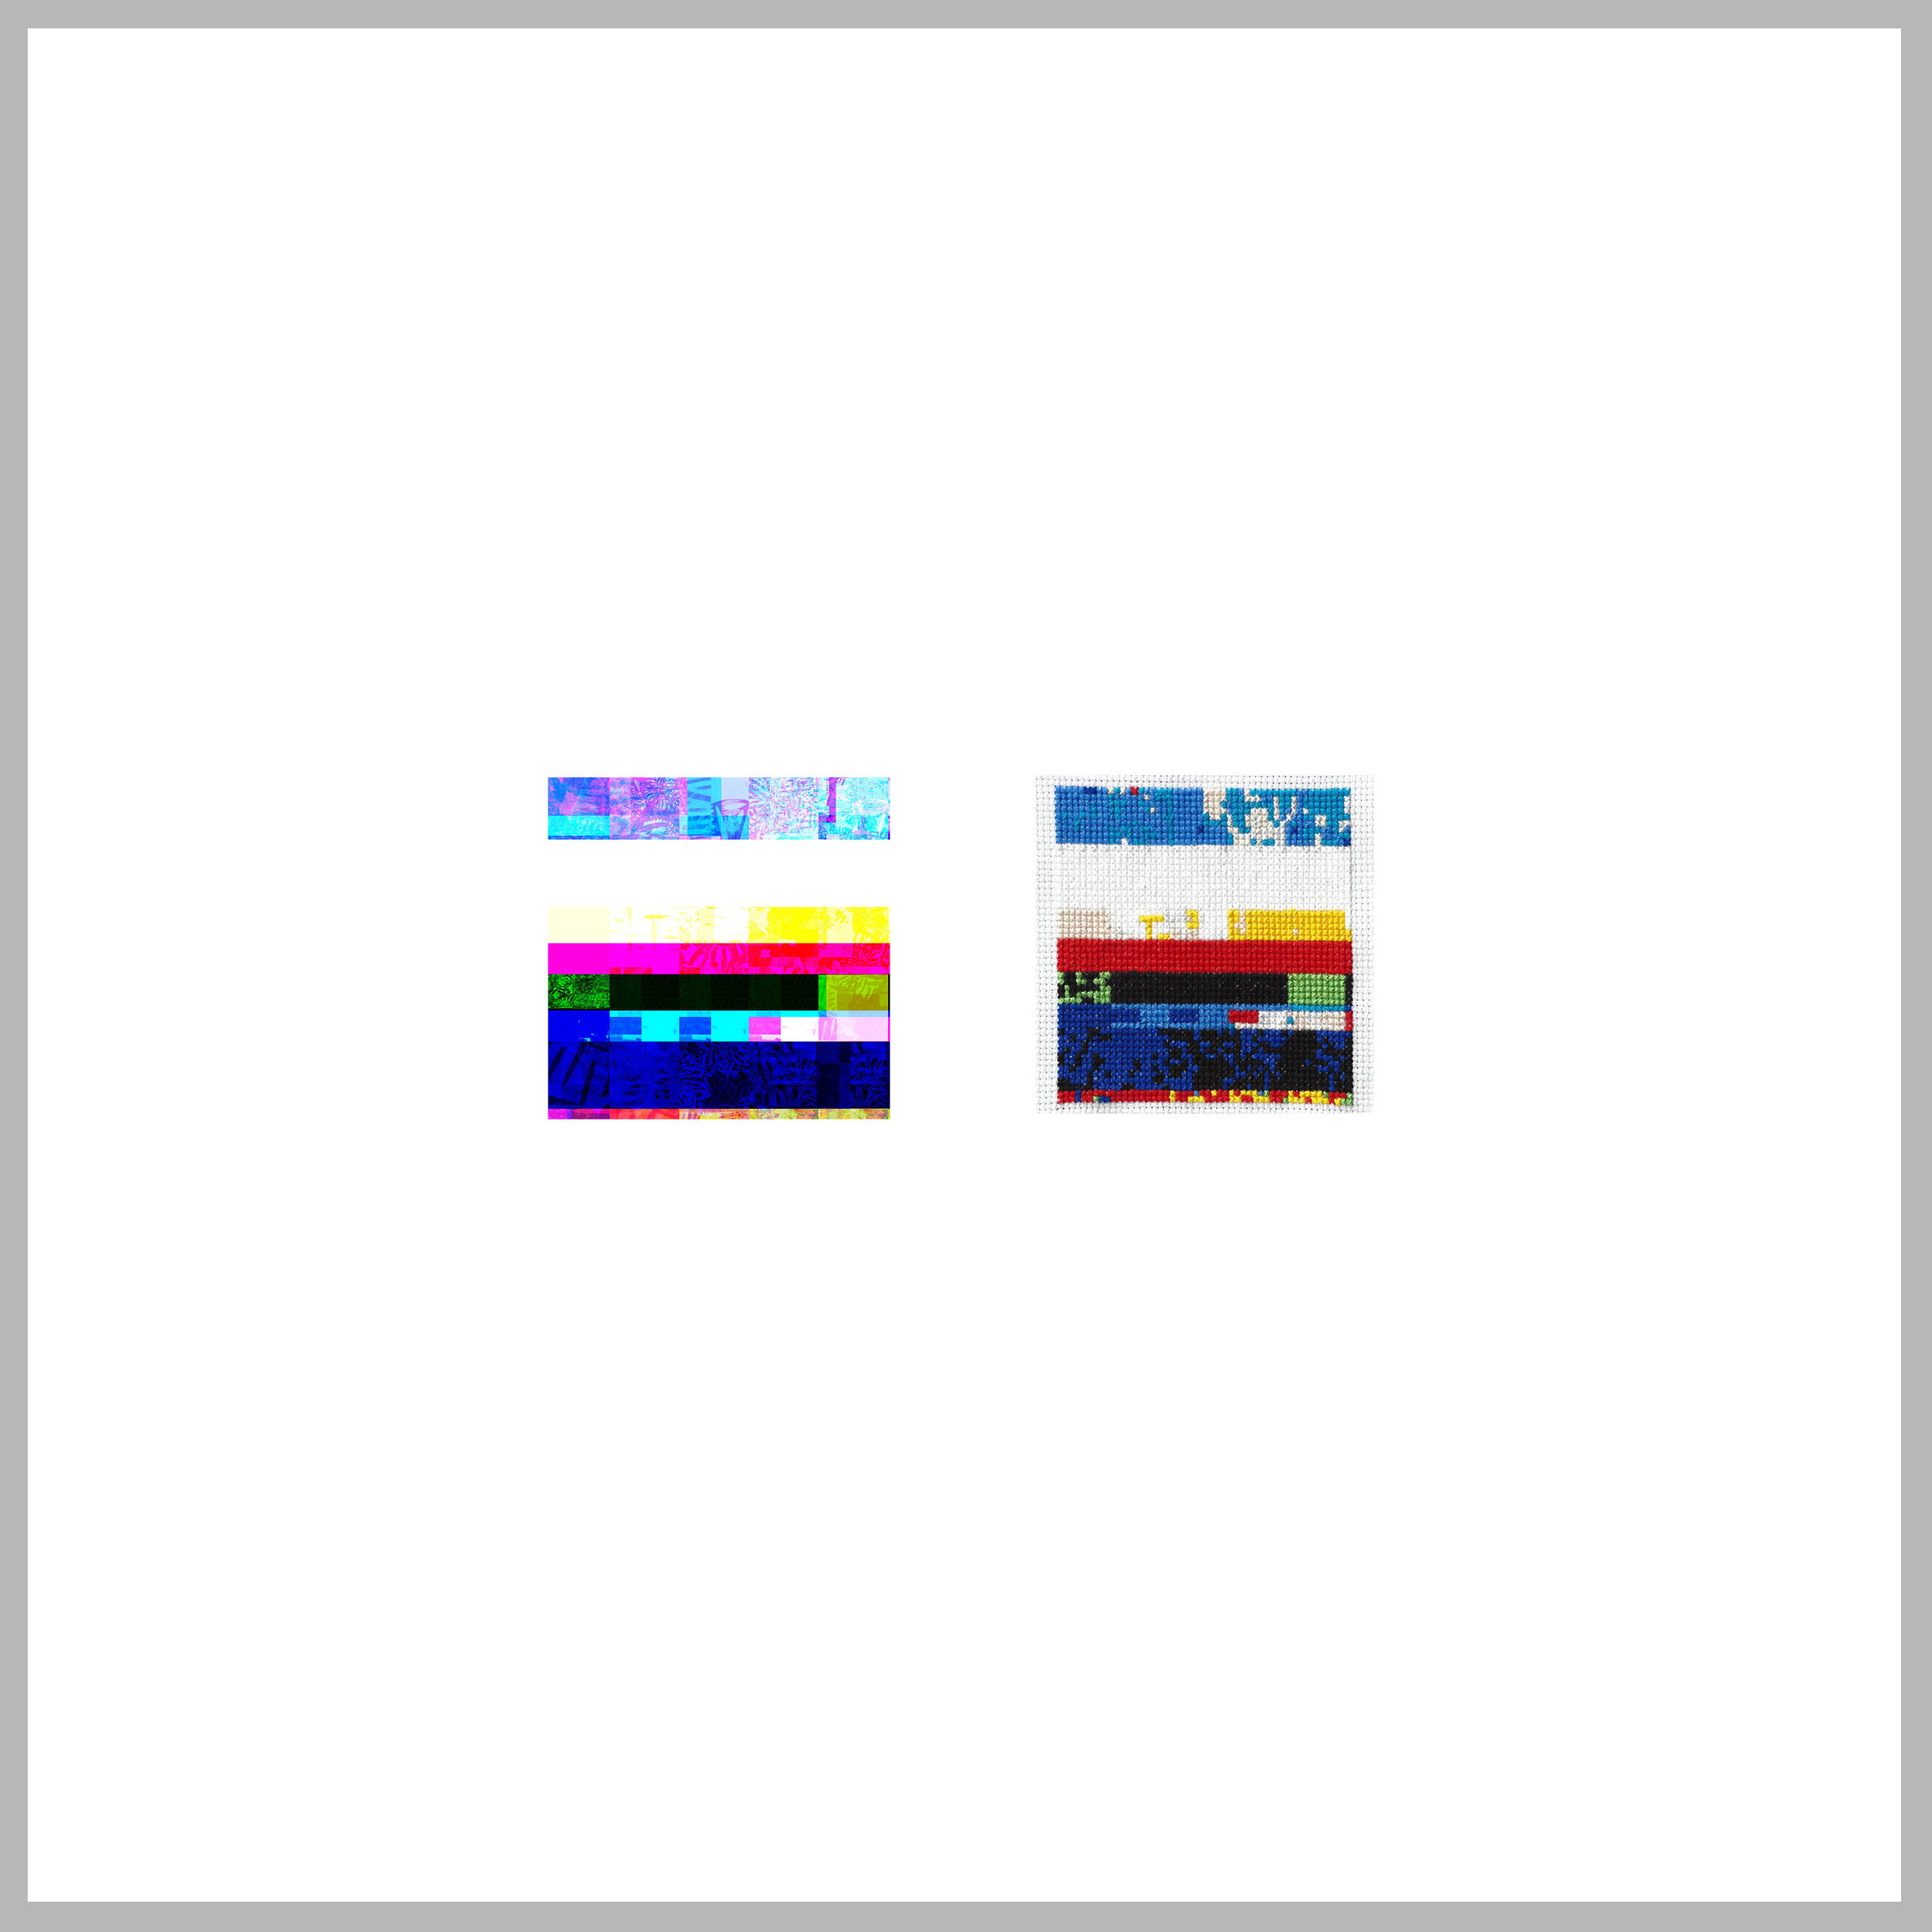
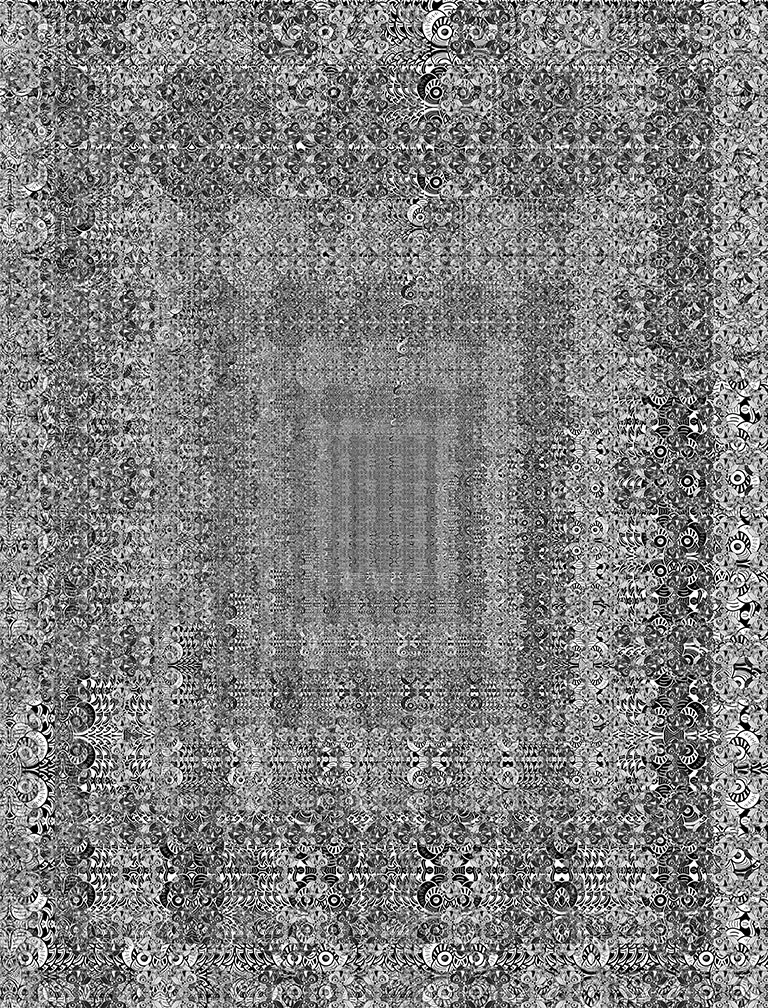
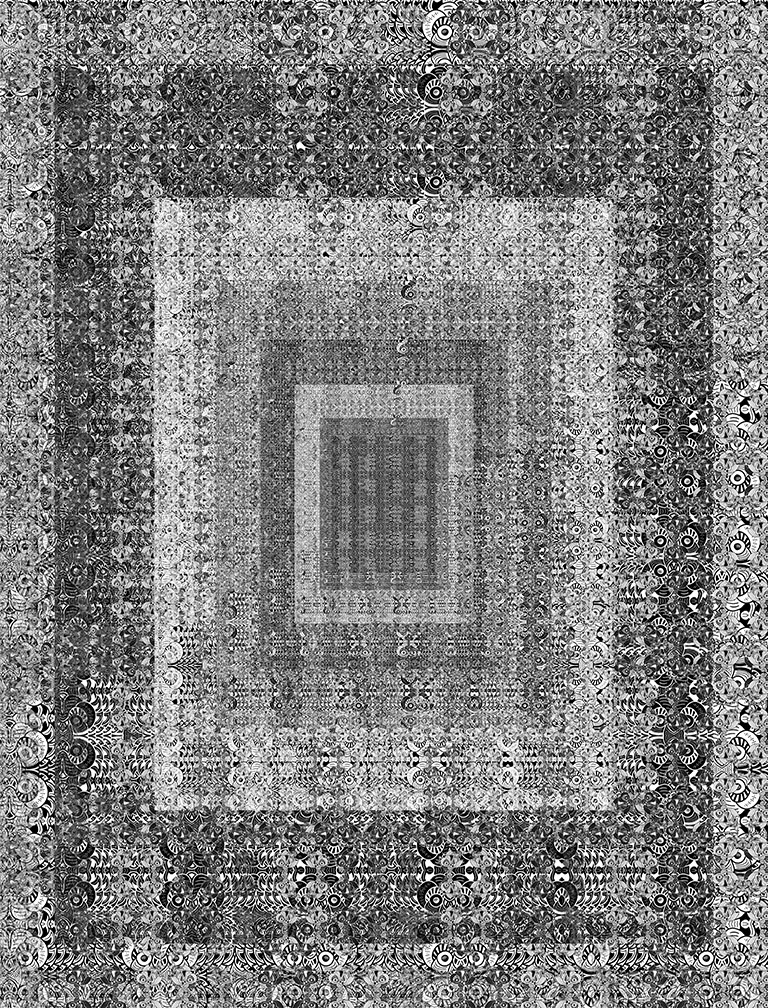
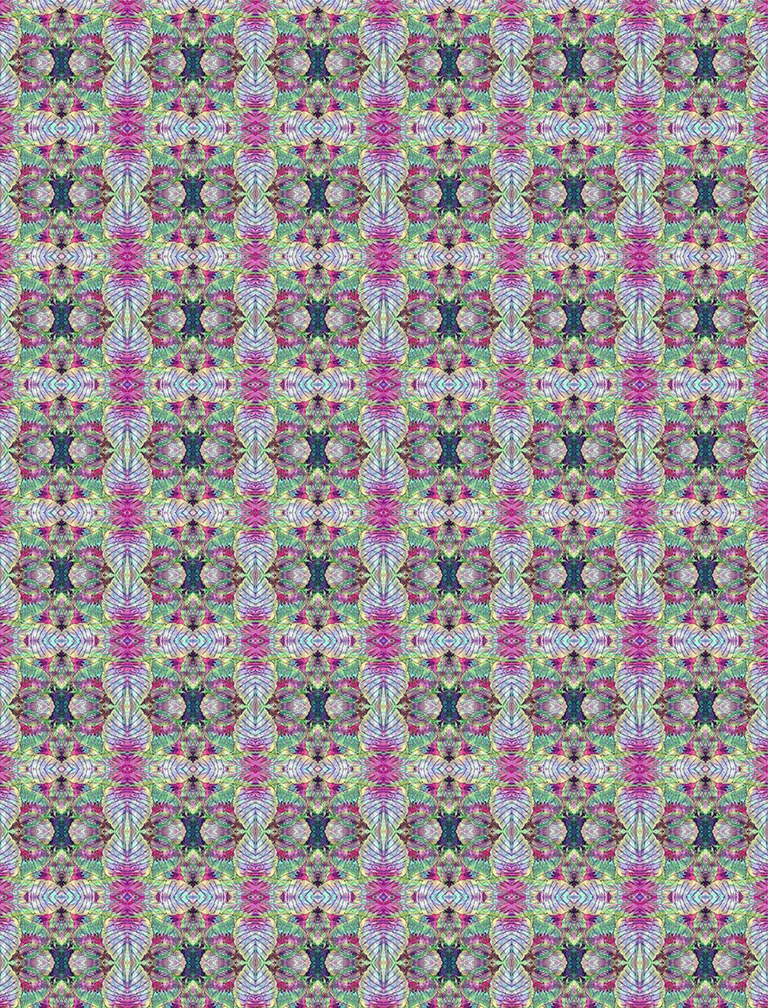
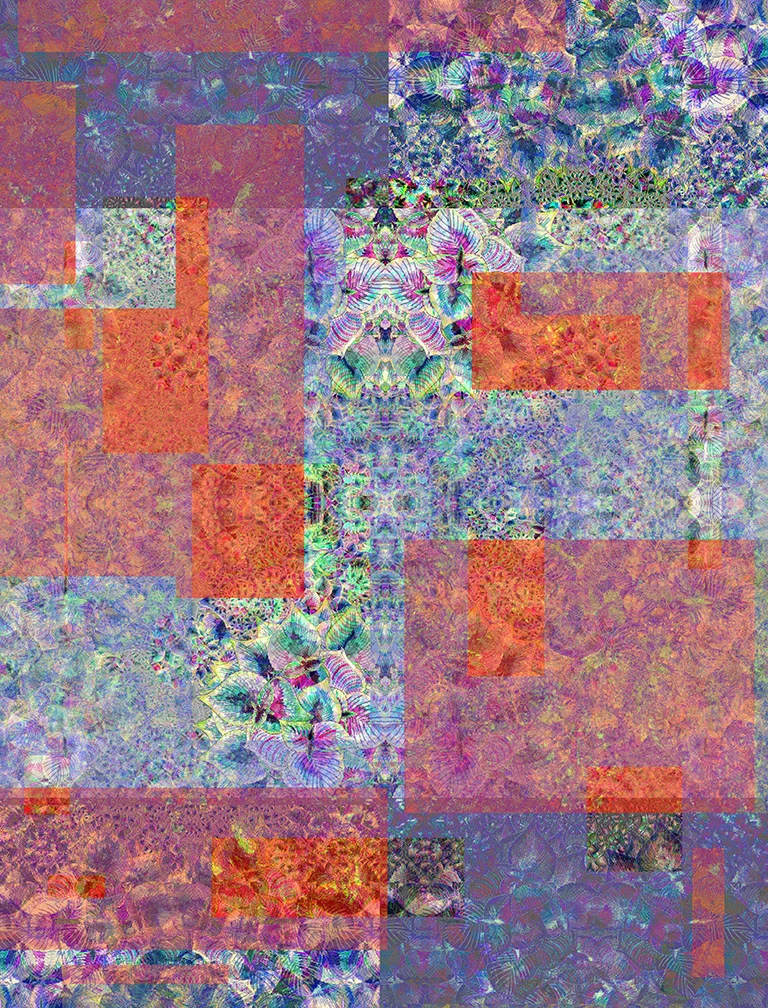
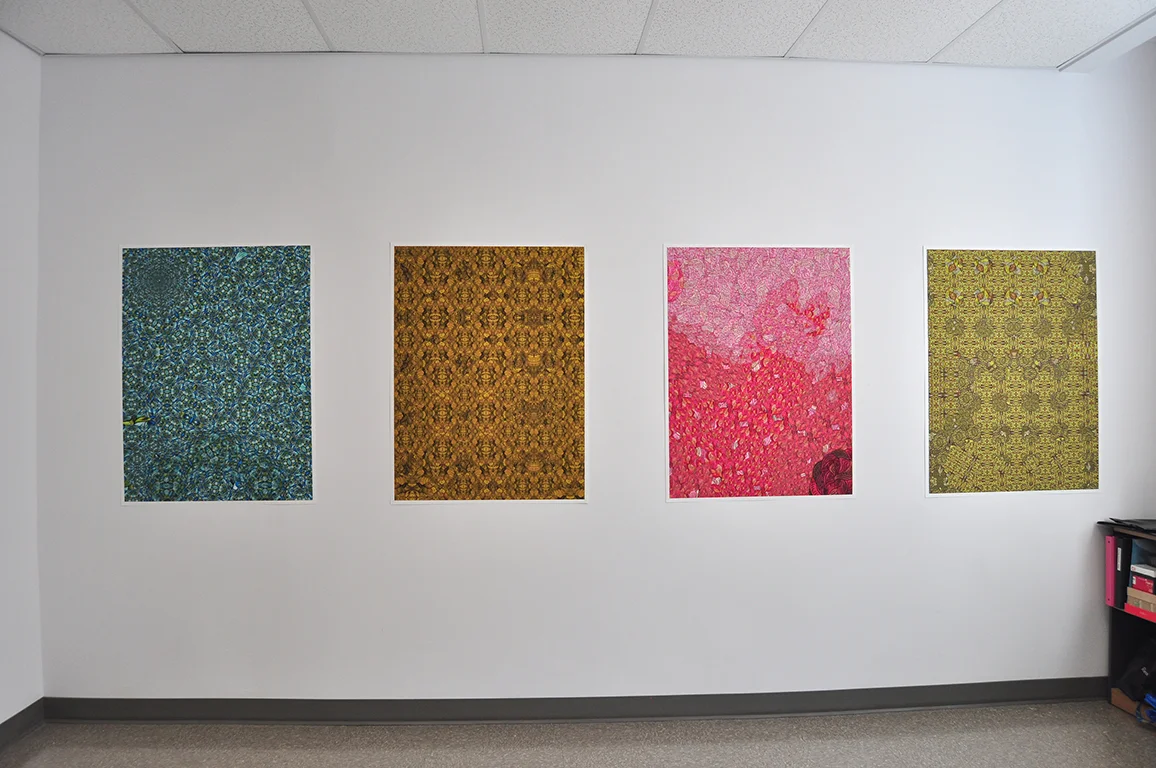
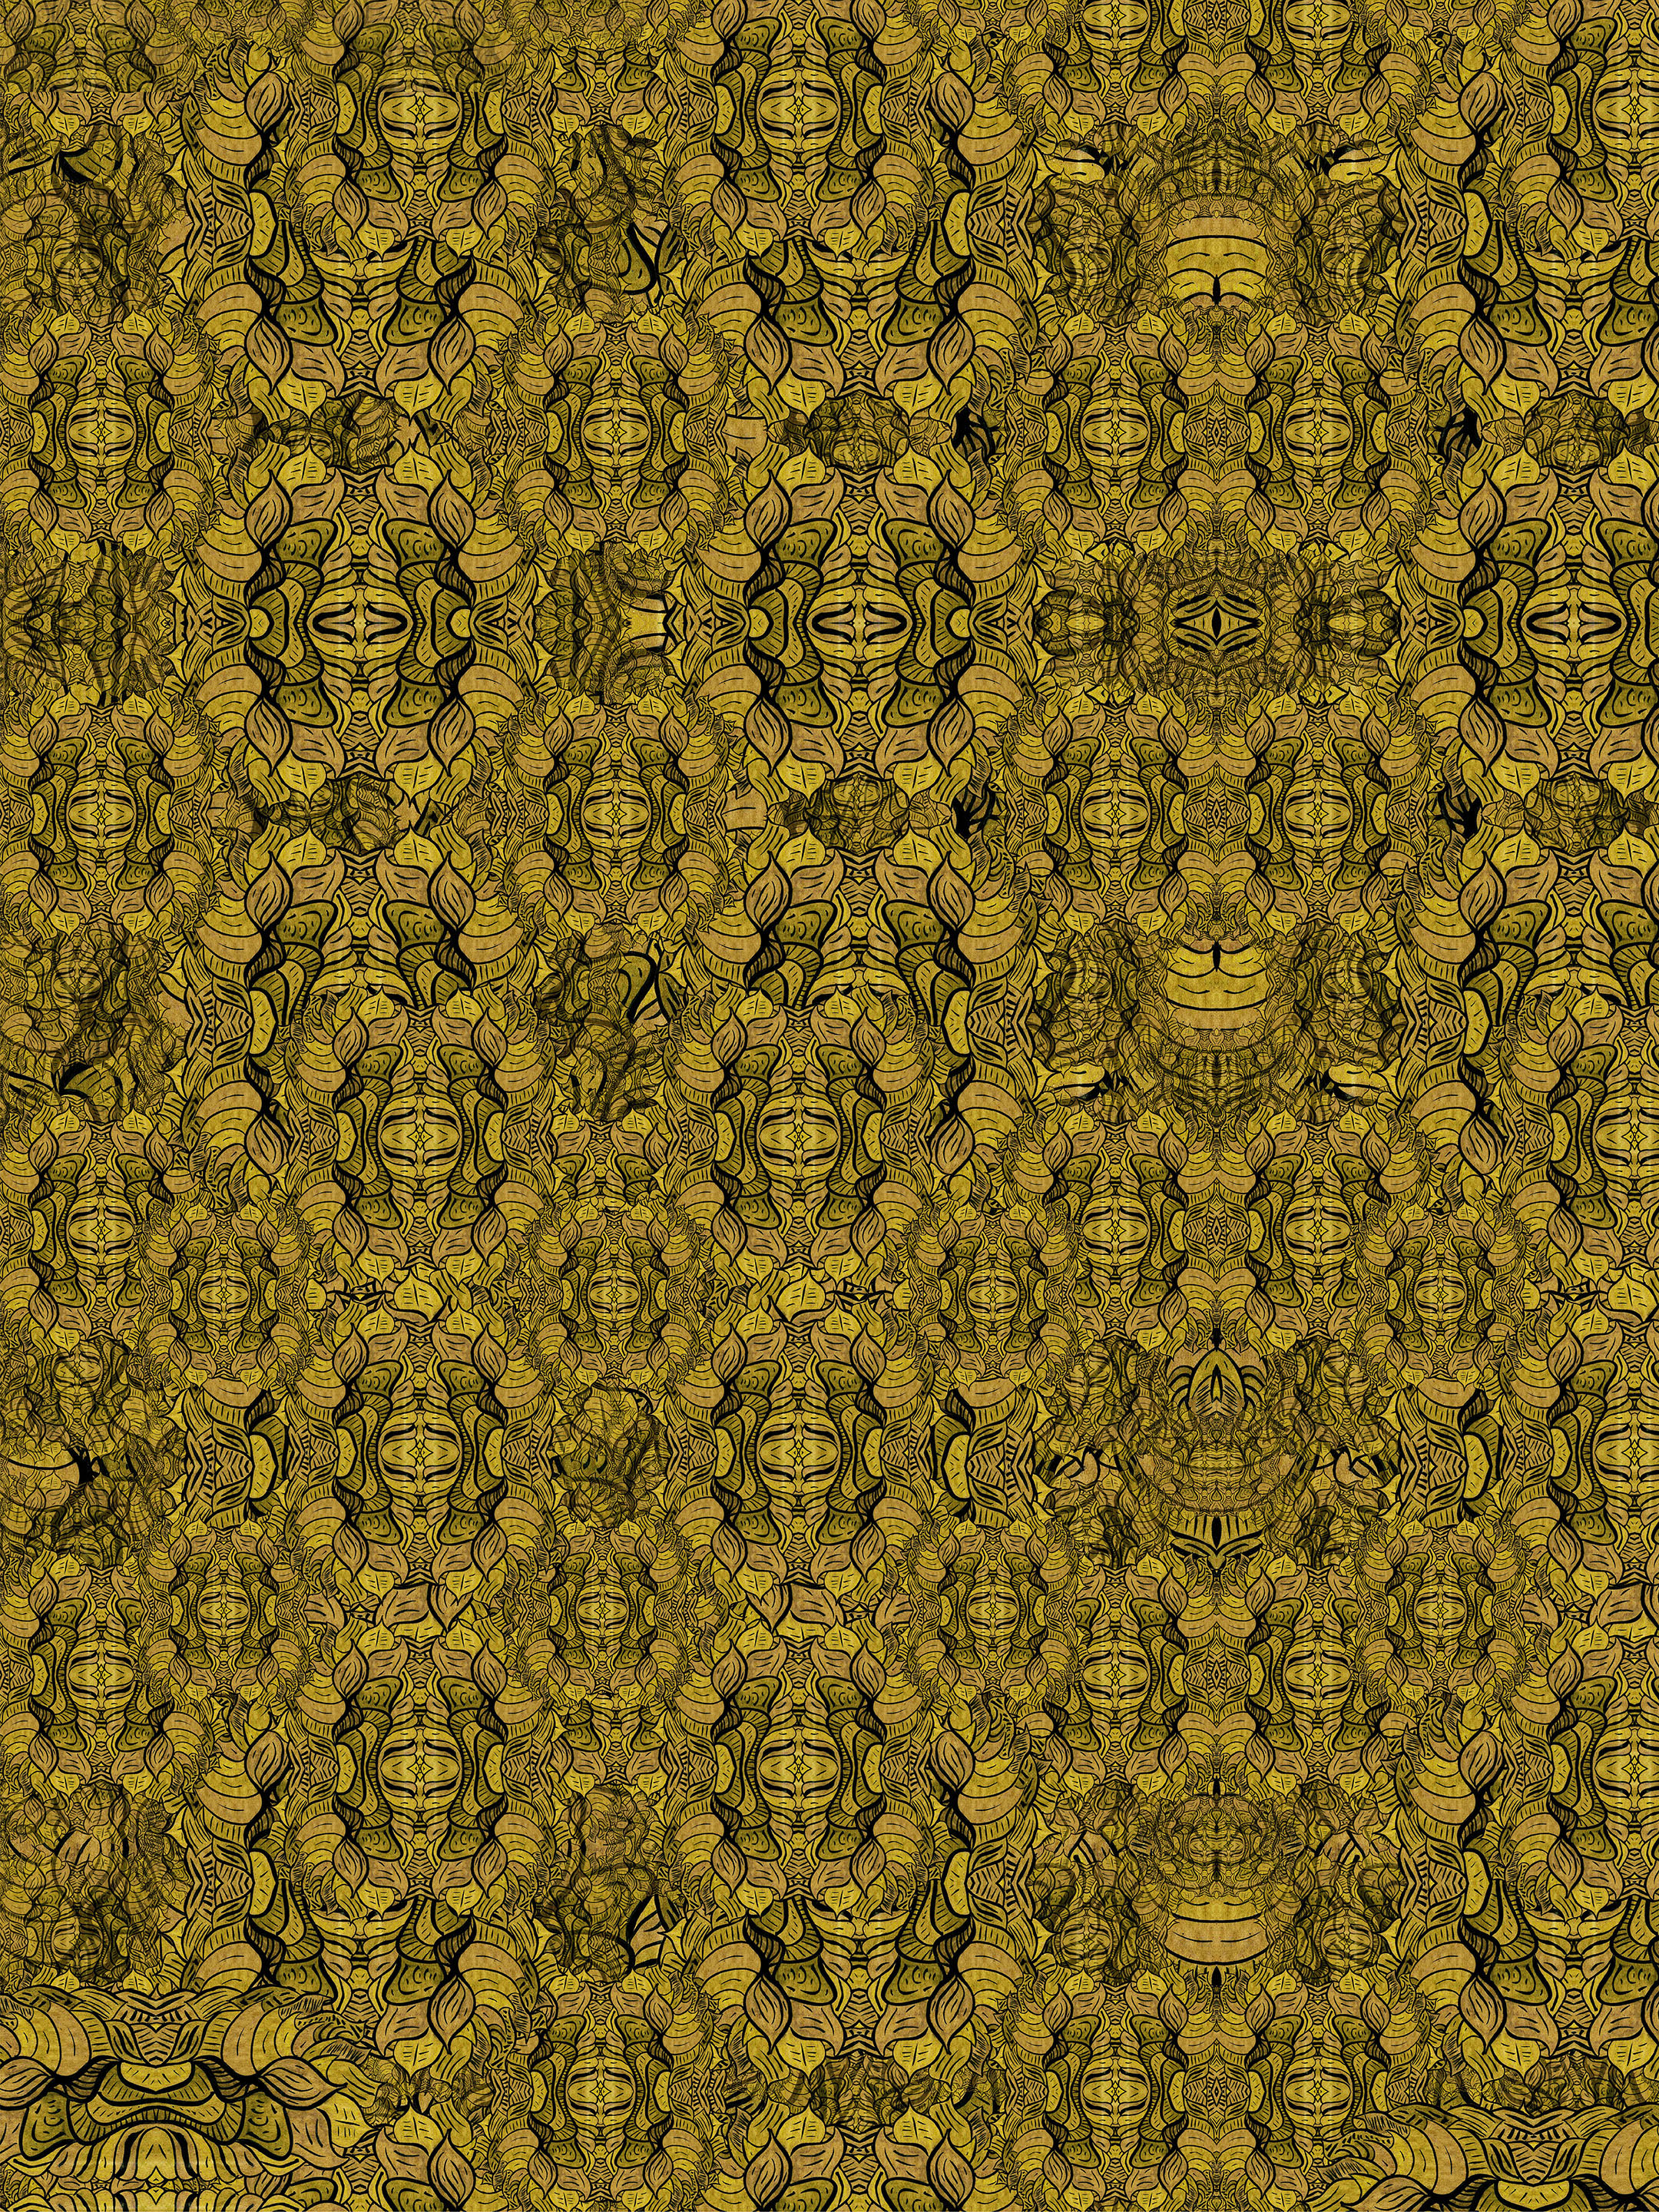
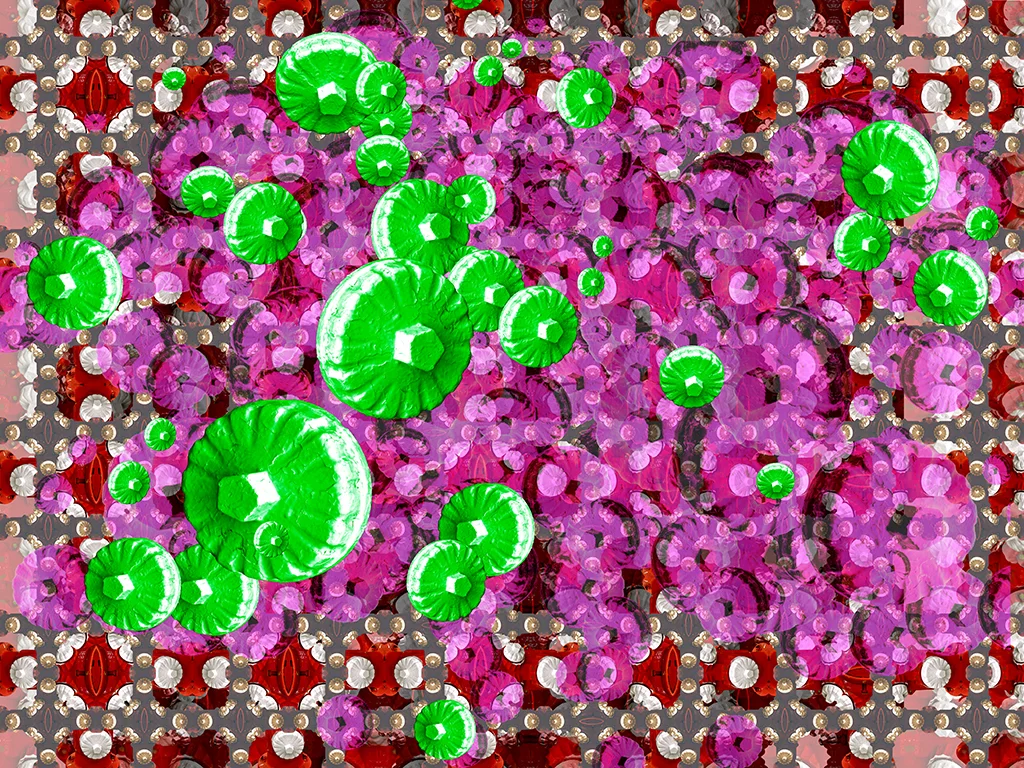
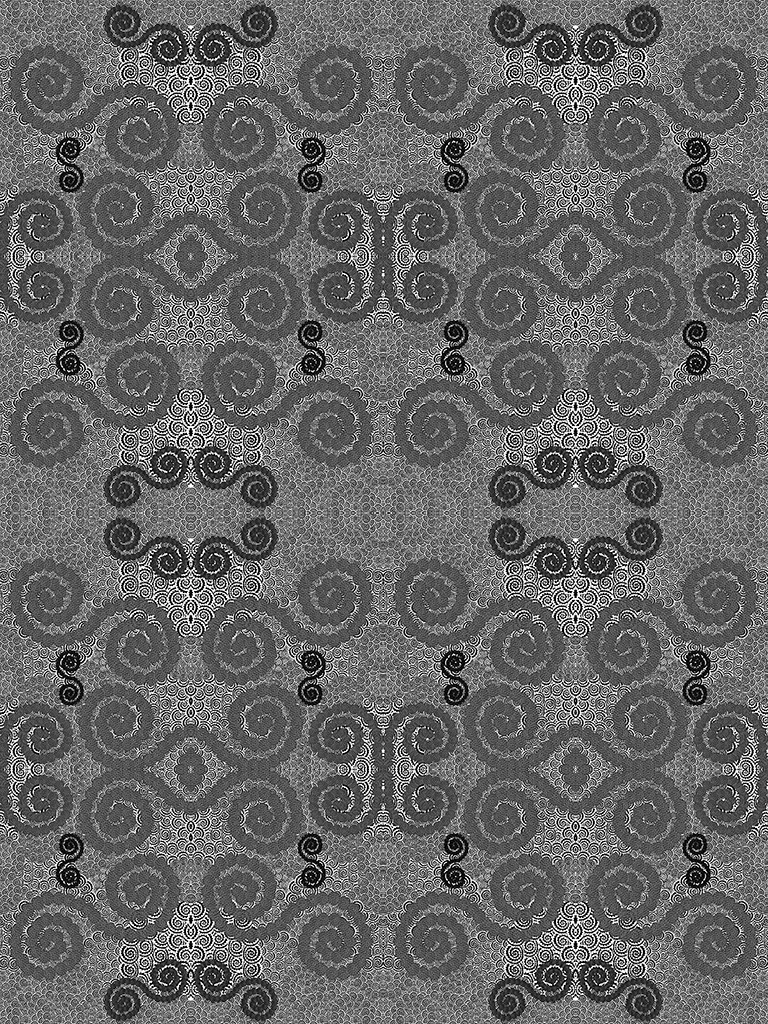
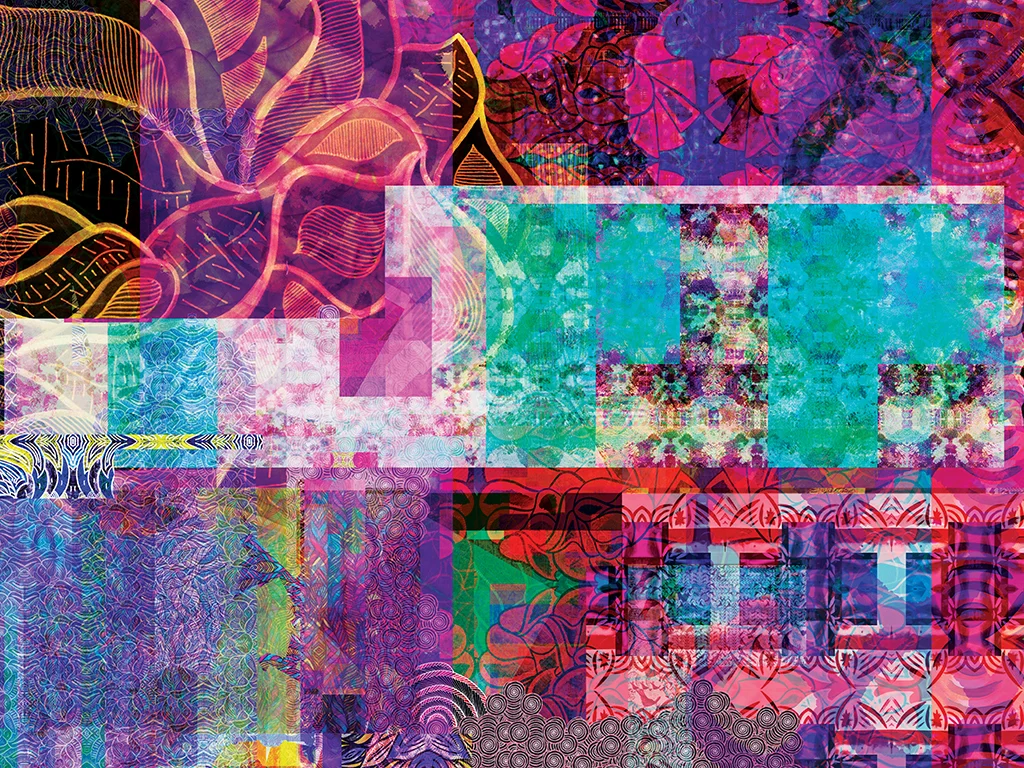
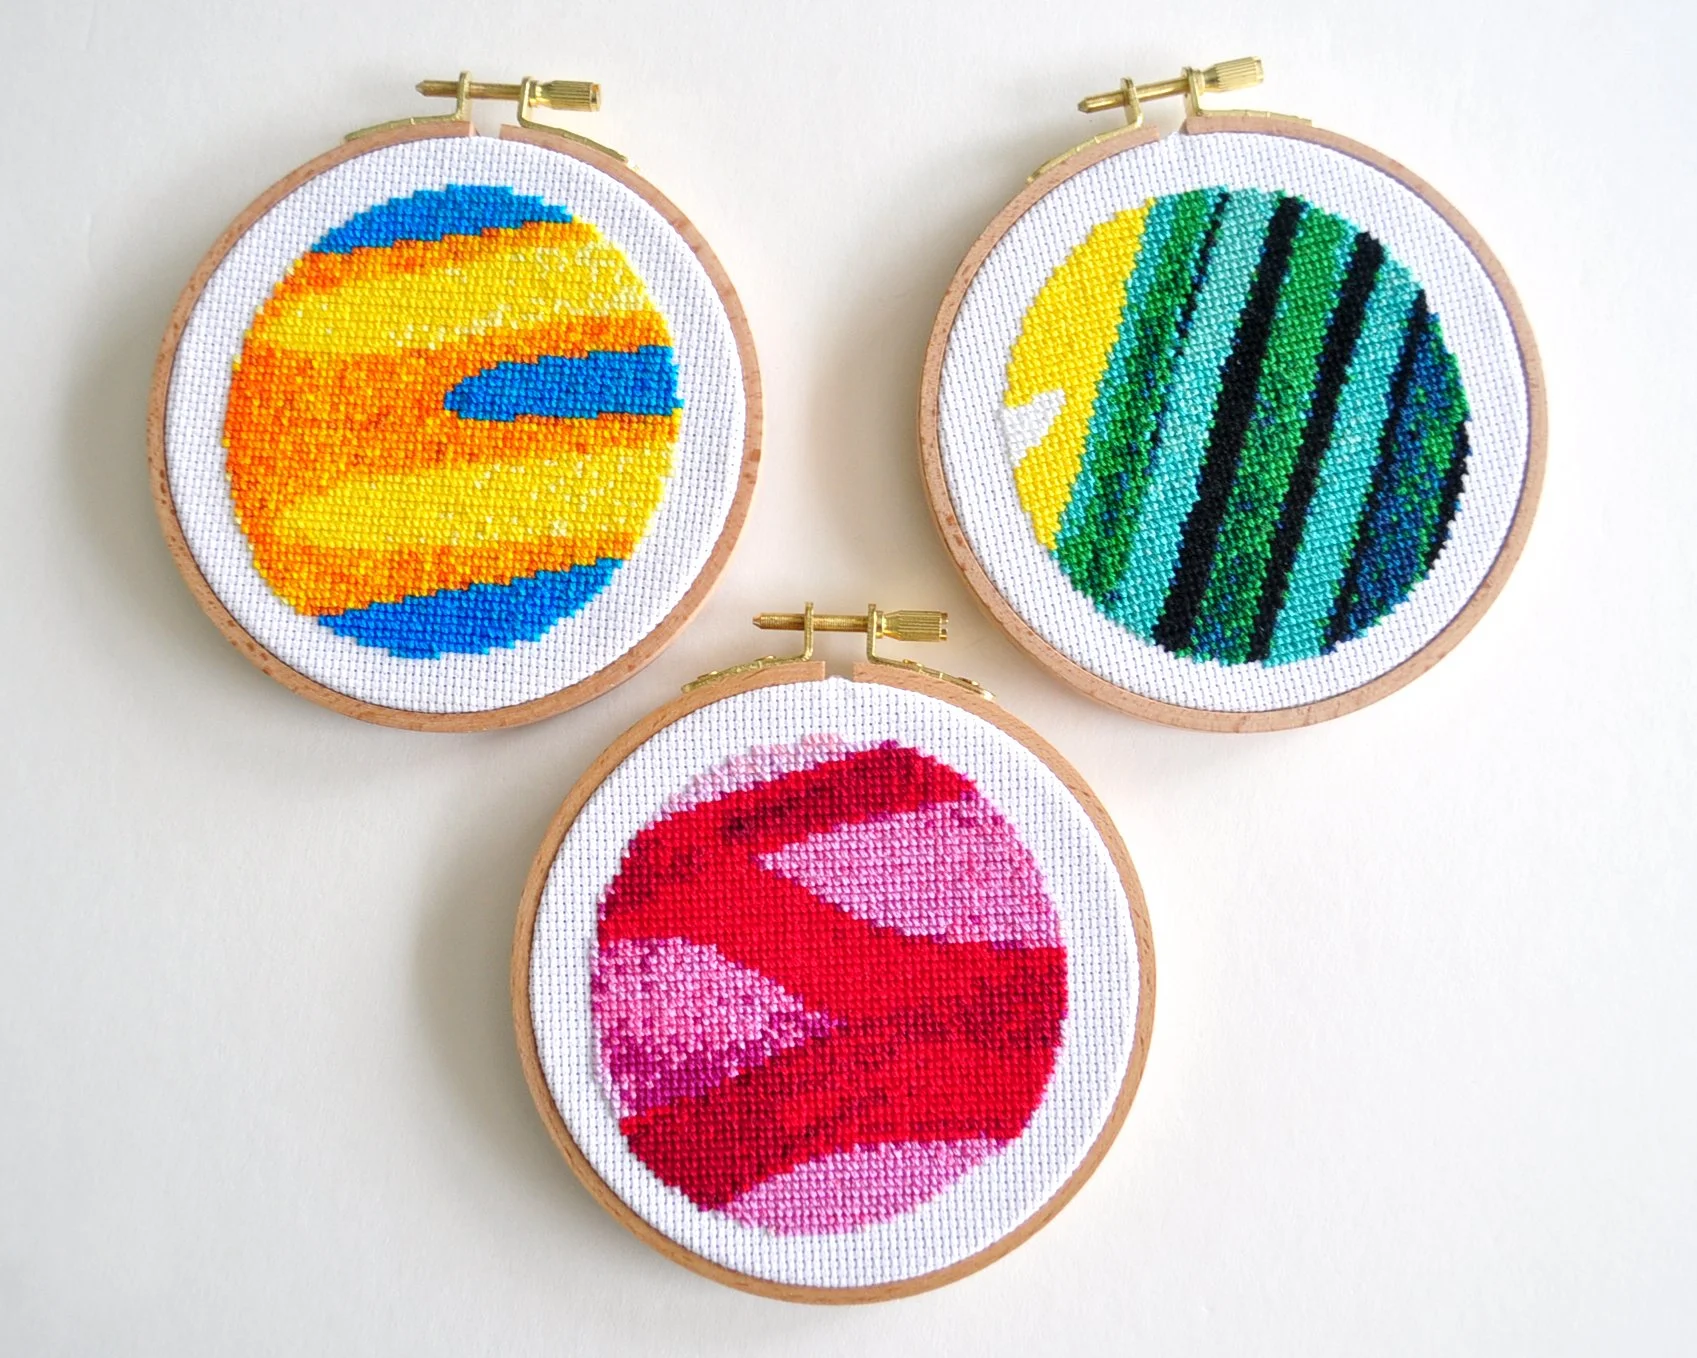
The August cross-stitch pattern has now been released! Become a paid member for access to four cross-stitch patterns to download as PDF 💚 ✨️.

By joining the crew here's what you'll be unlocking:
✂️ CROSS-STITCH PATTERN - PDF DOWNLOAD
Bi-monthly original cross-stitch pattern designs
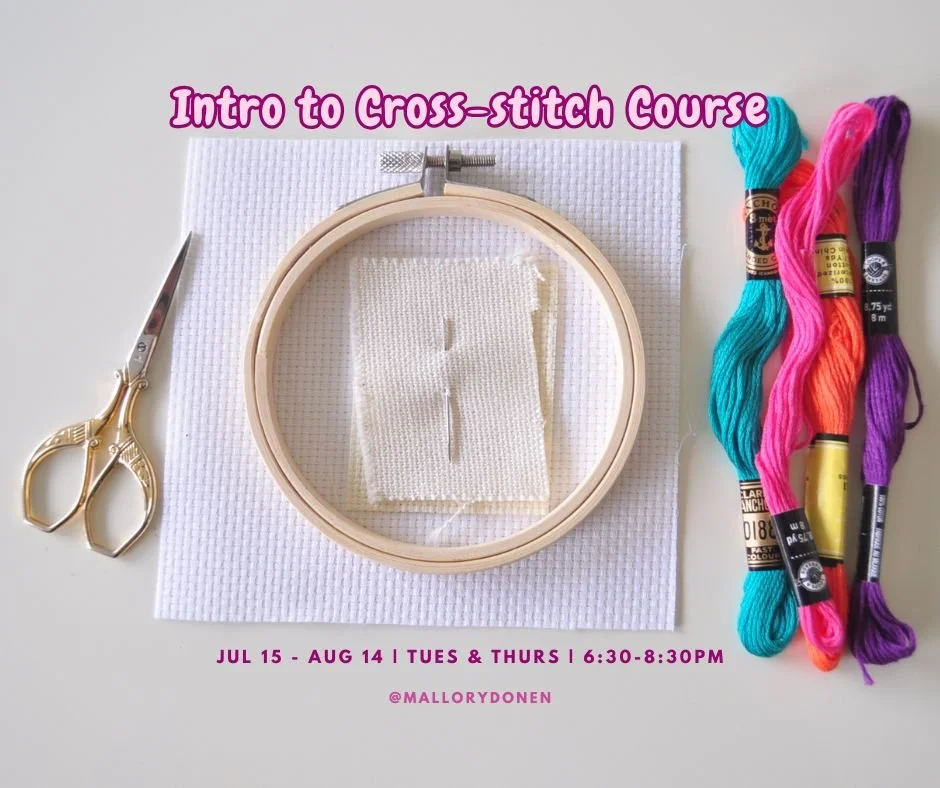
✂️ ACCESS TO EDUCATIONAL CONTENT
How to cross-stitch videos & tips
✂️ EXCLUSIVE BEHIND THE SCENES CONTENT
Photos and videos of works in progress
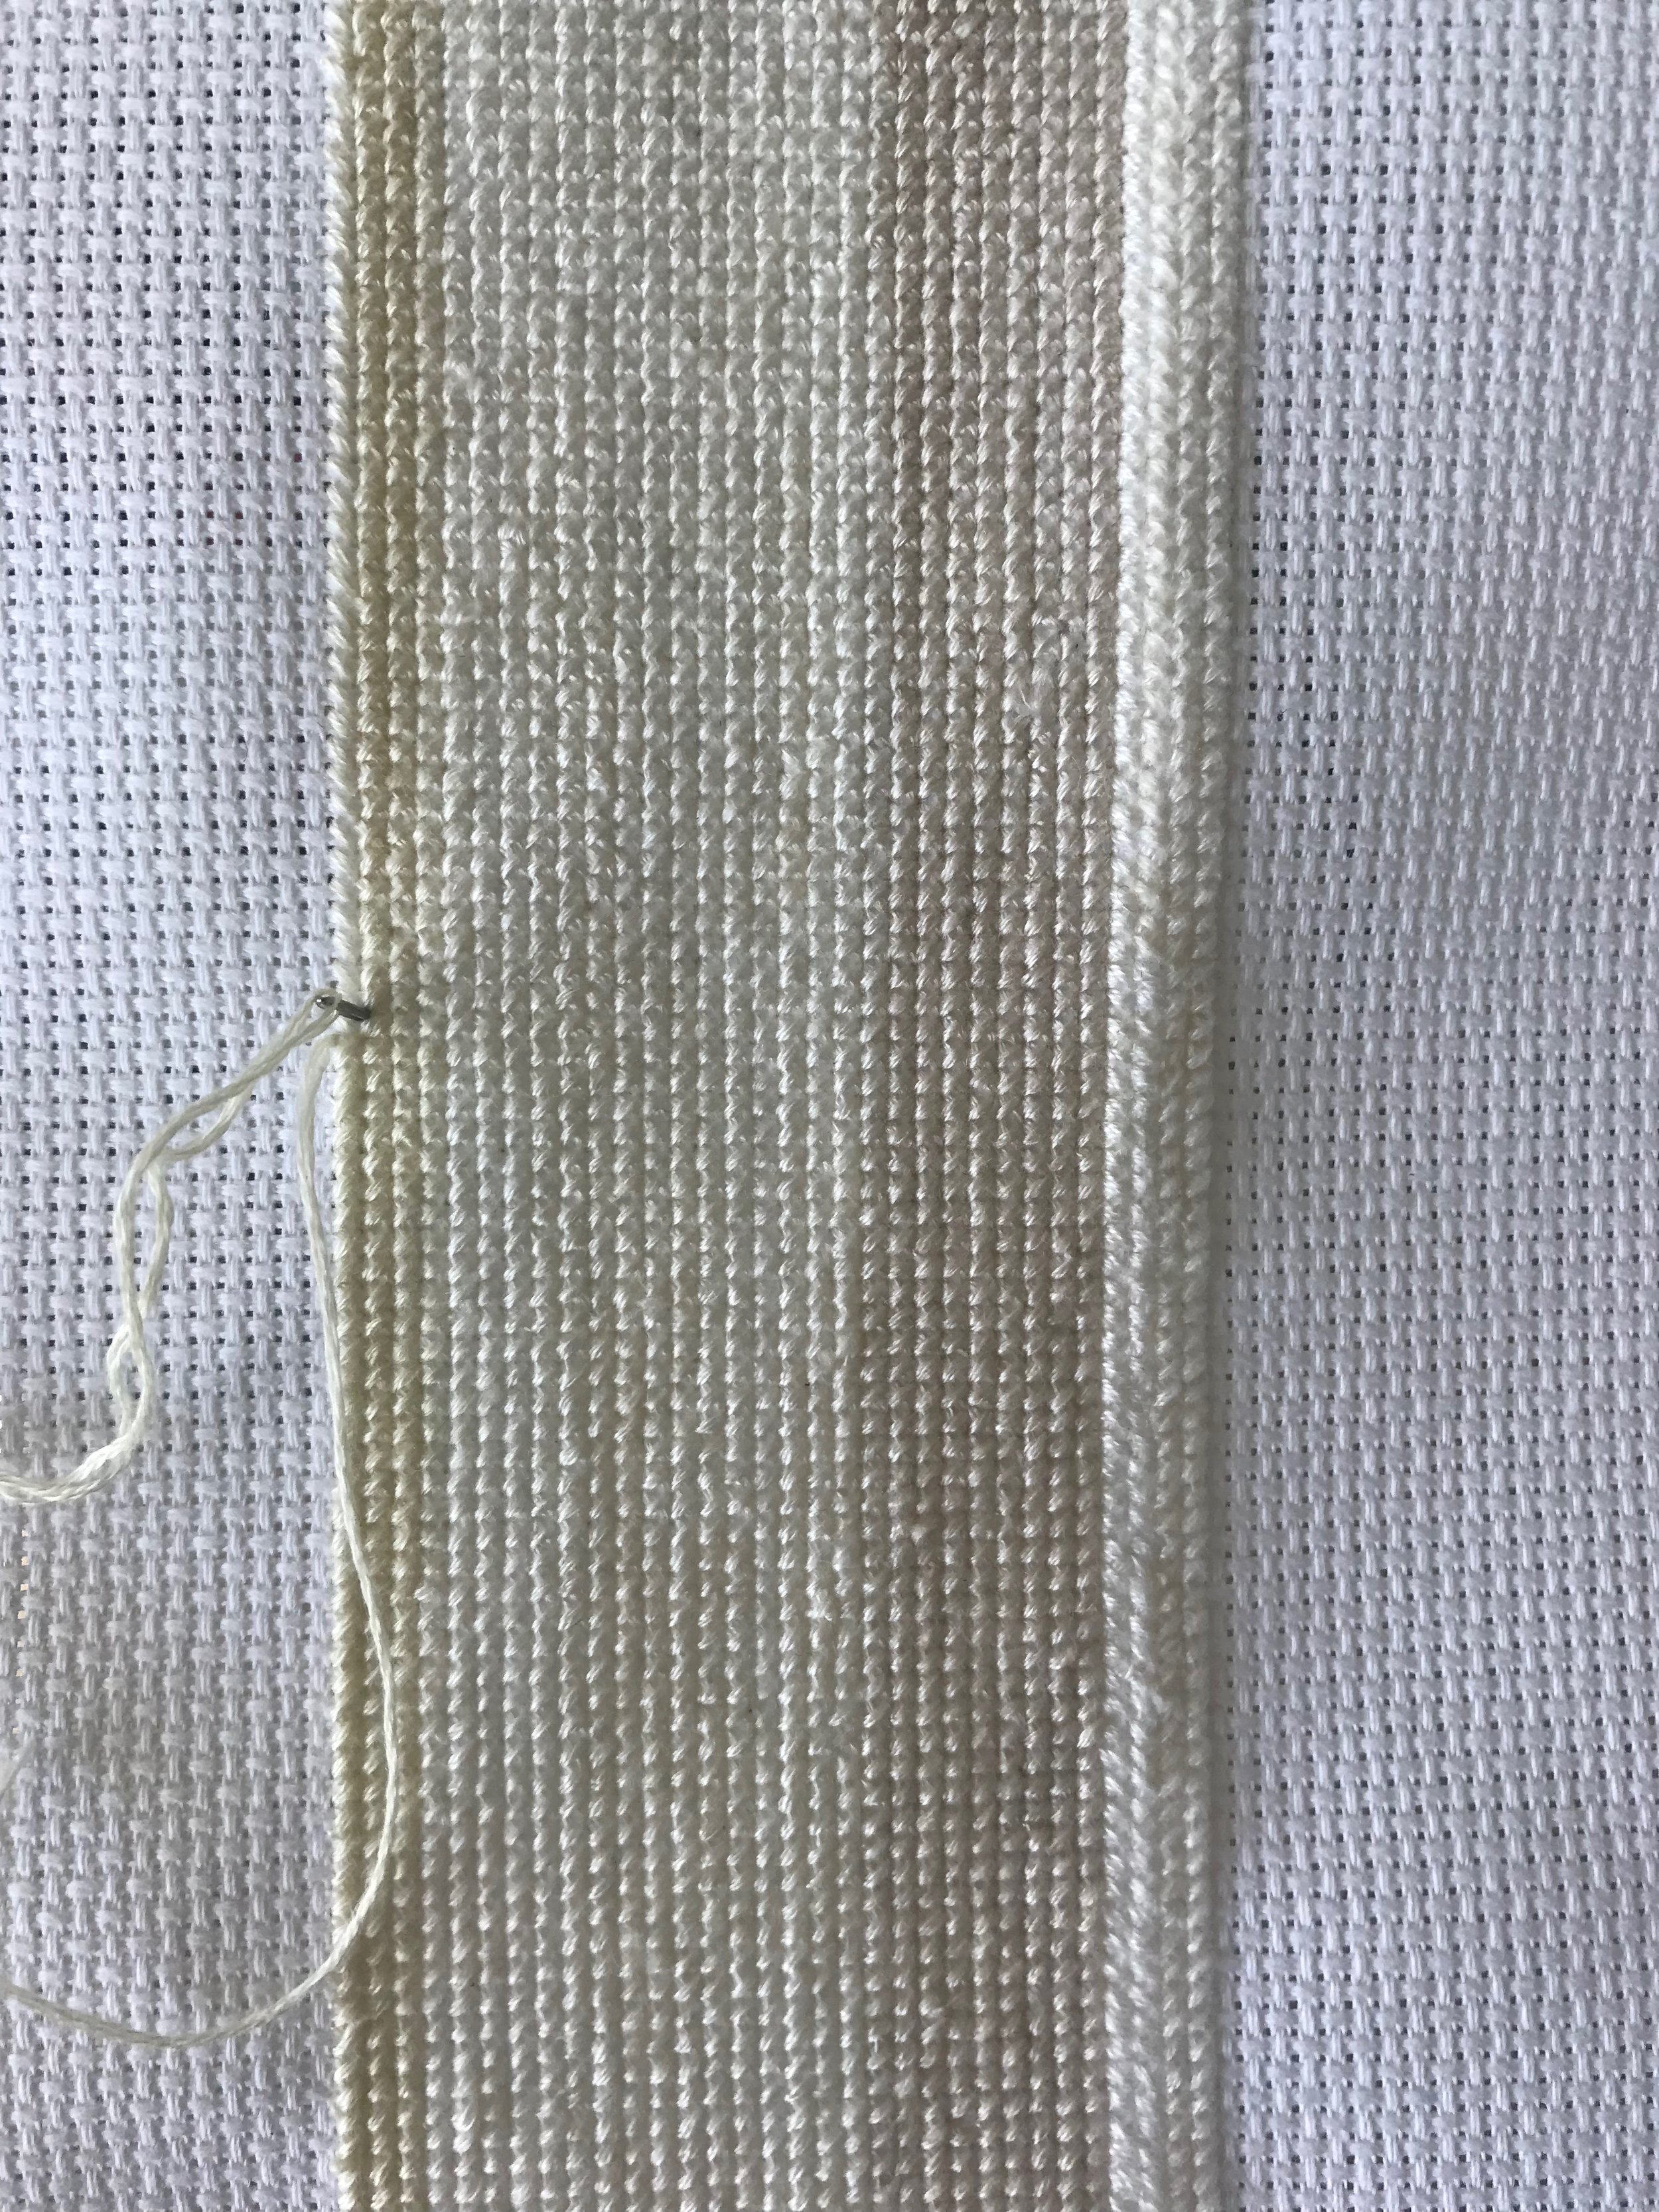
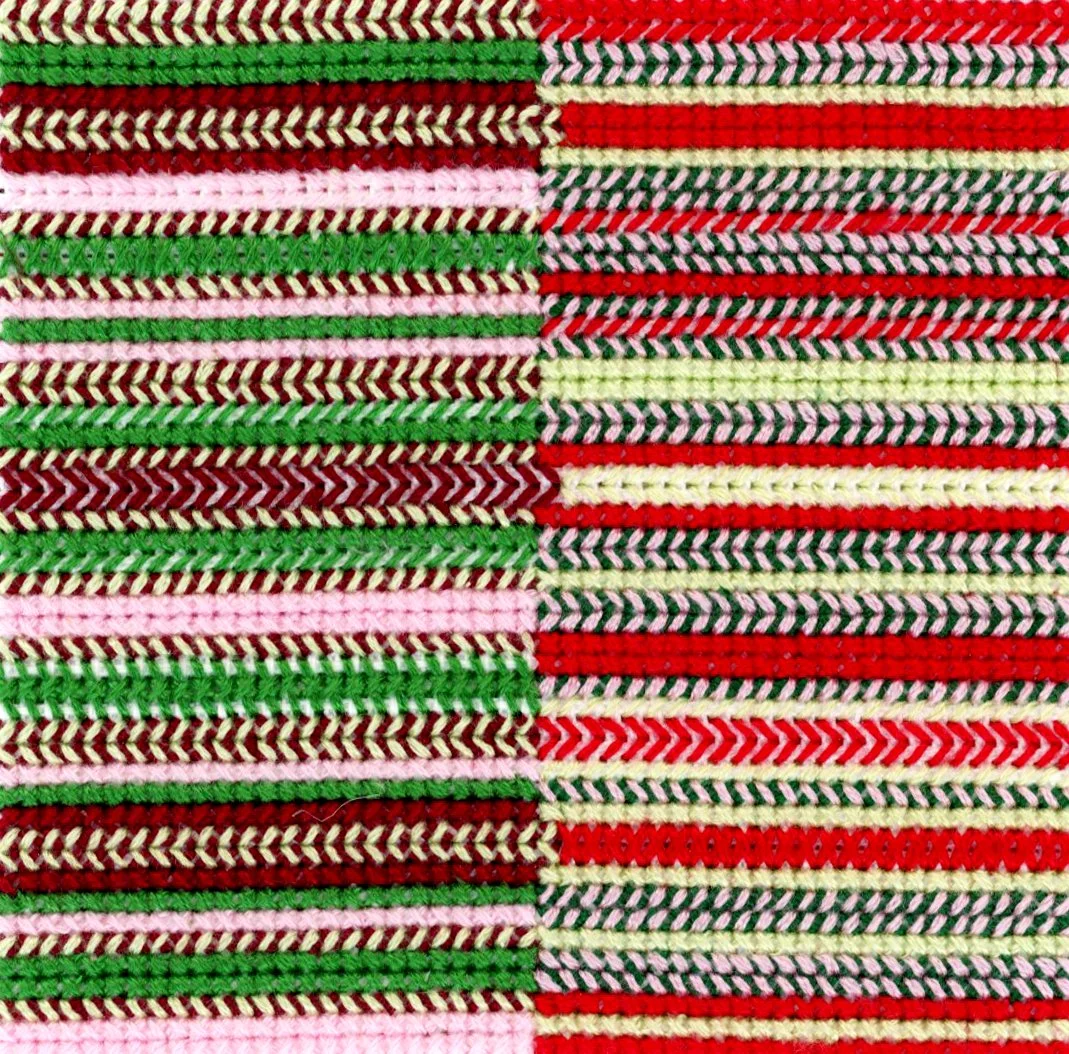
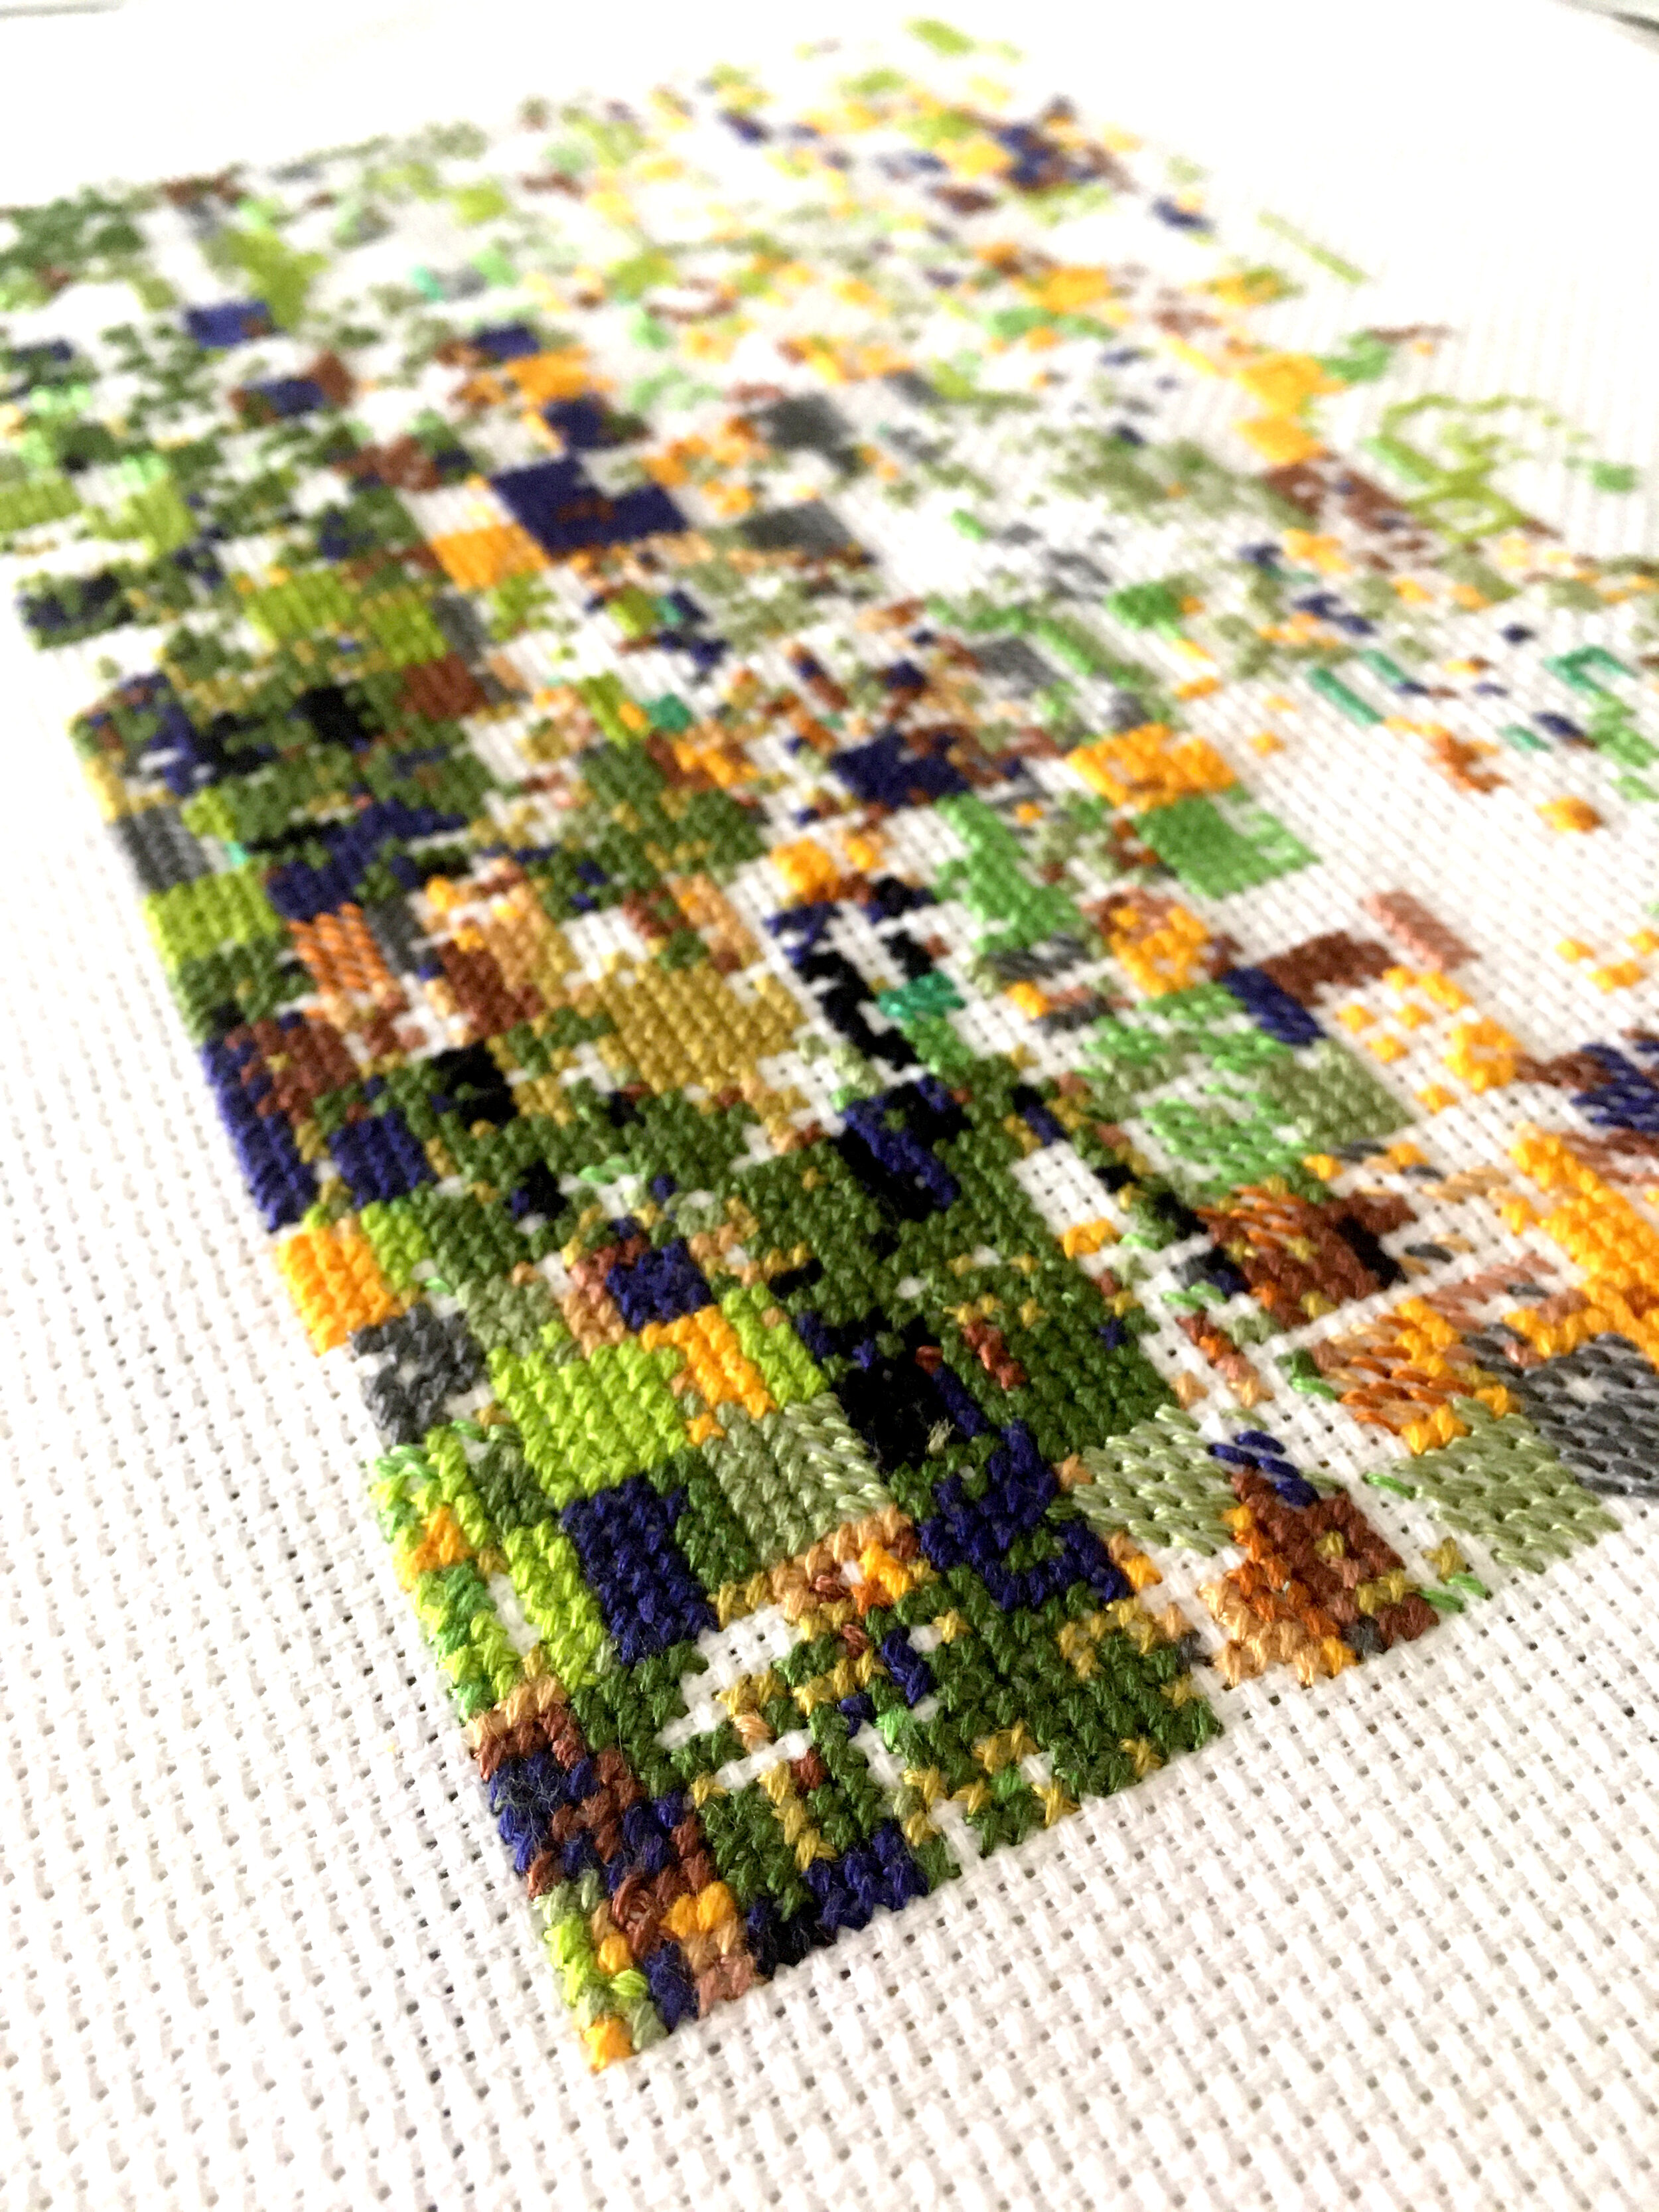
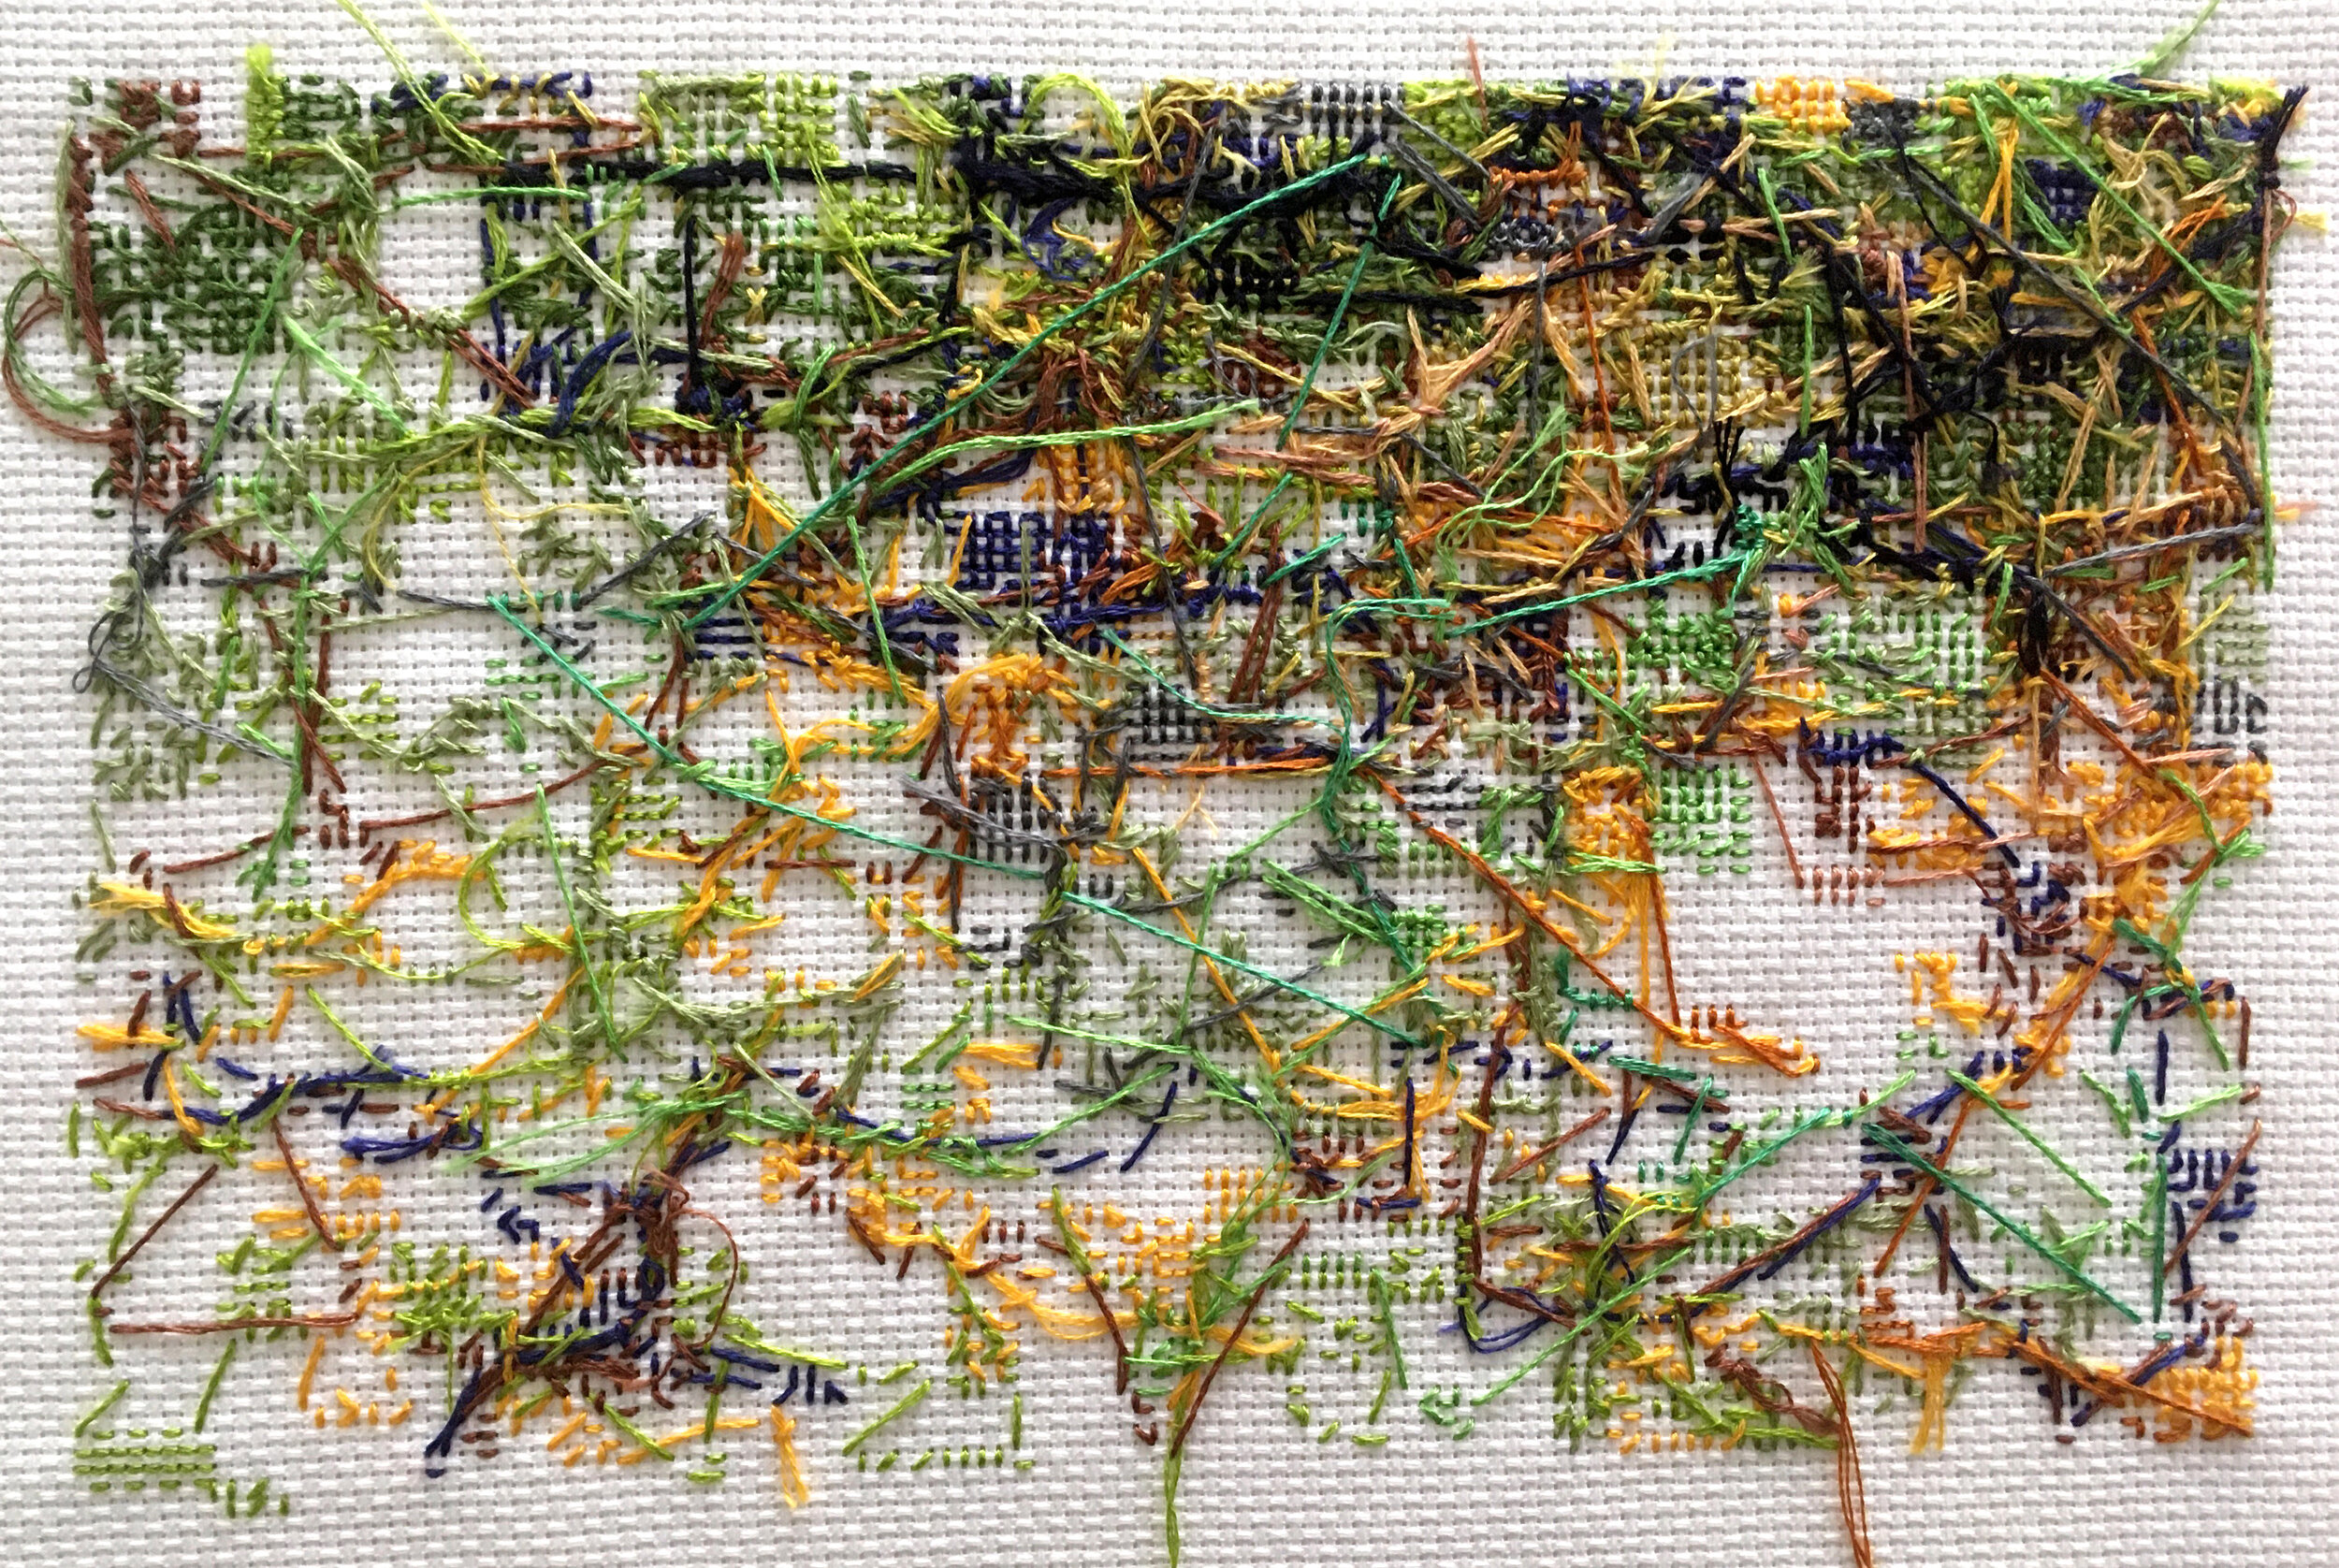
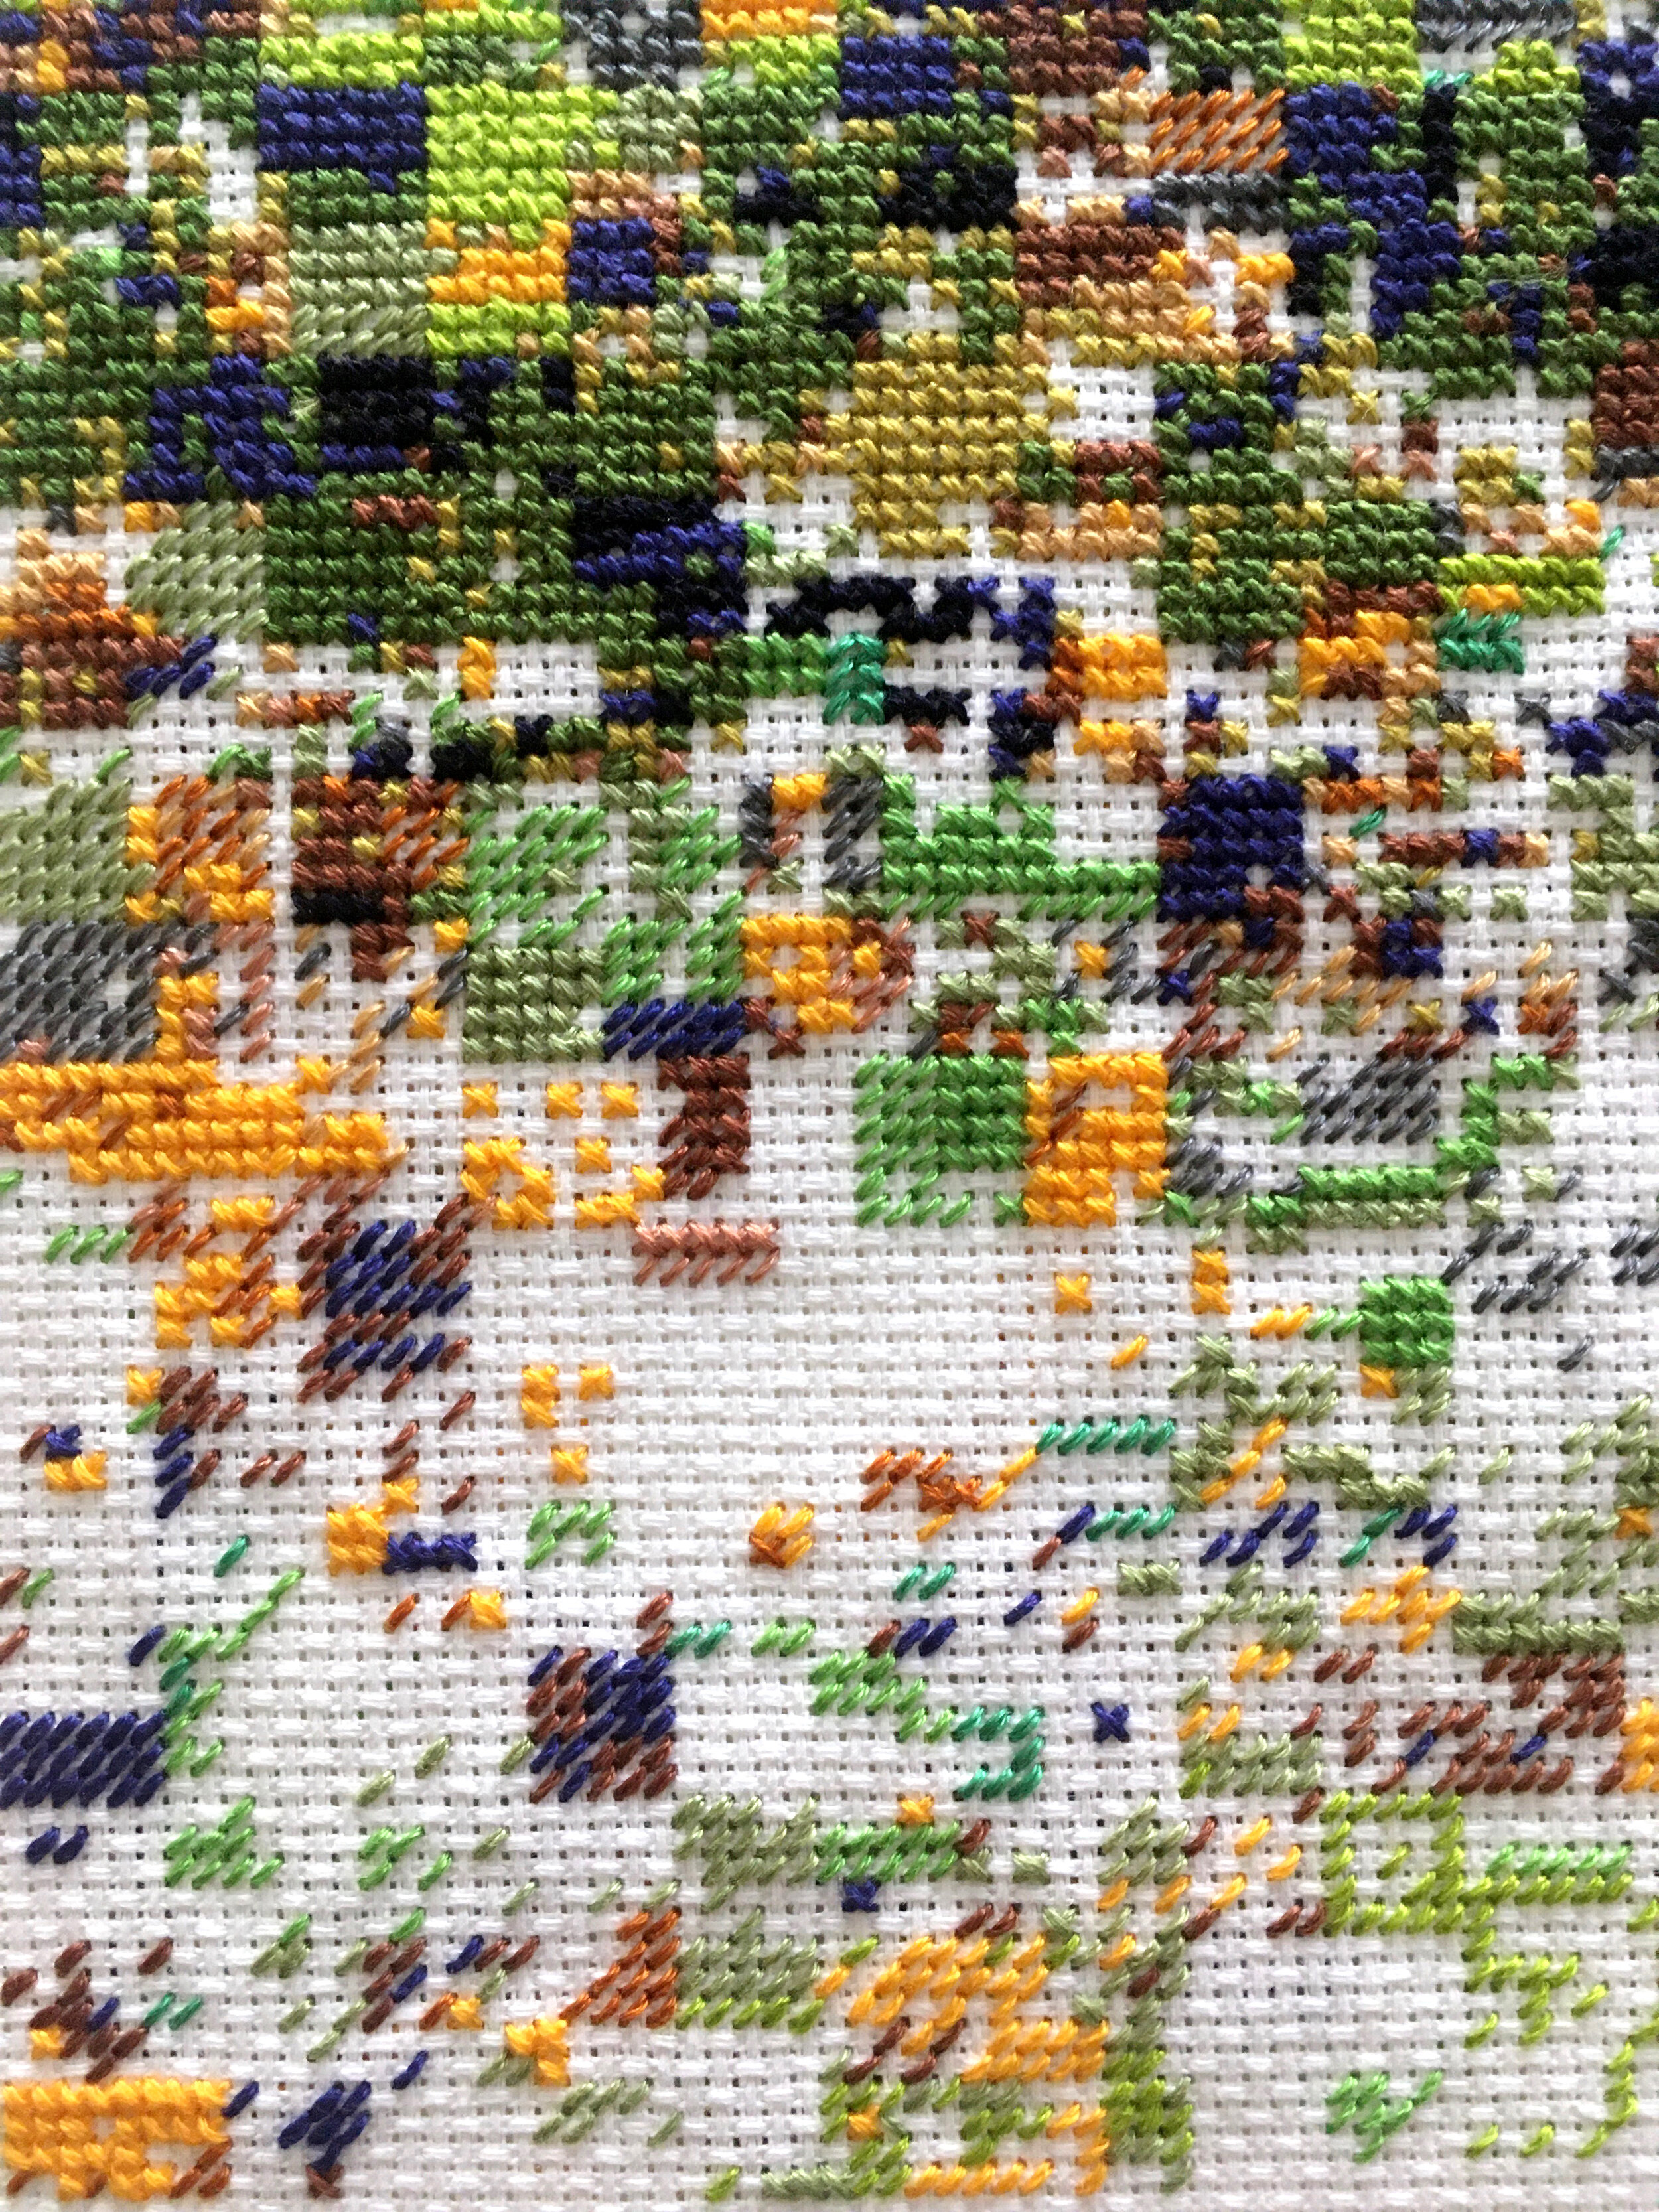
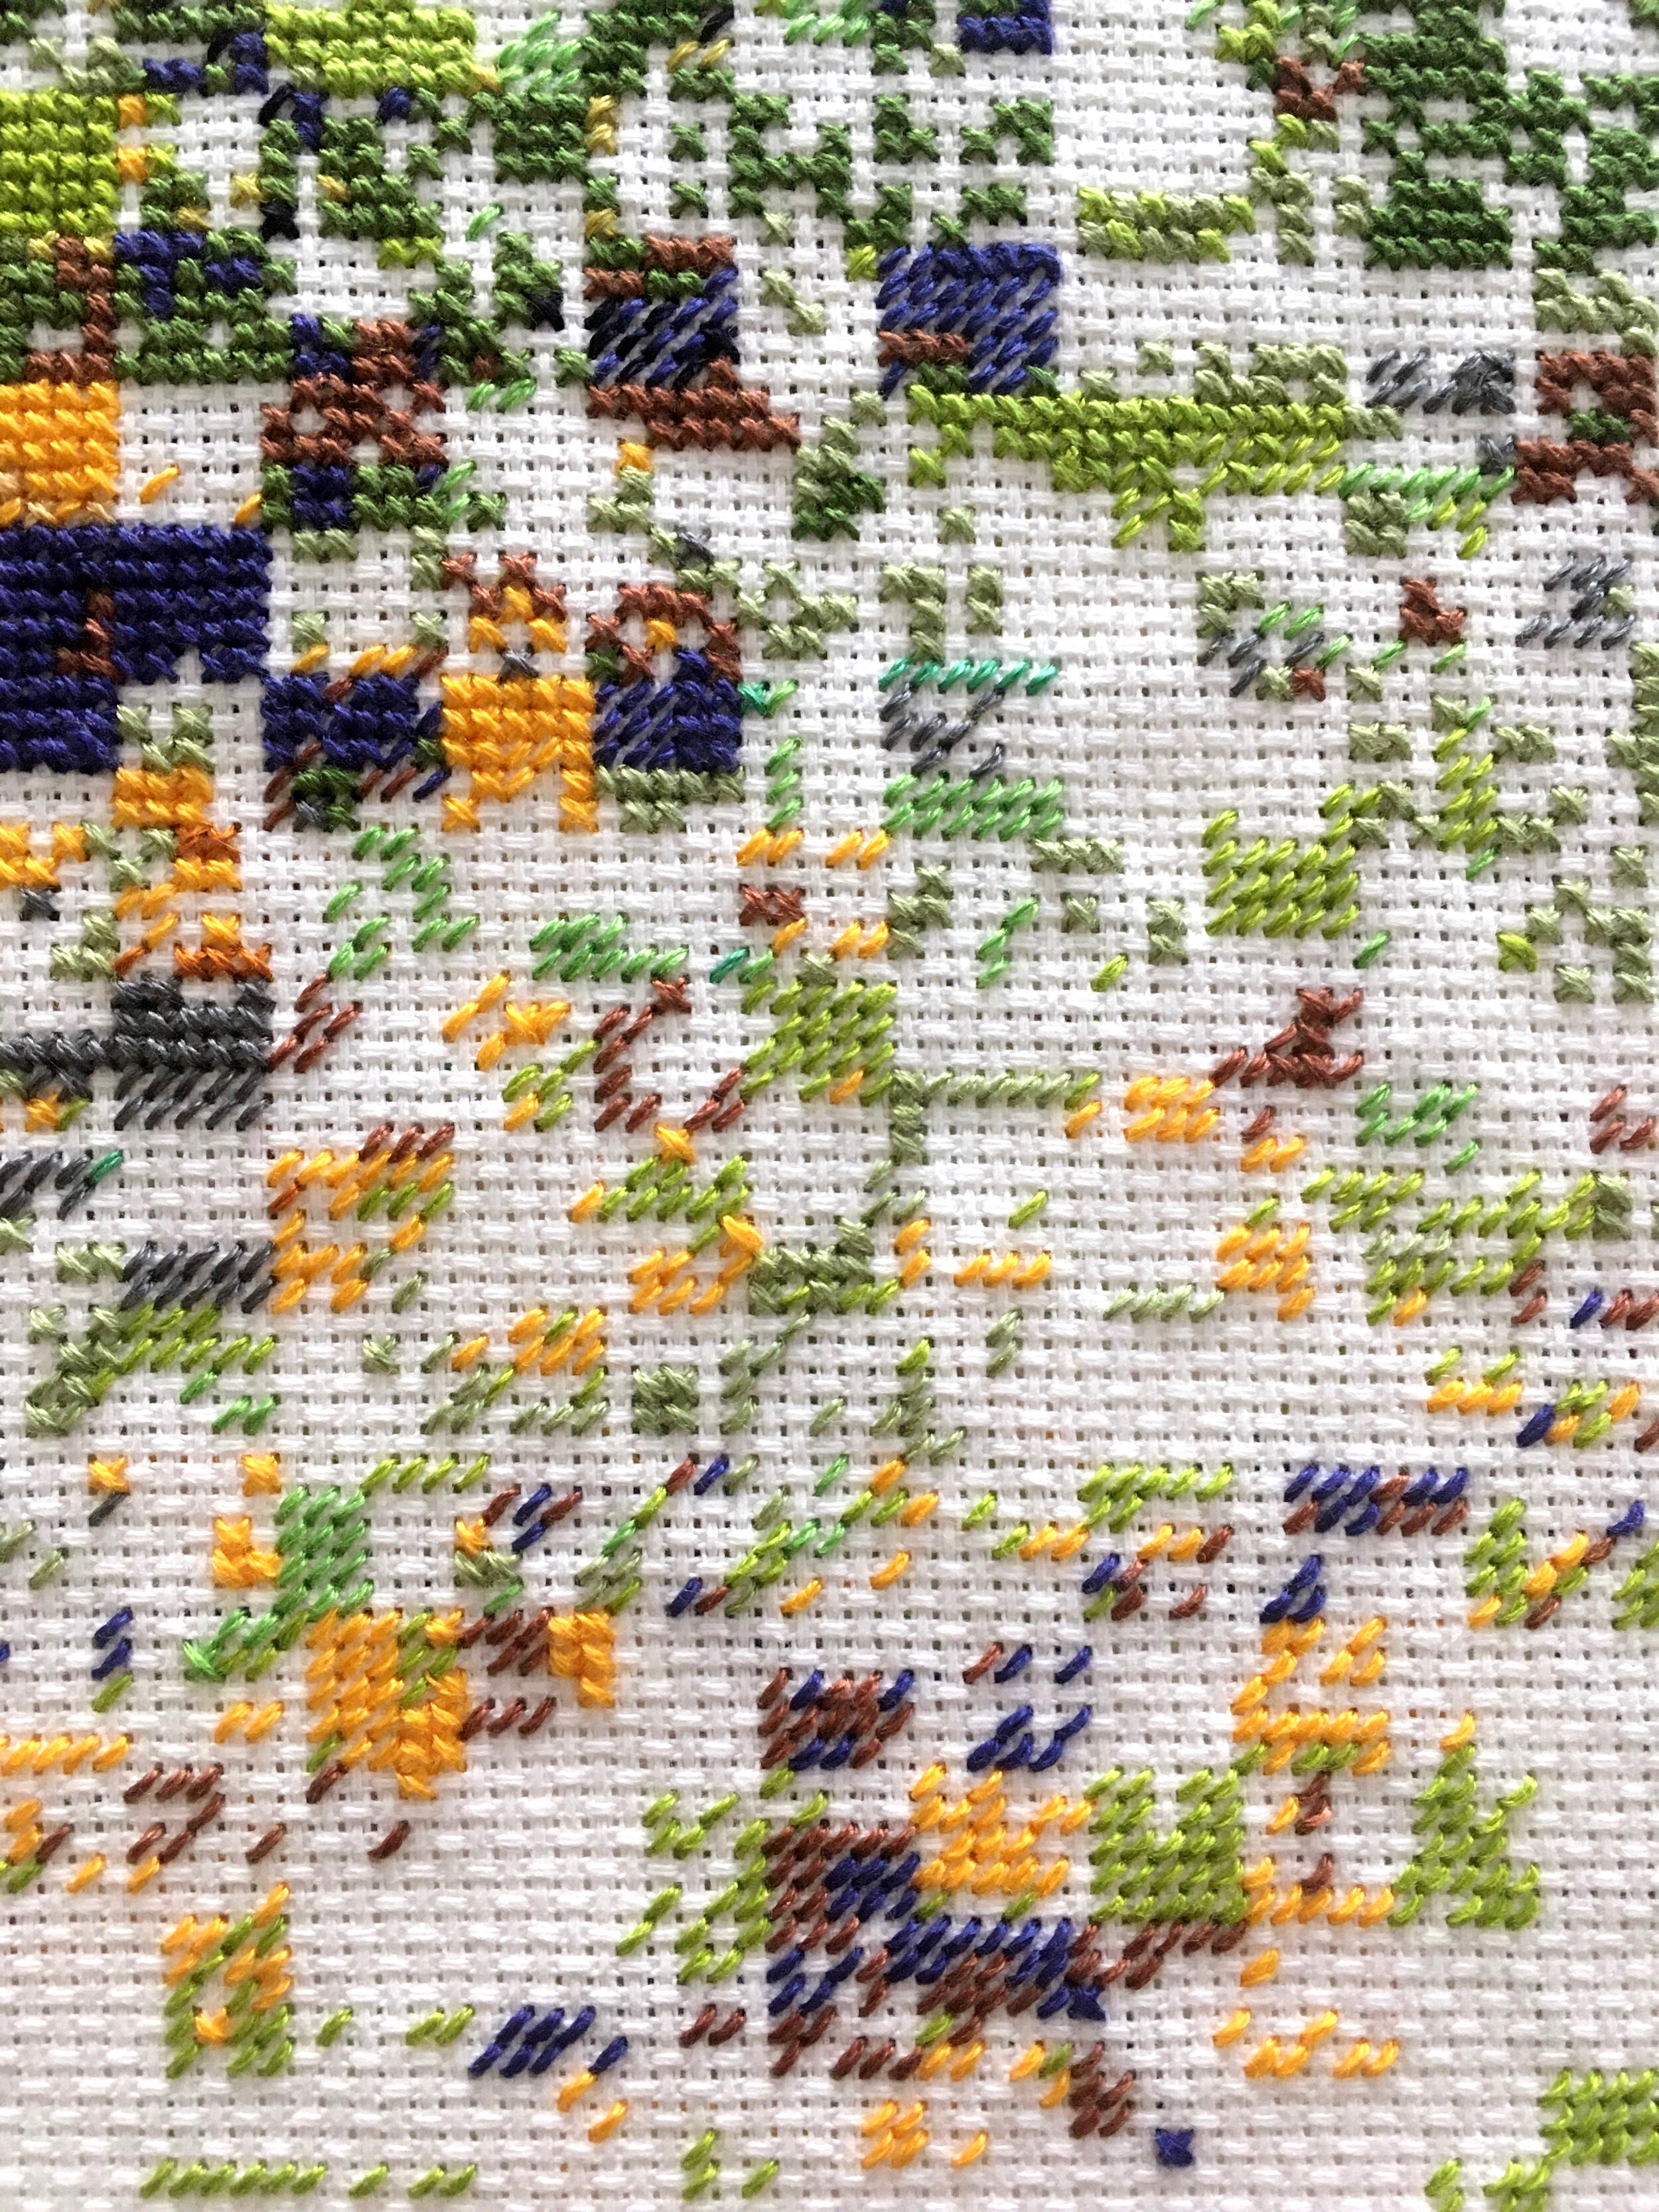
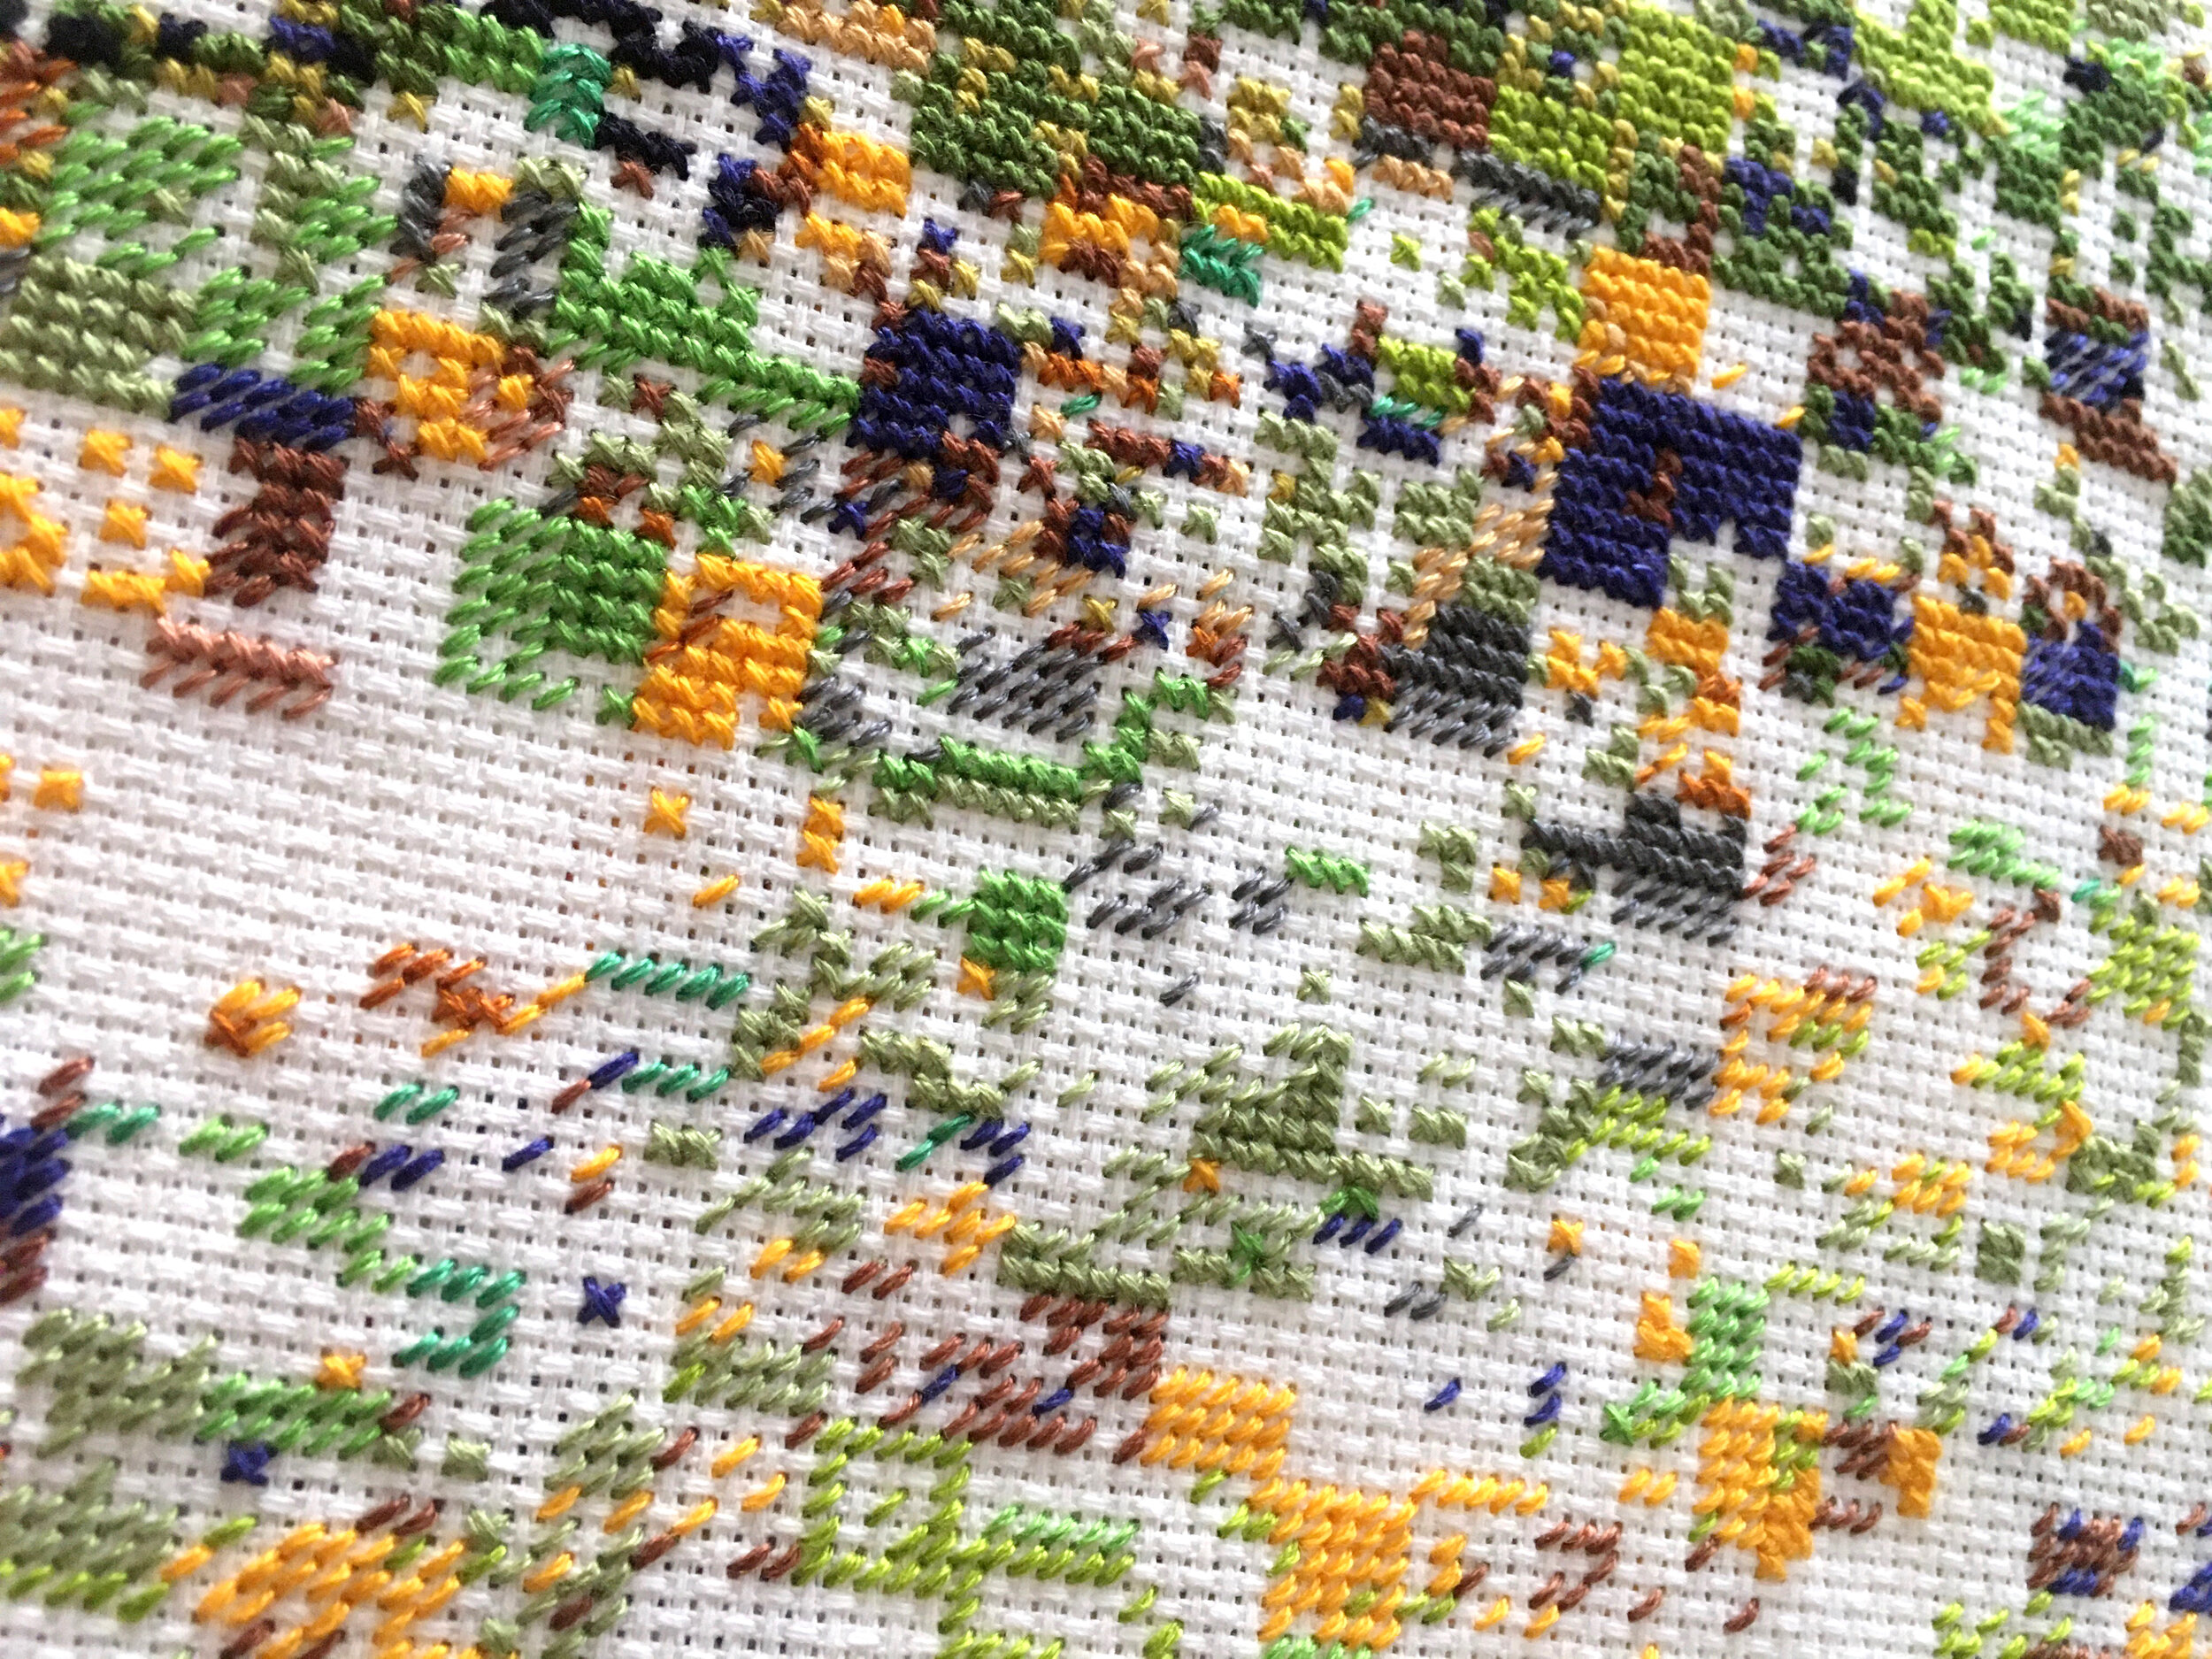
Stitching Loose Ends
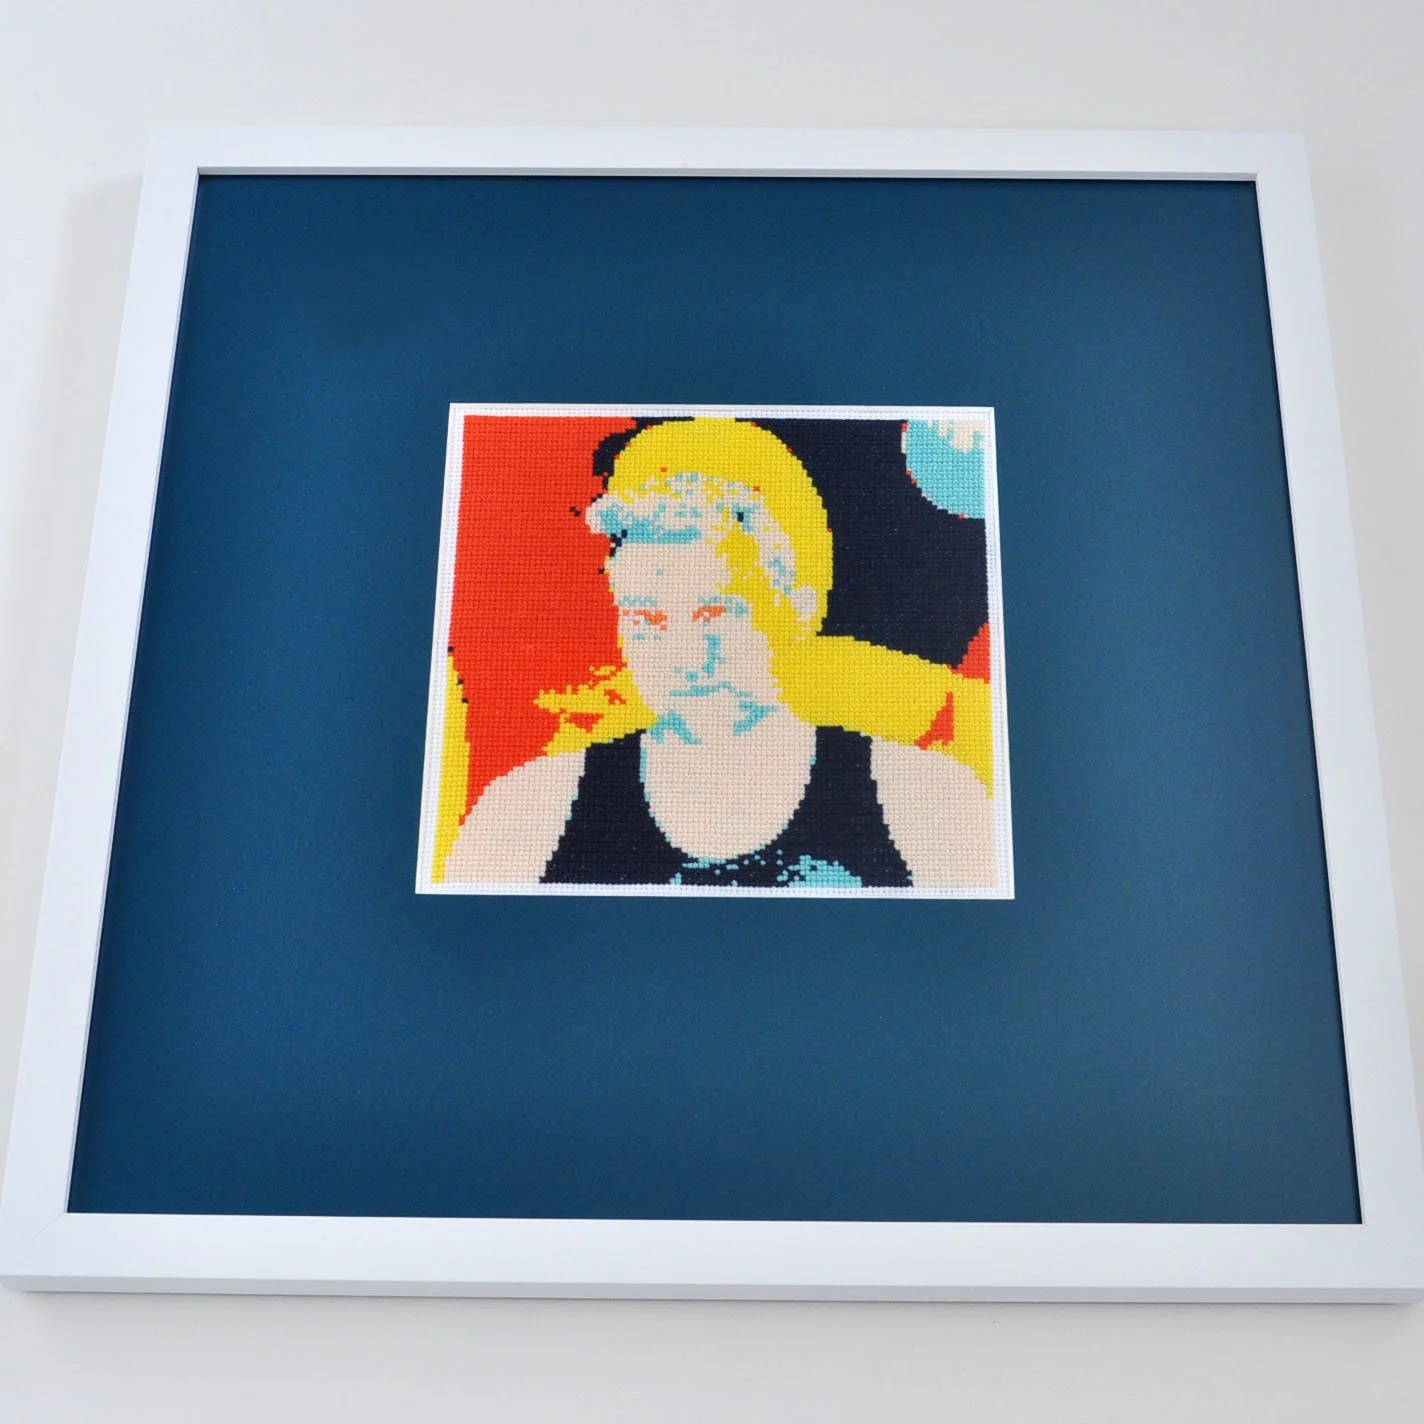
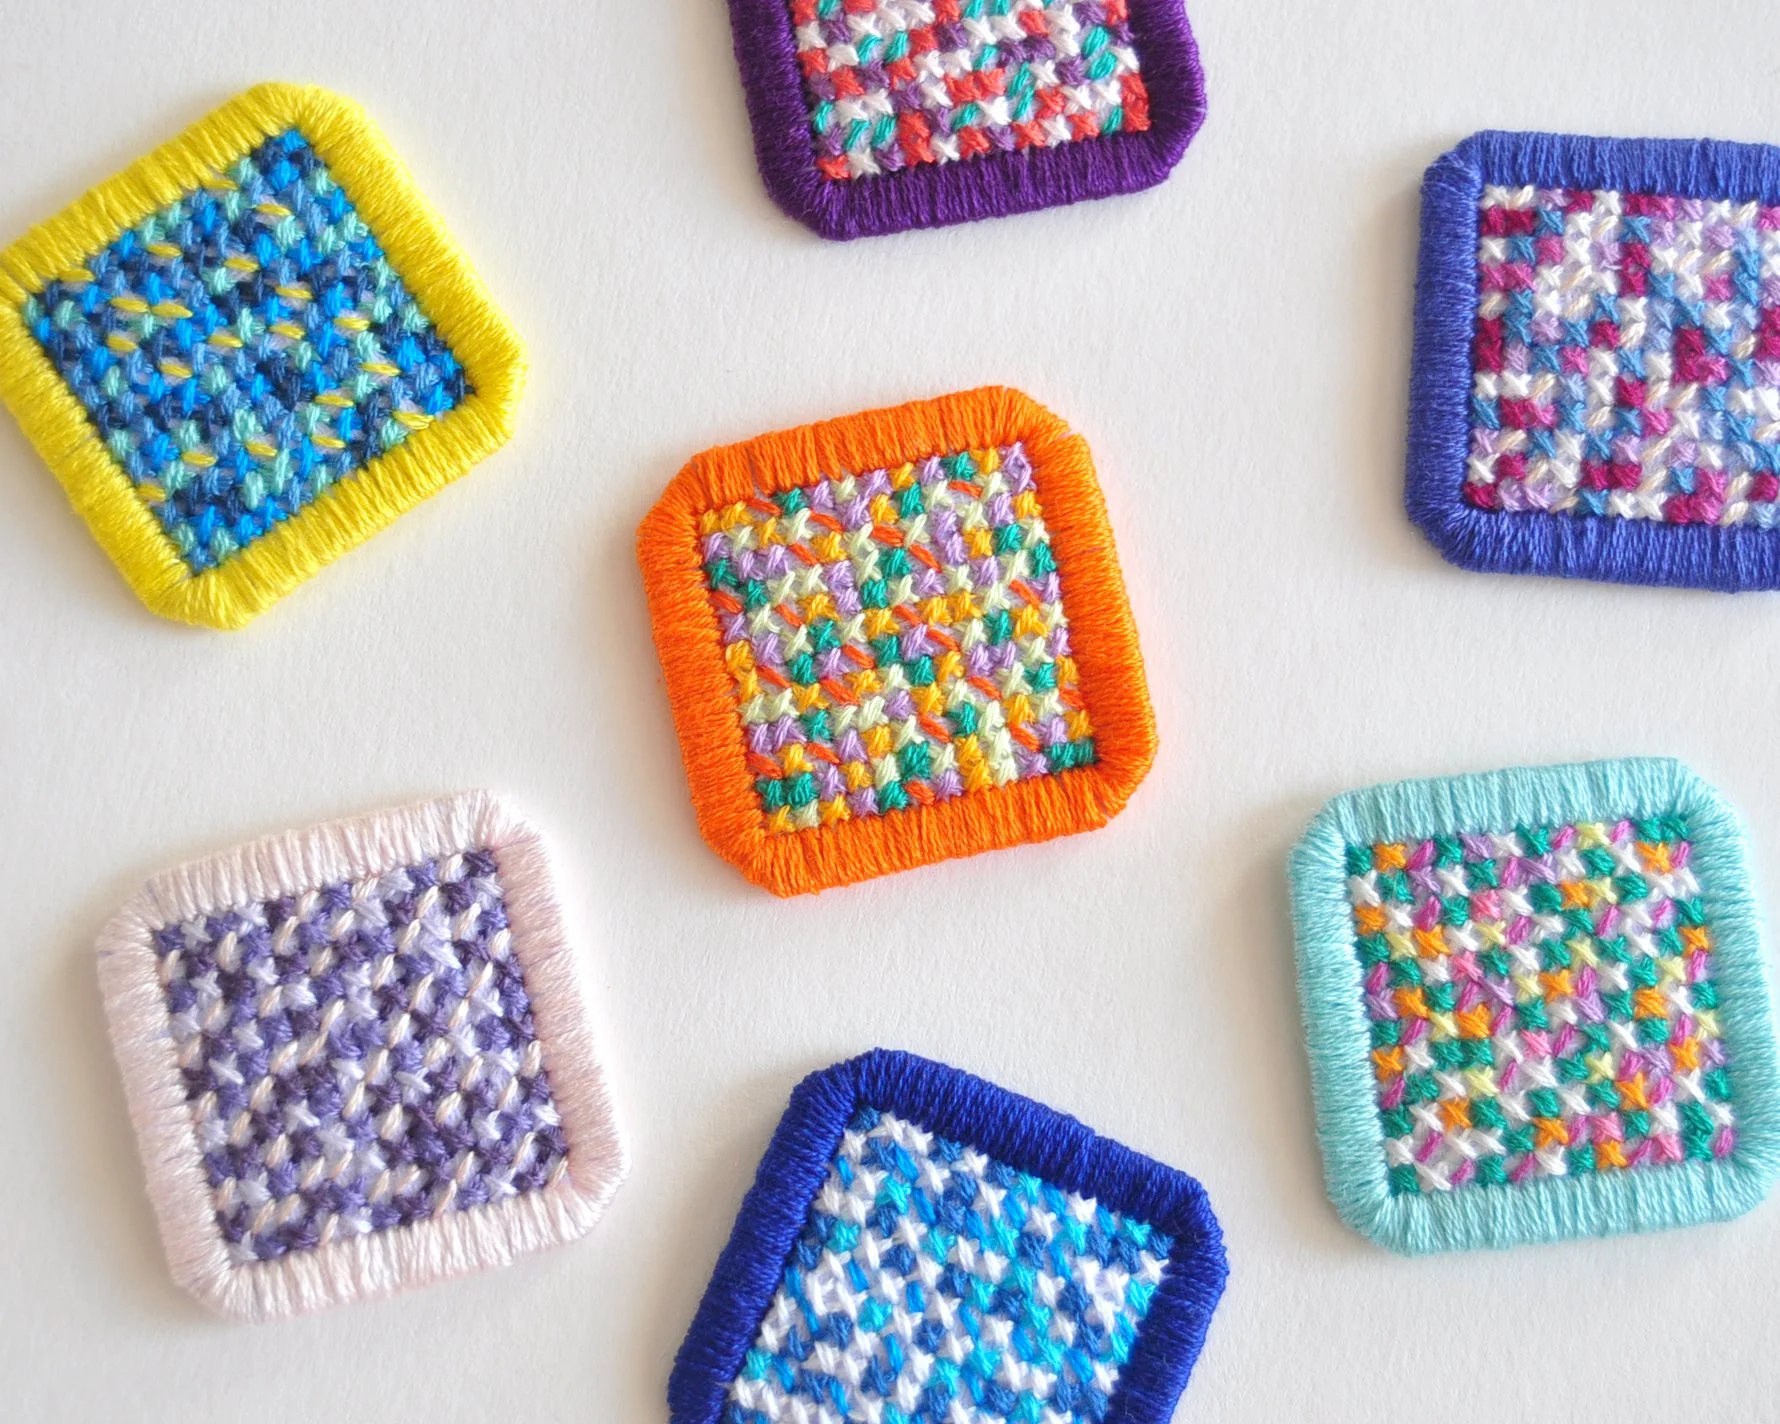
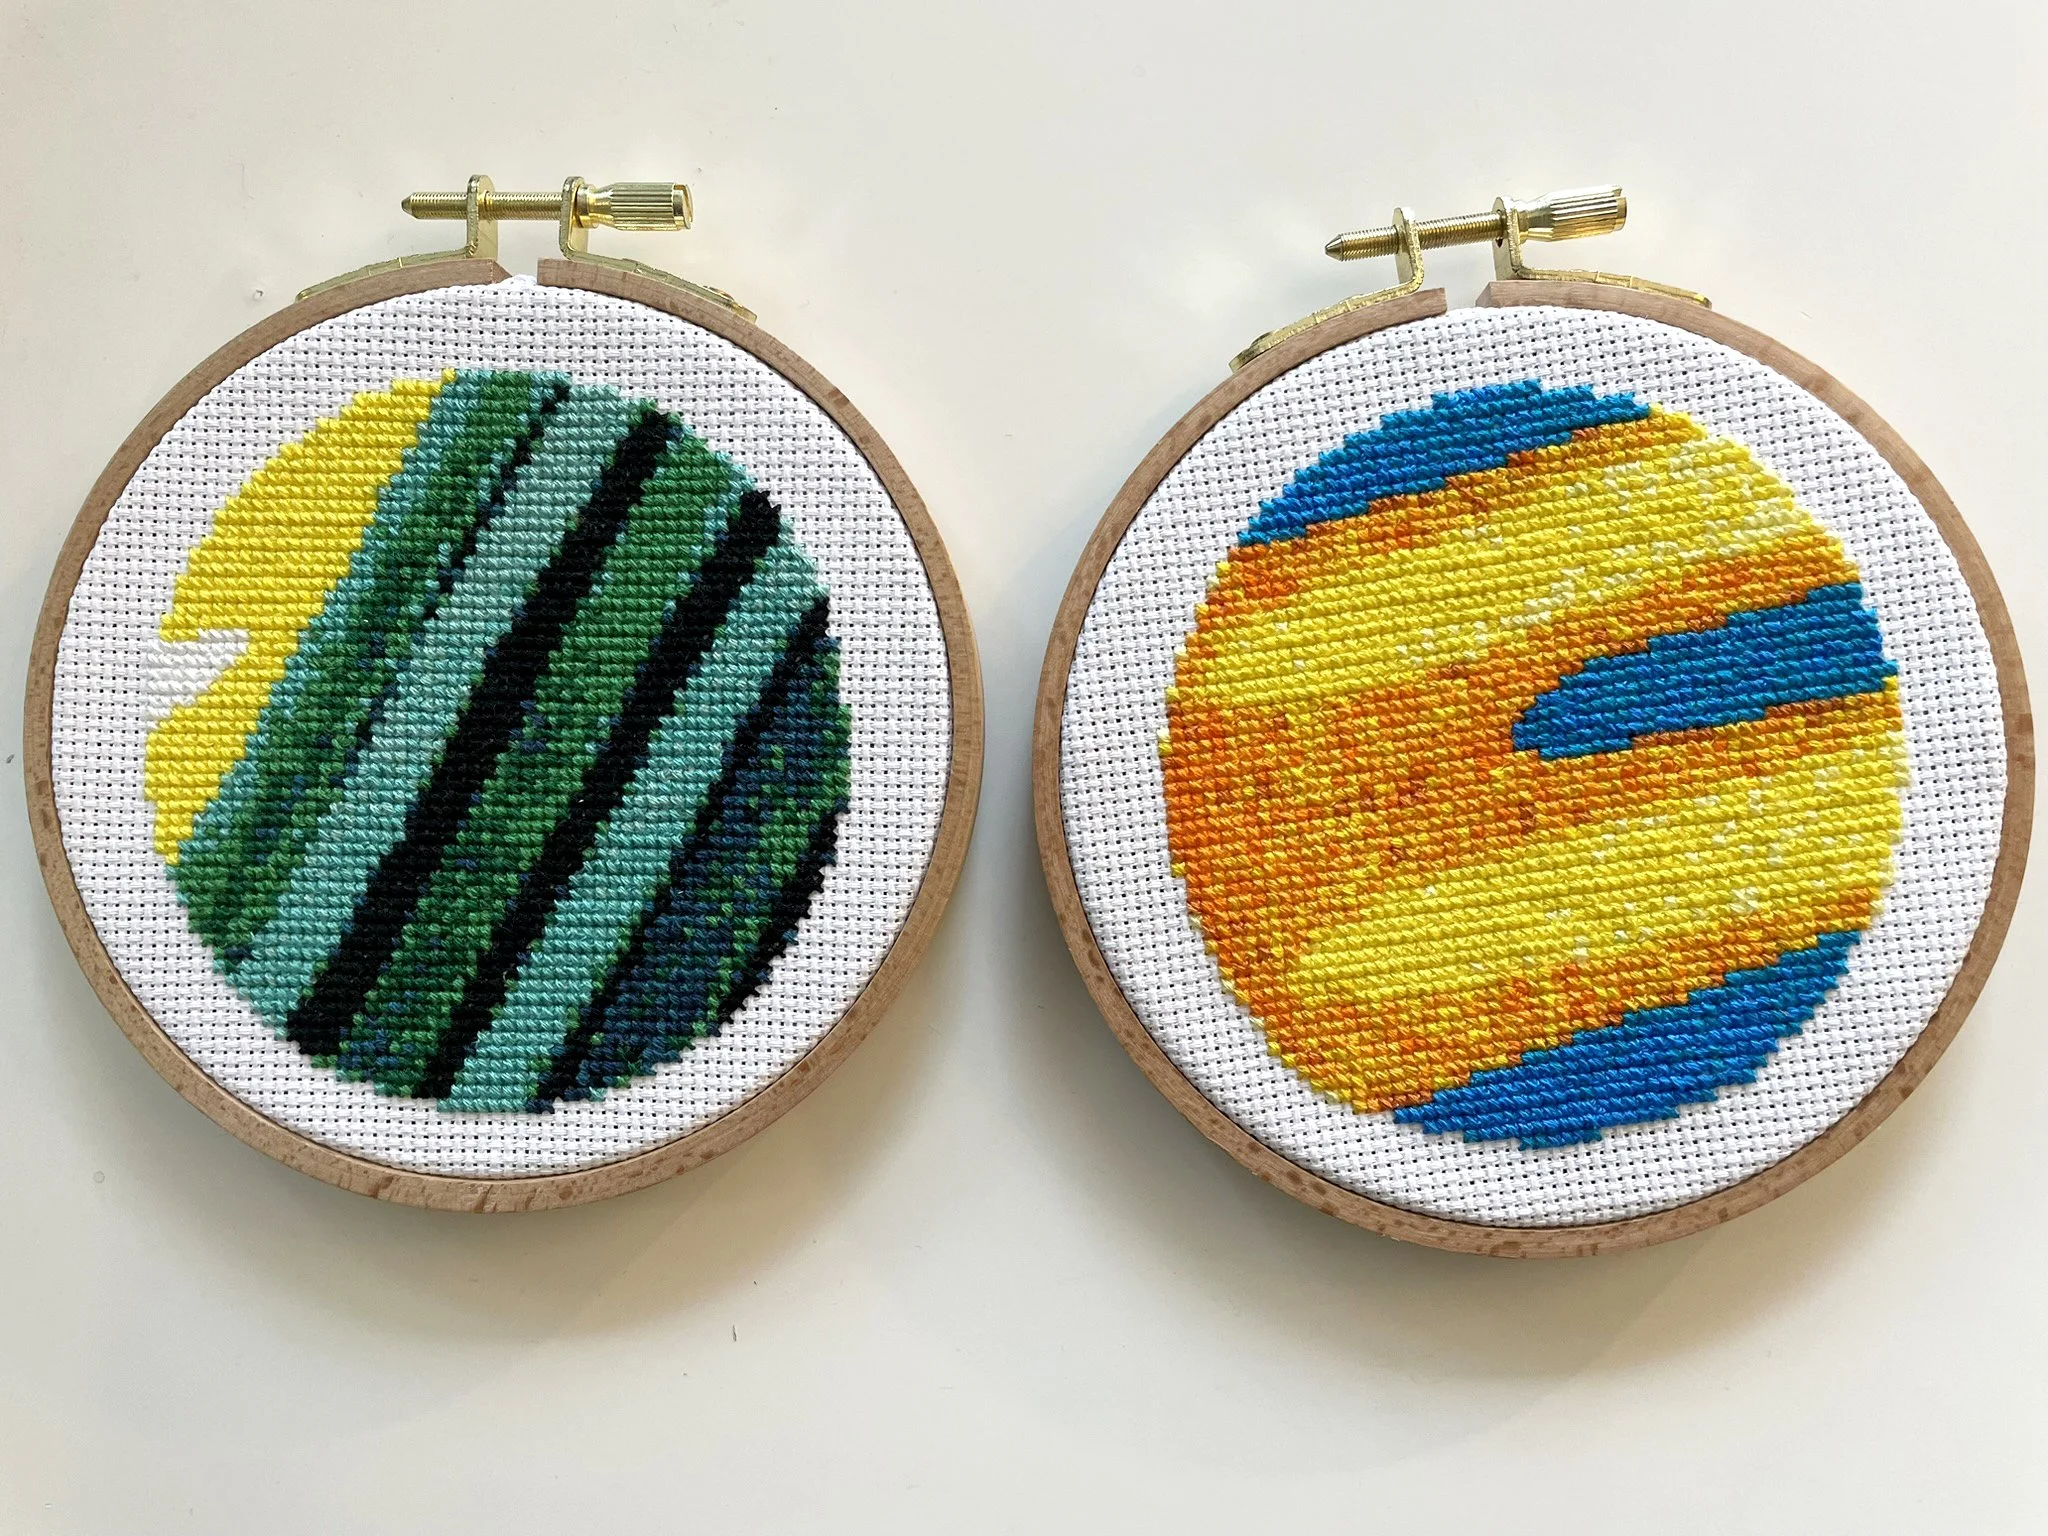
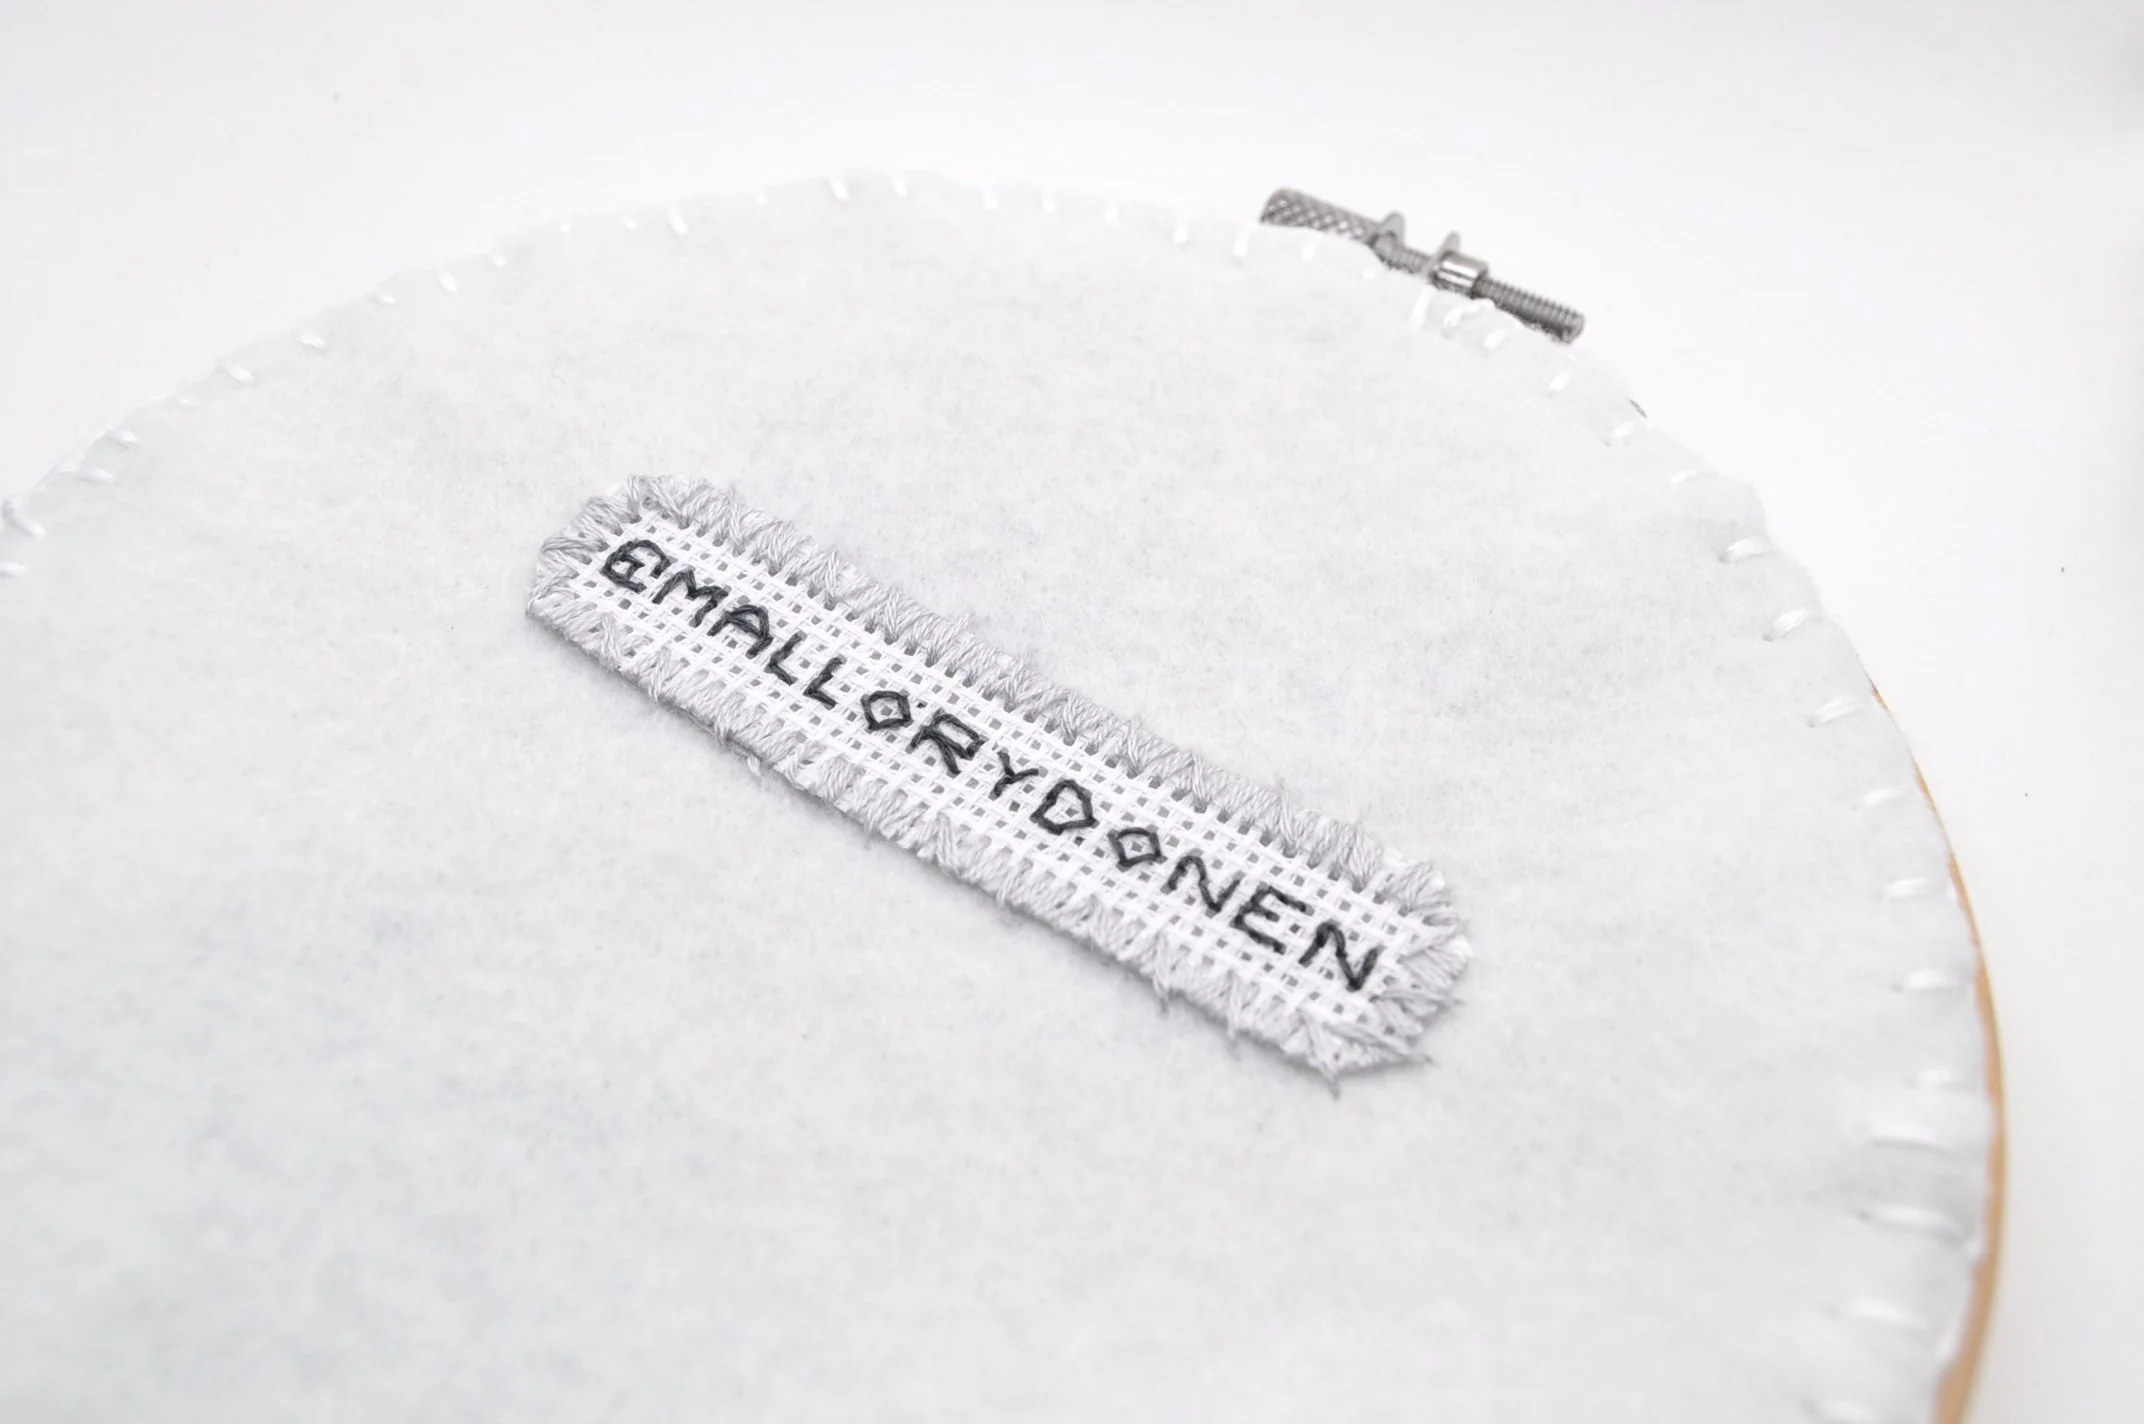
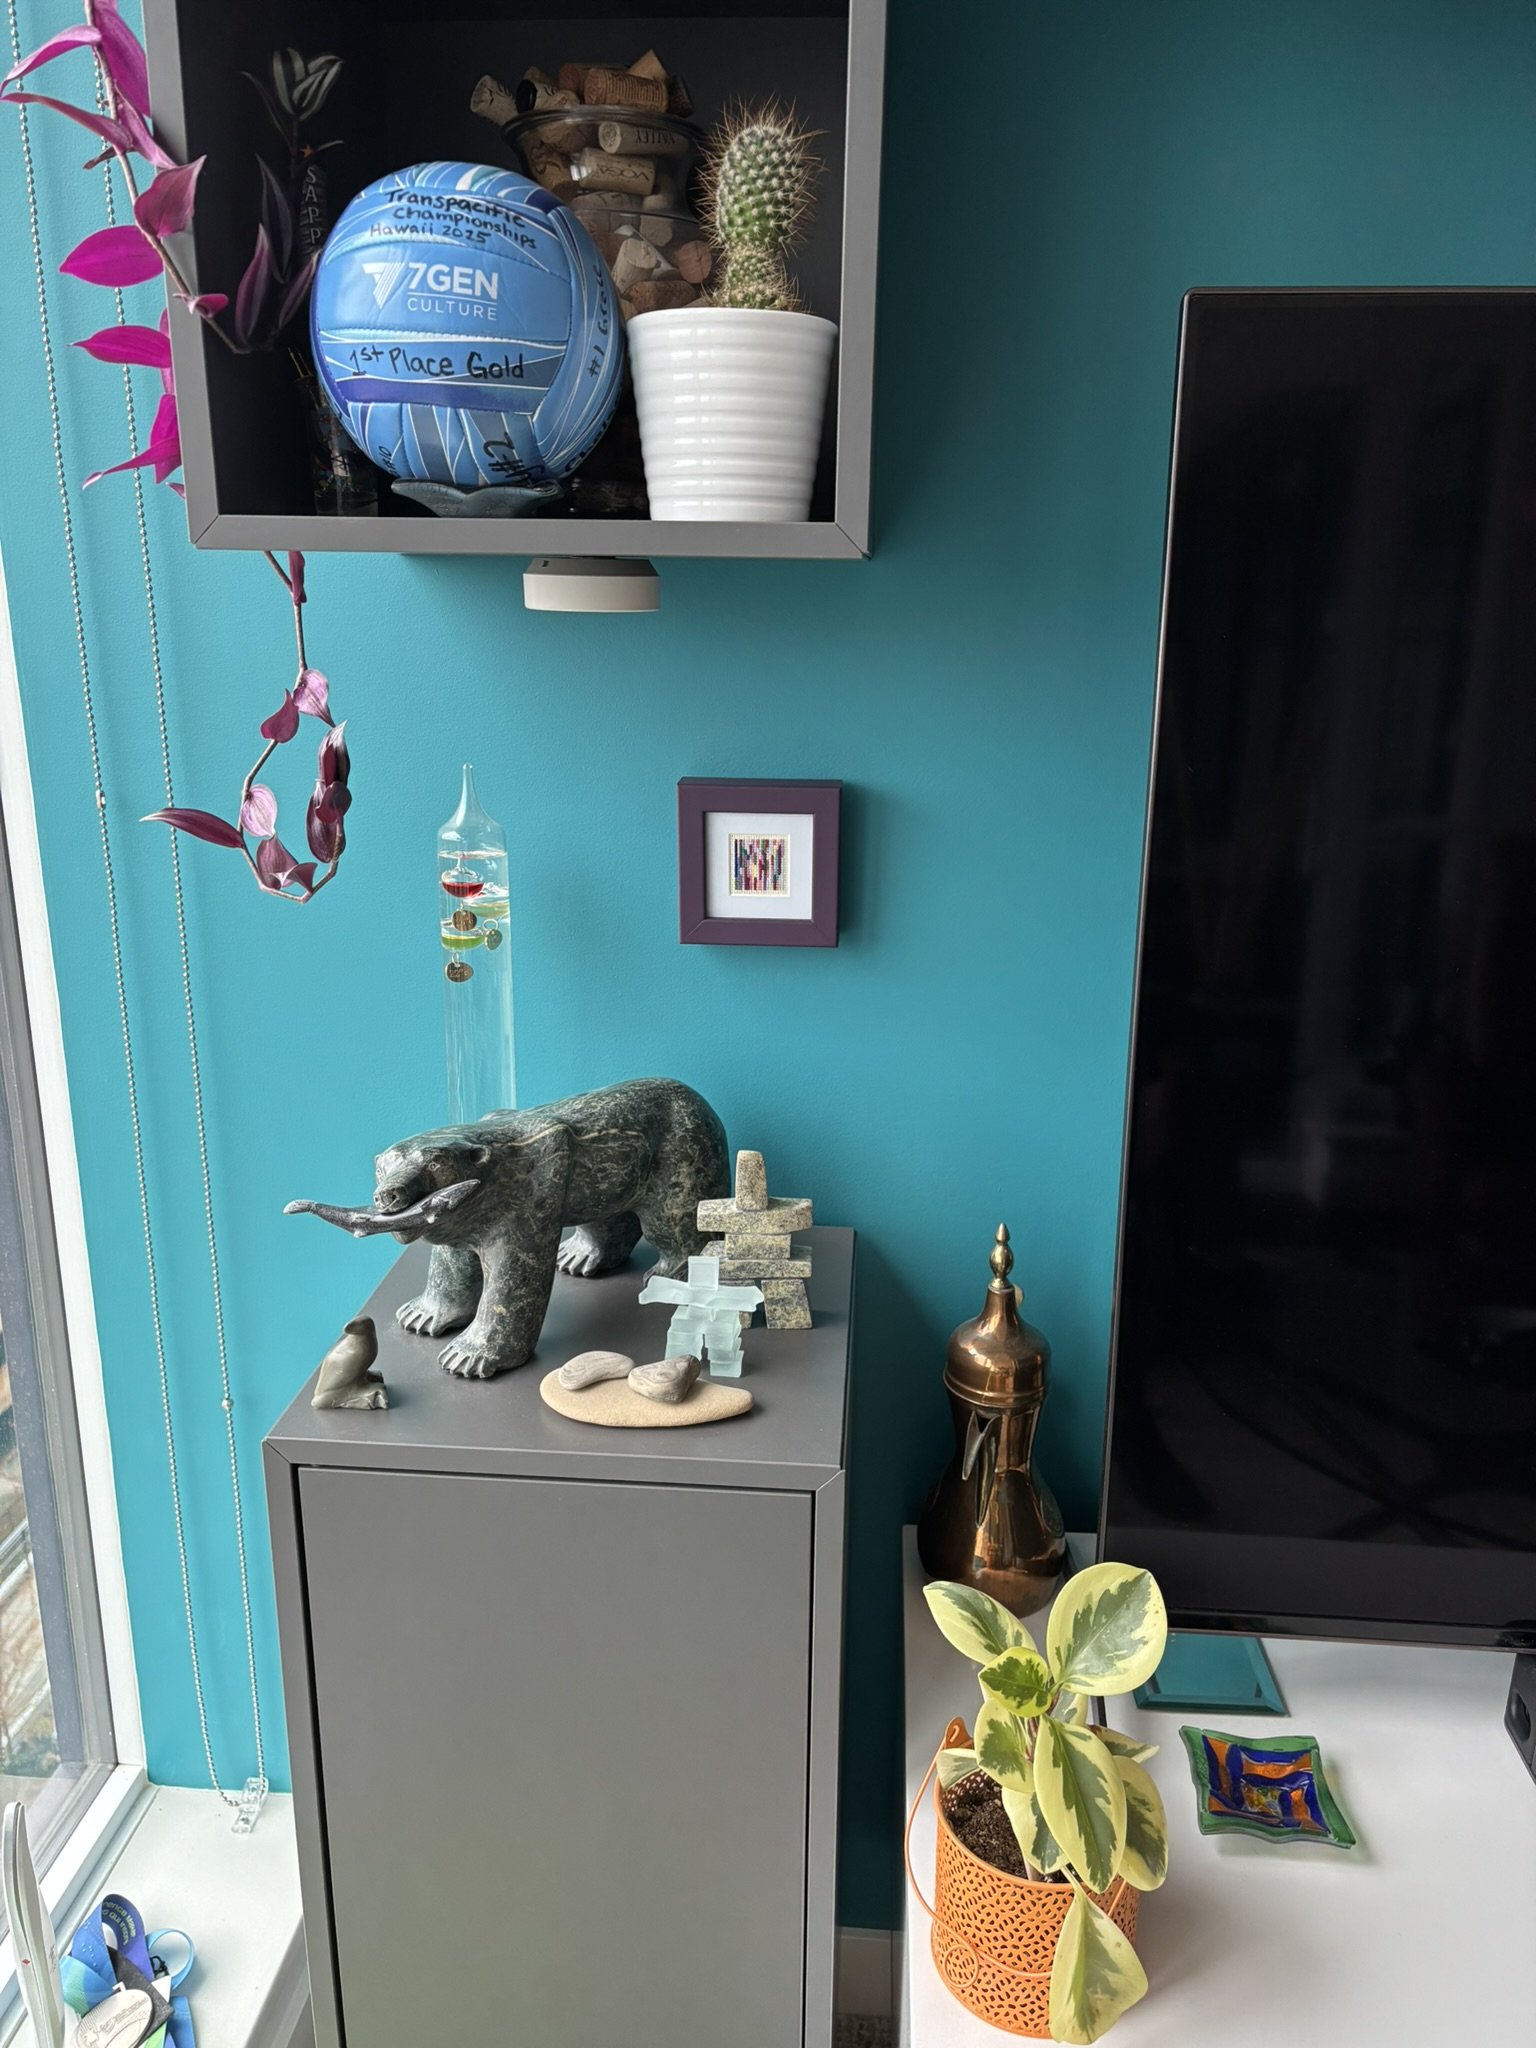
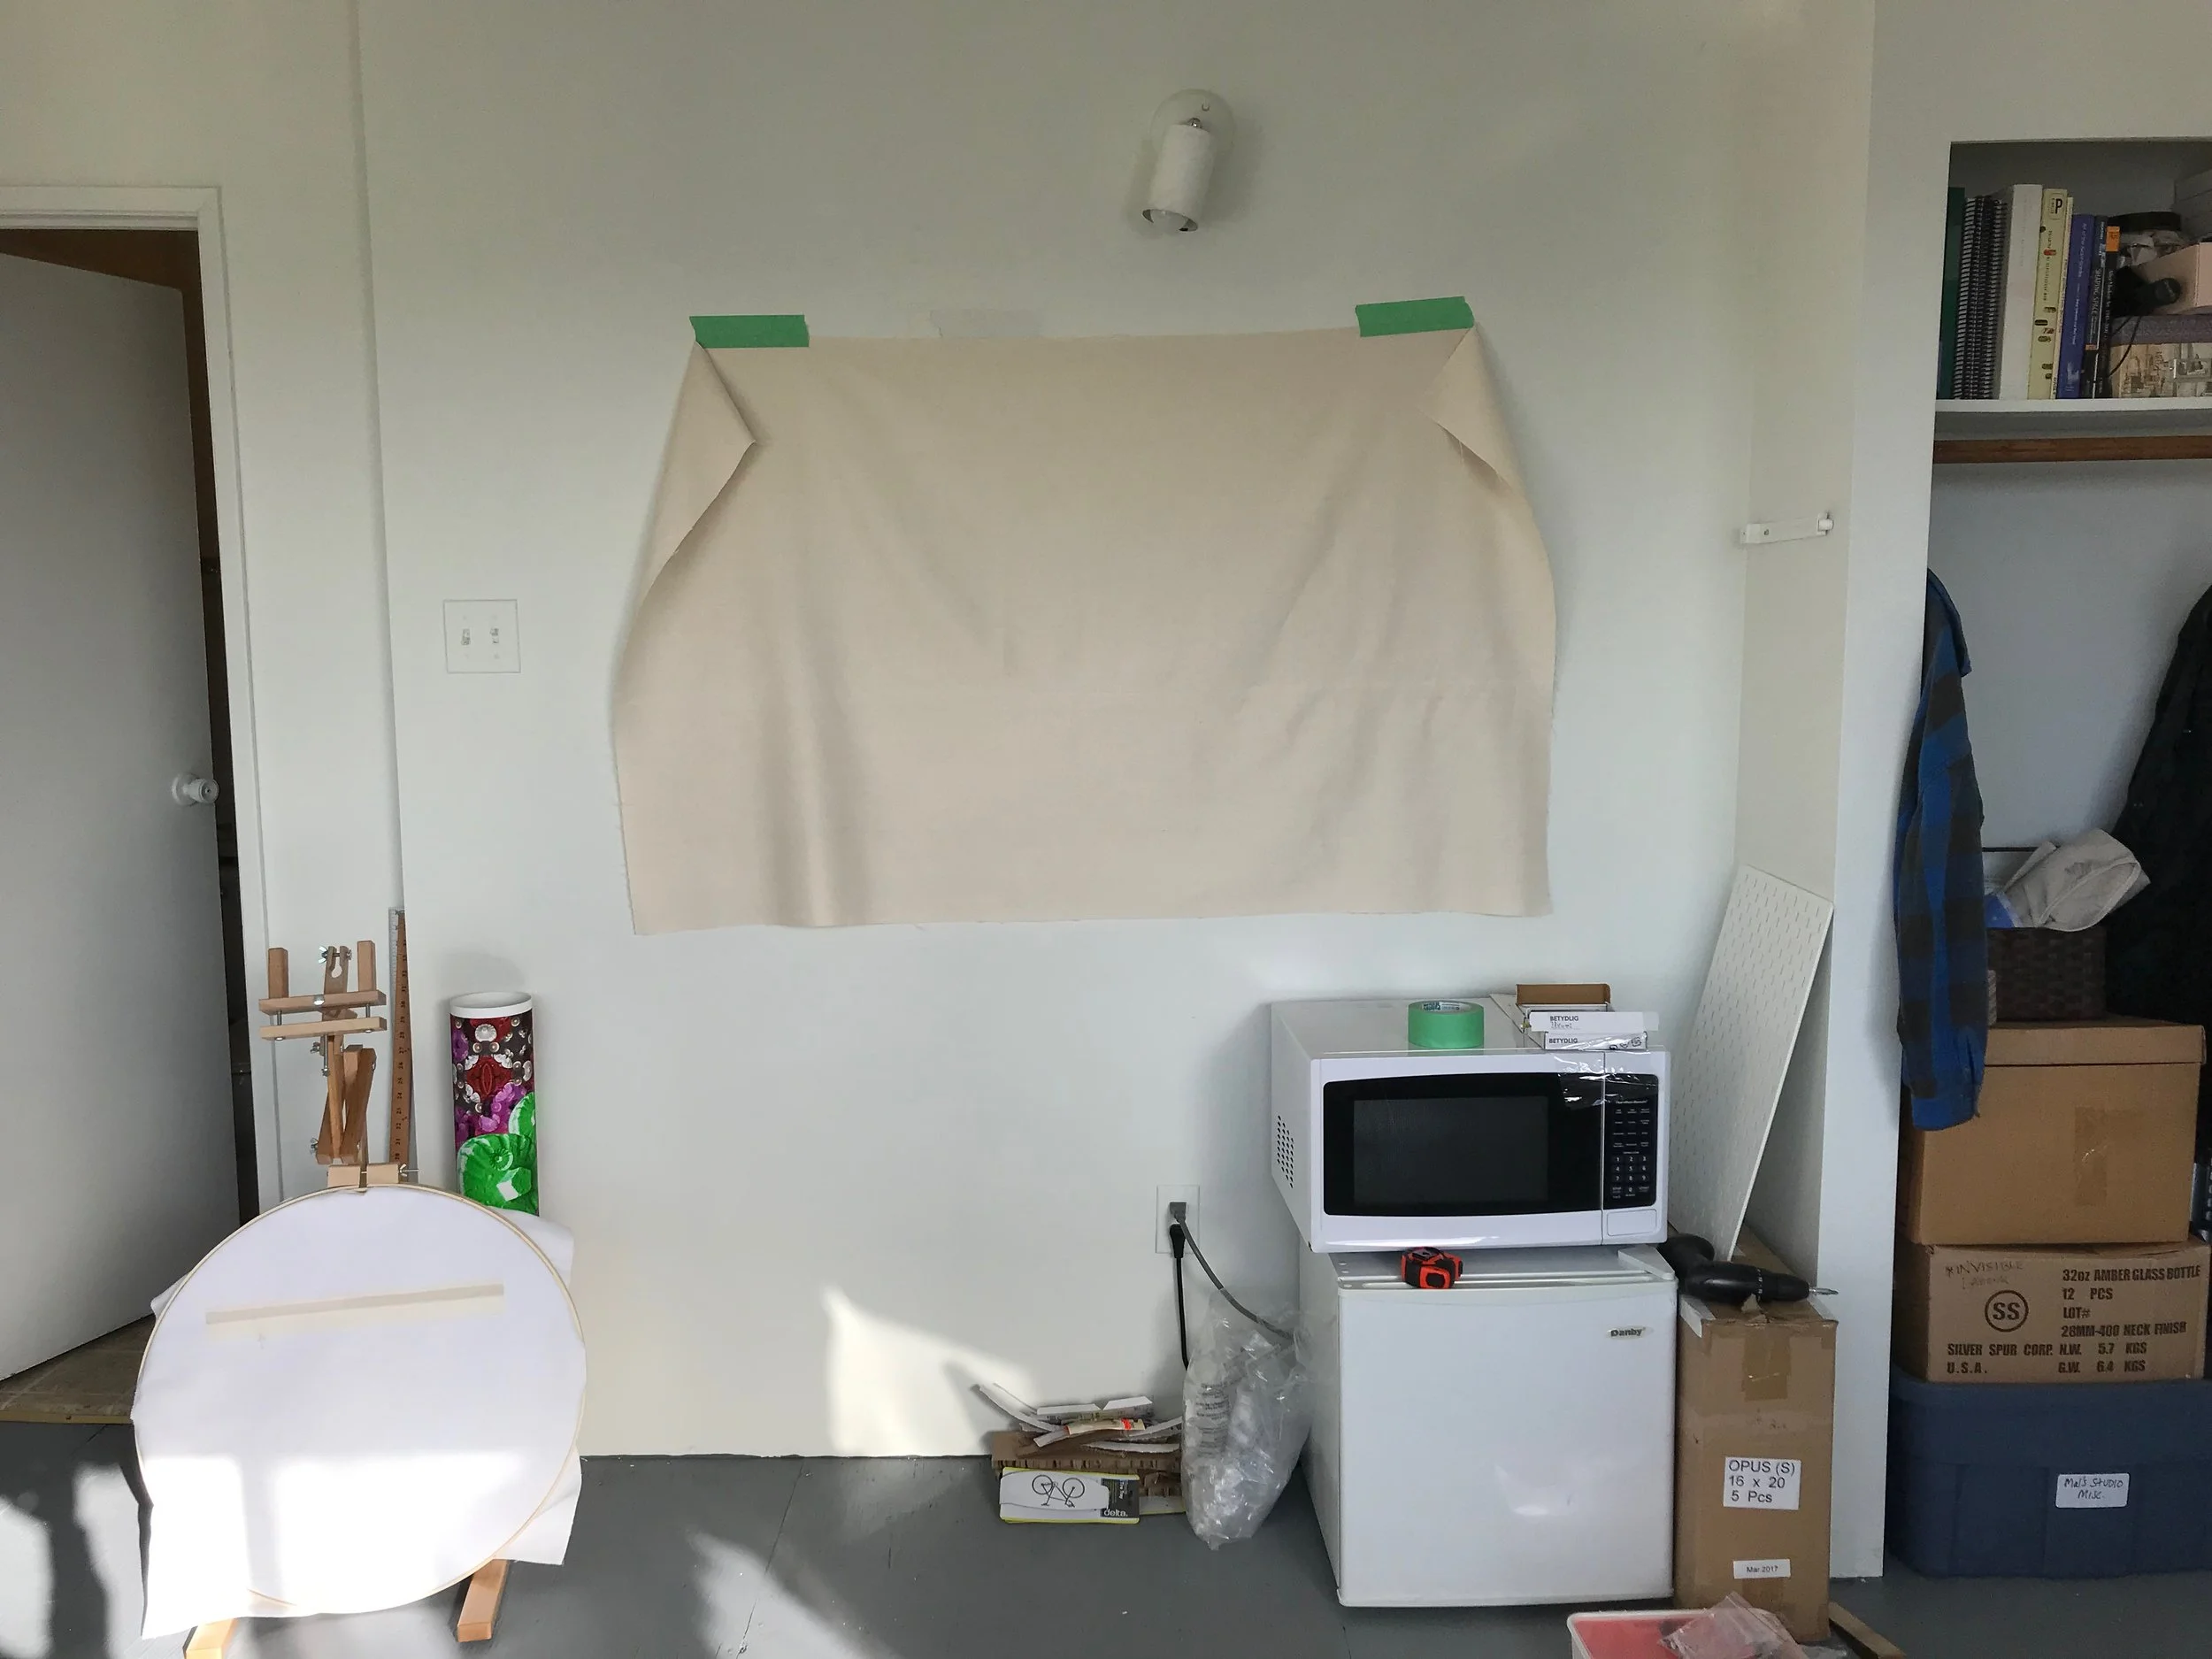
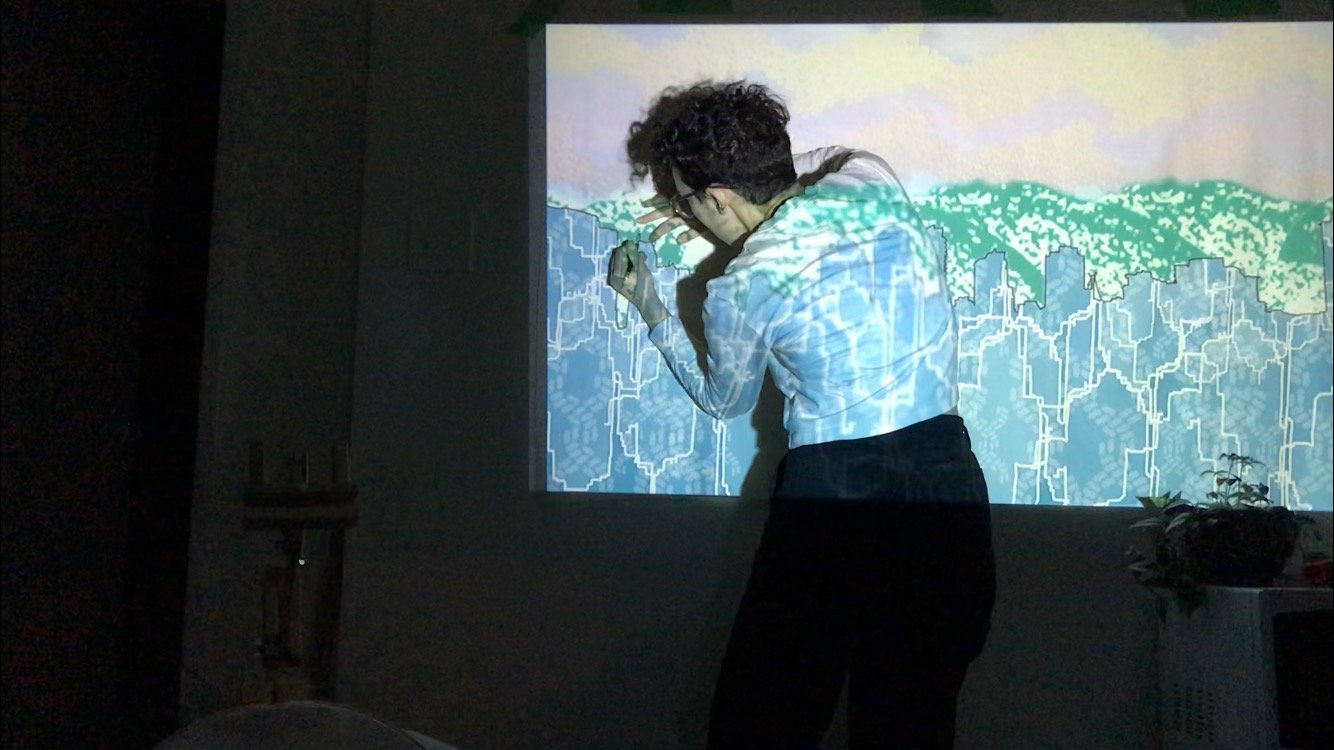
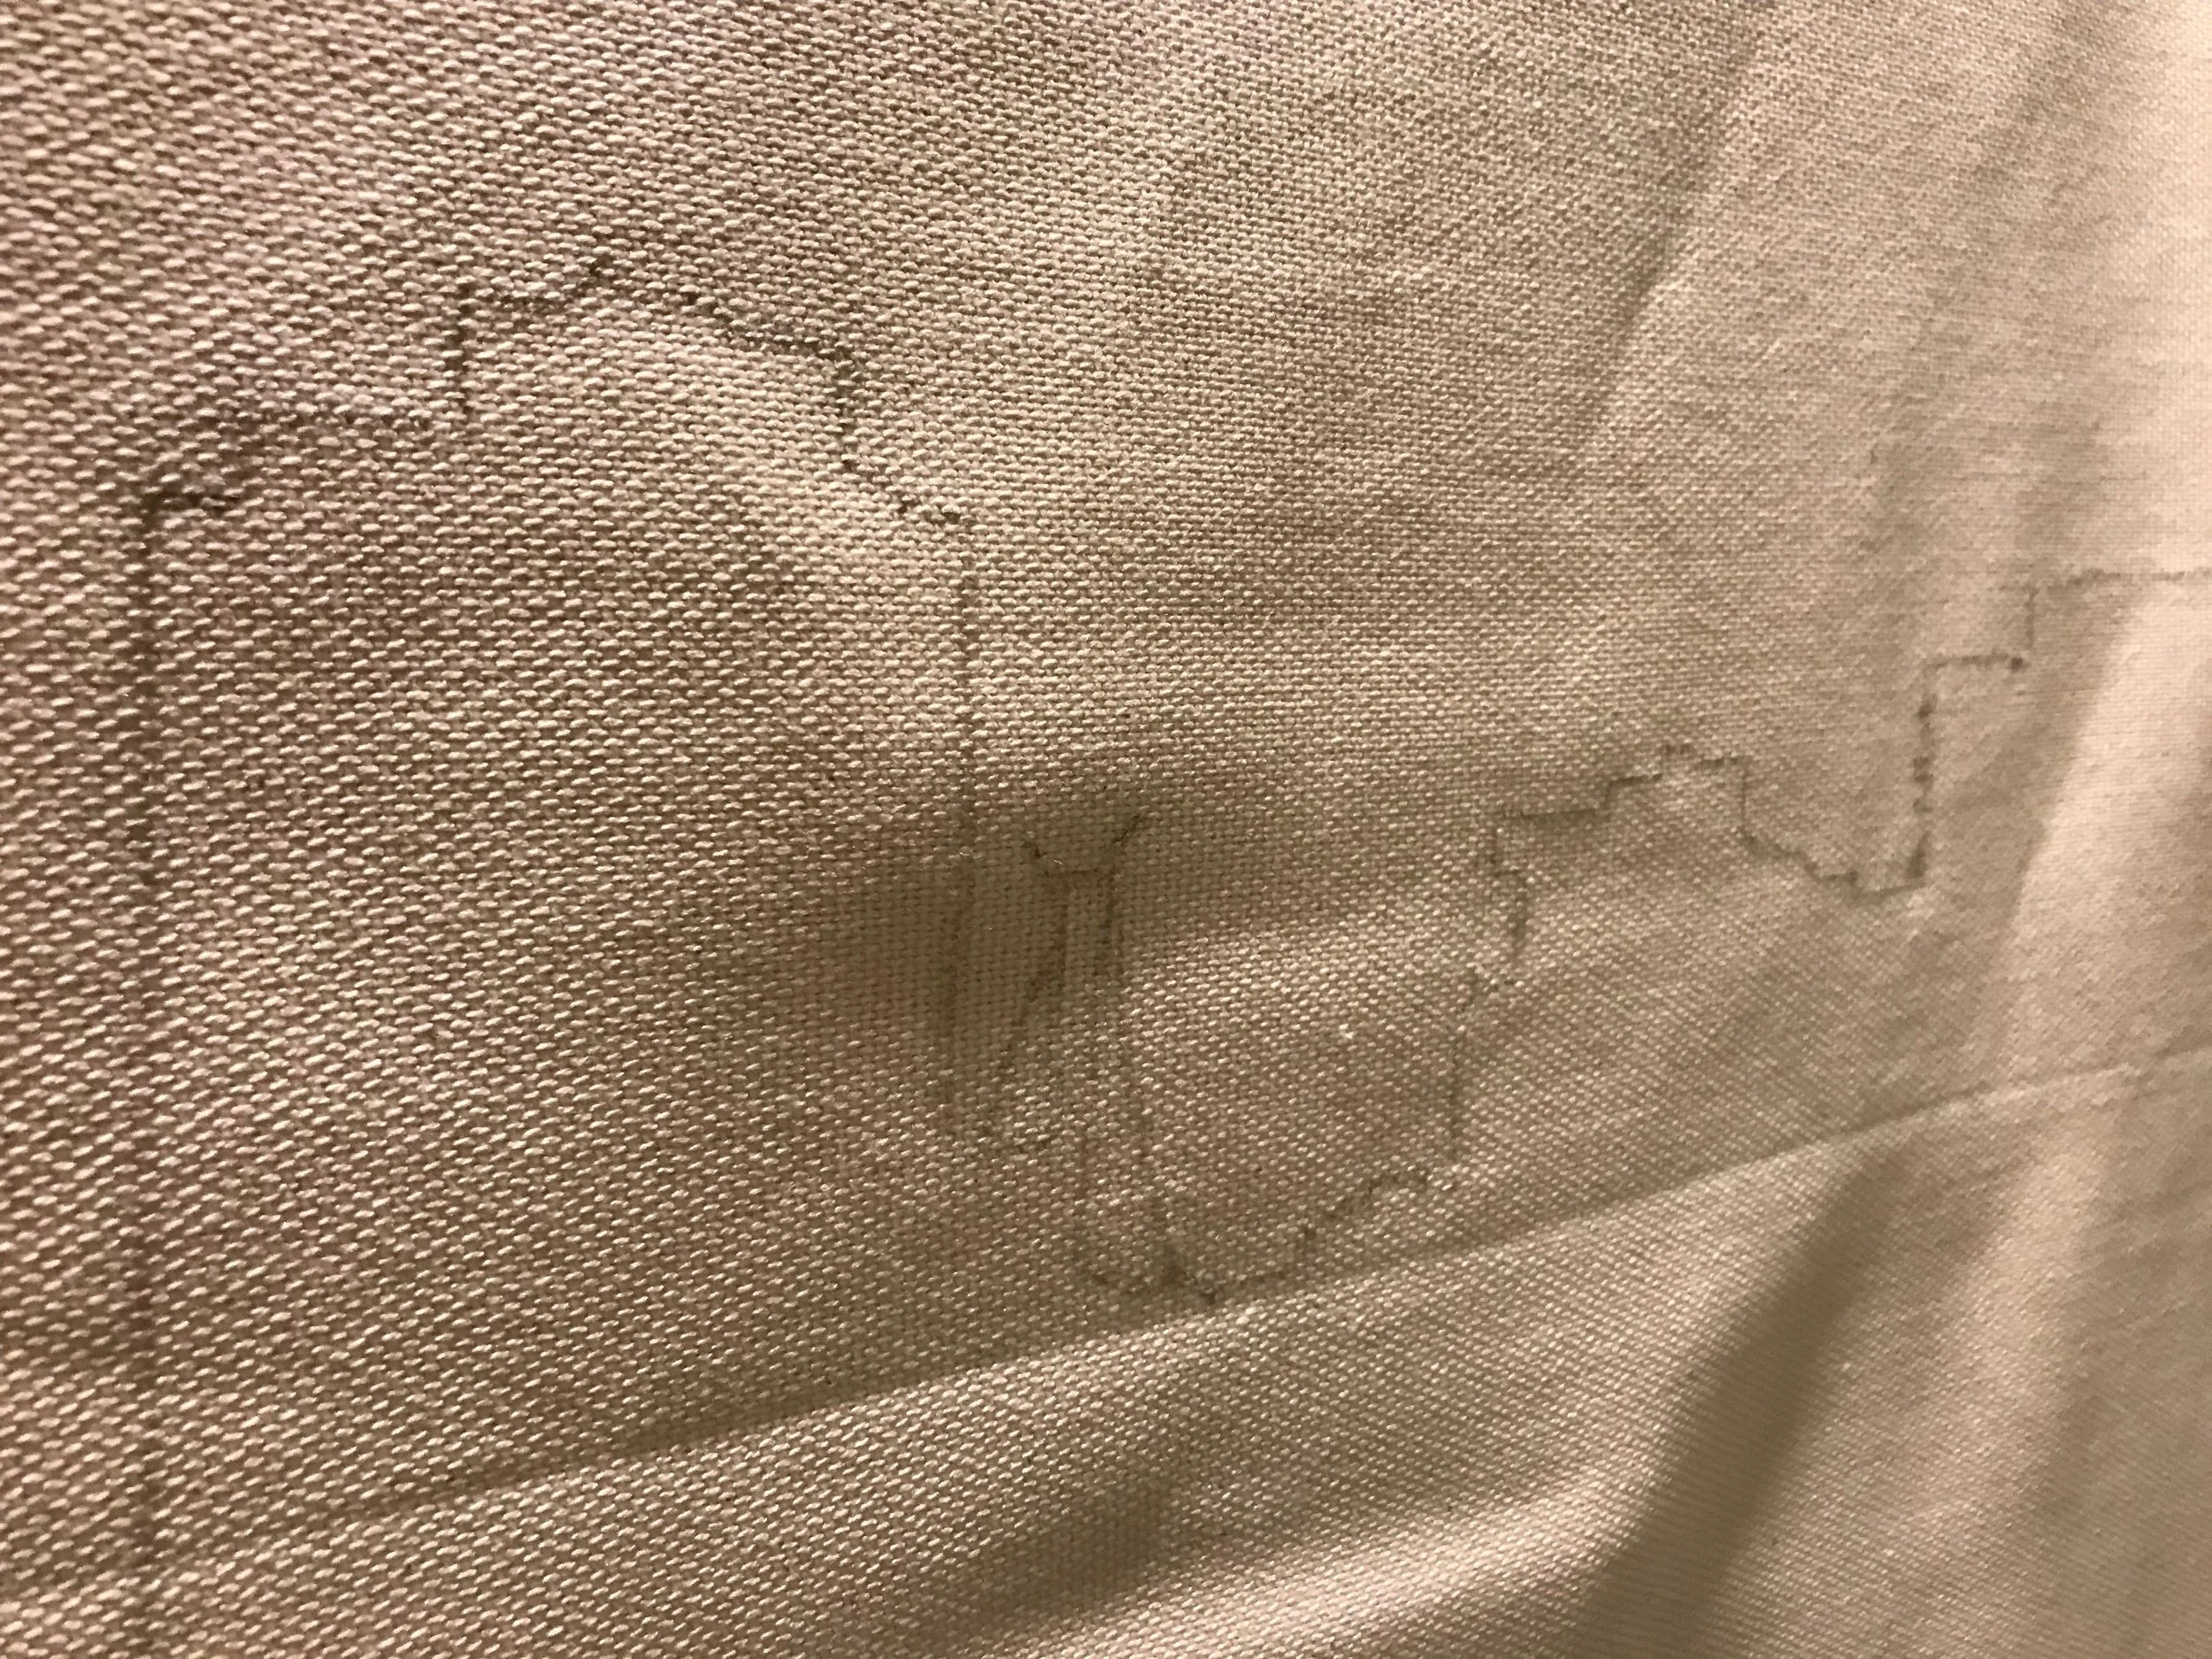
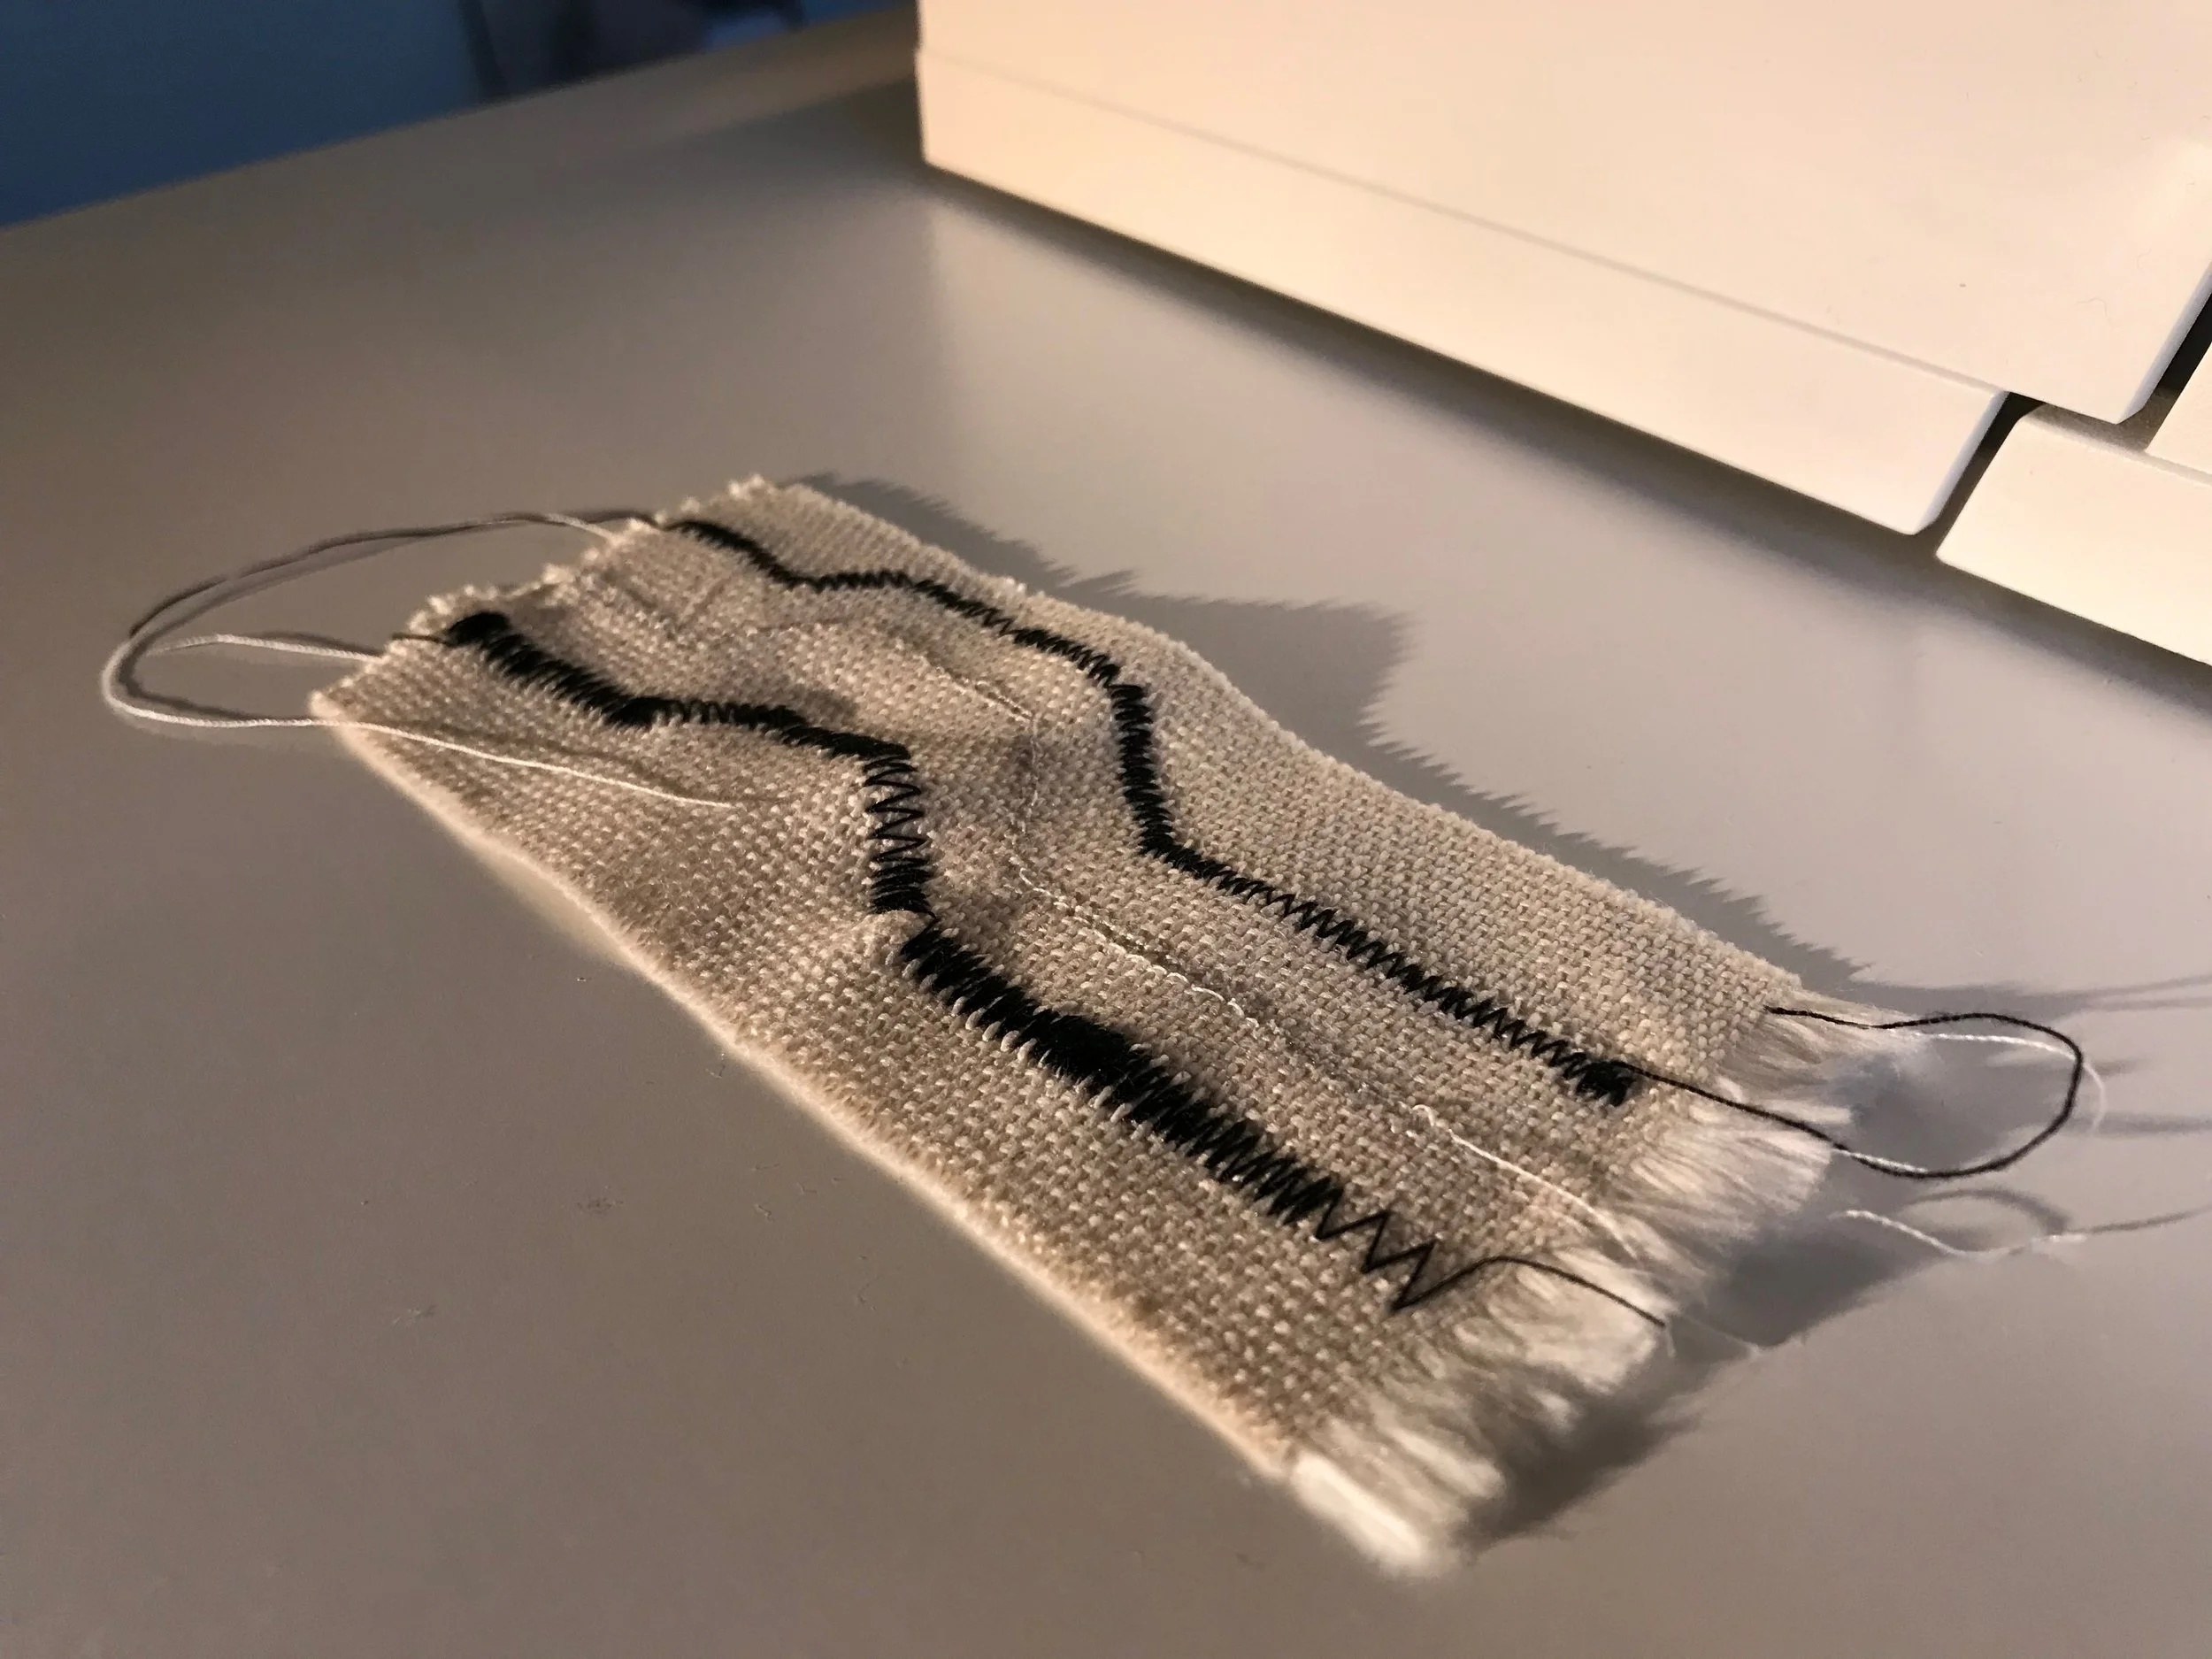
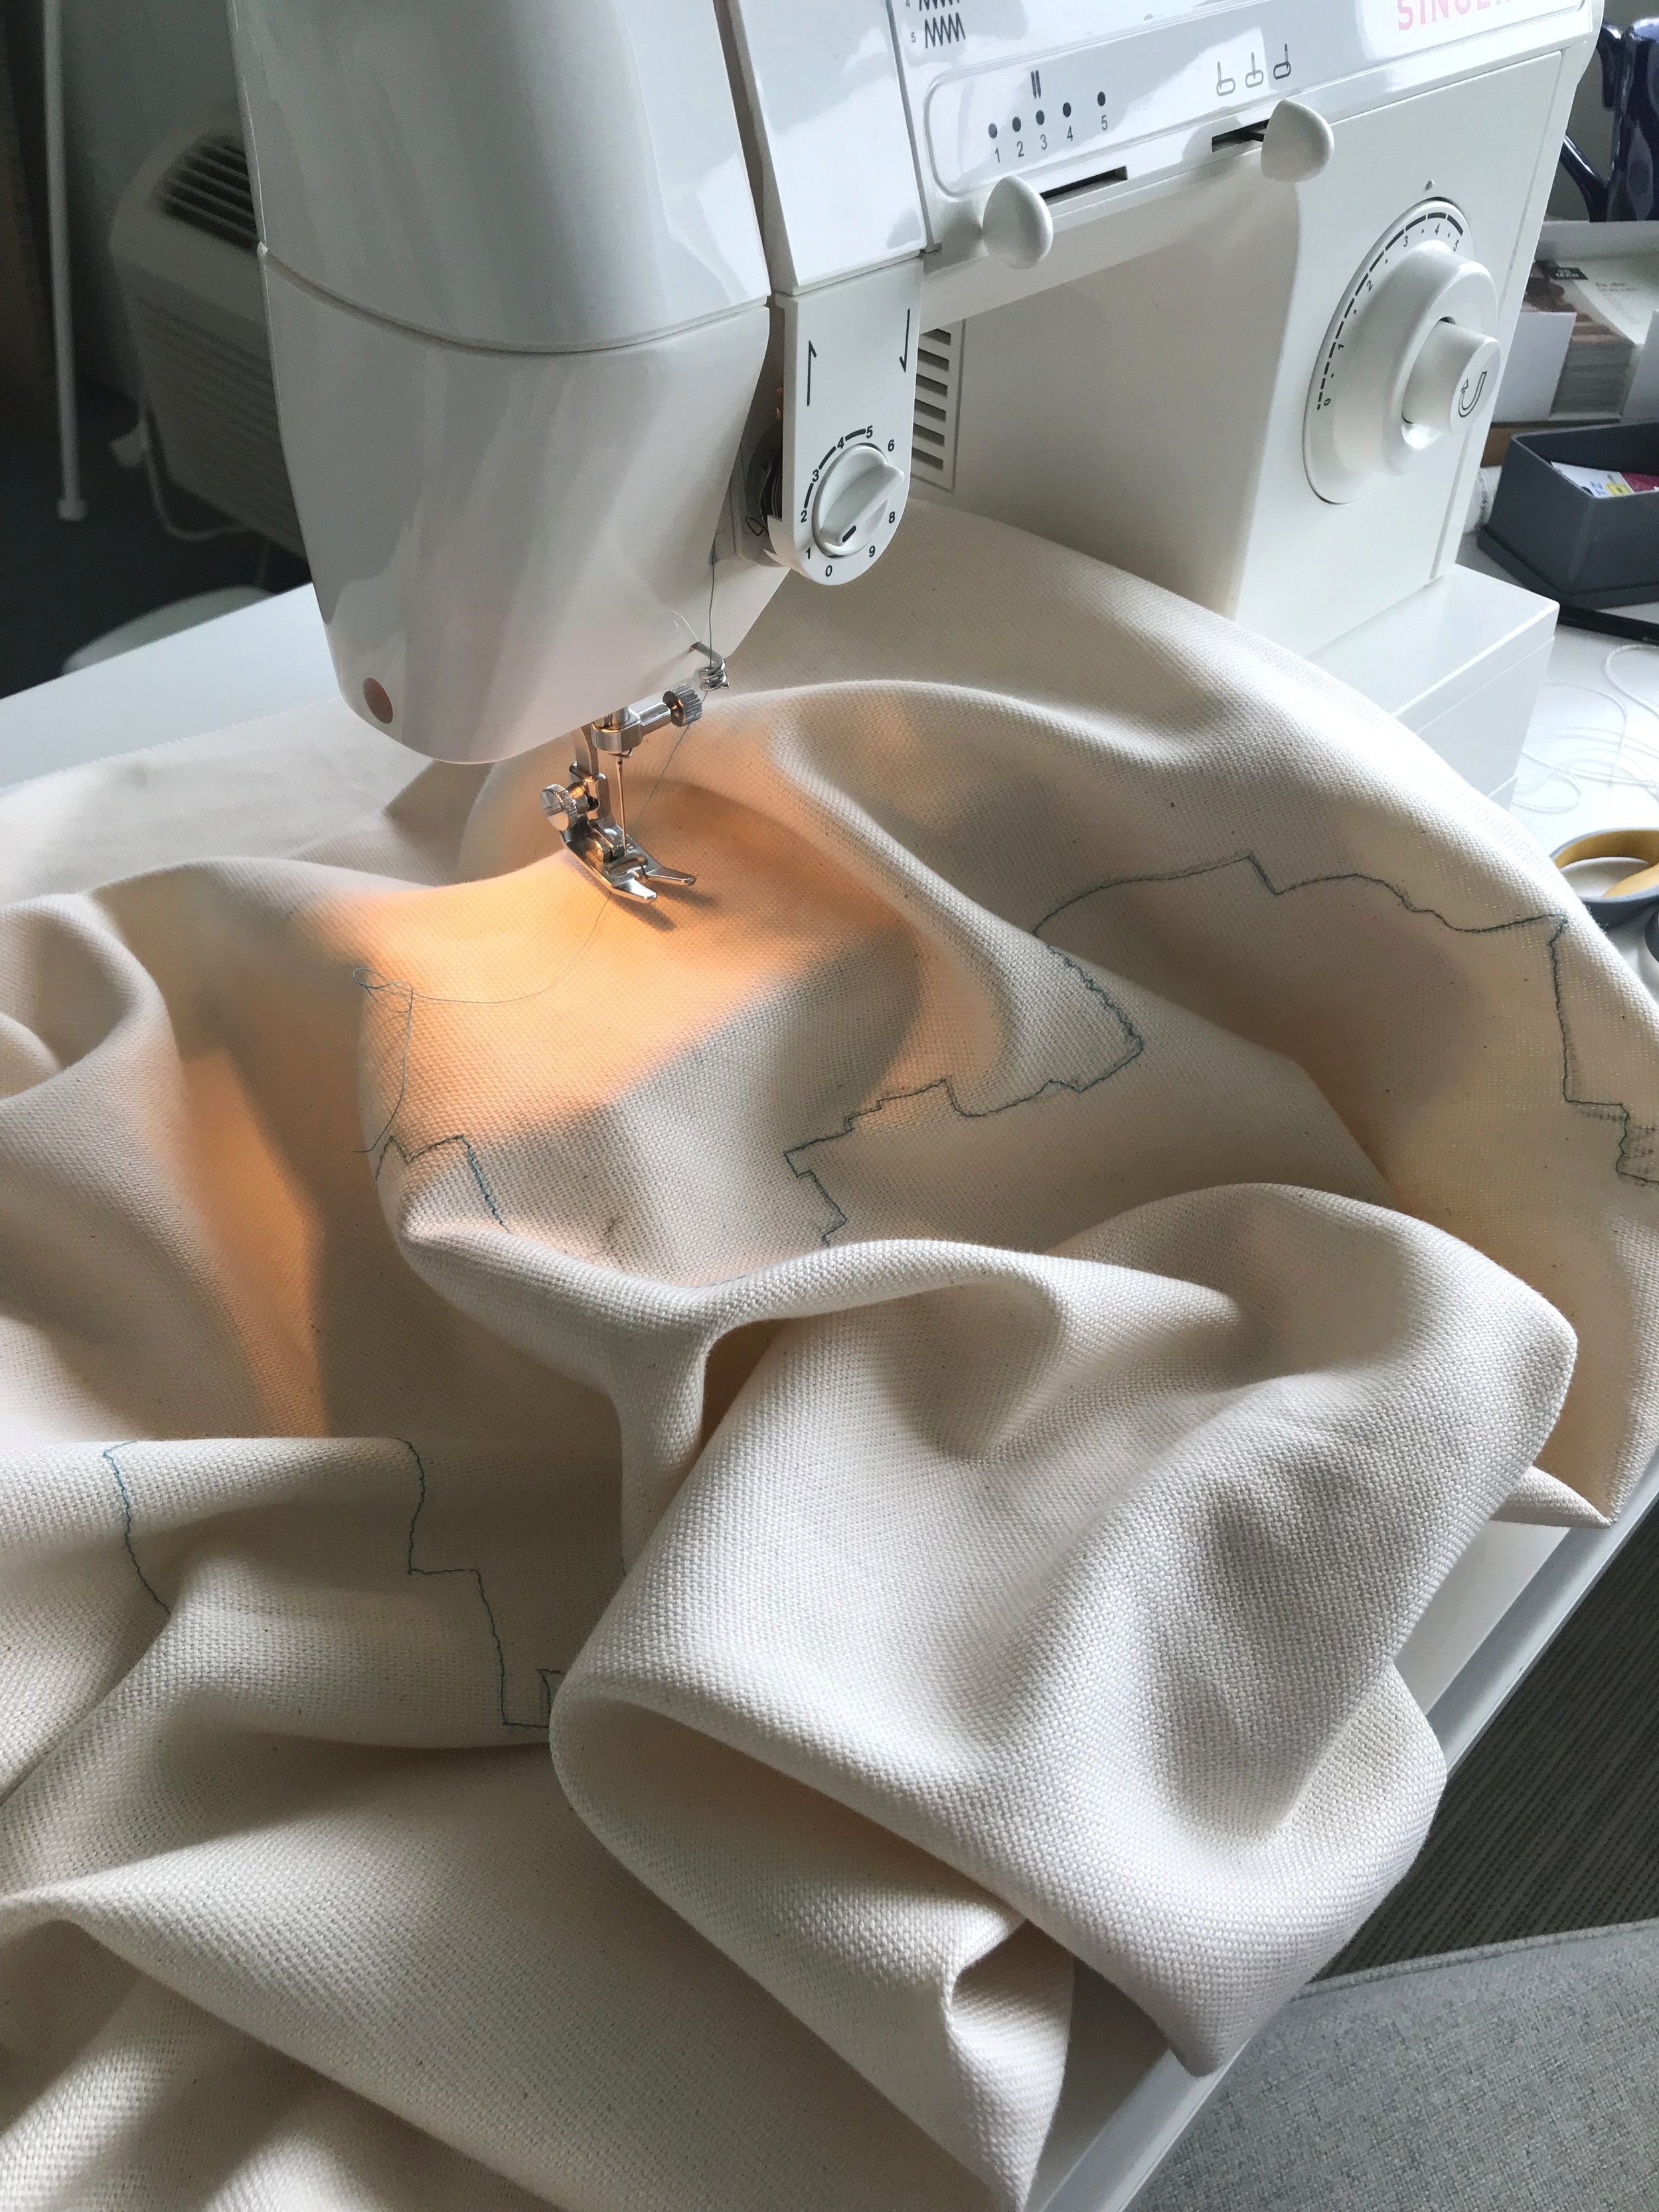
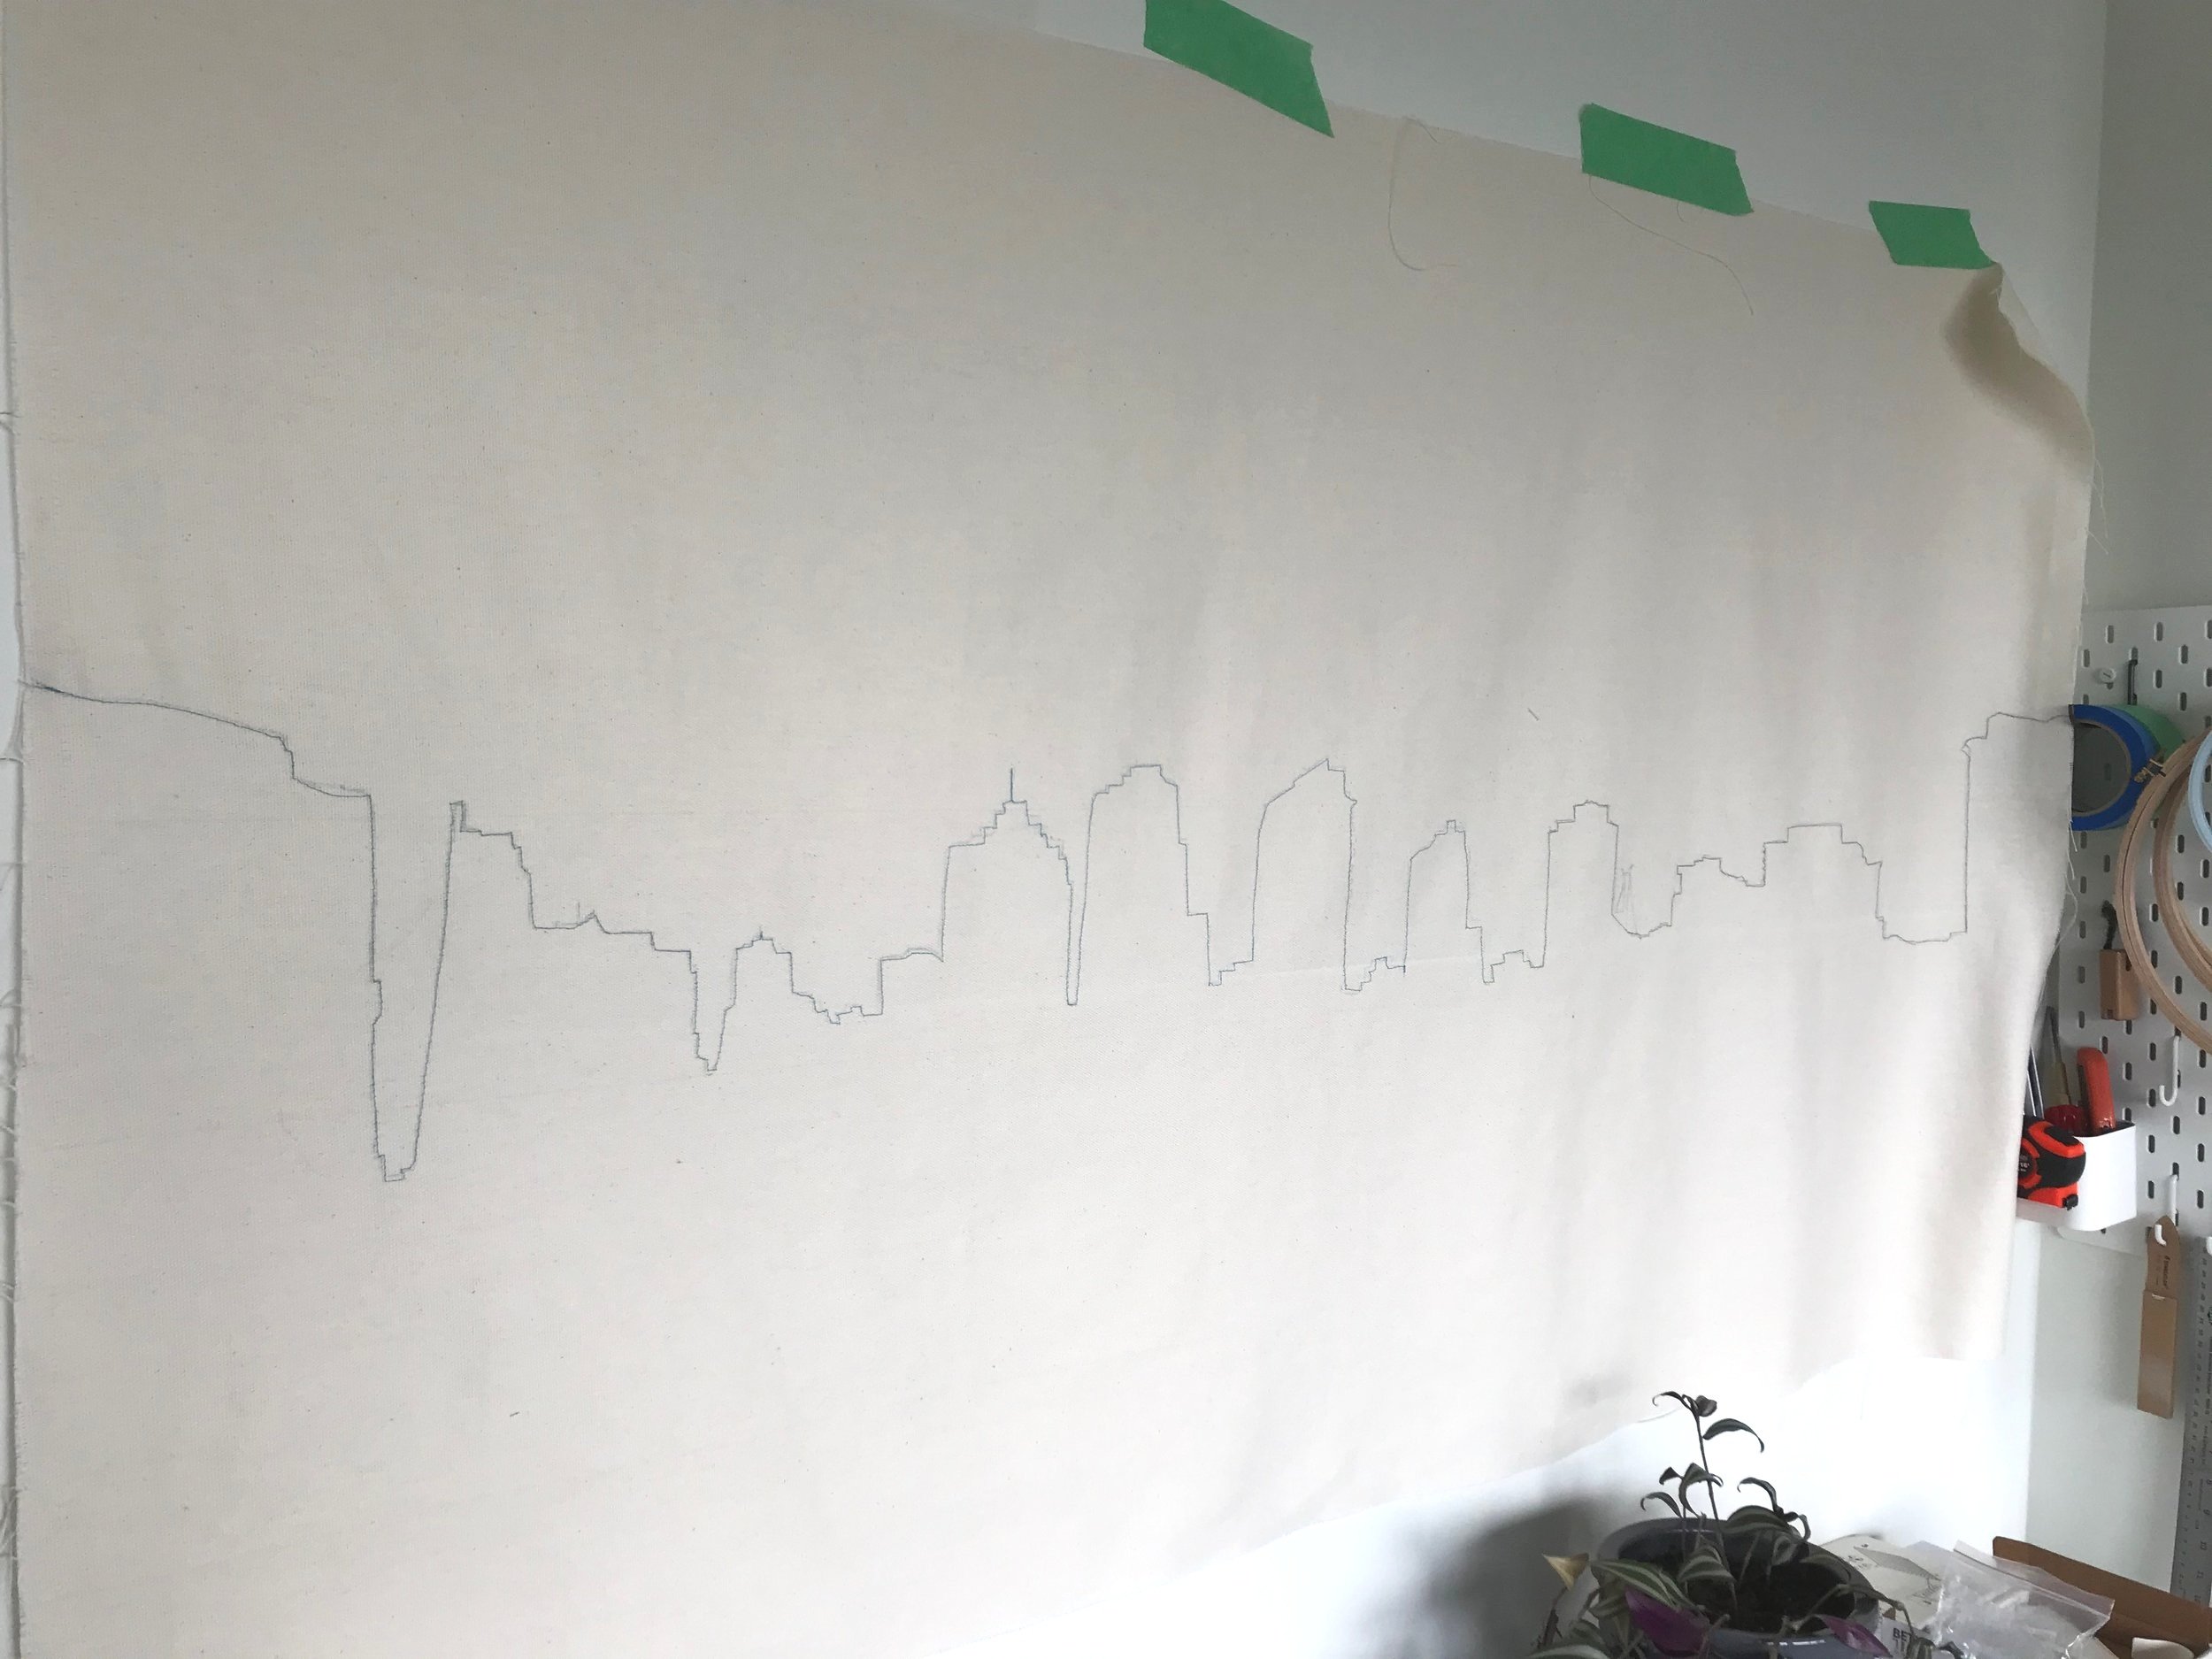
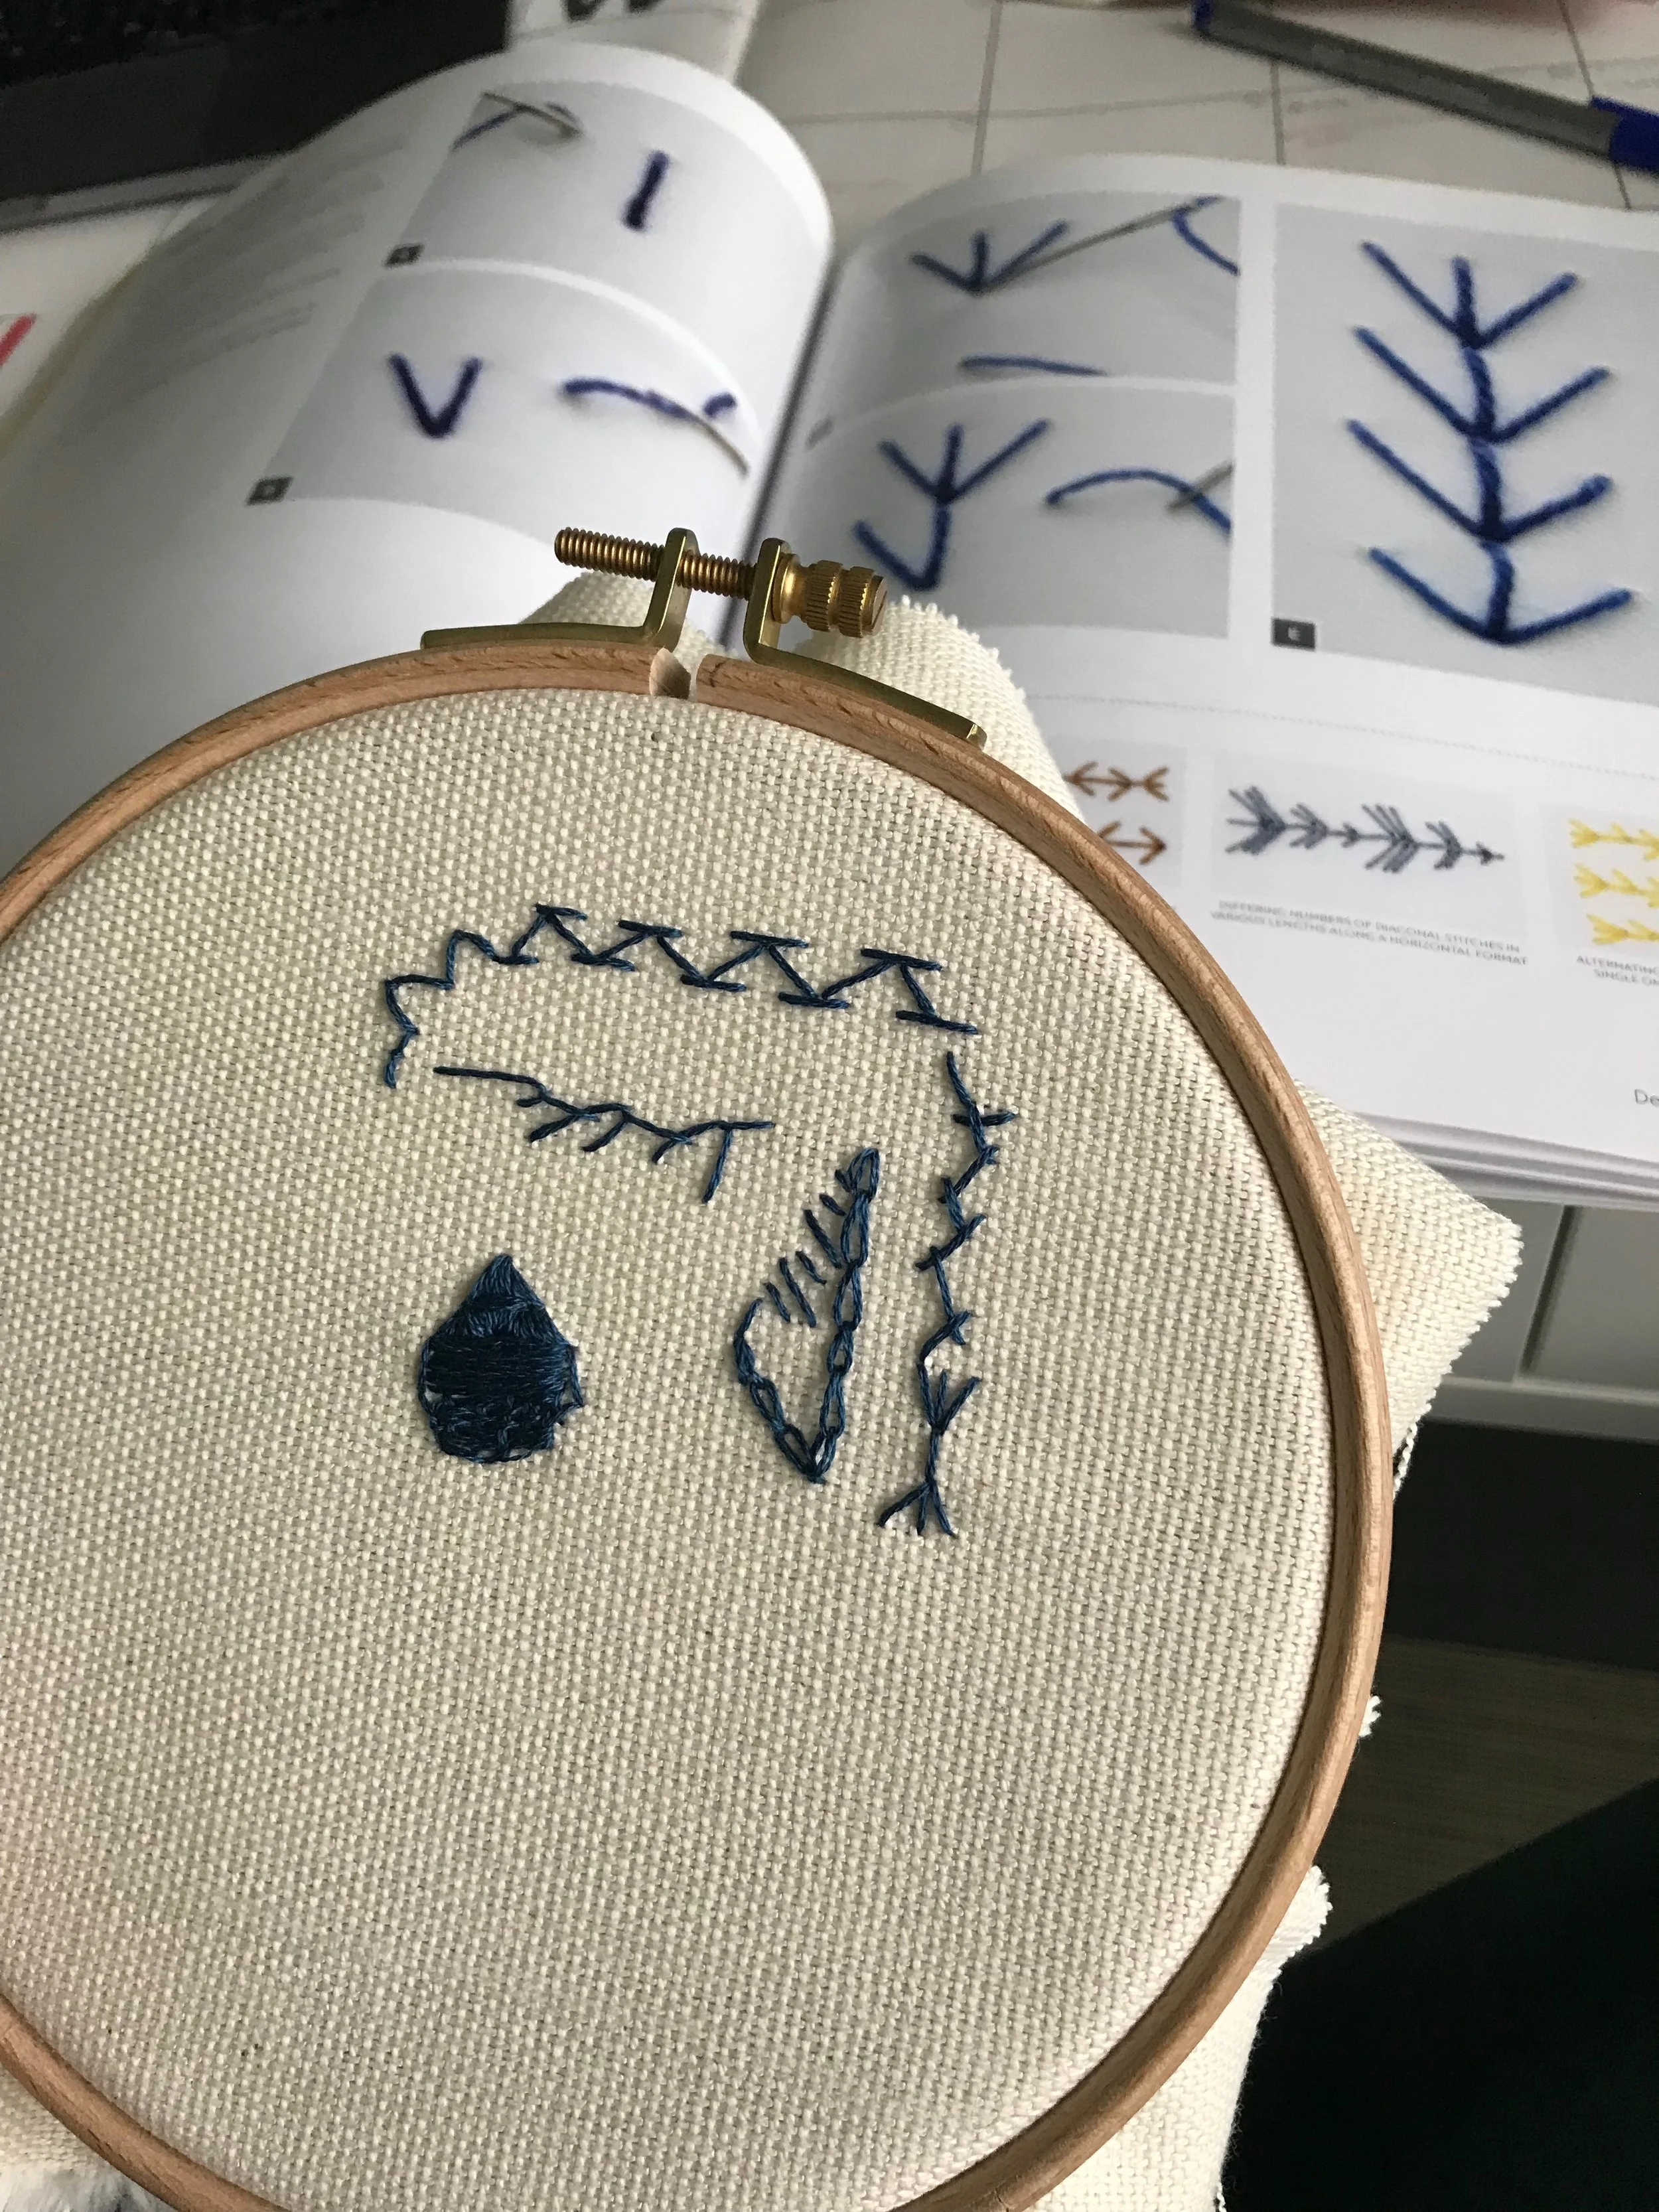
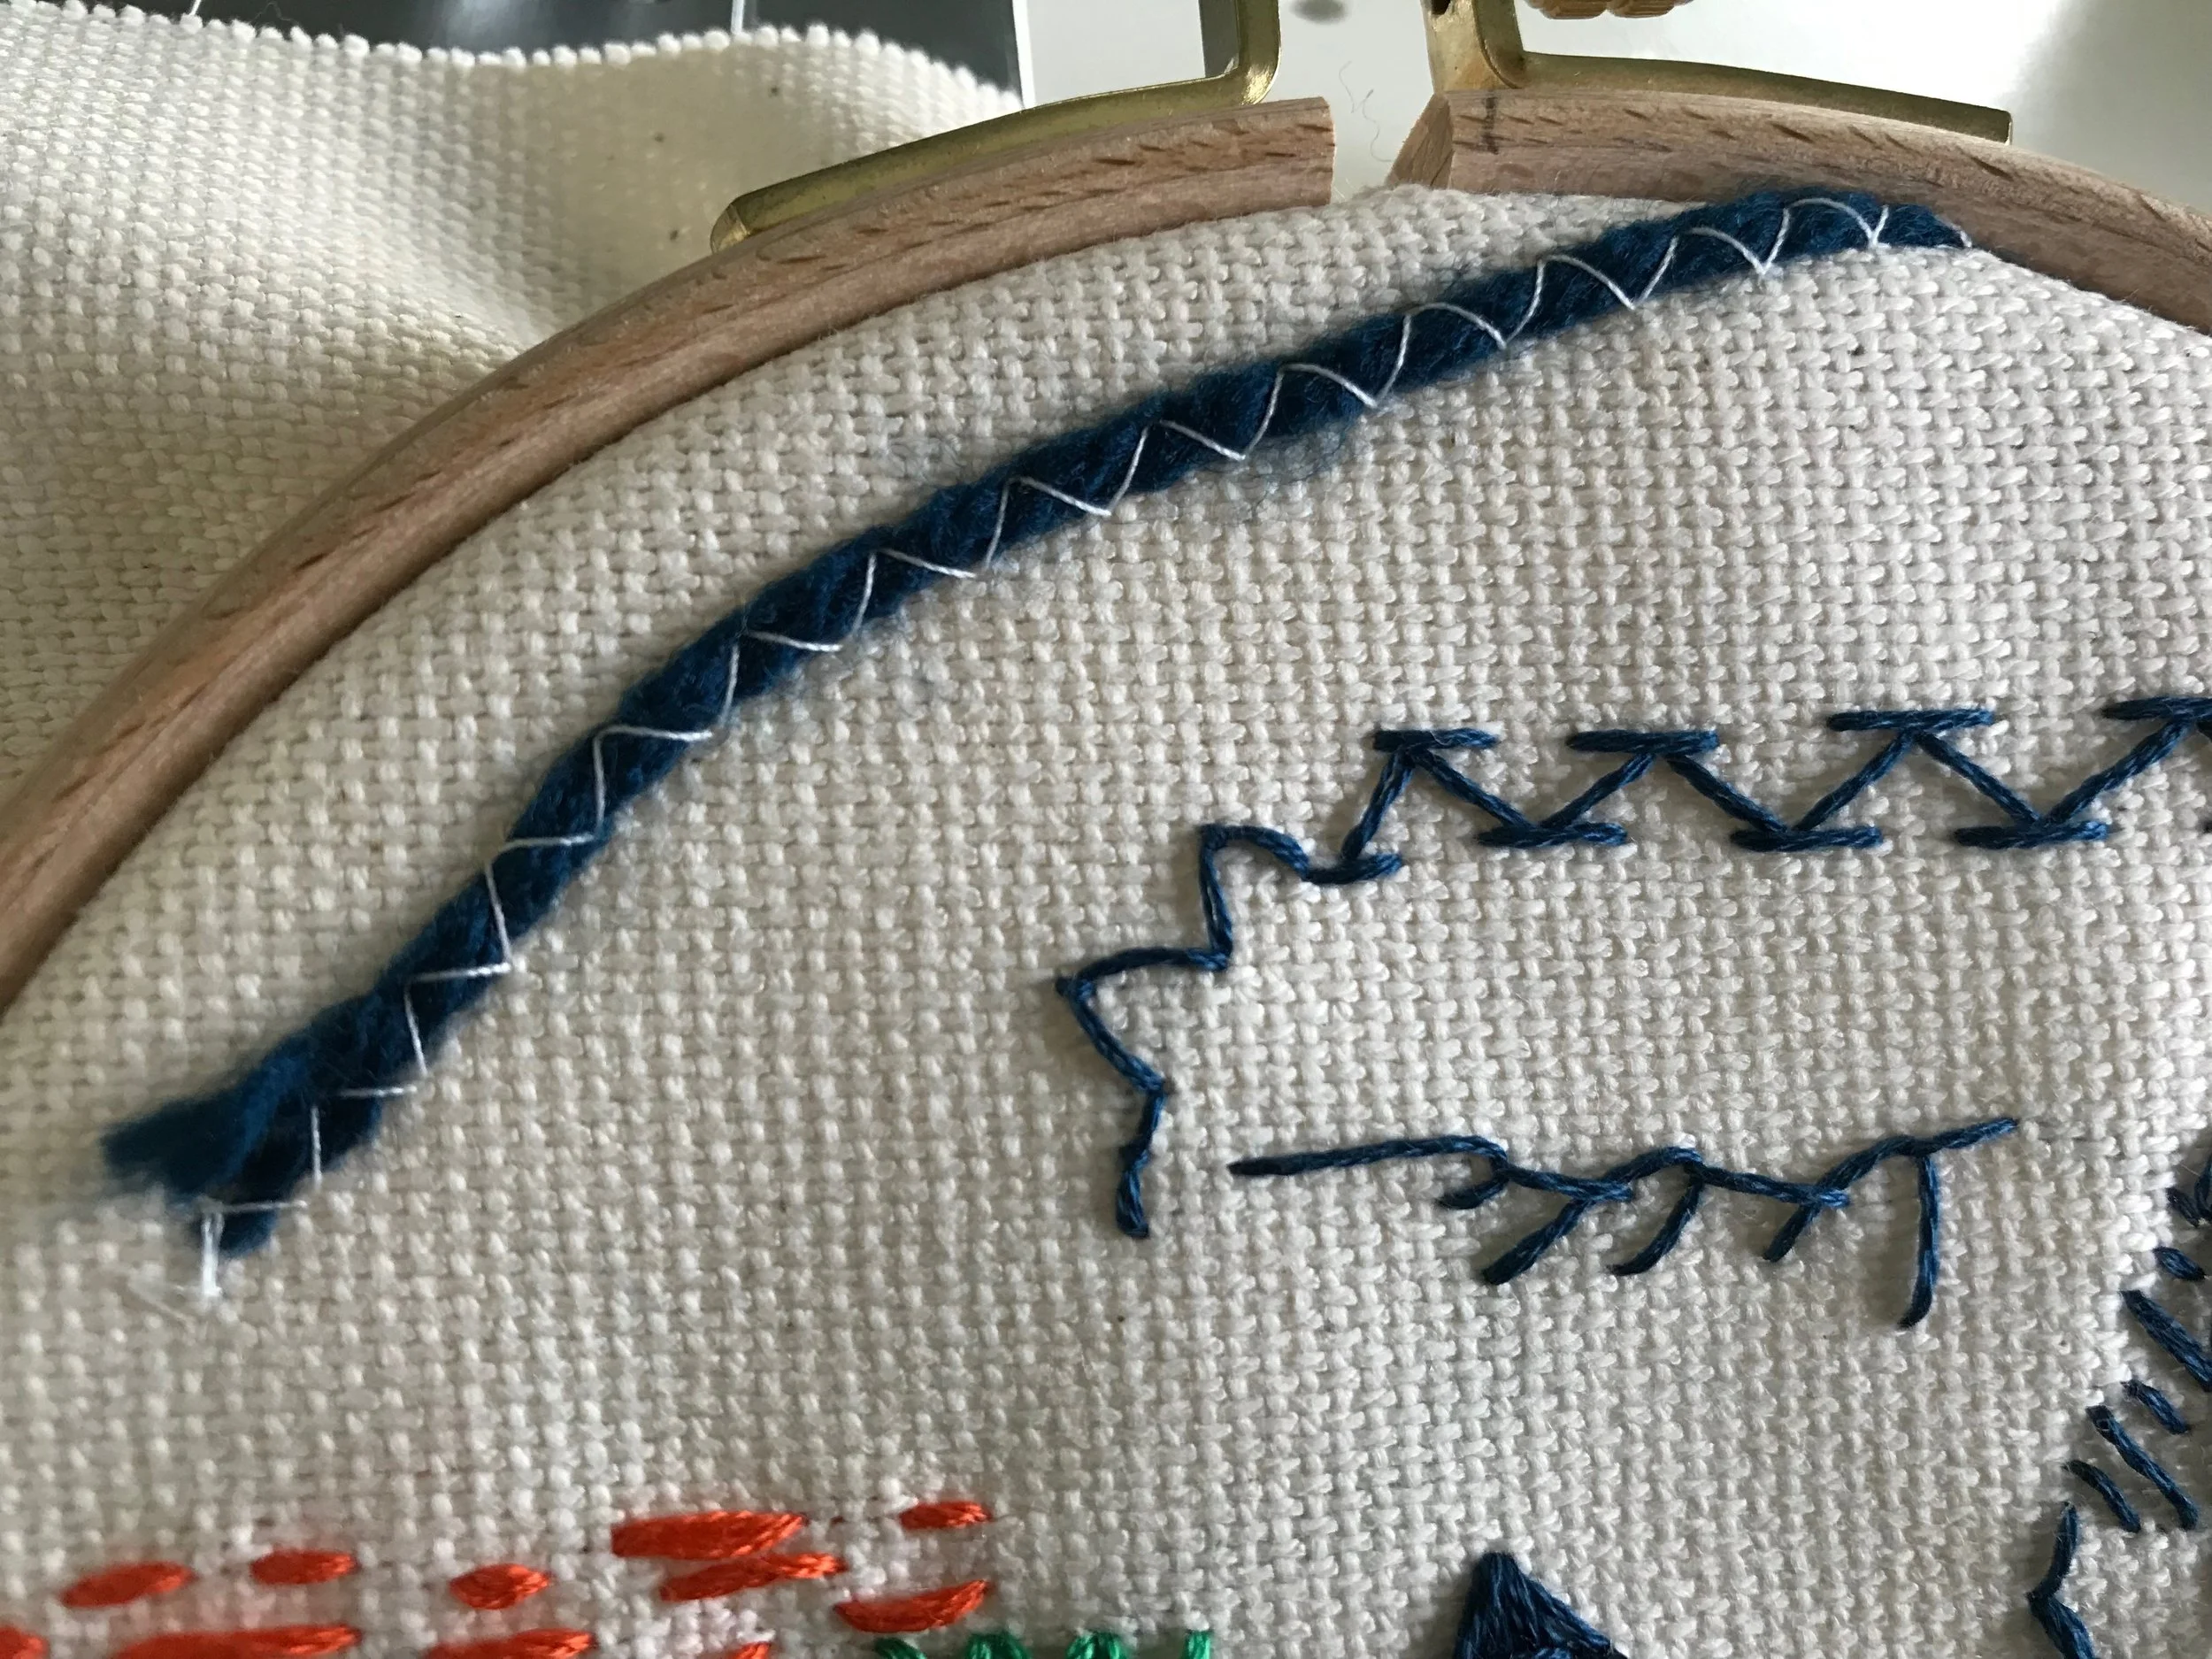
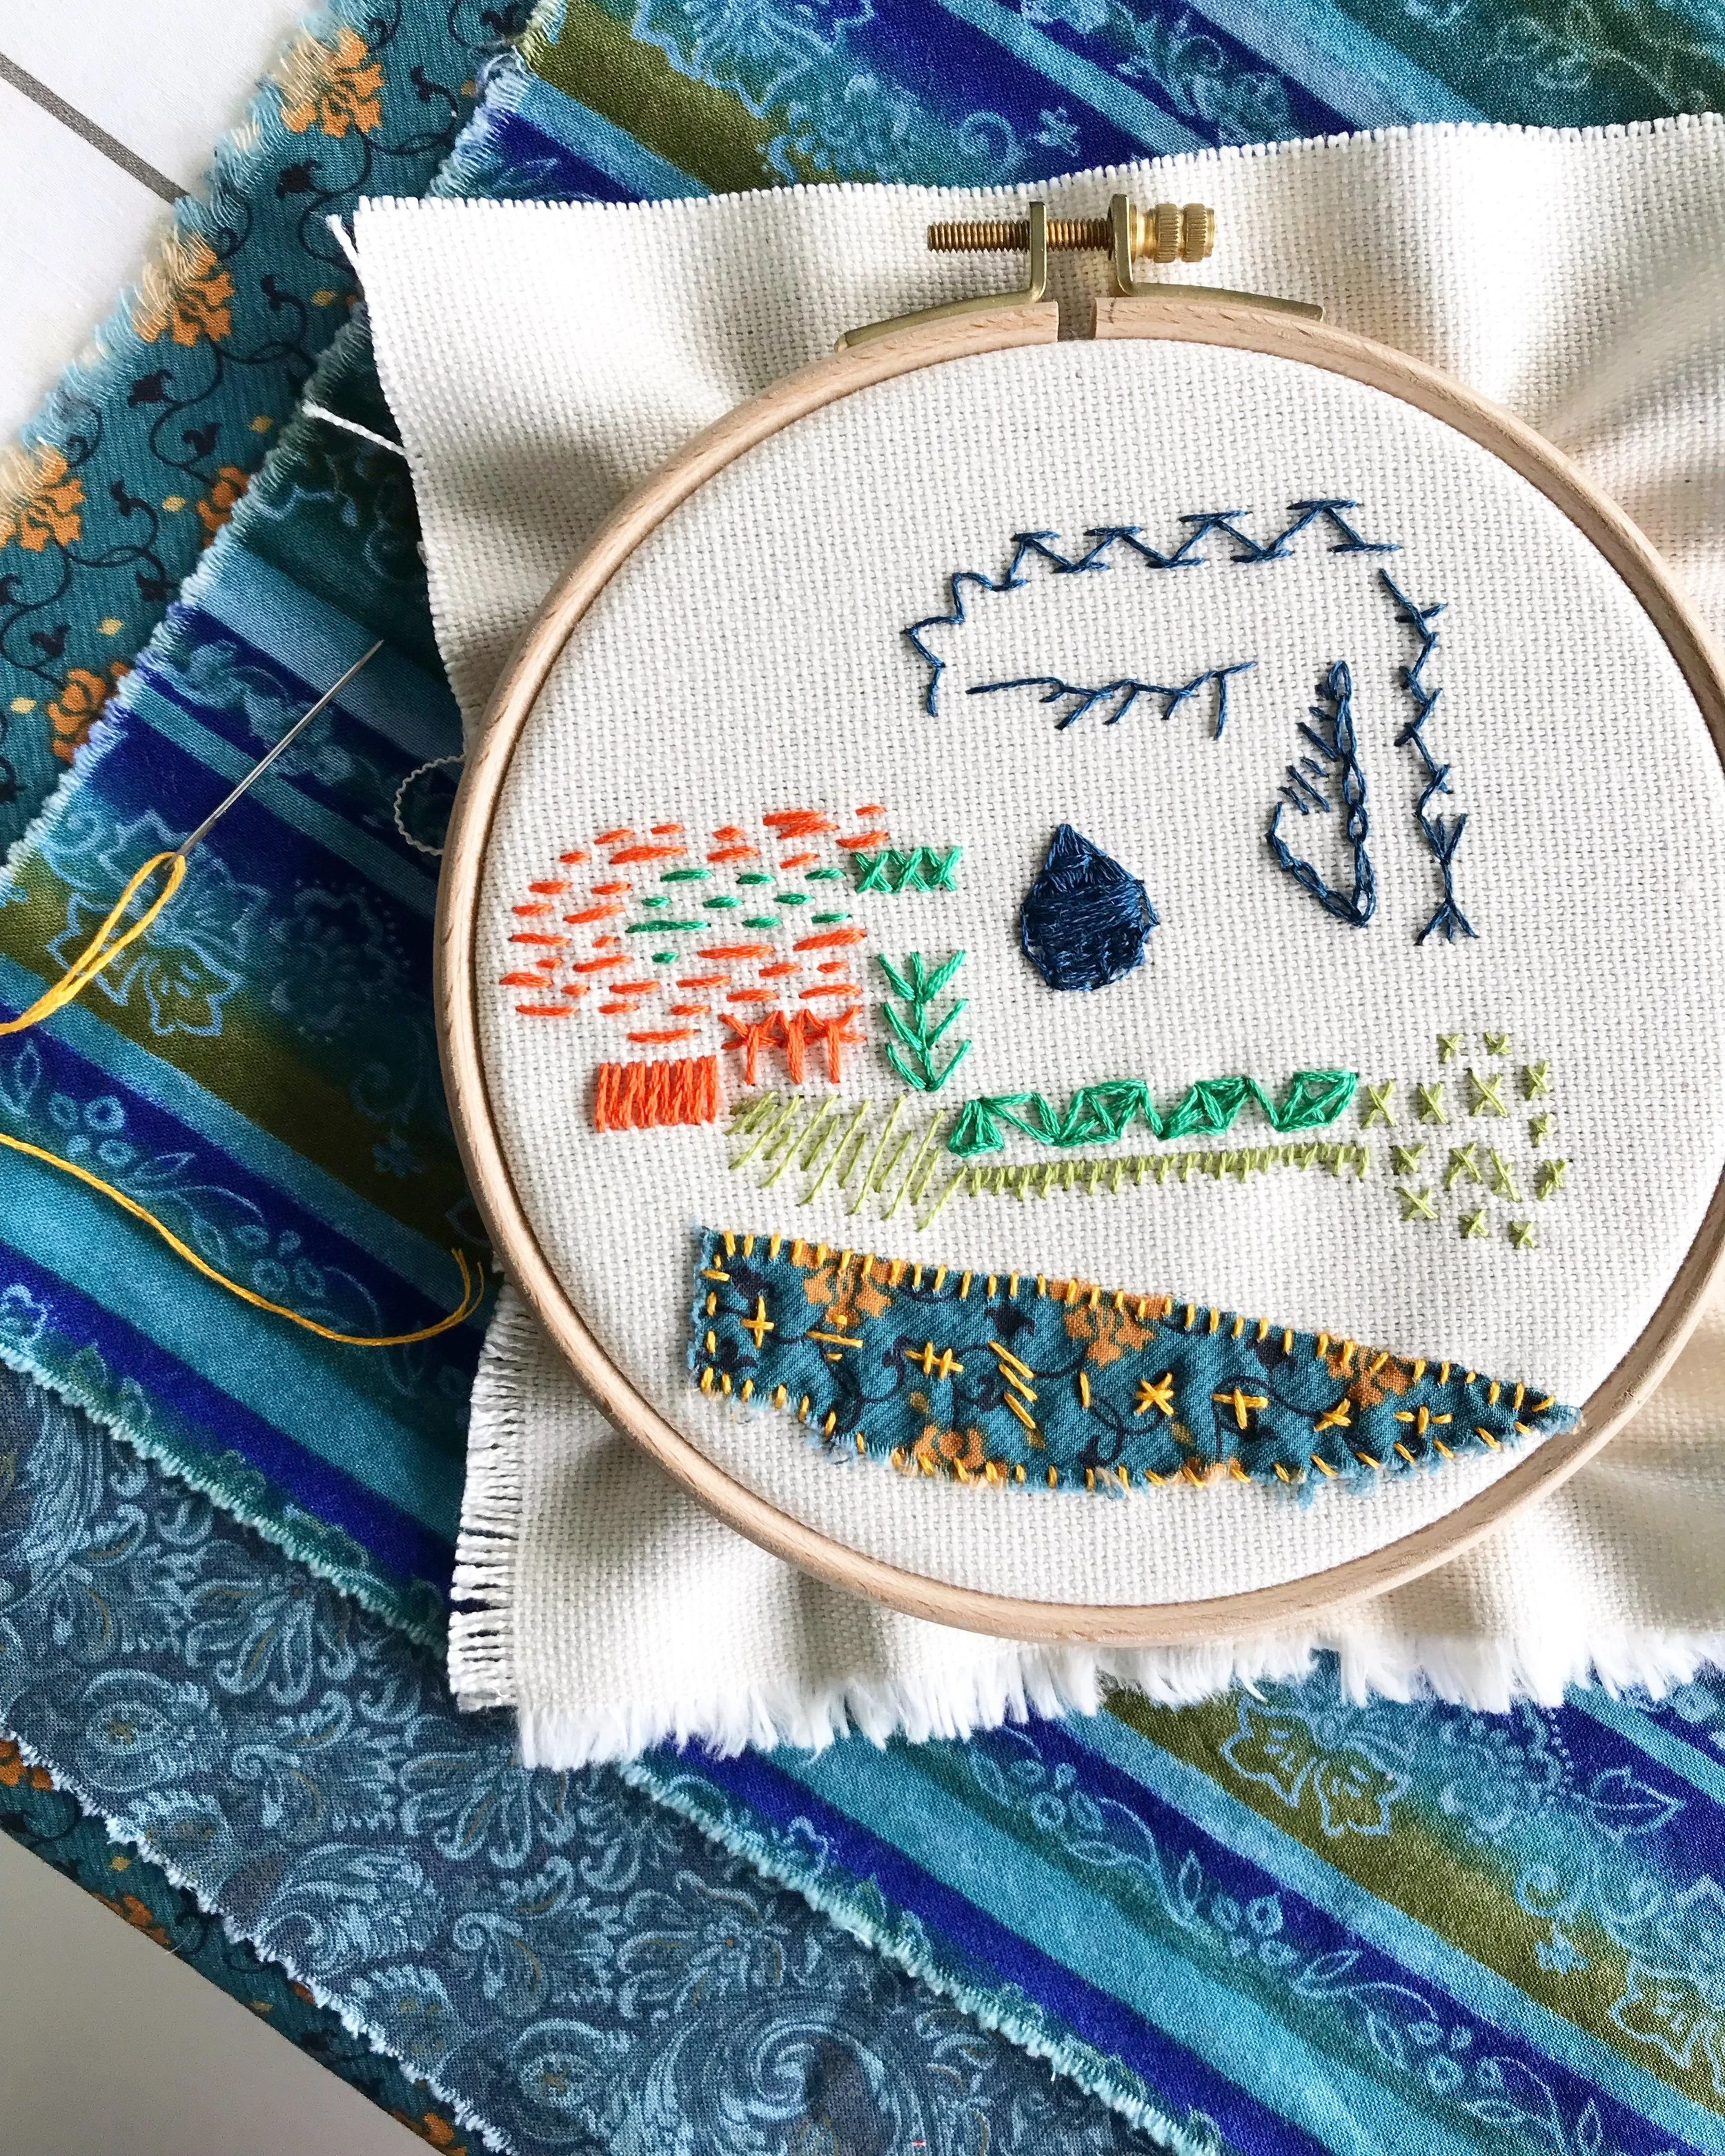
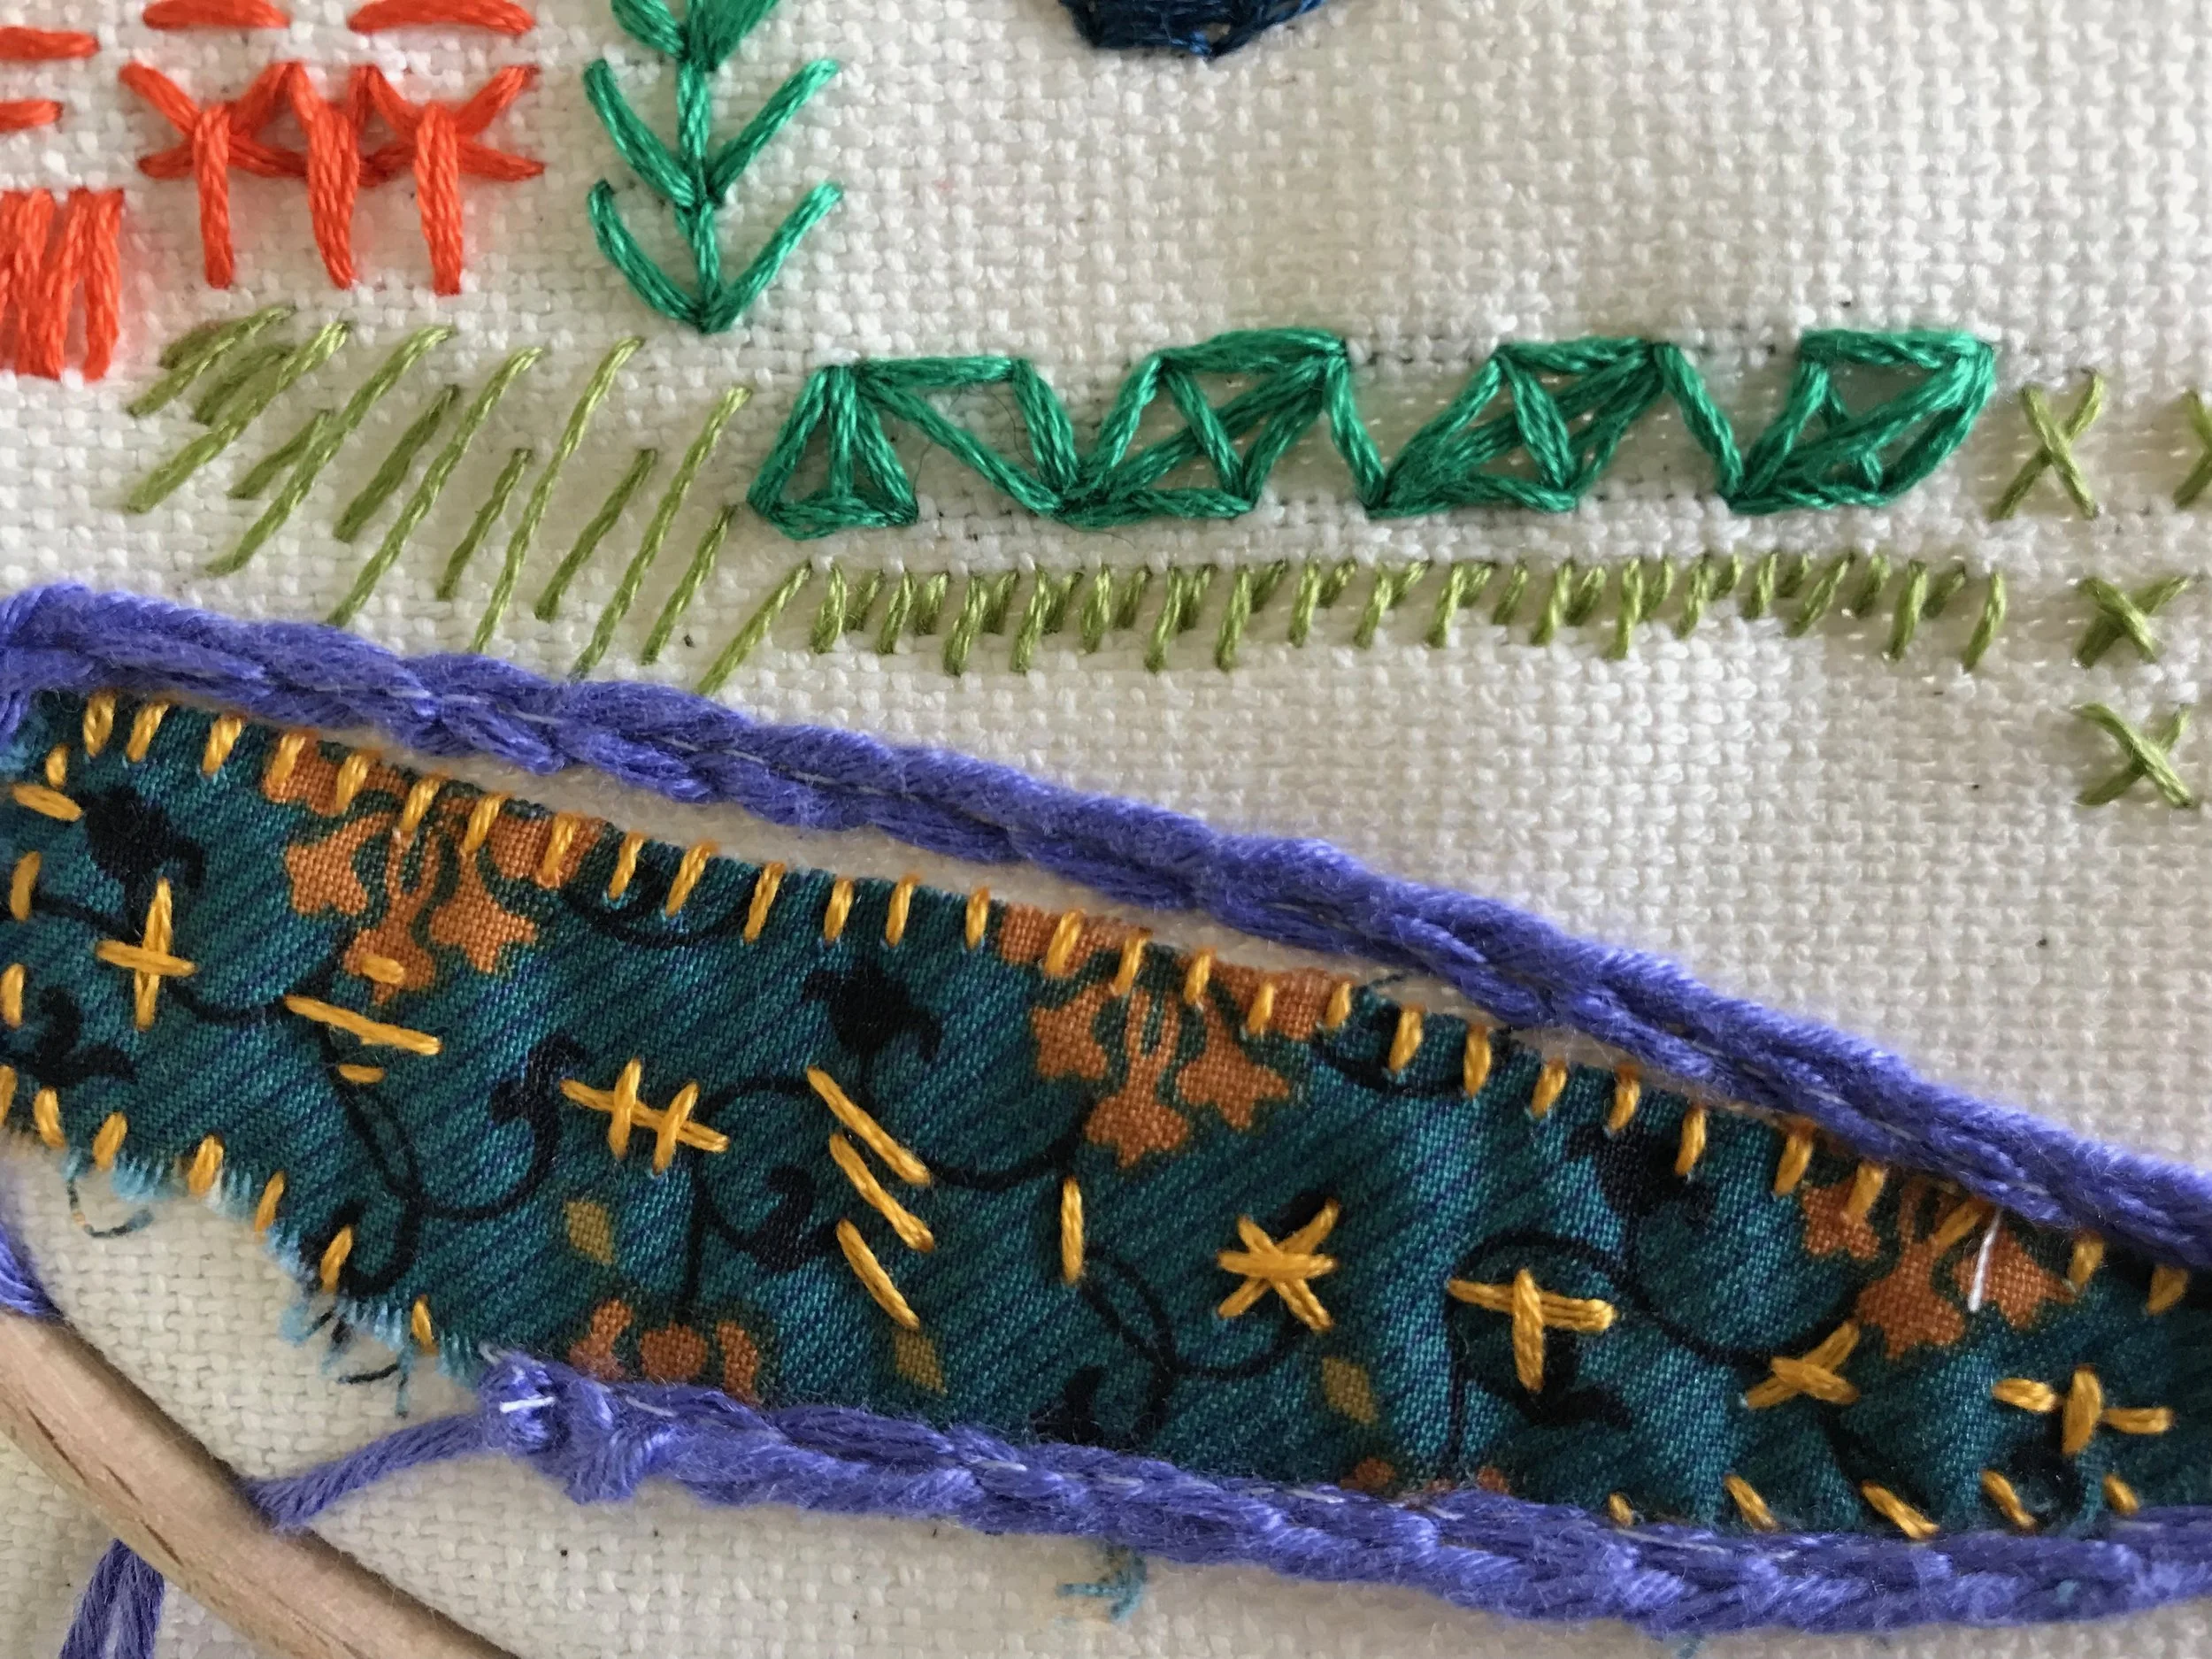
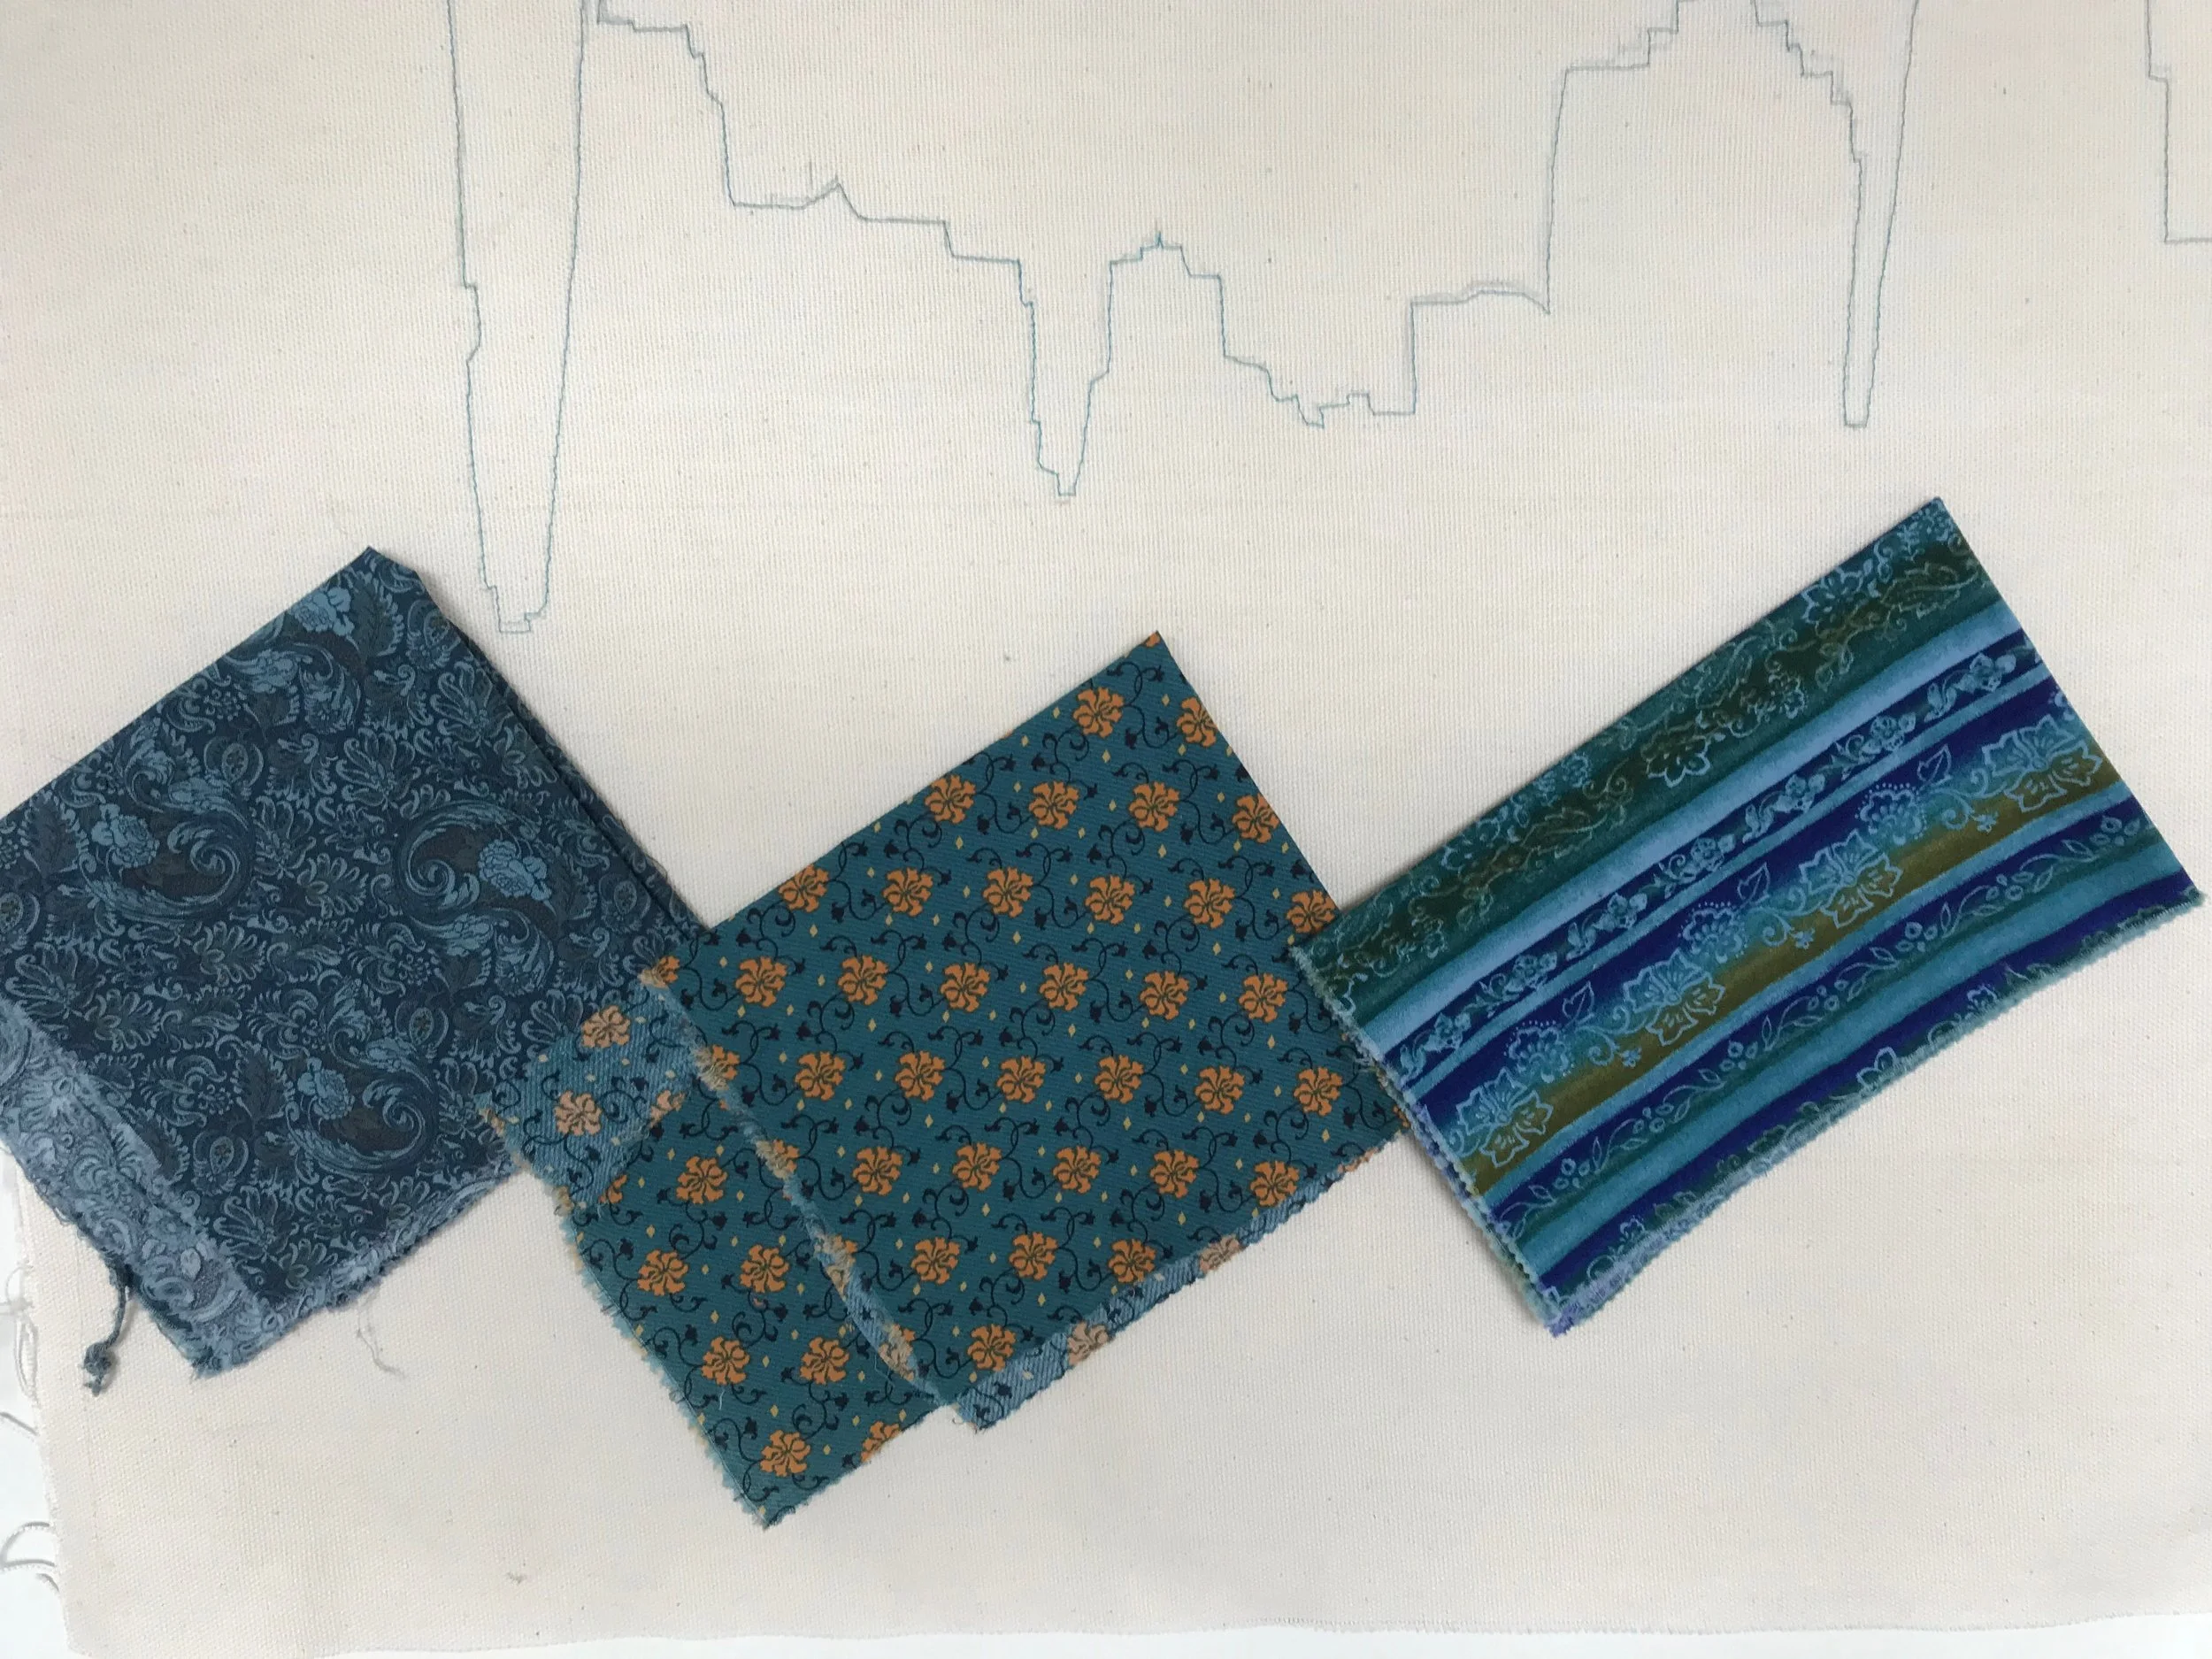
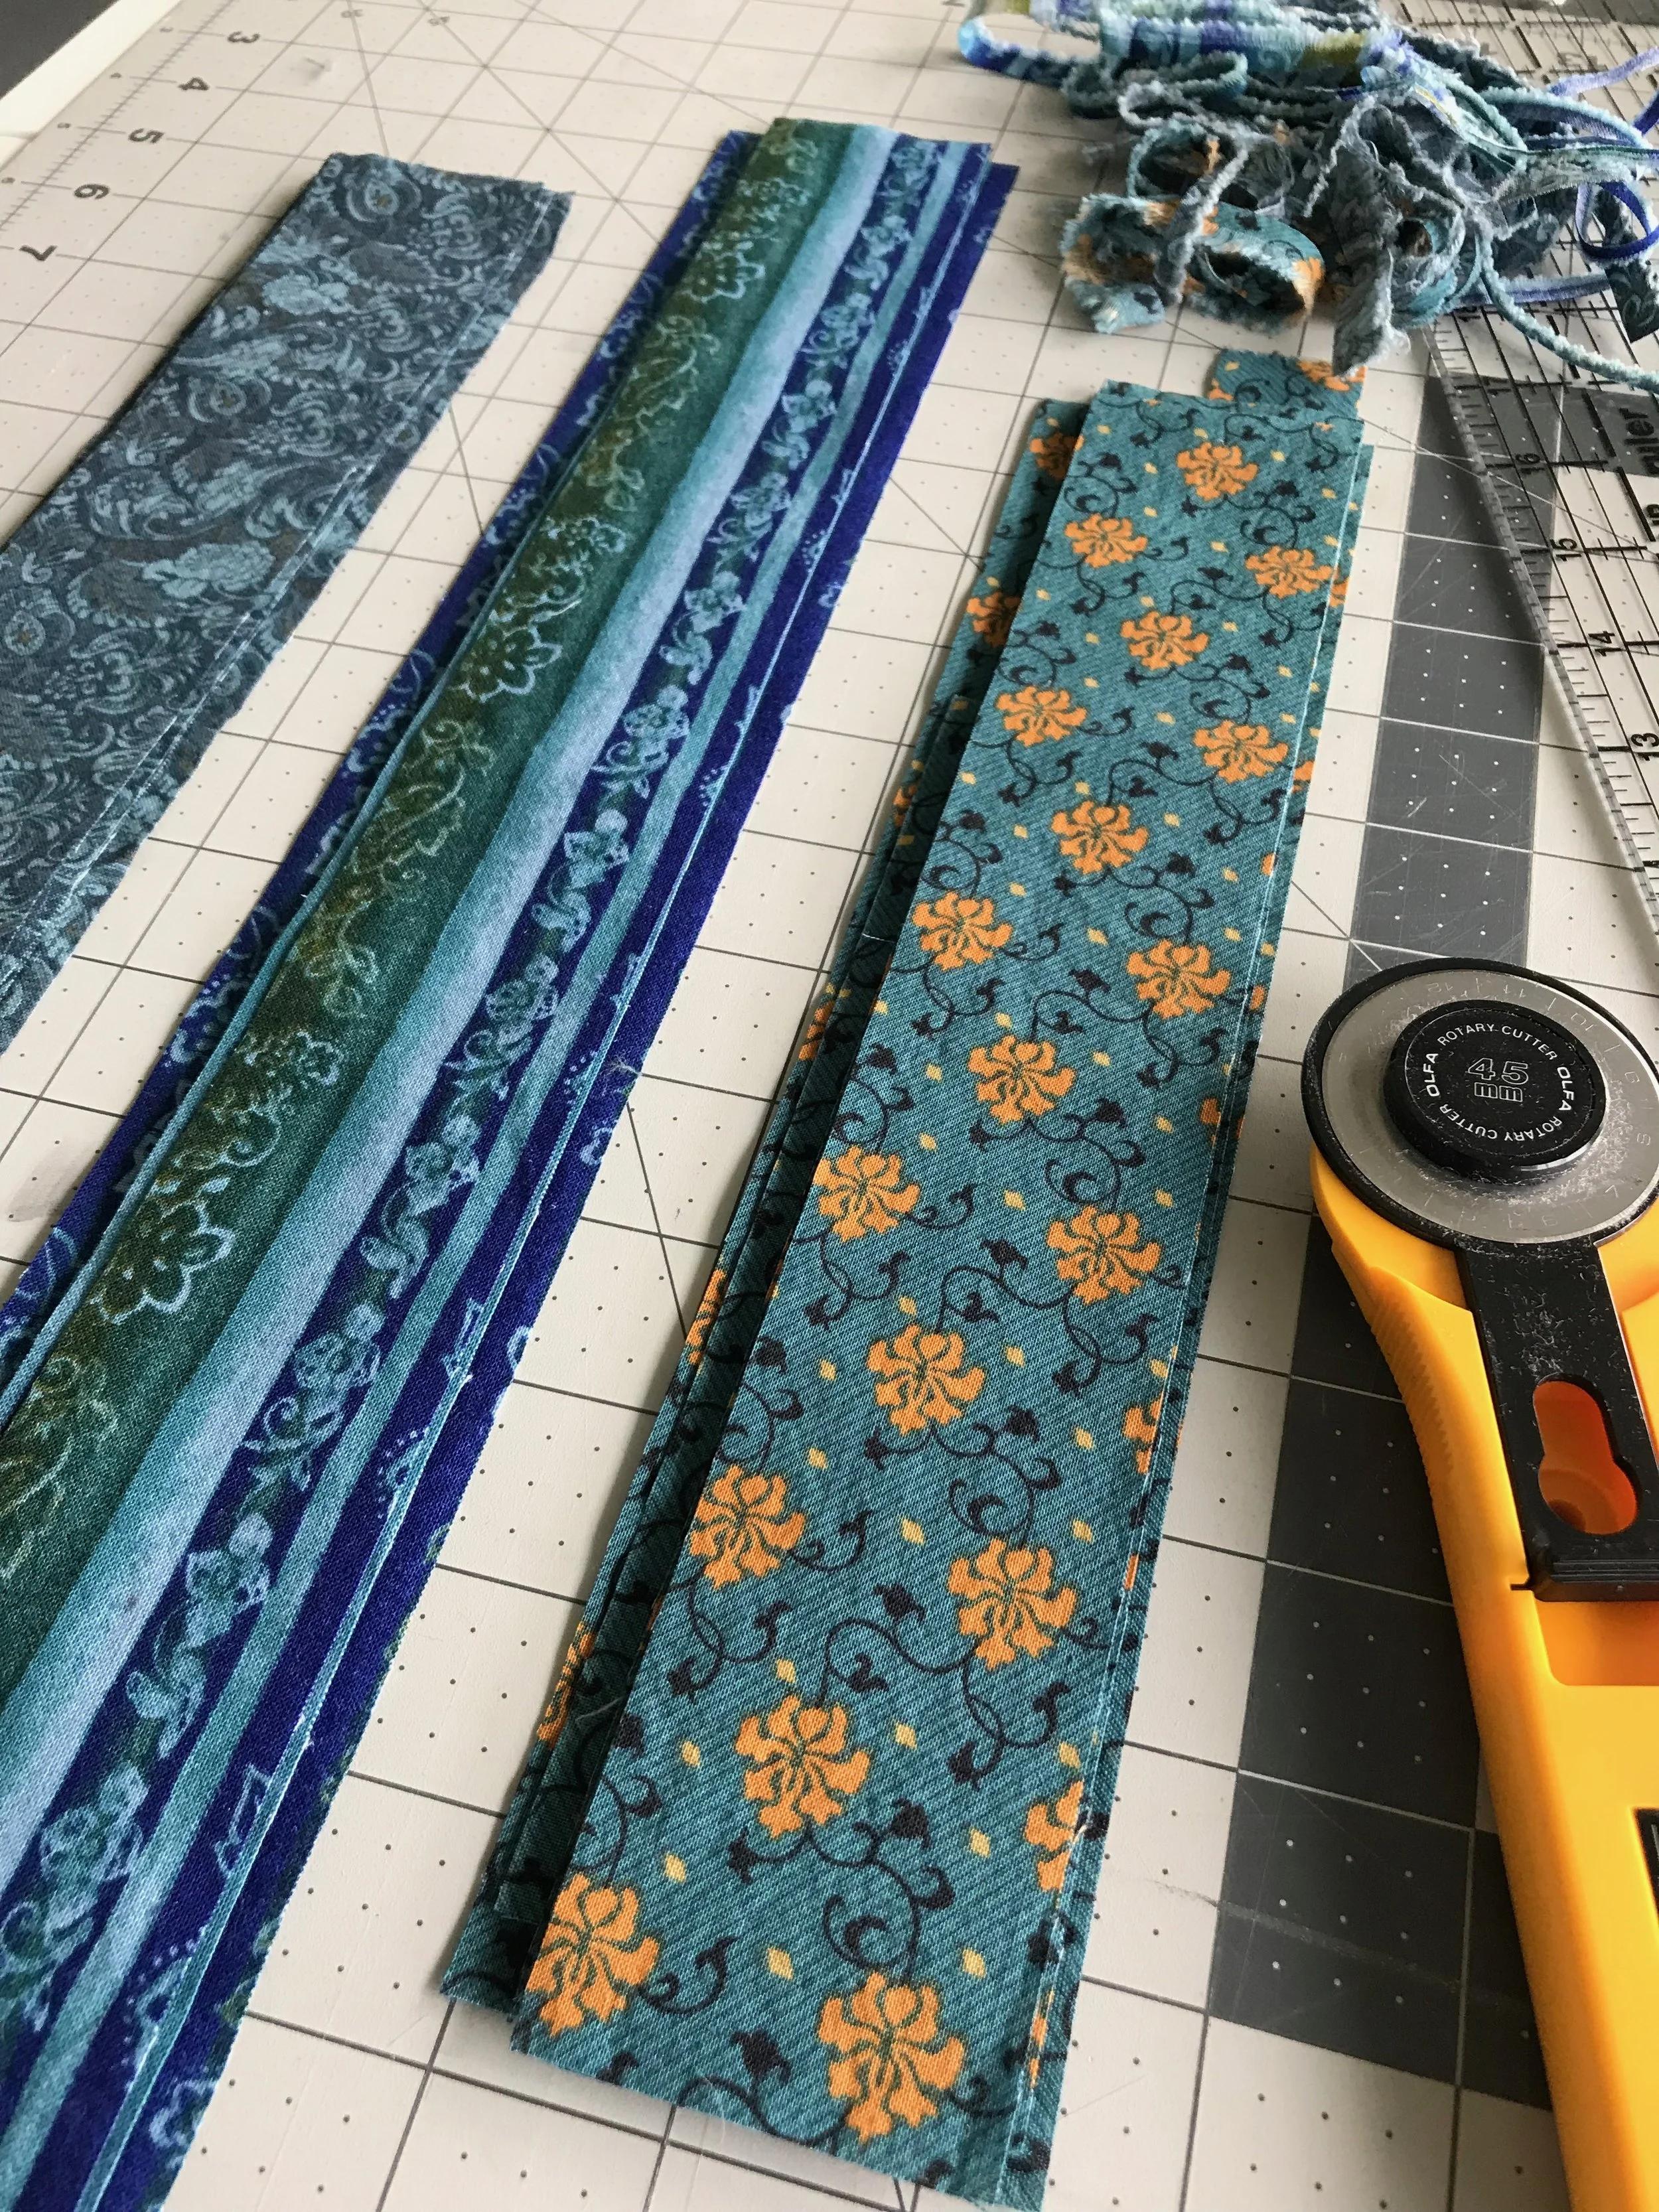
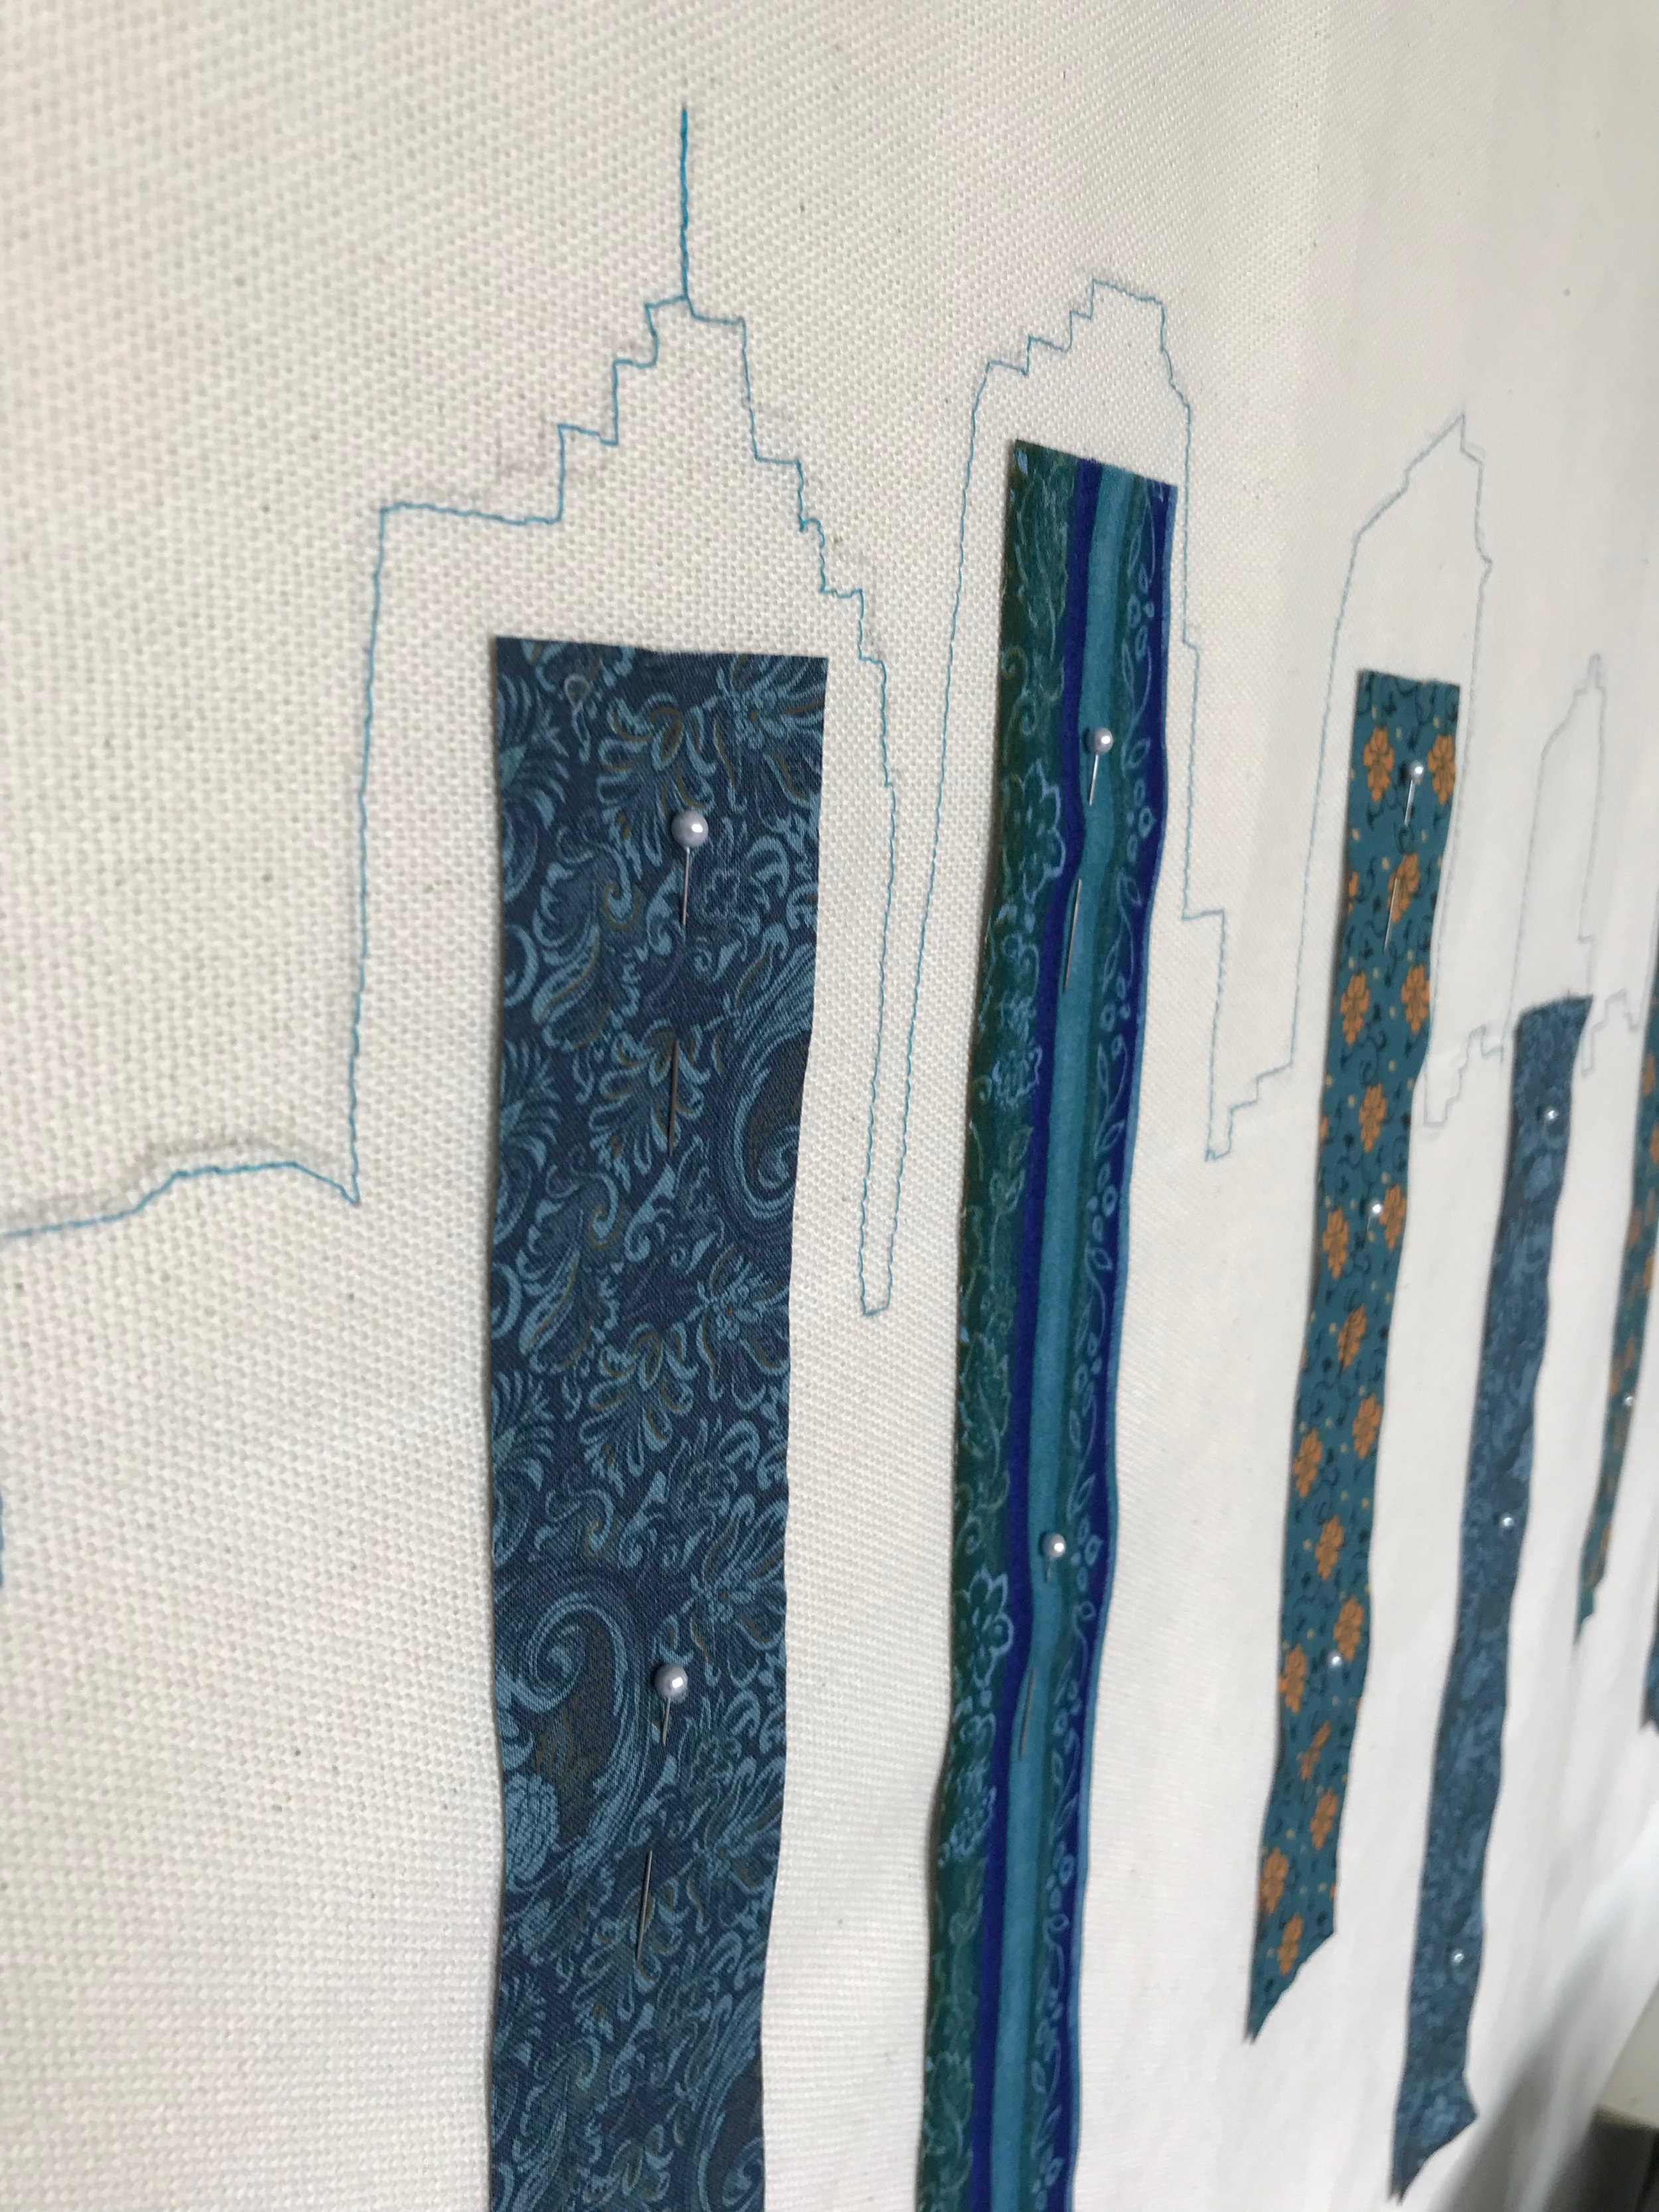
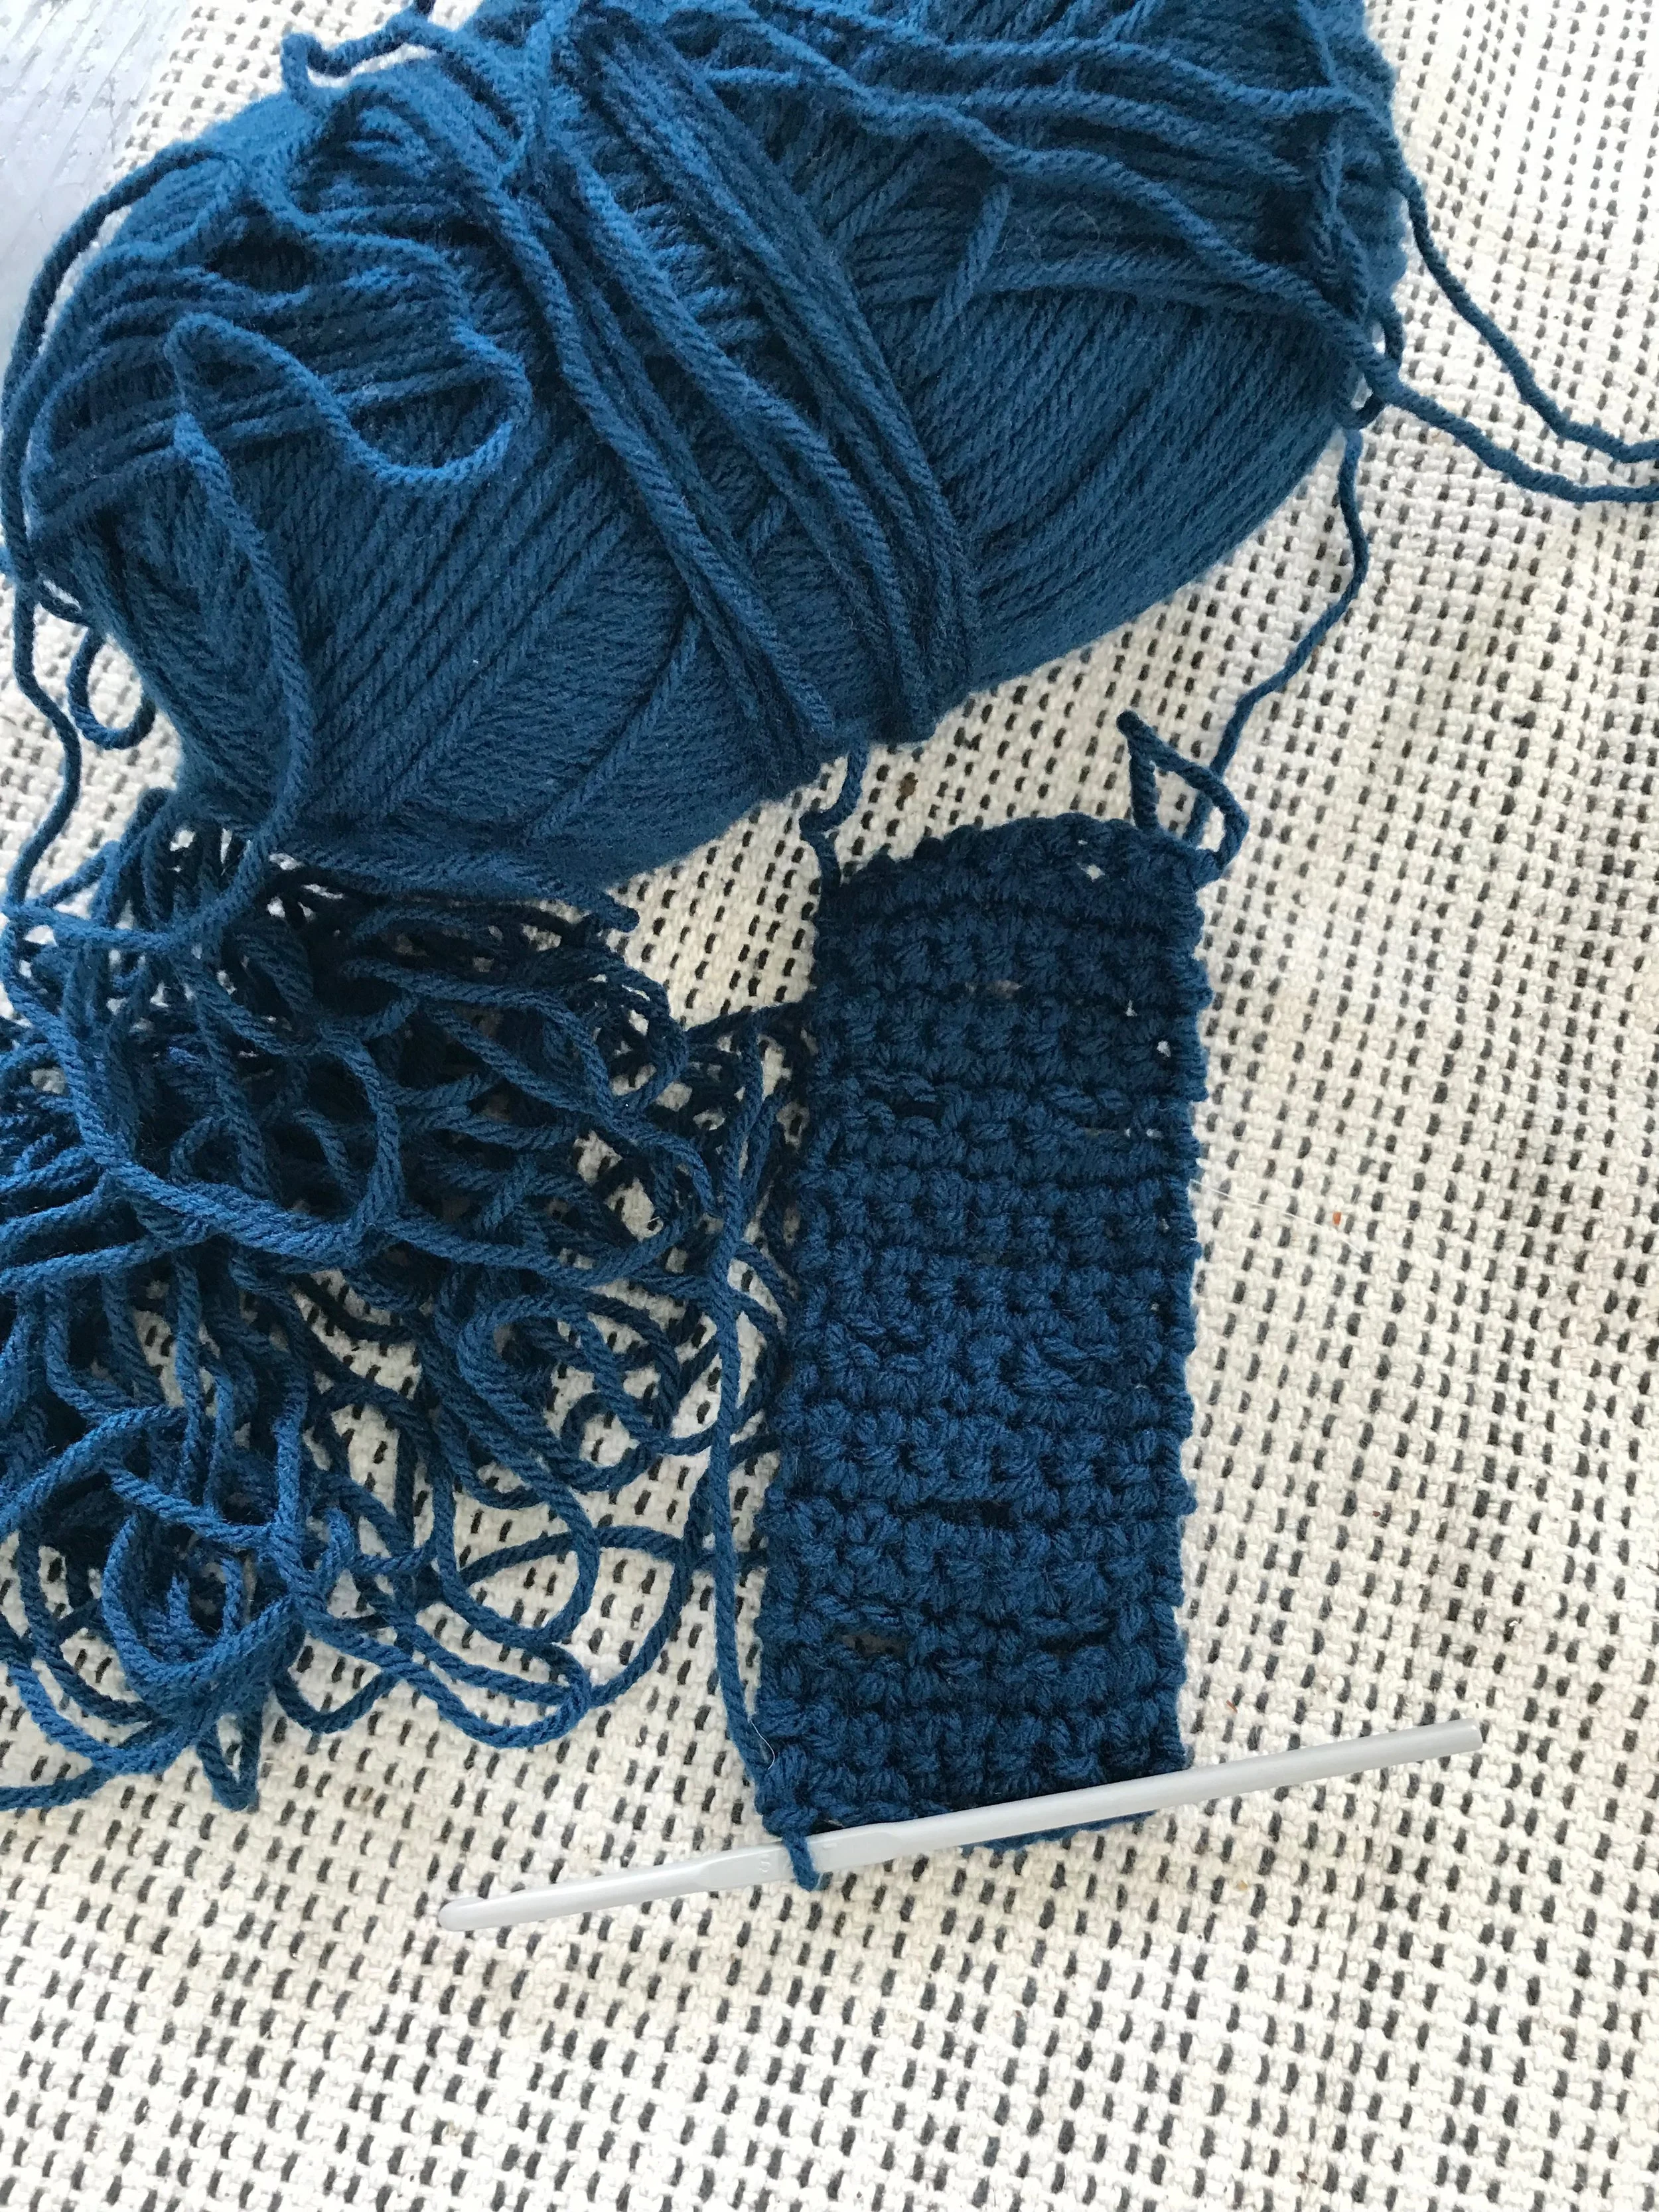
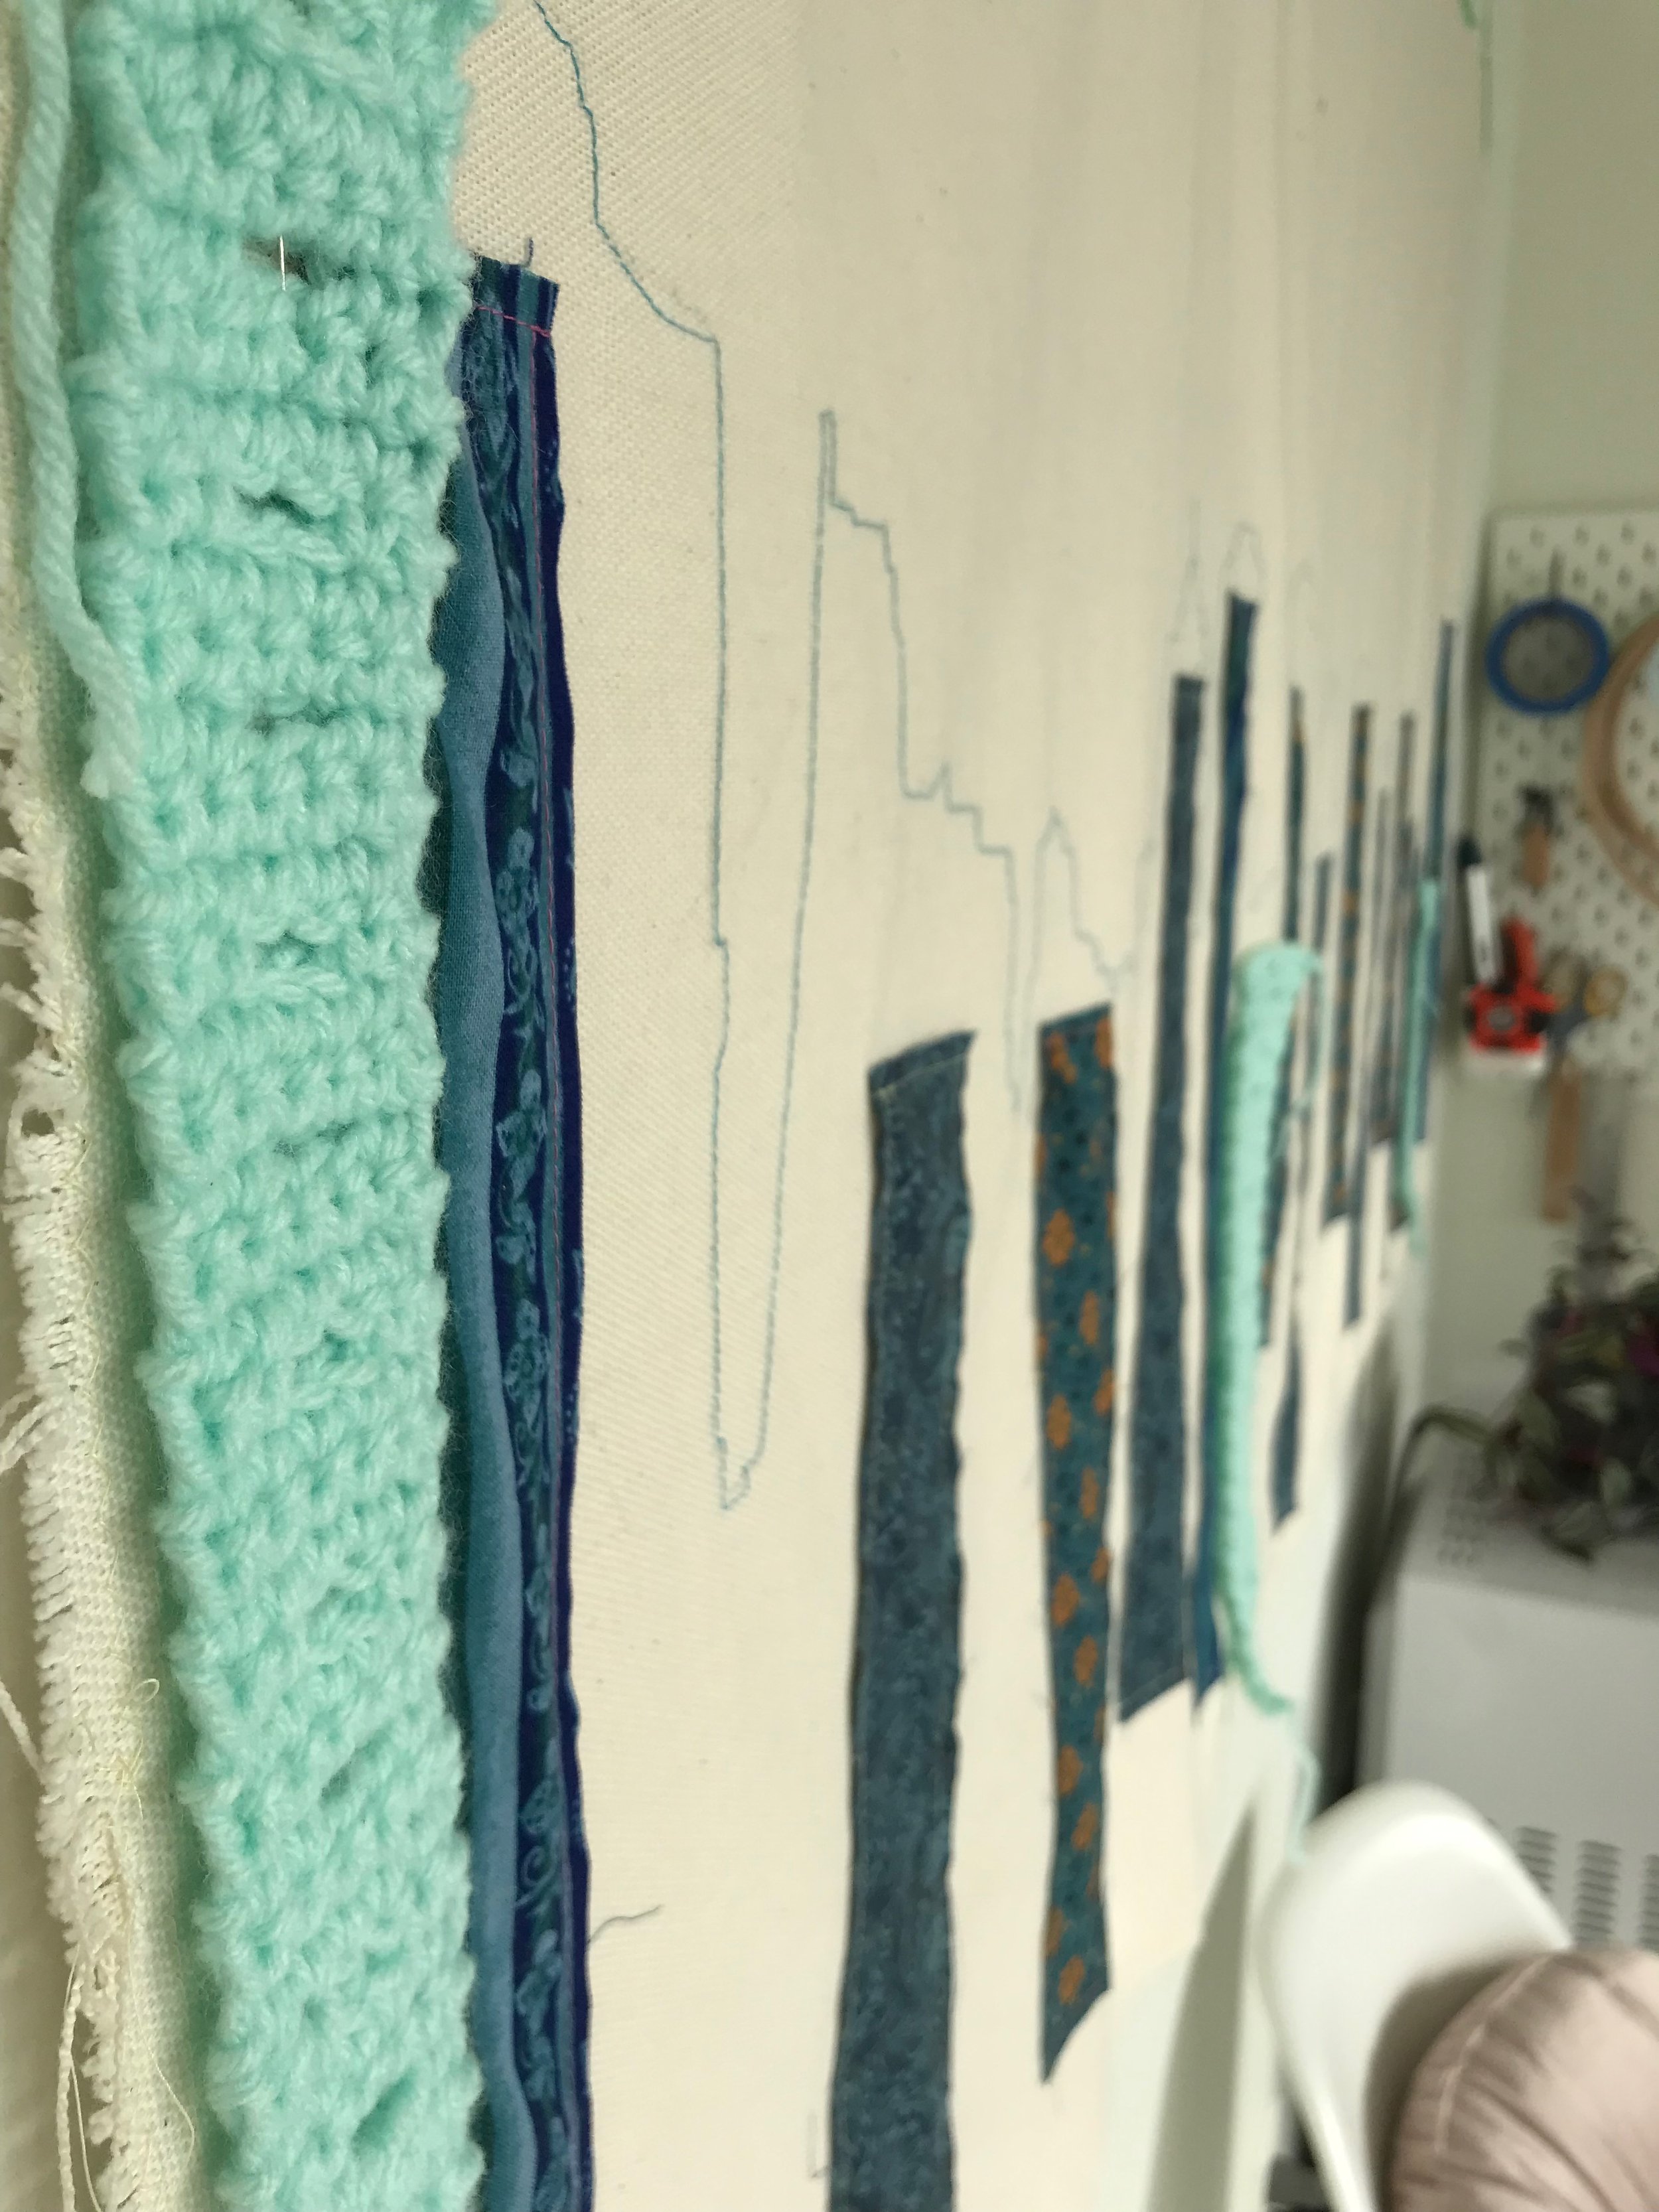
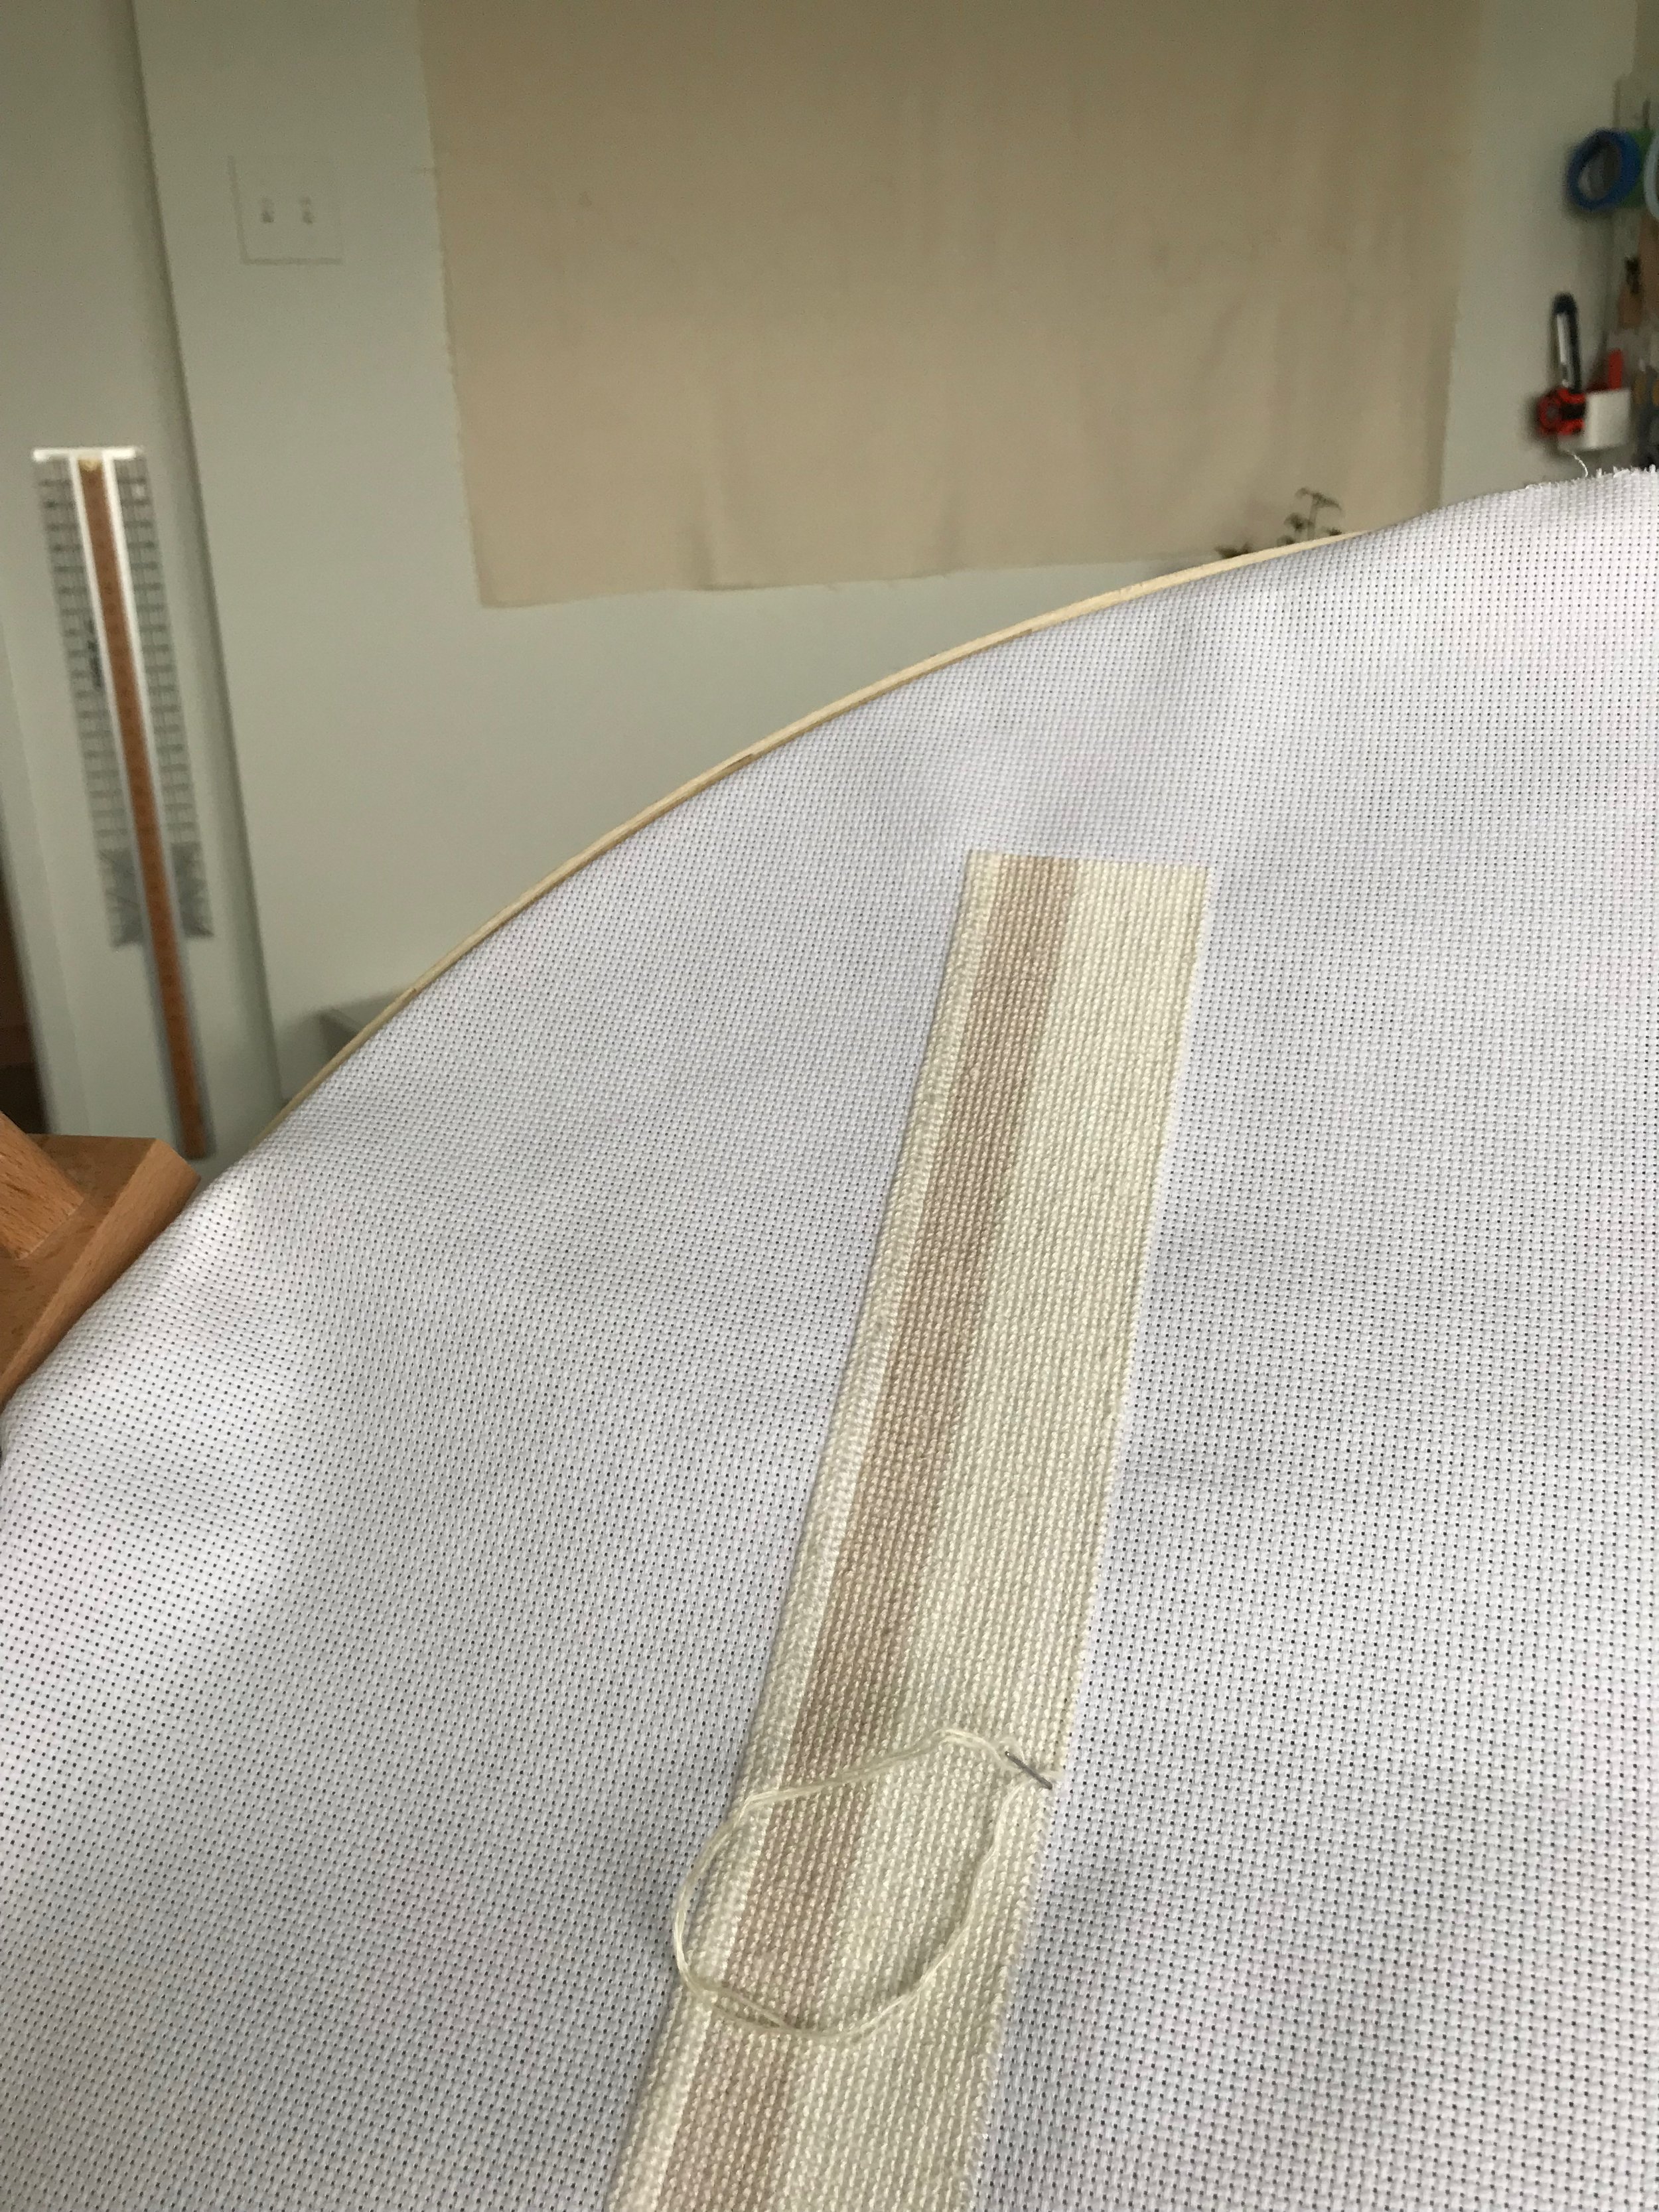
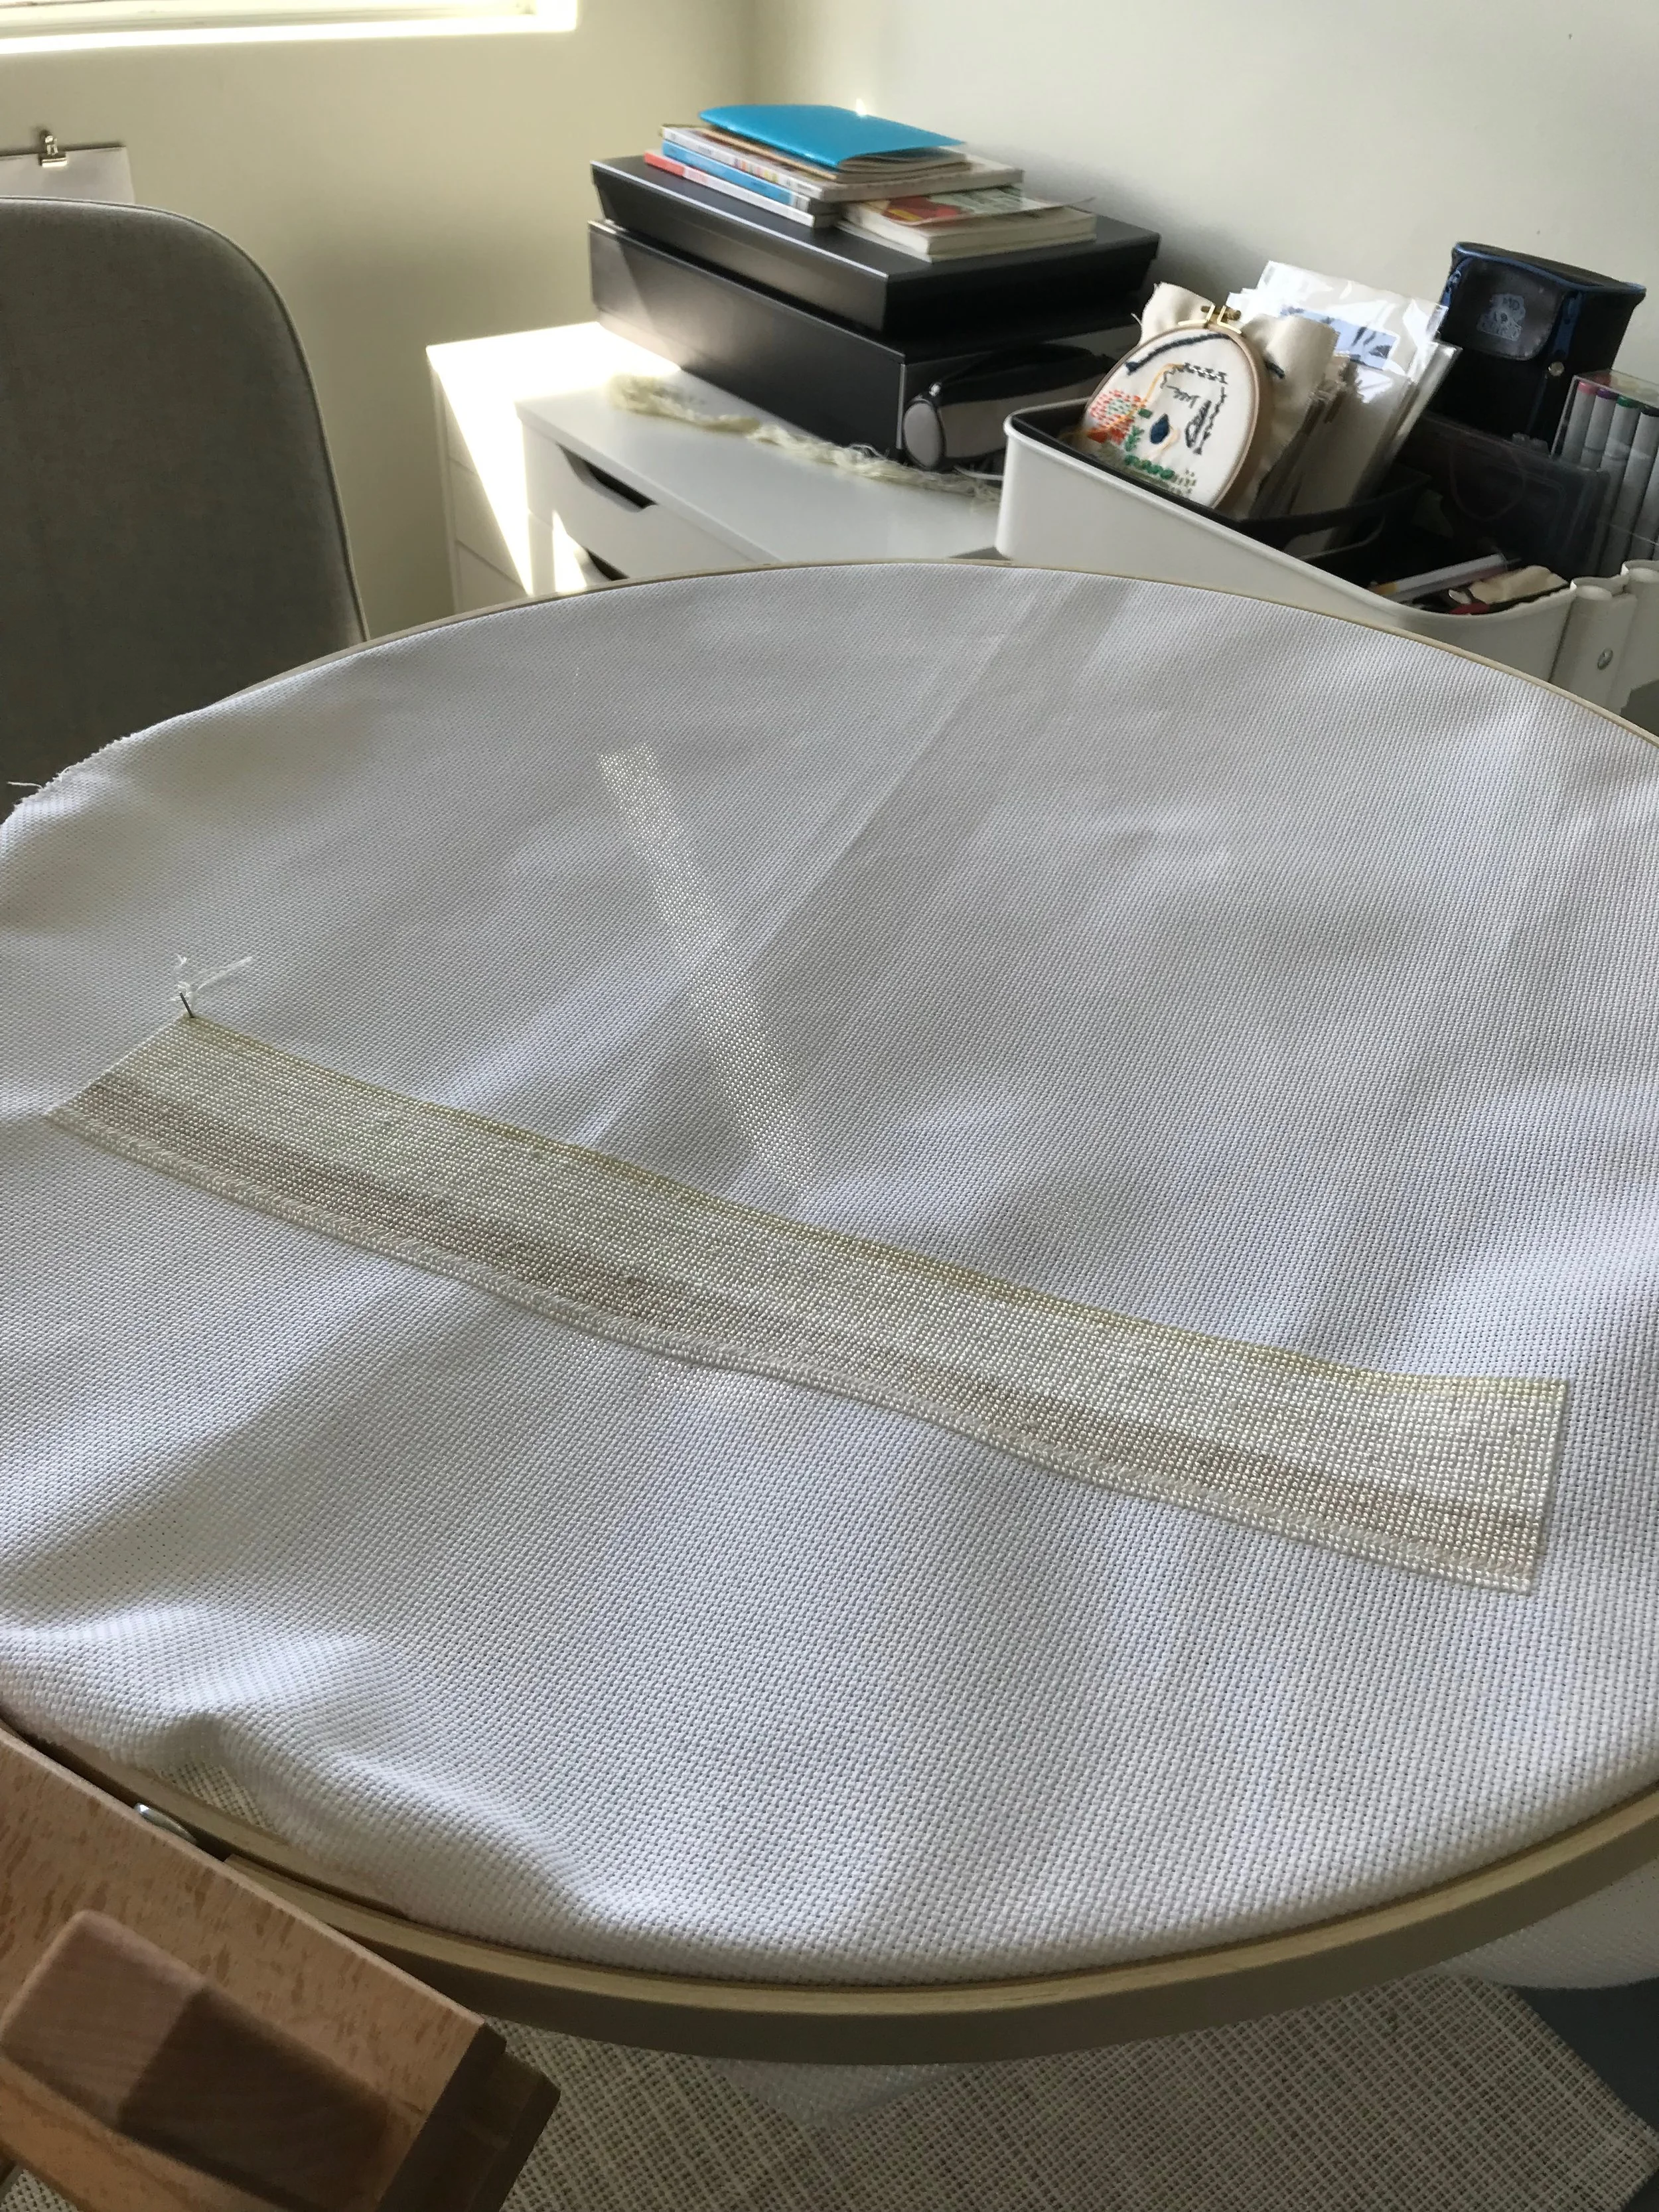
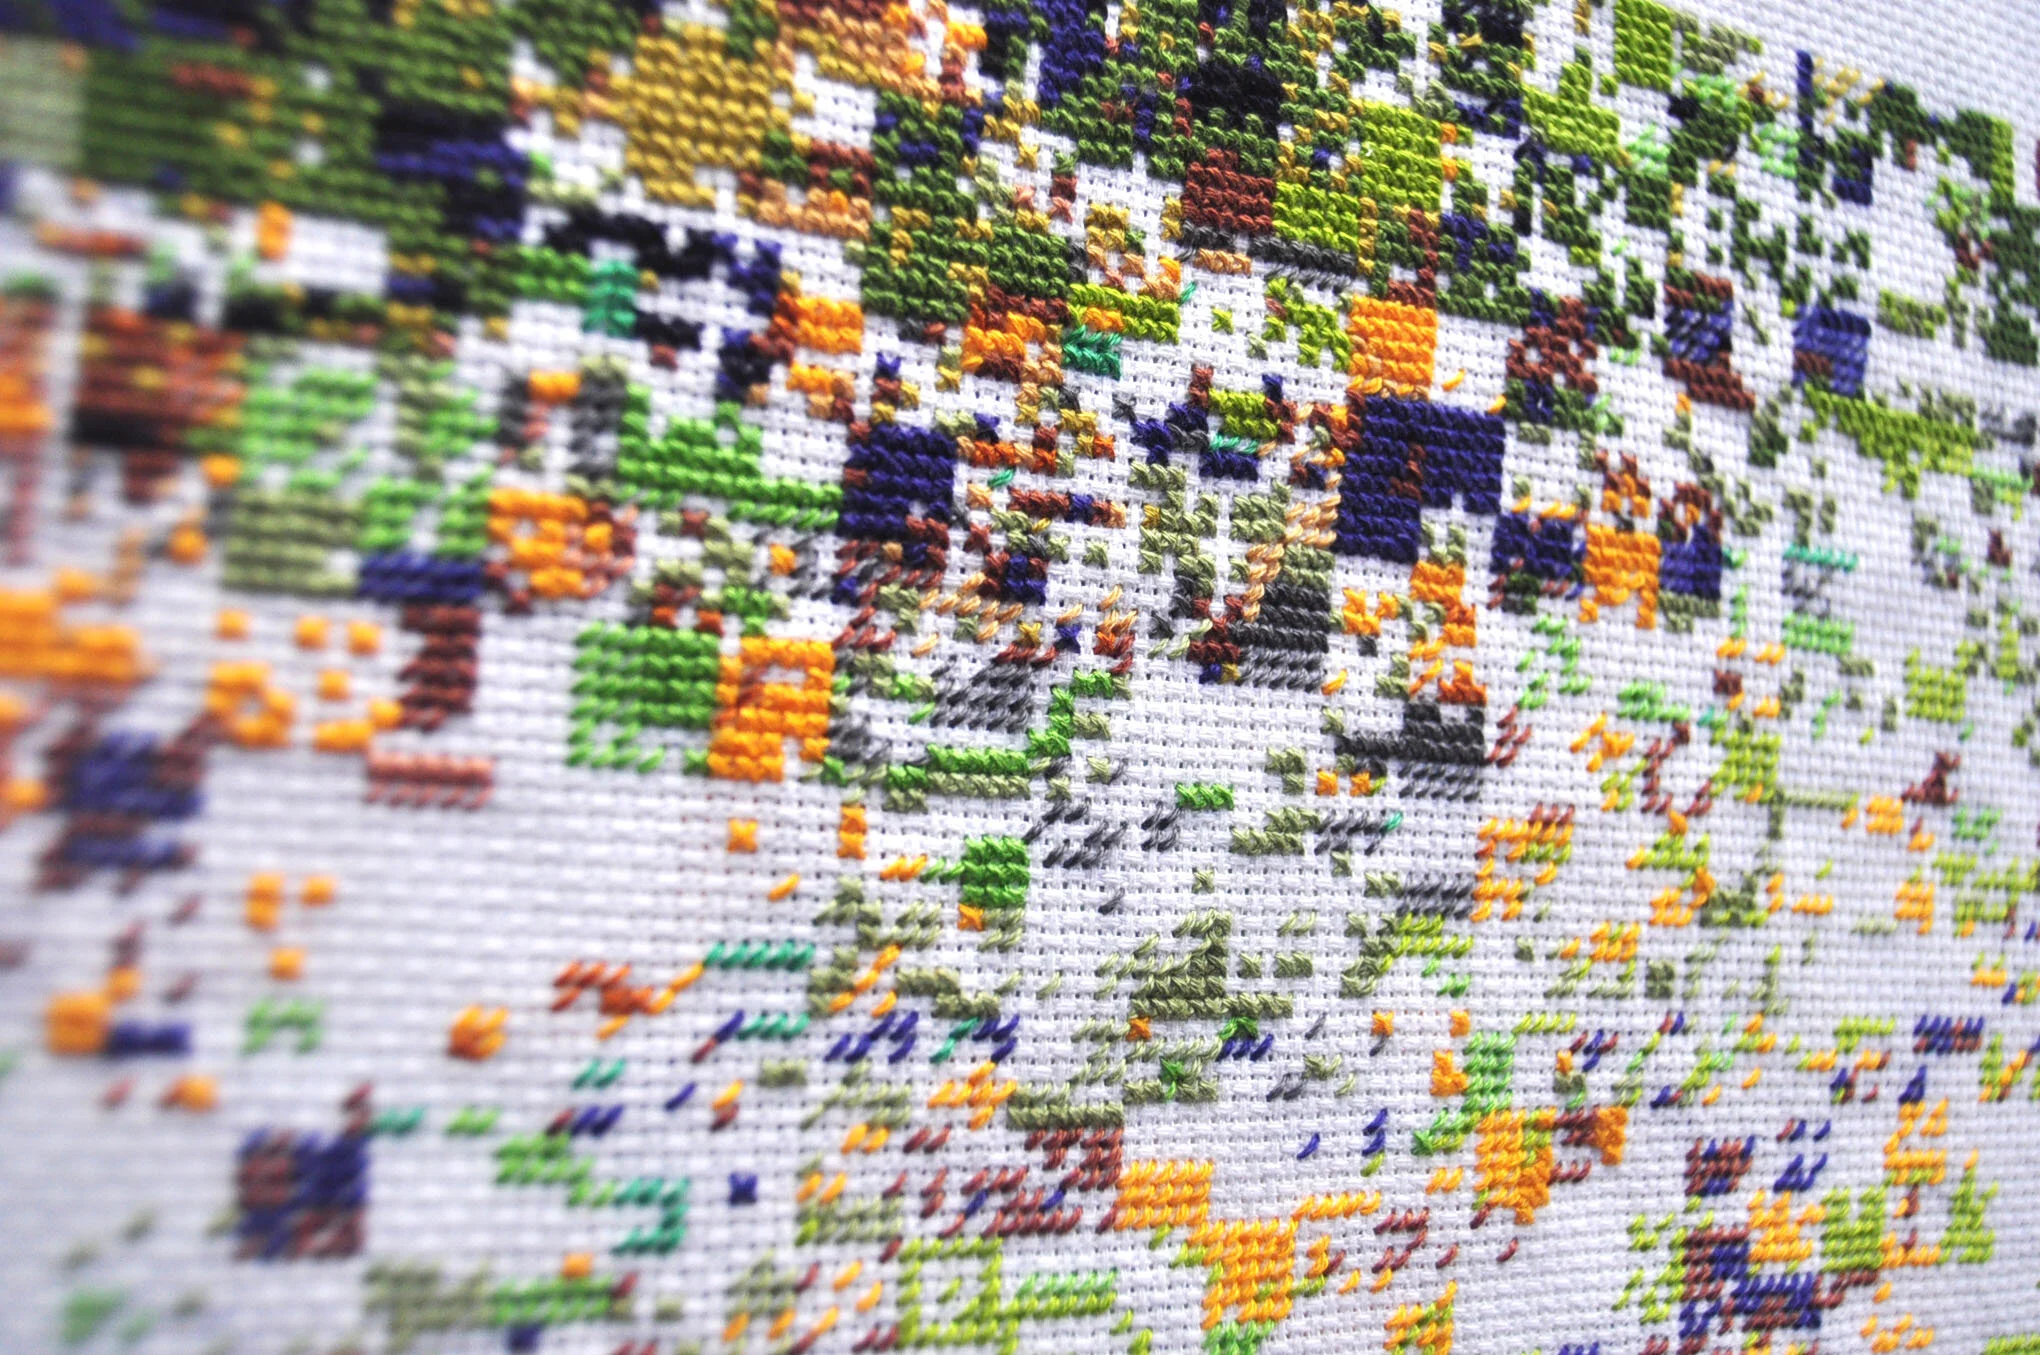
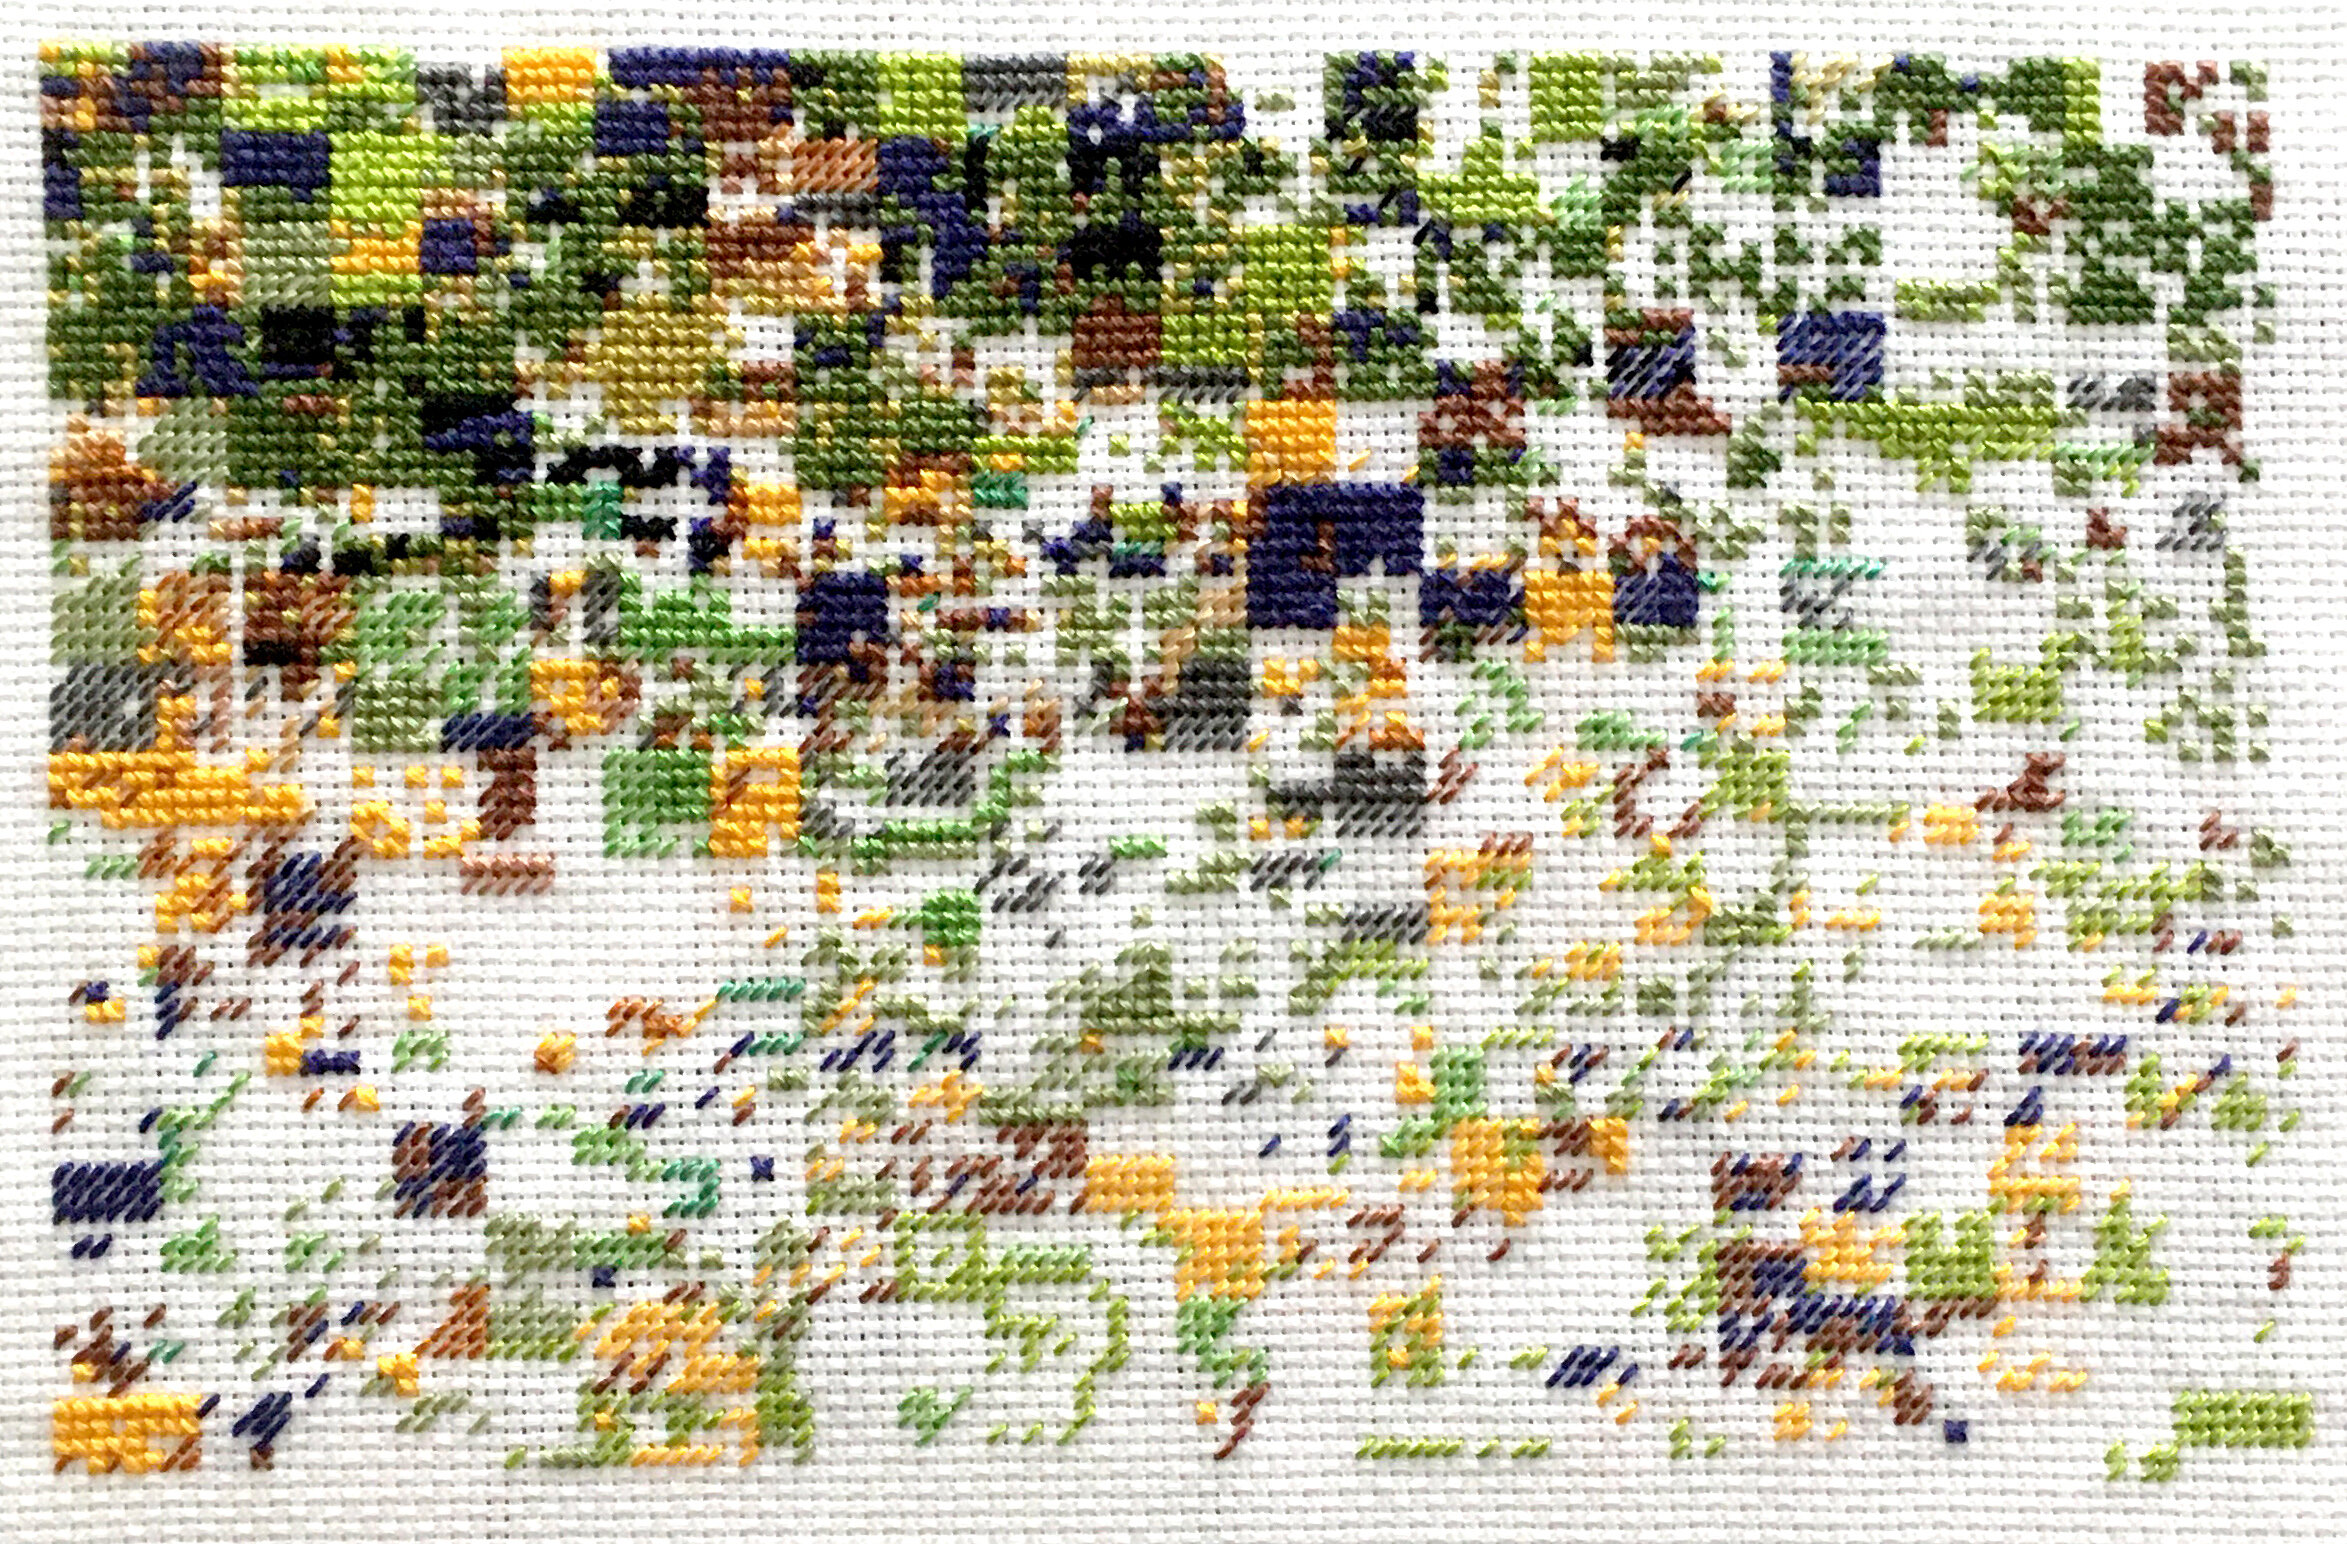
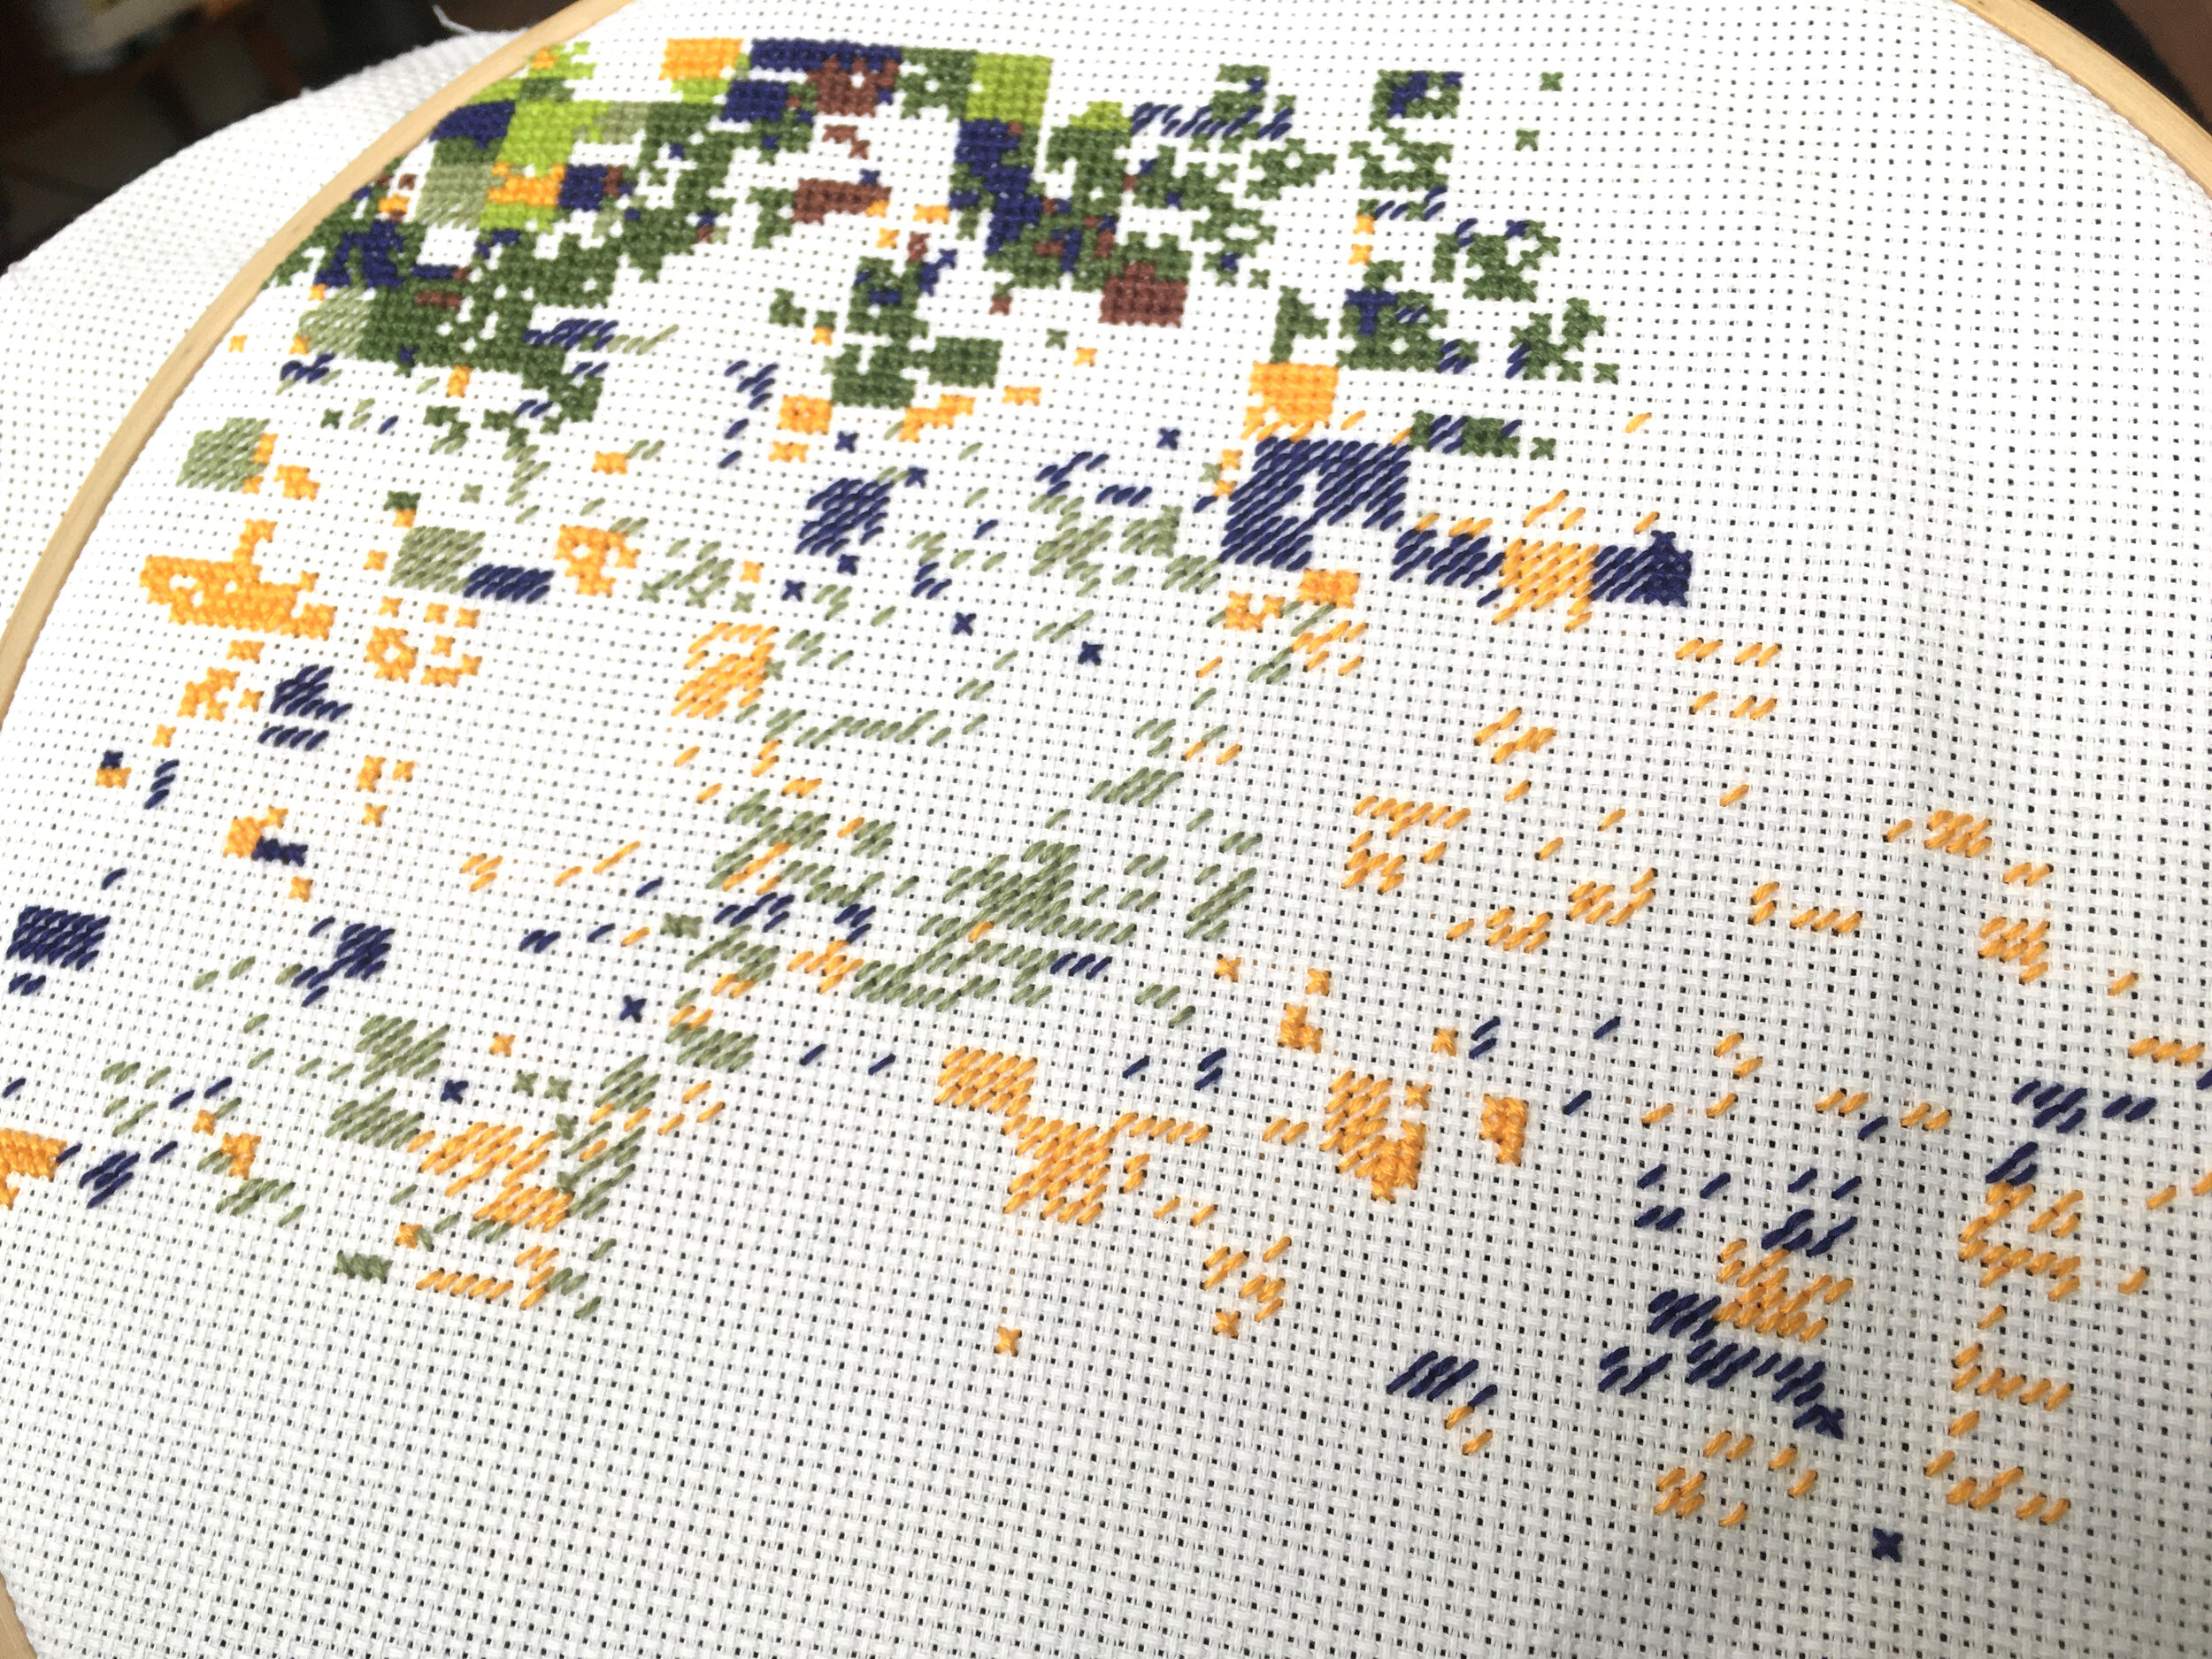
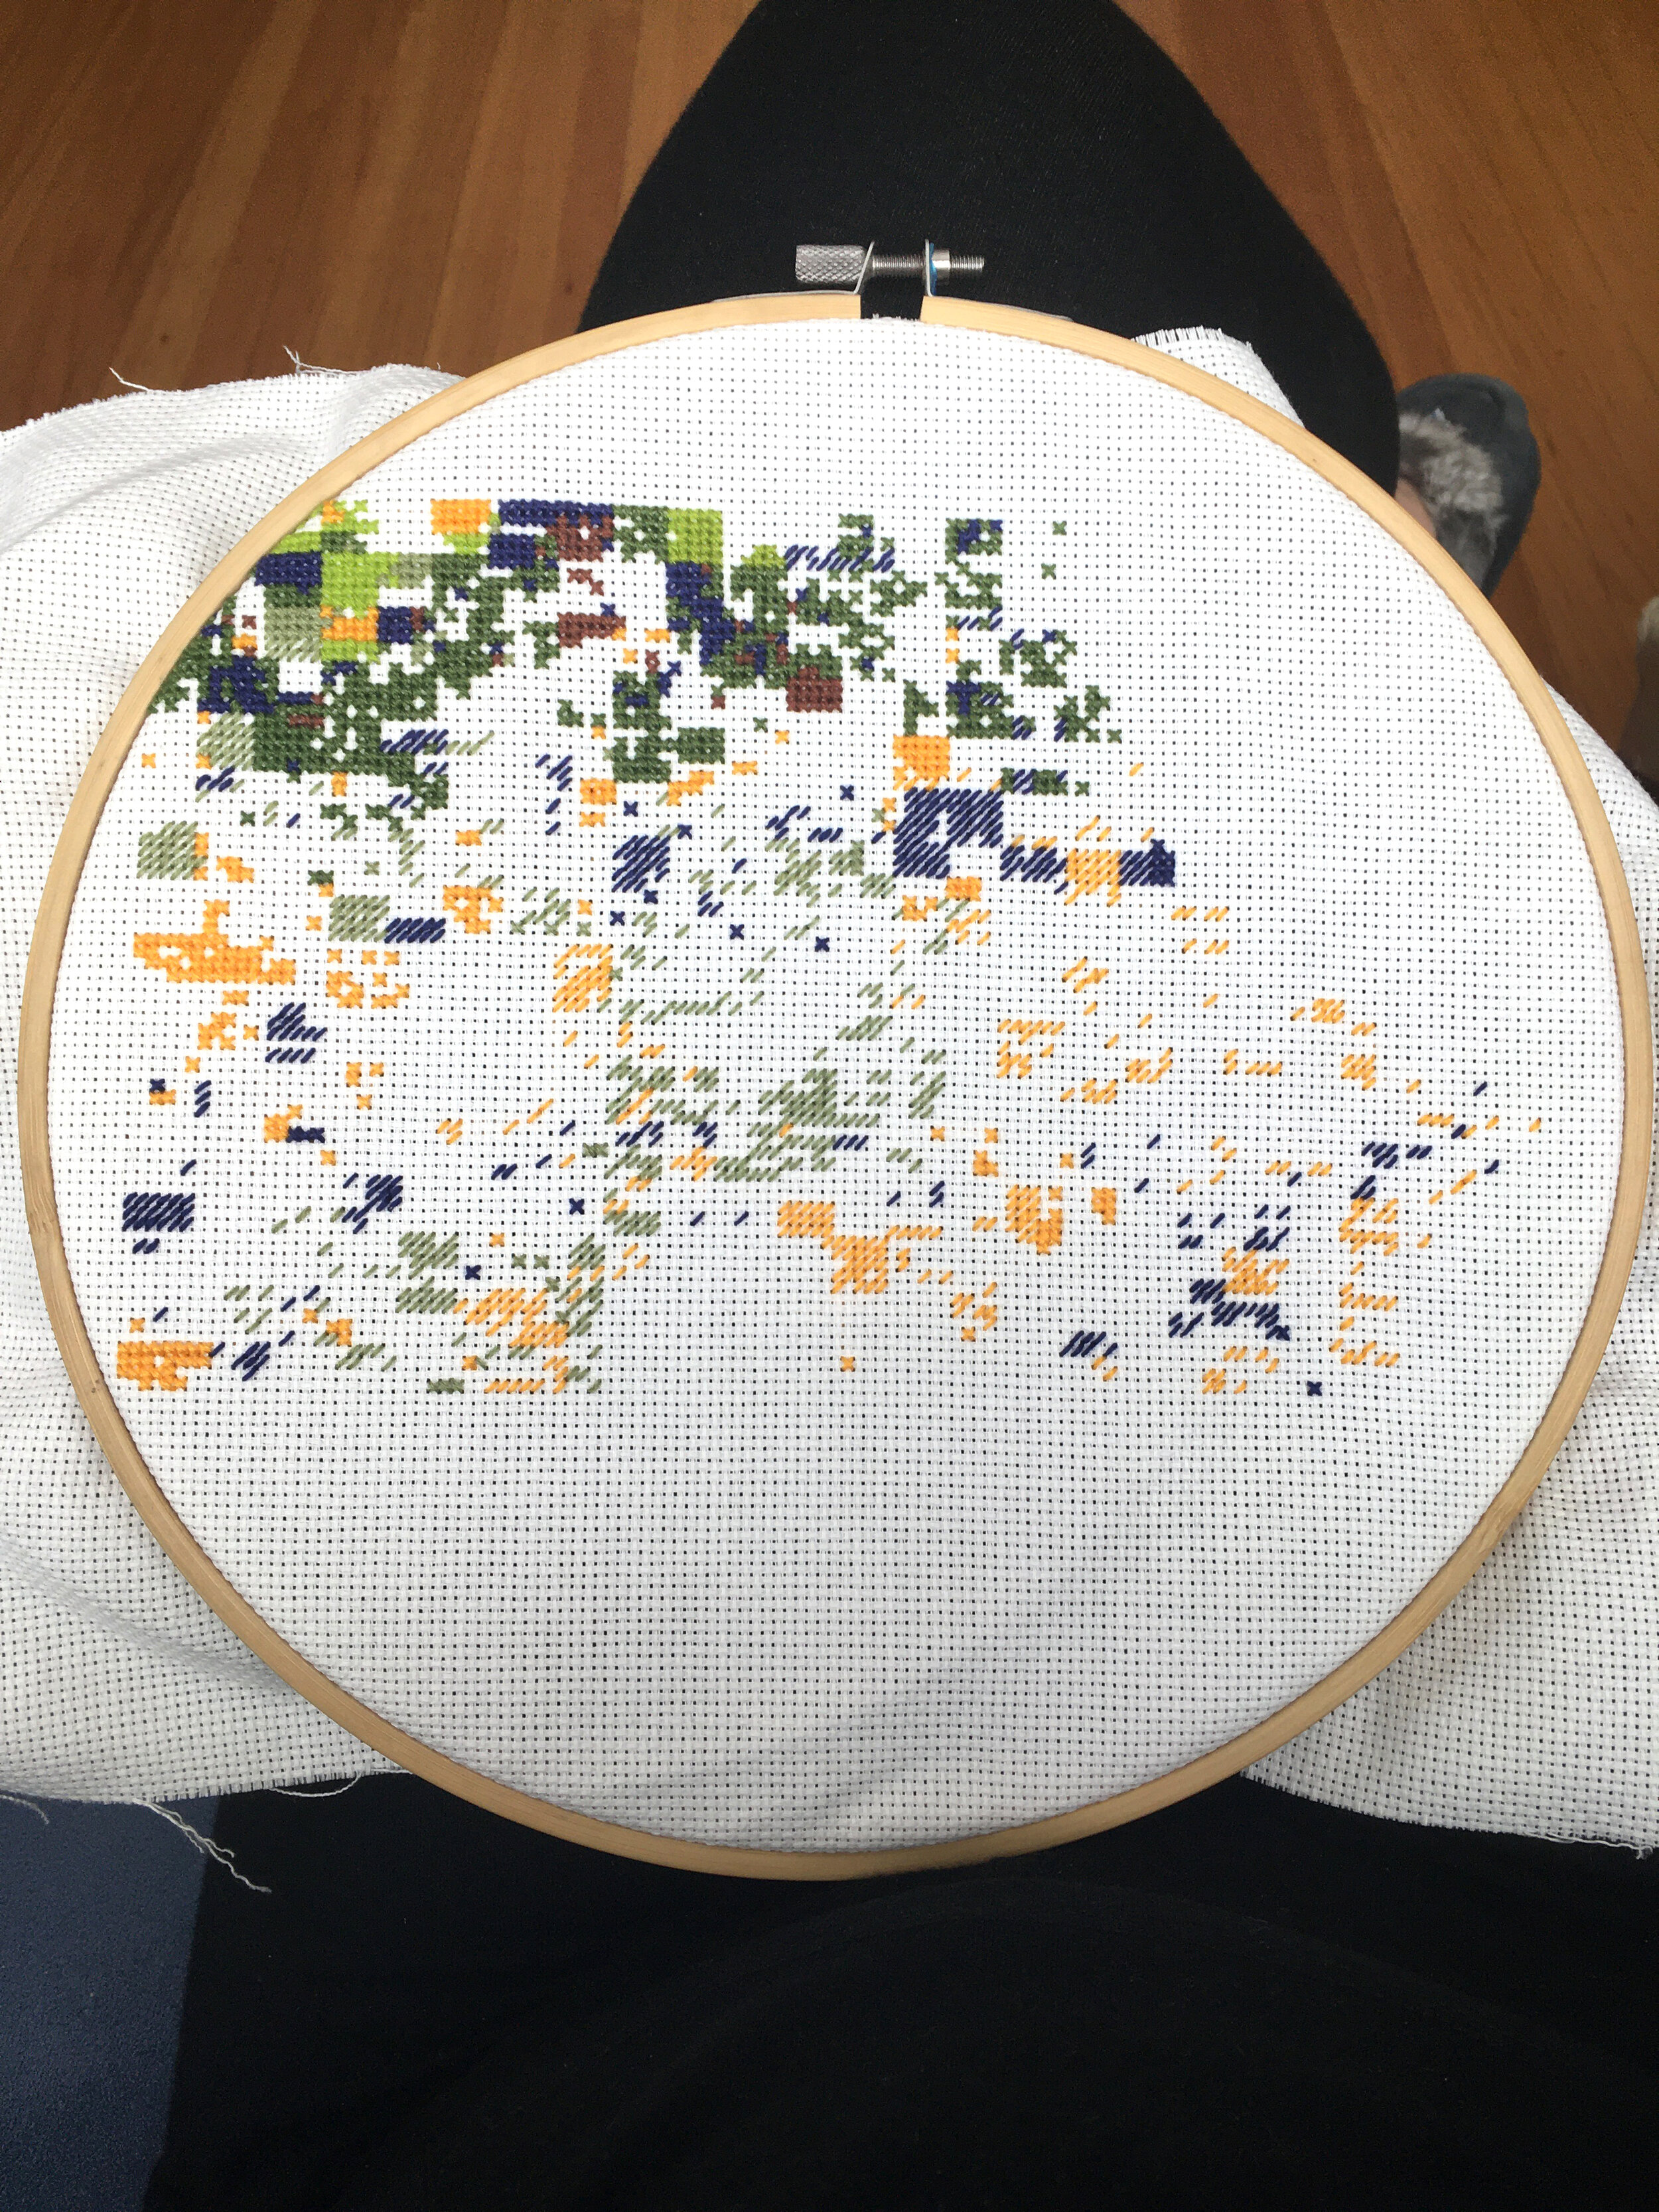
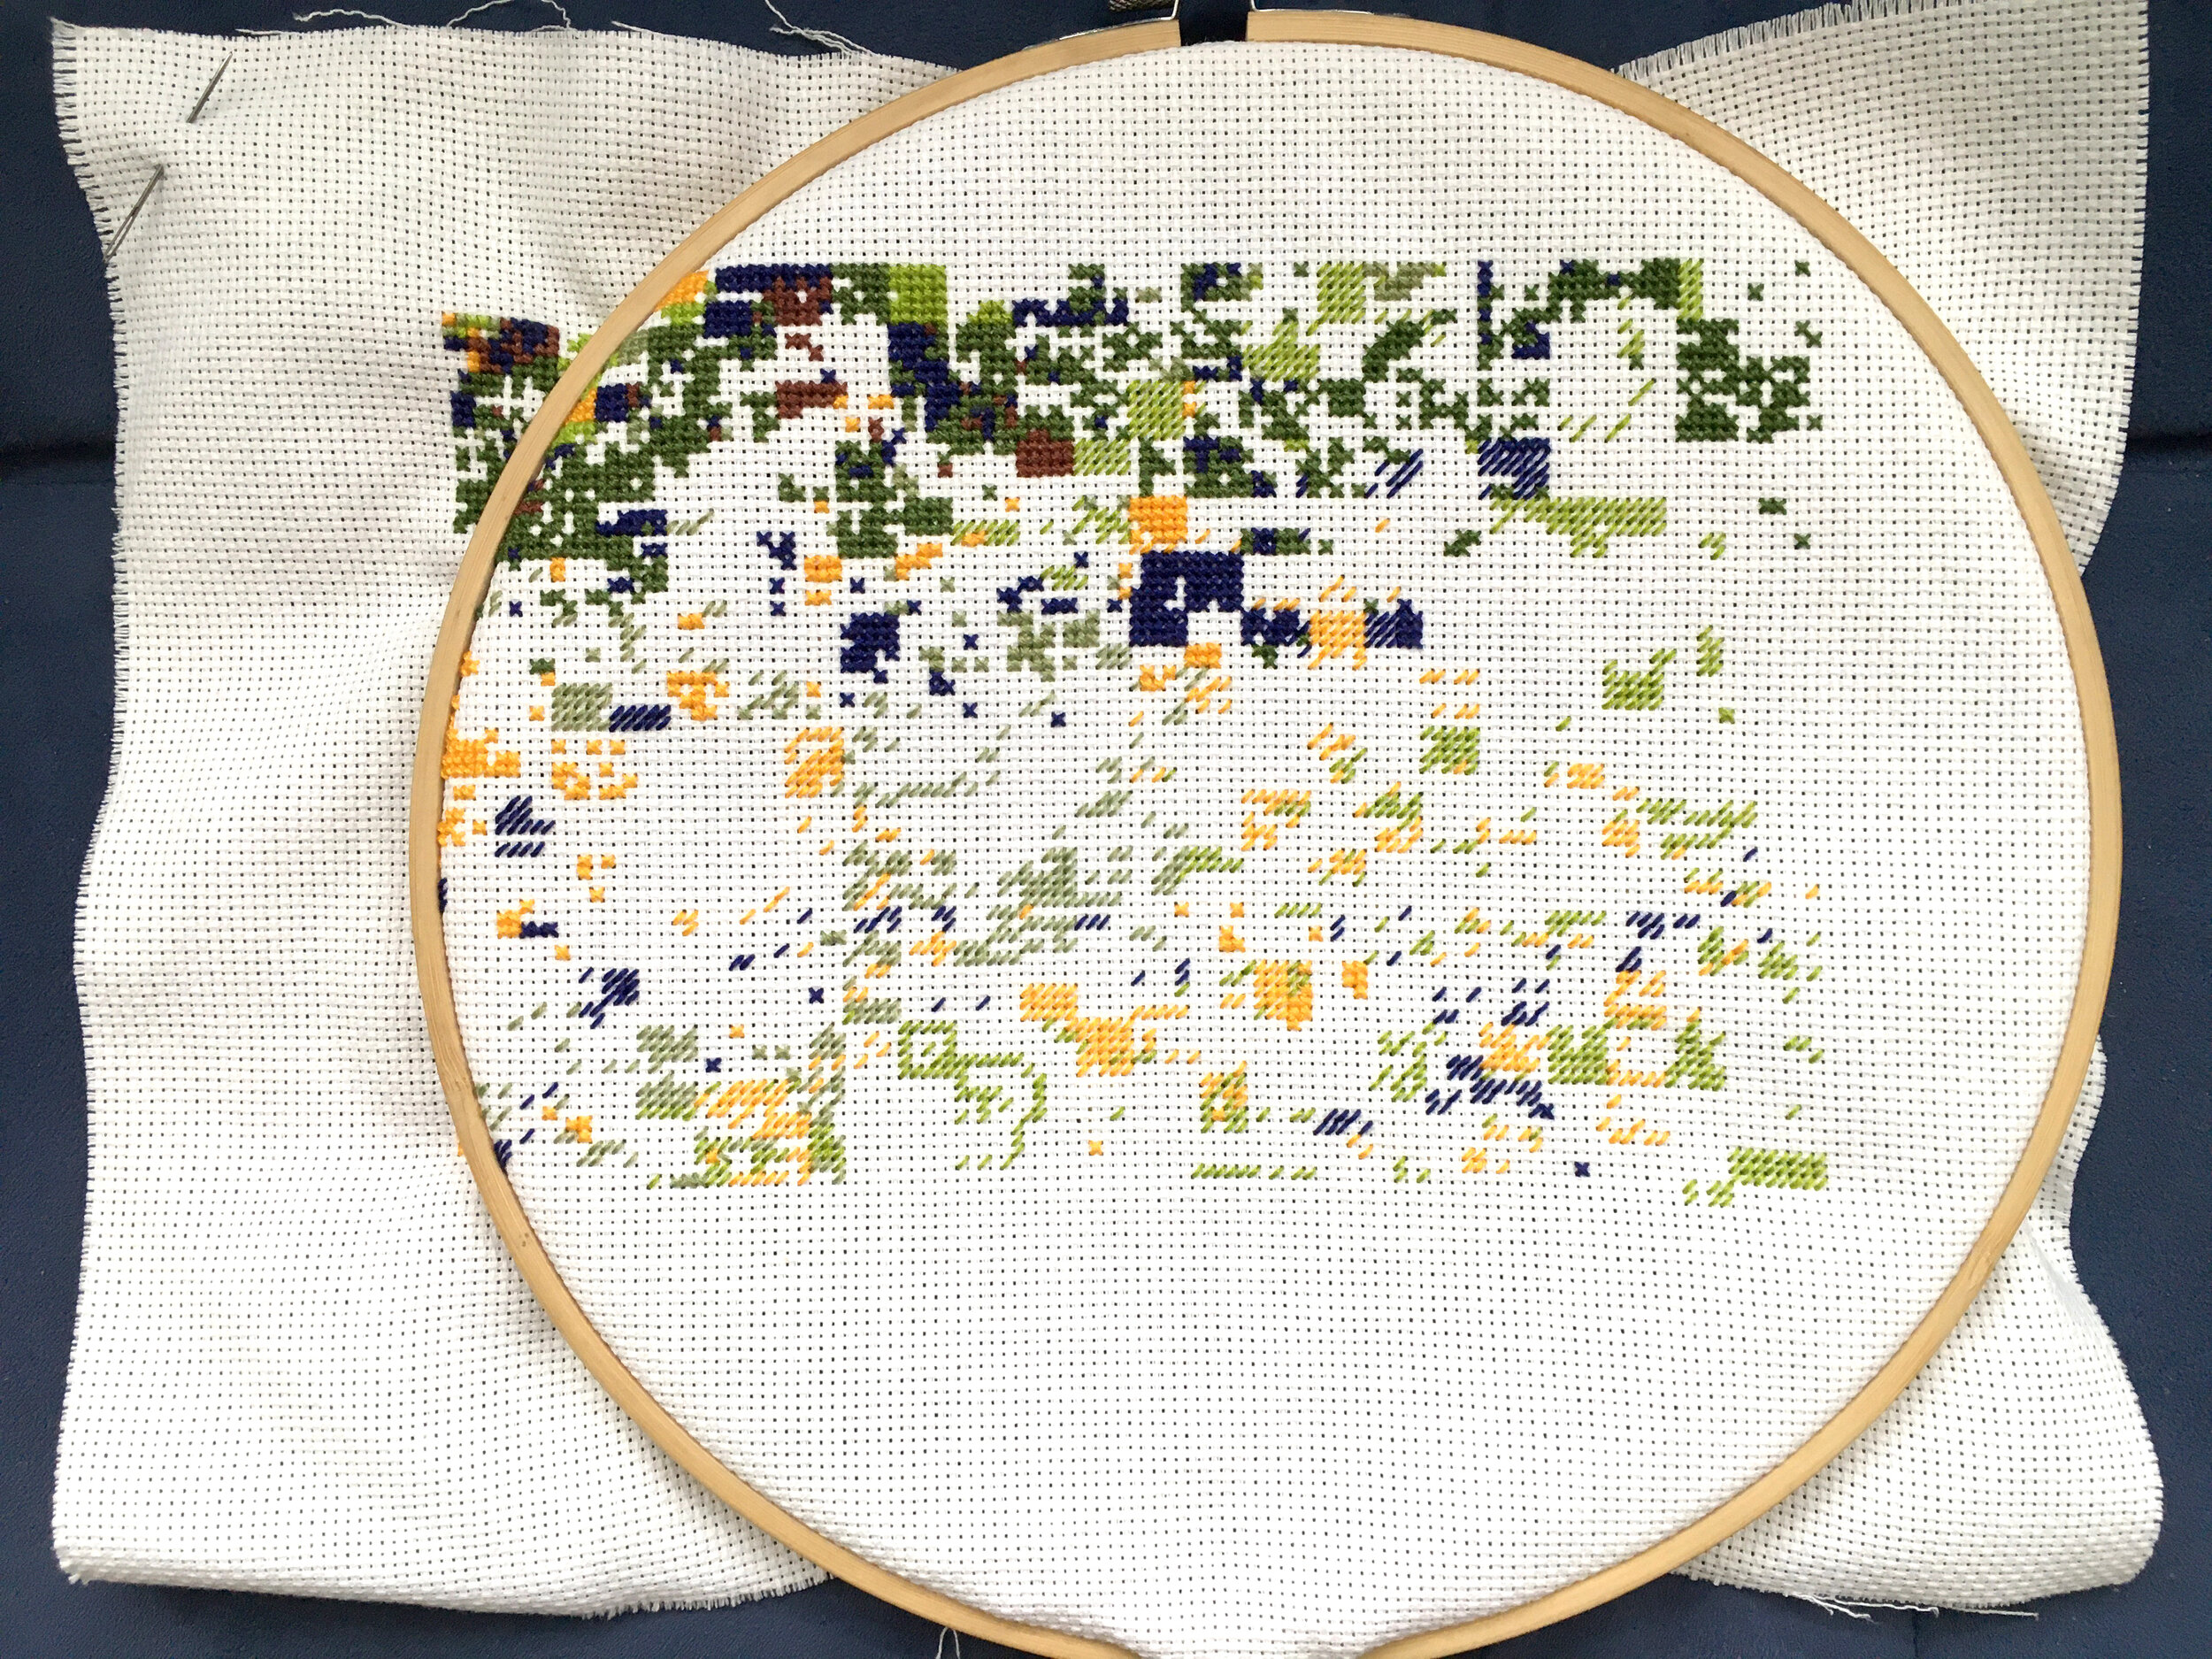
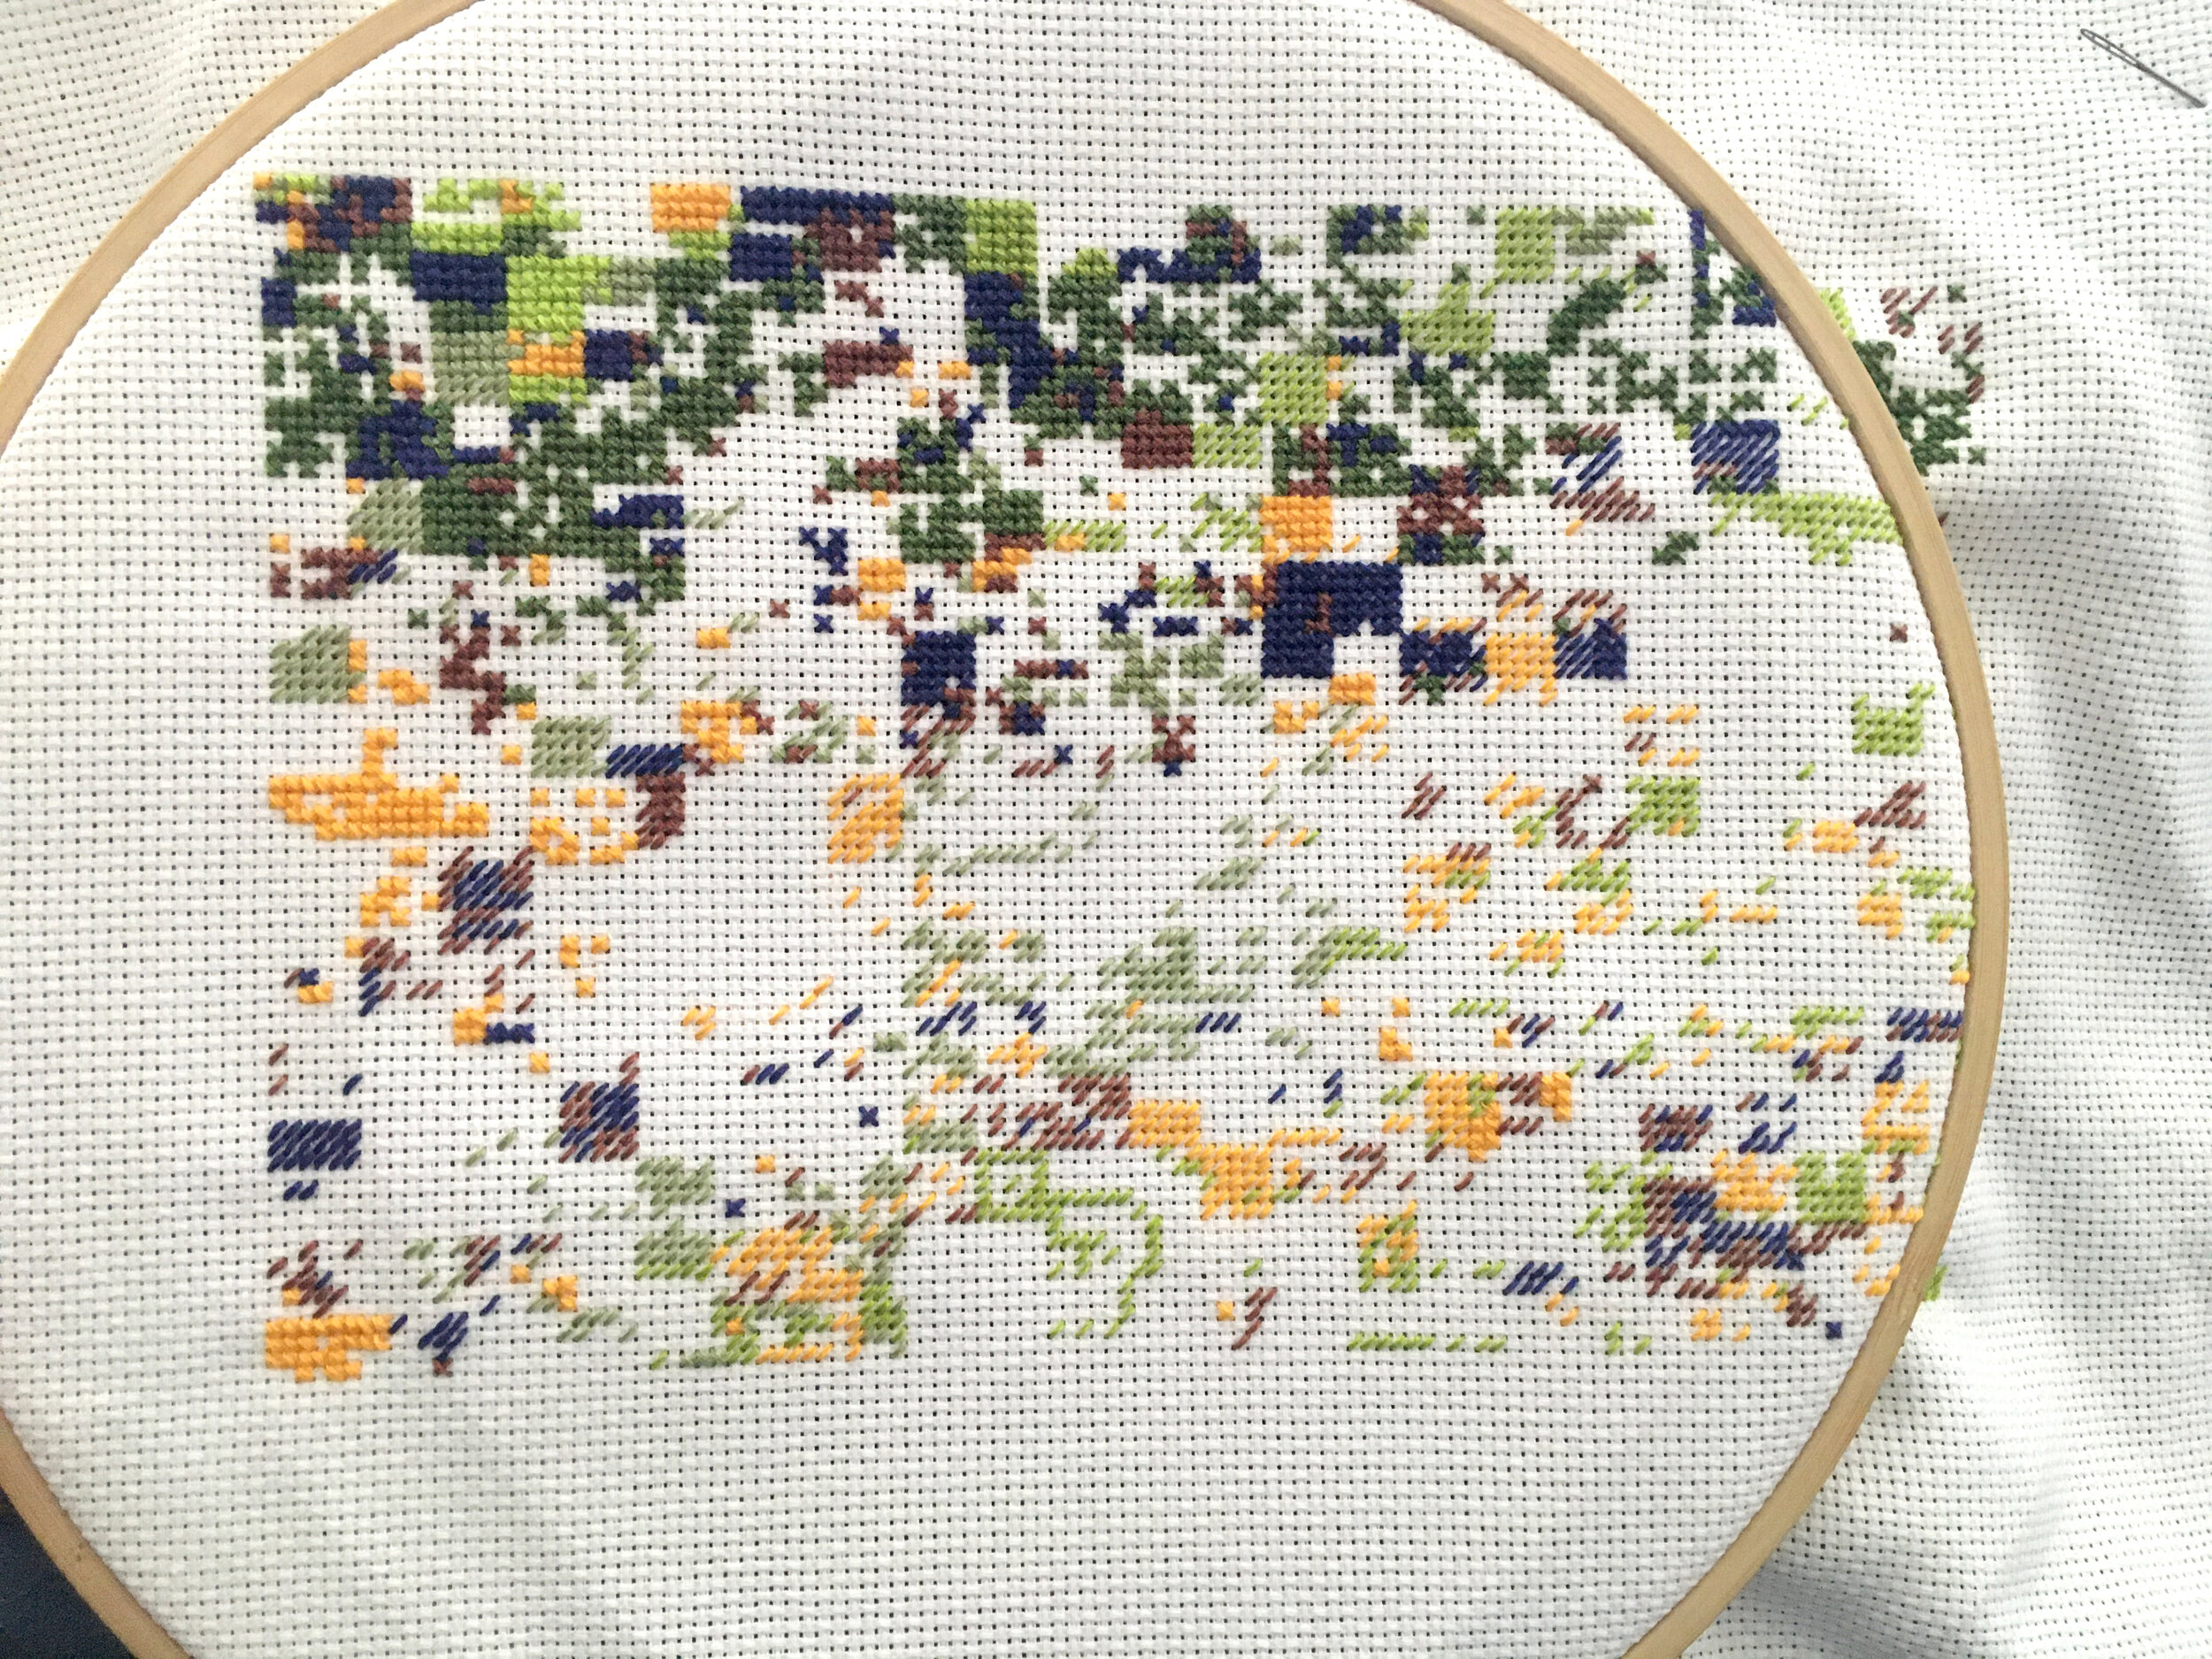
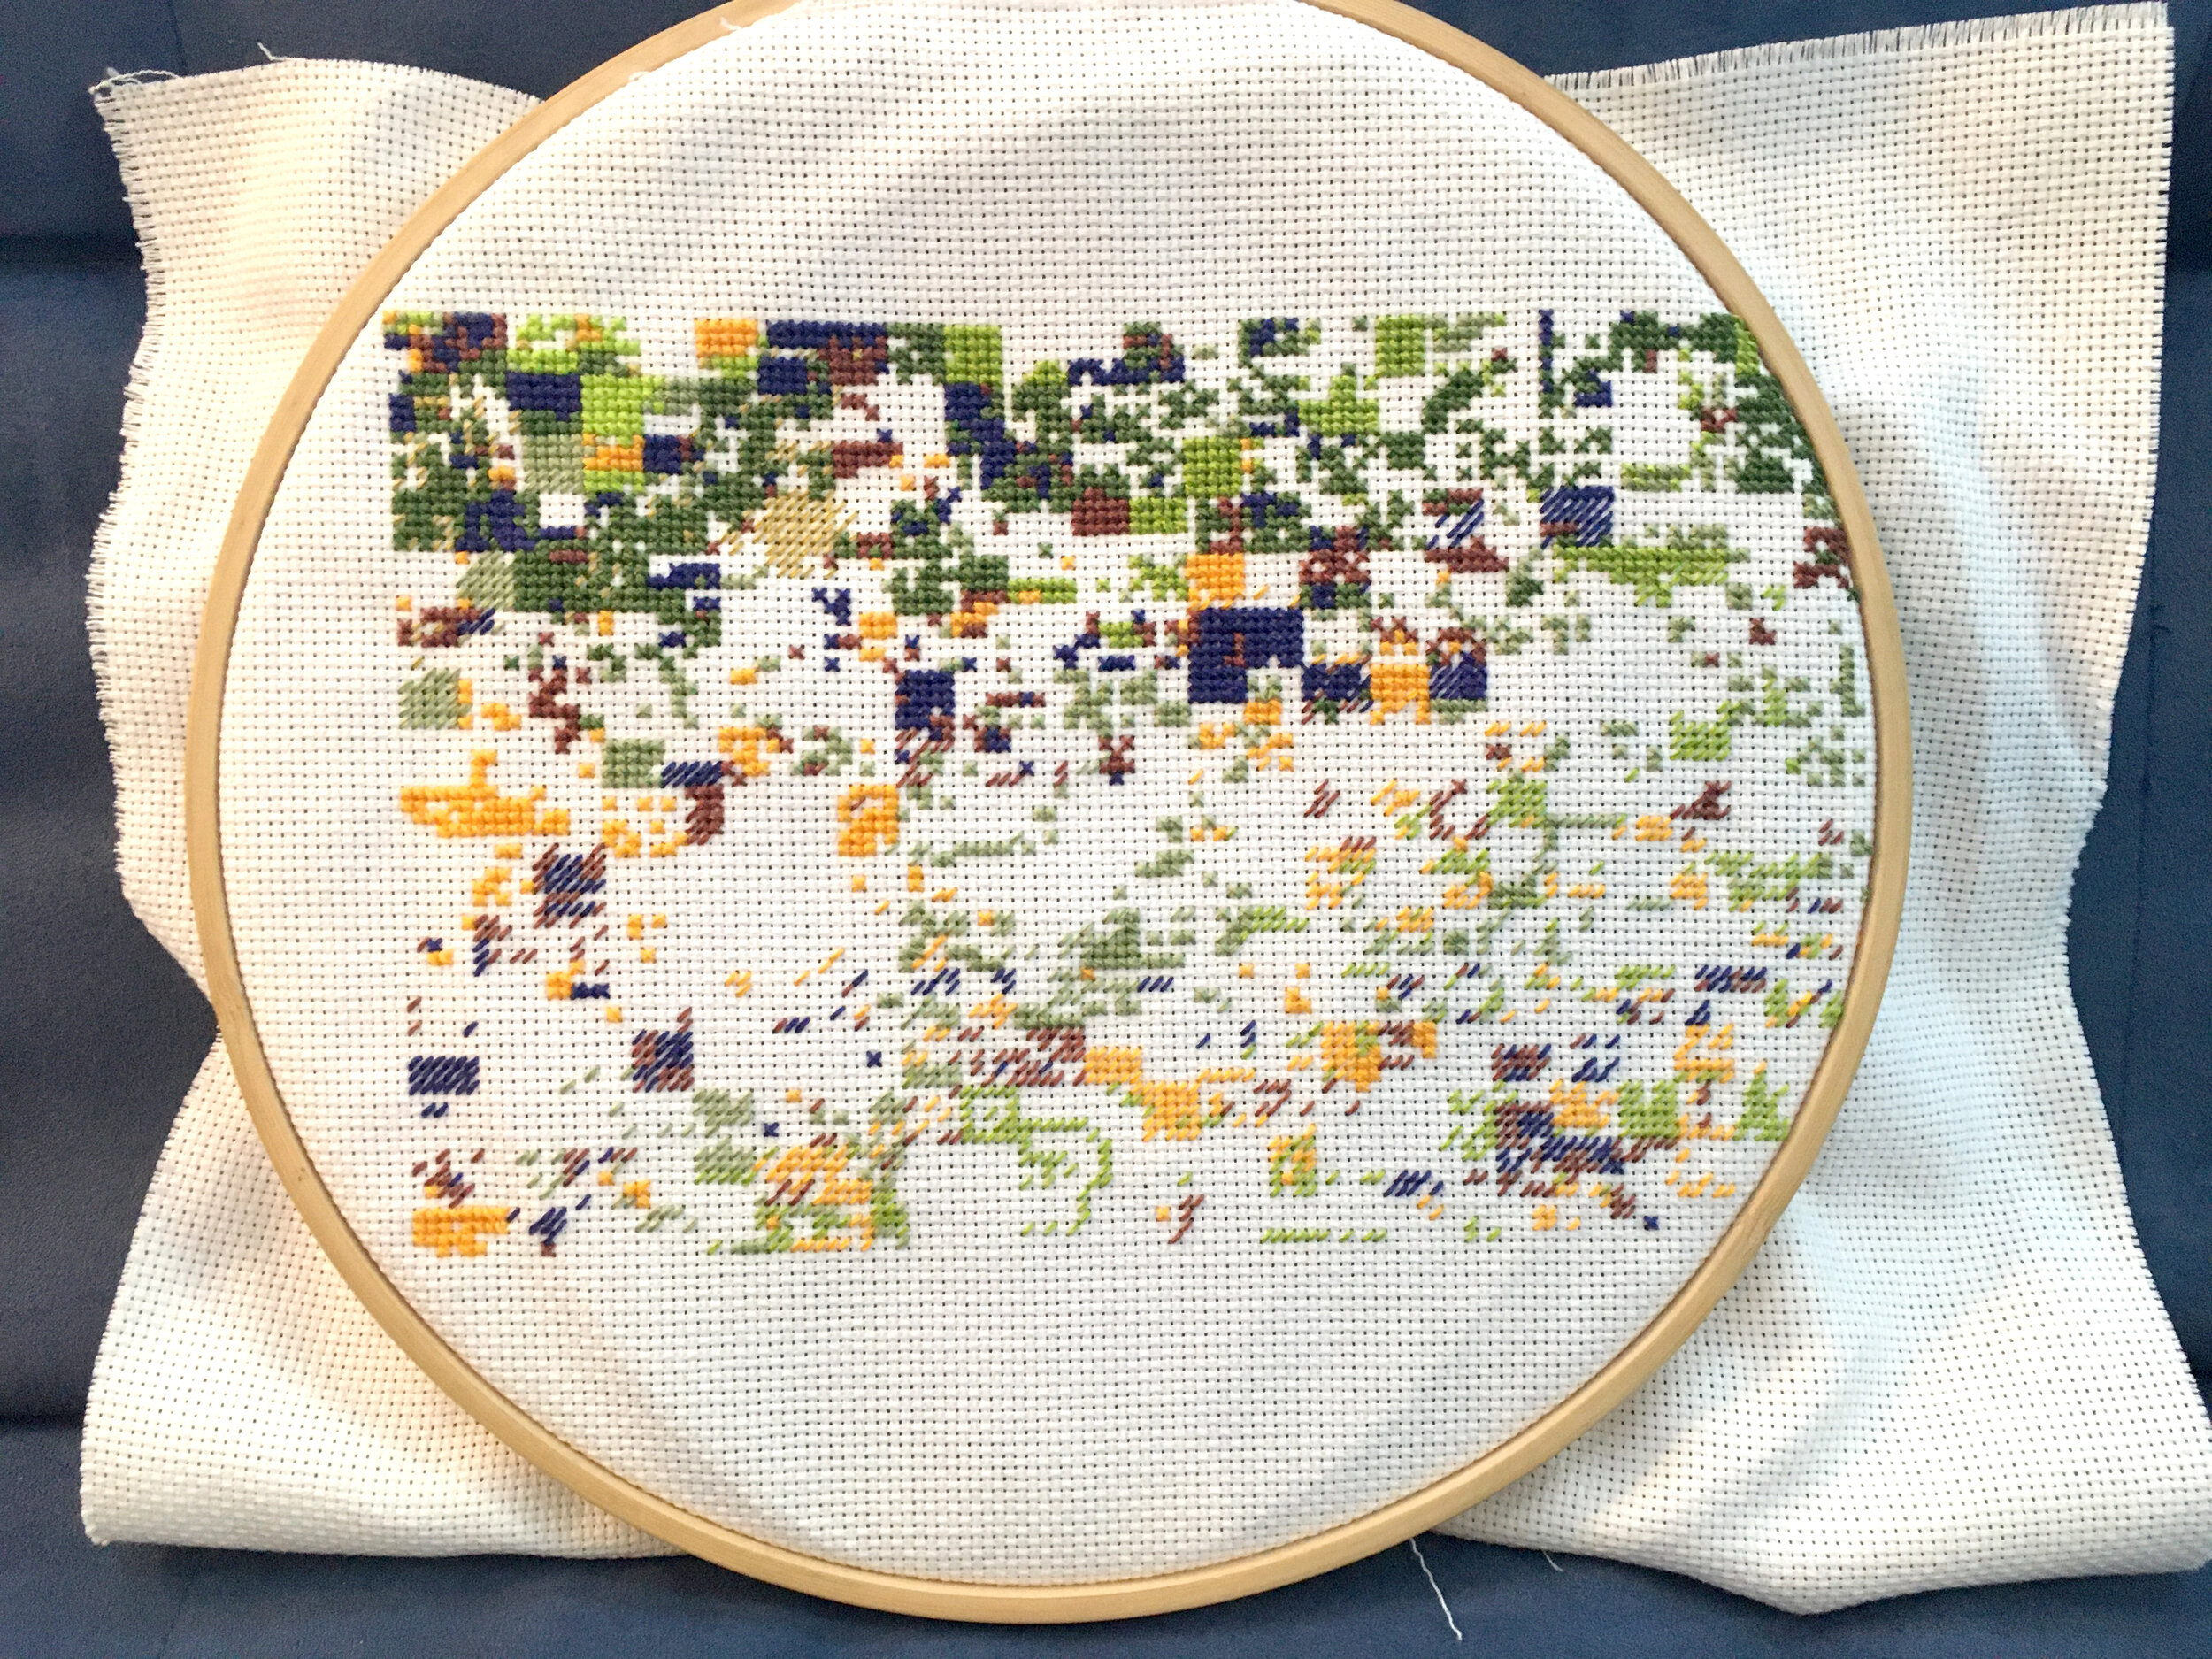
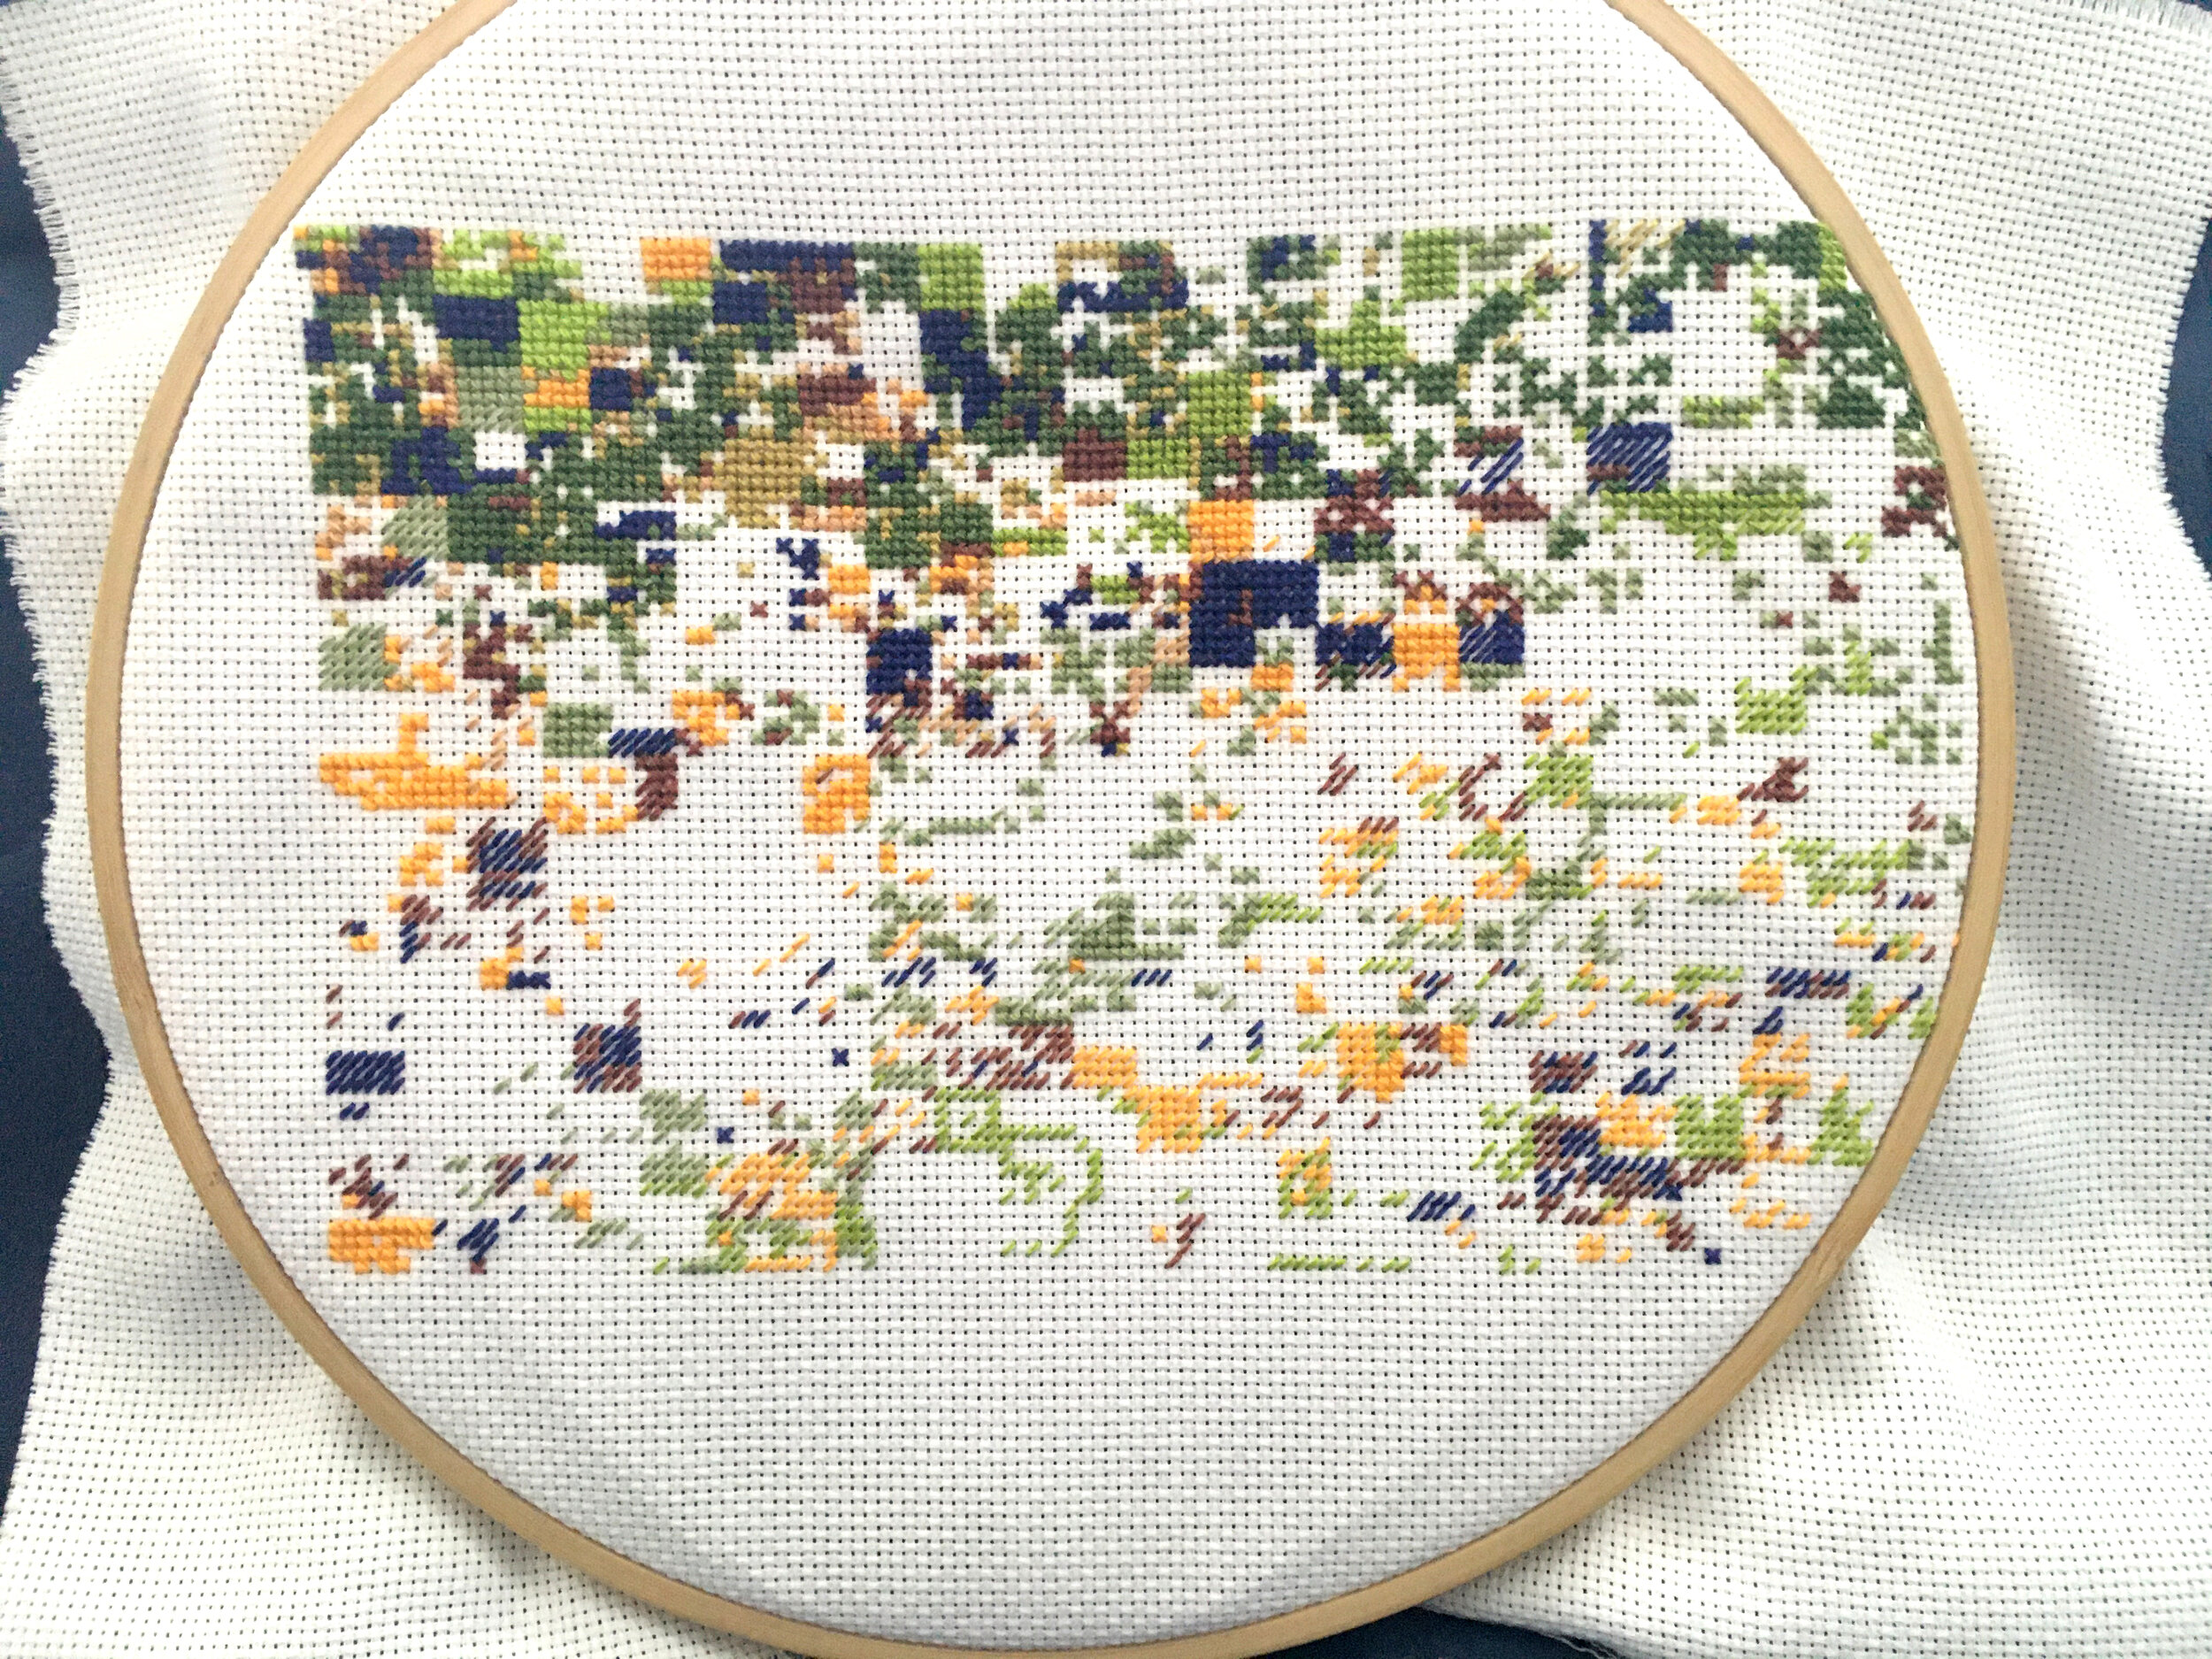
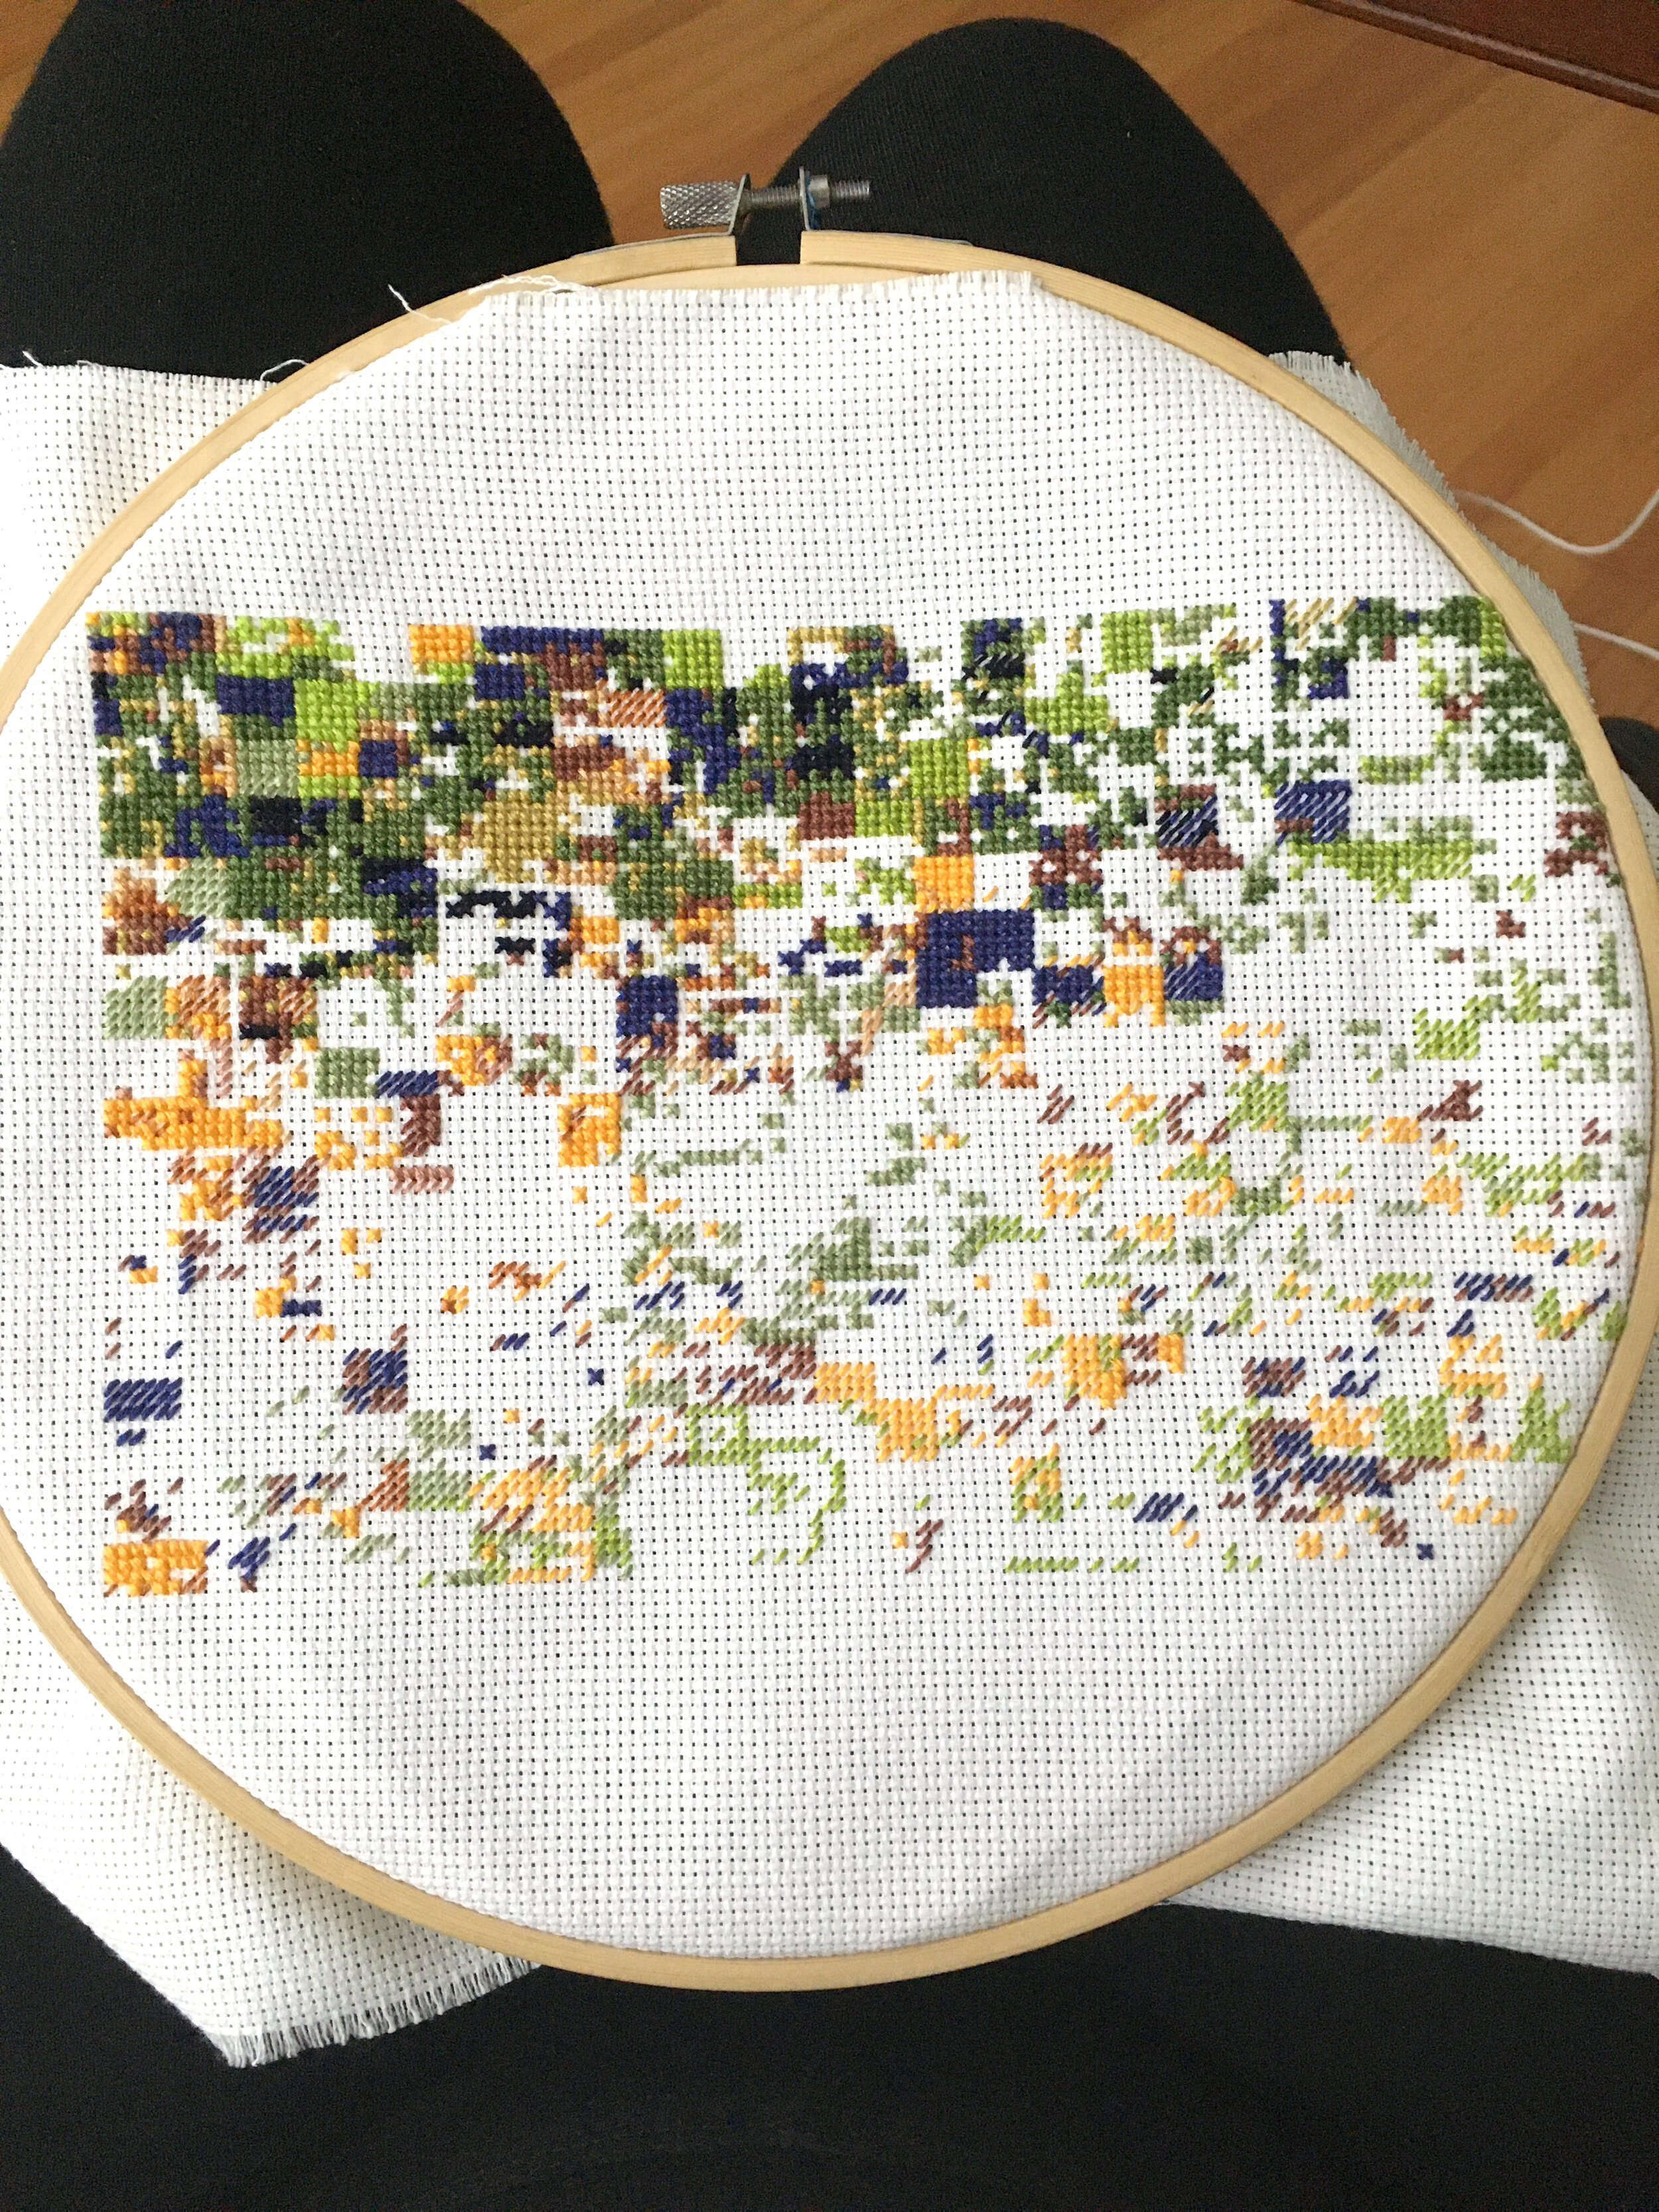
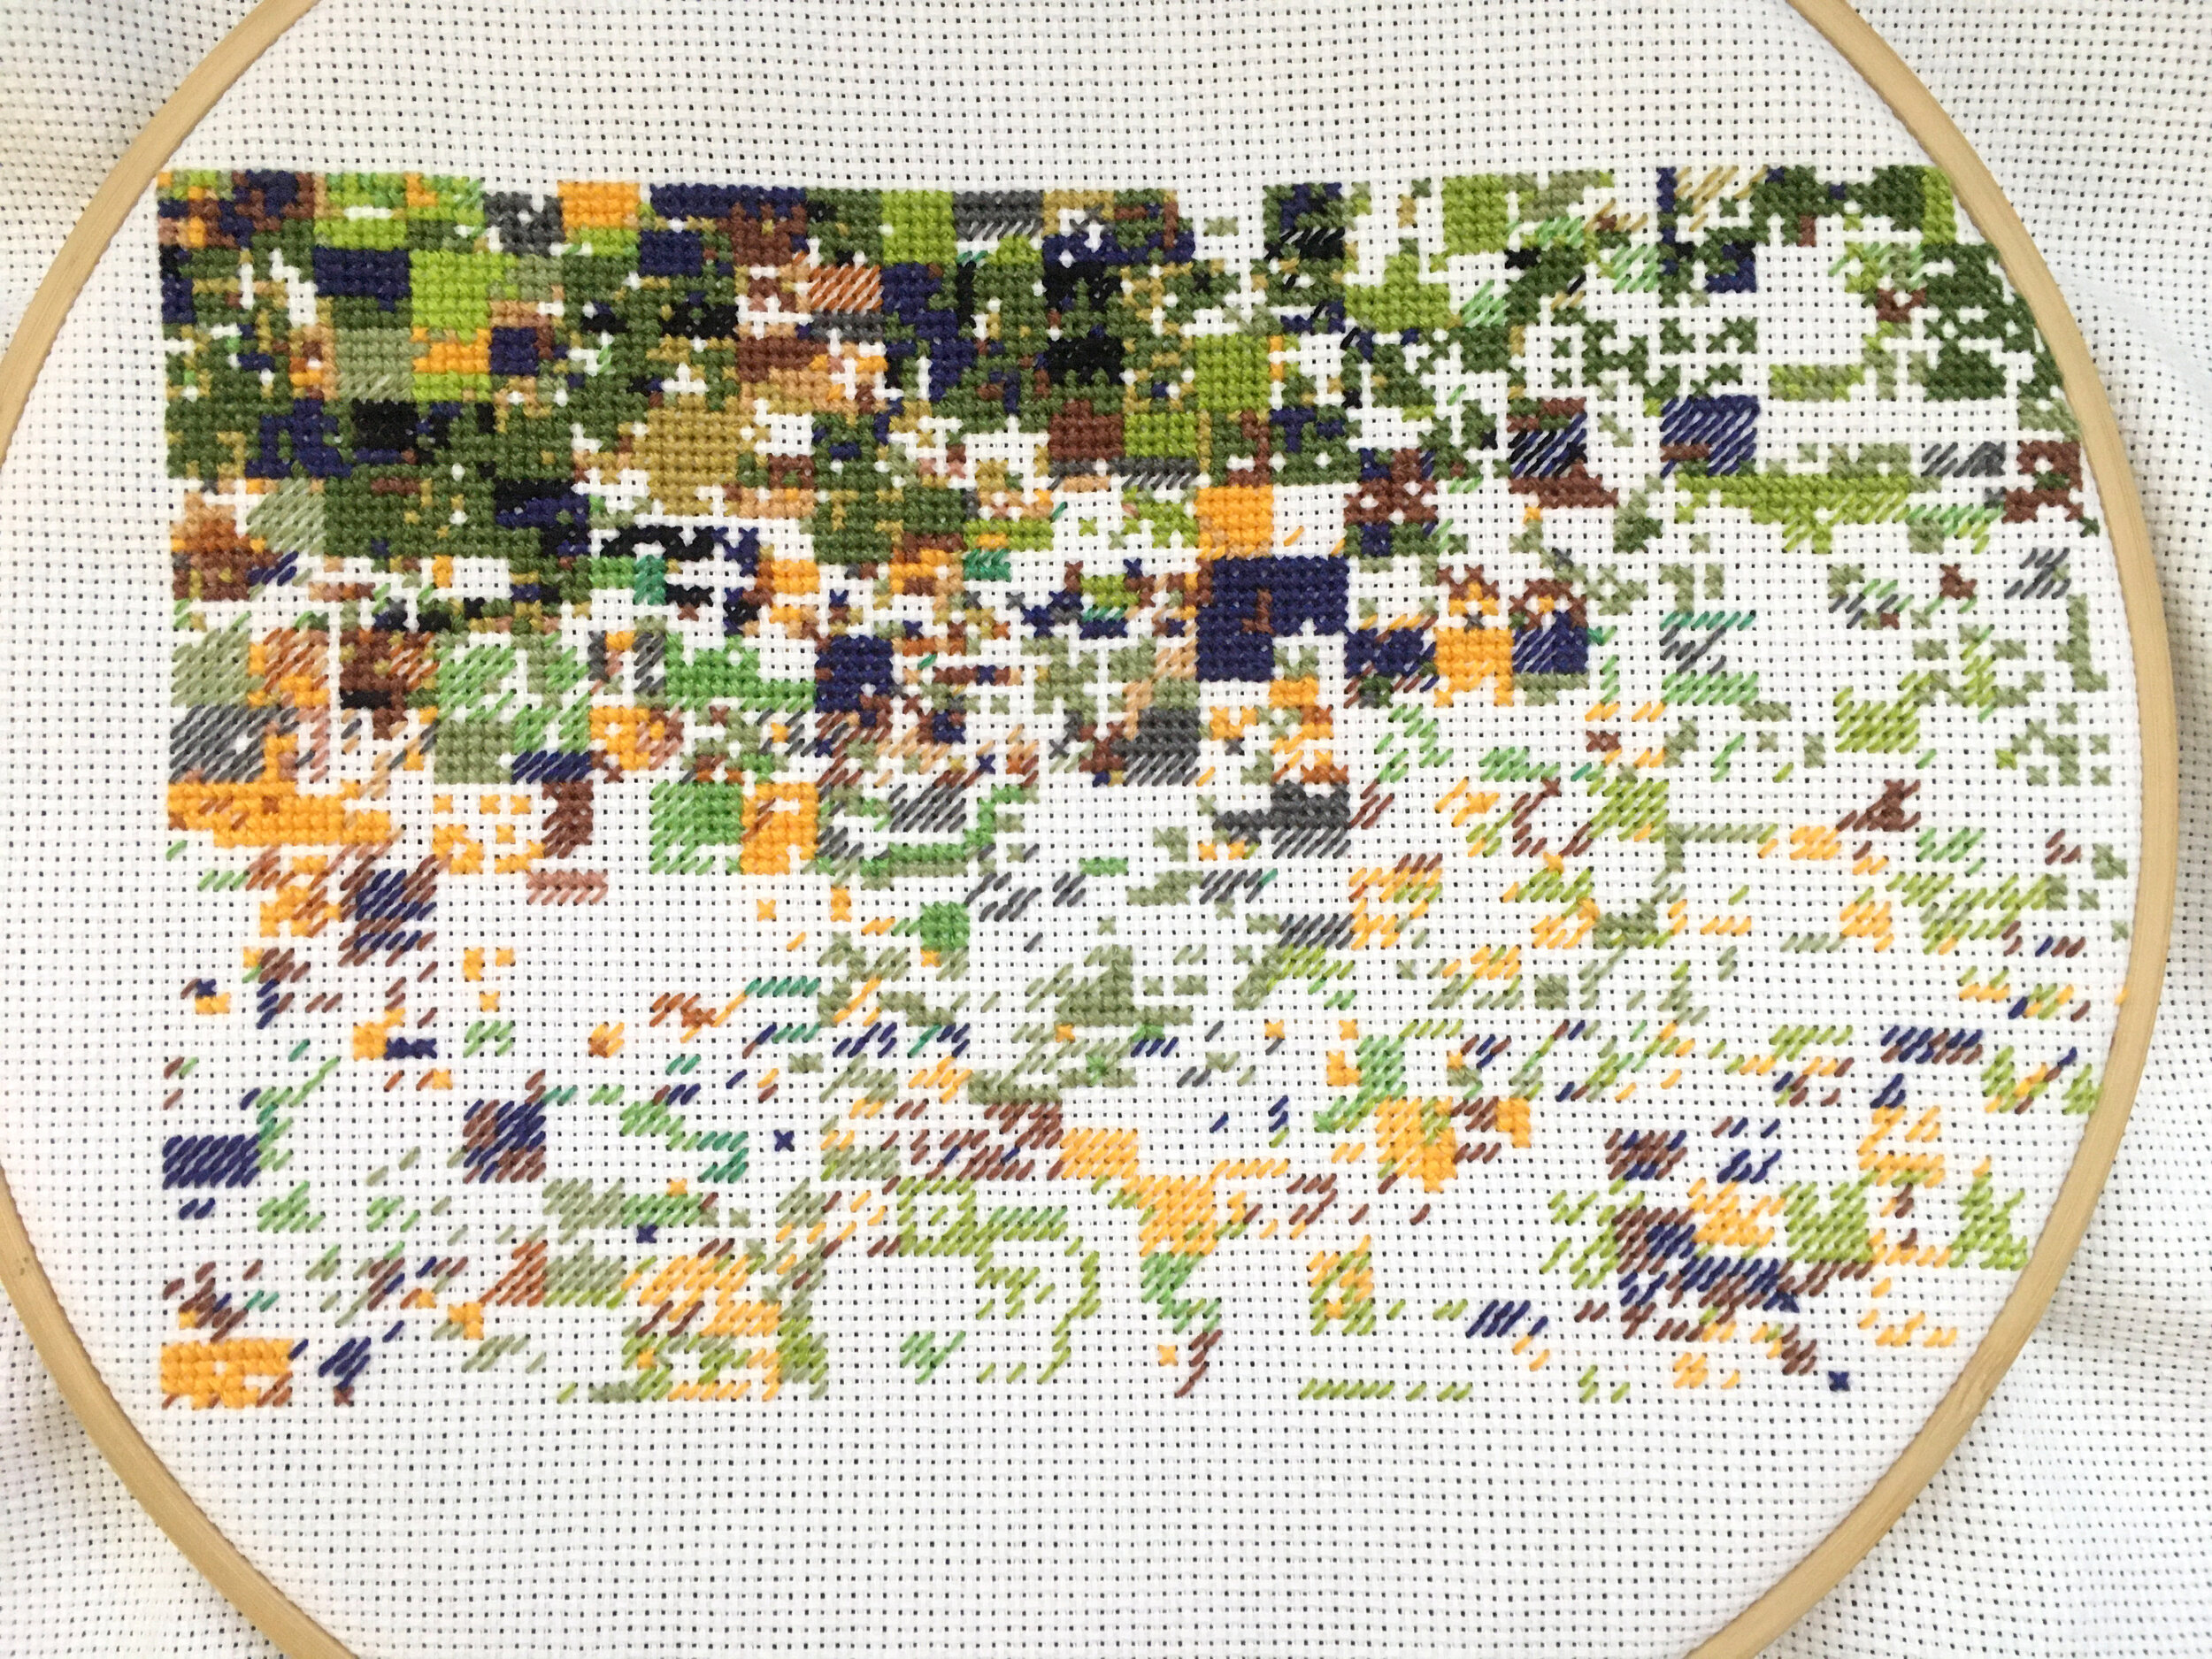
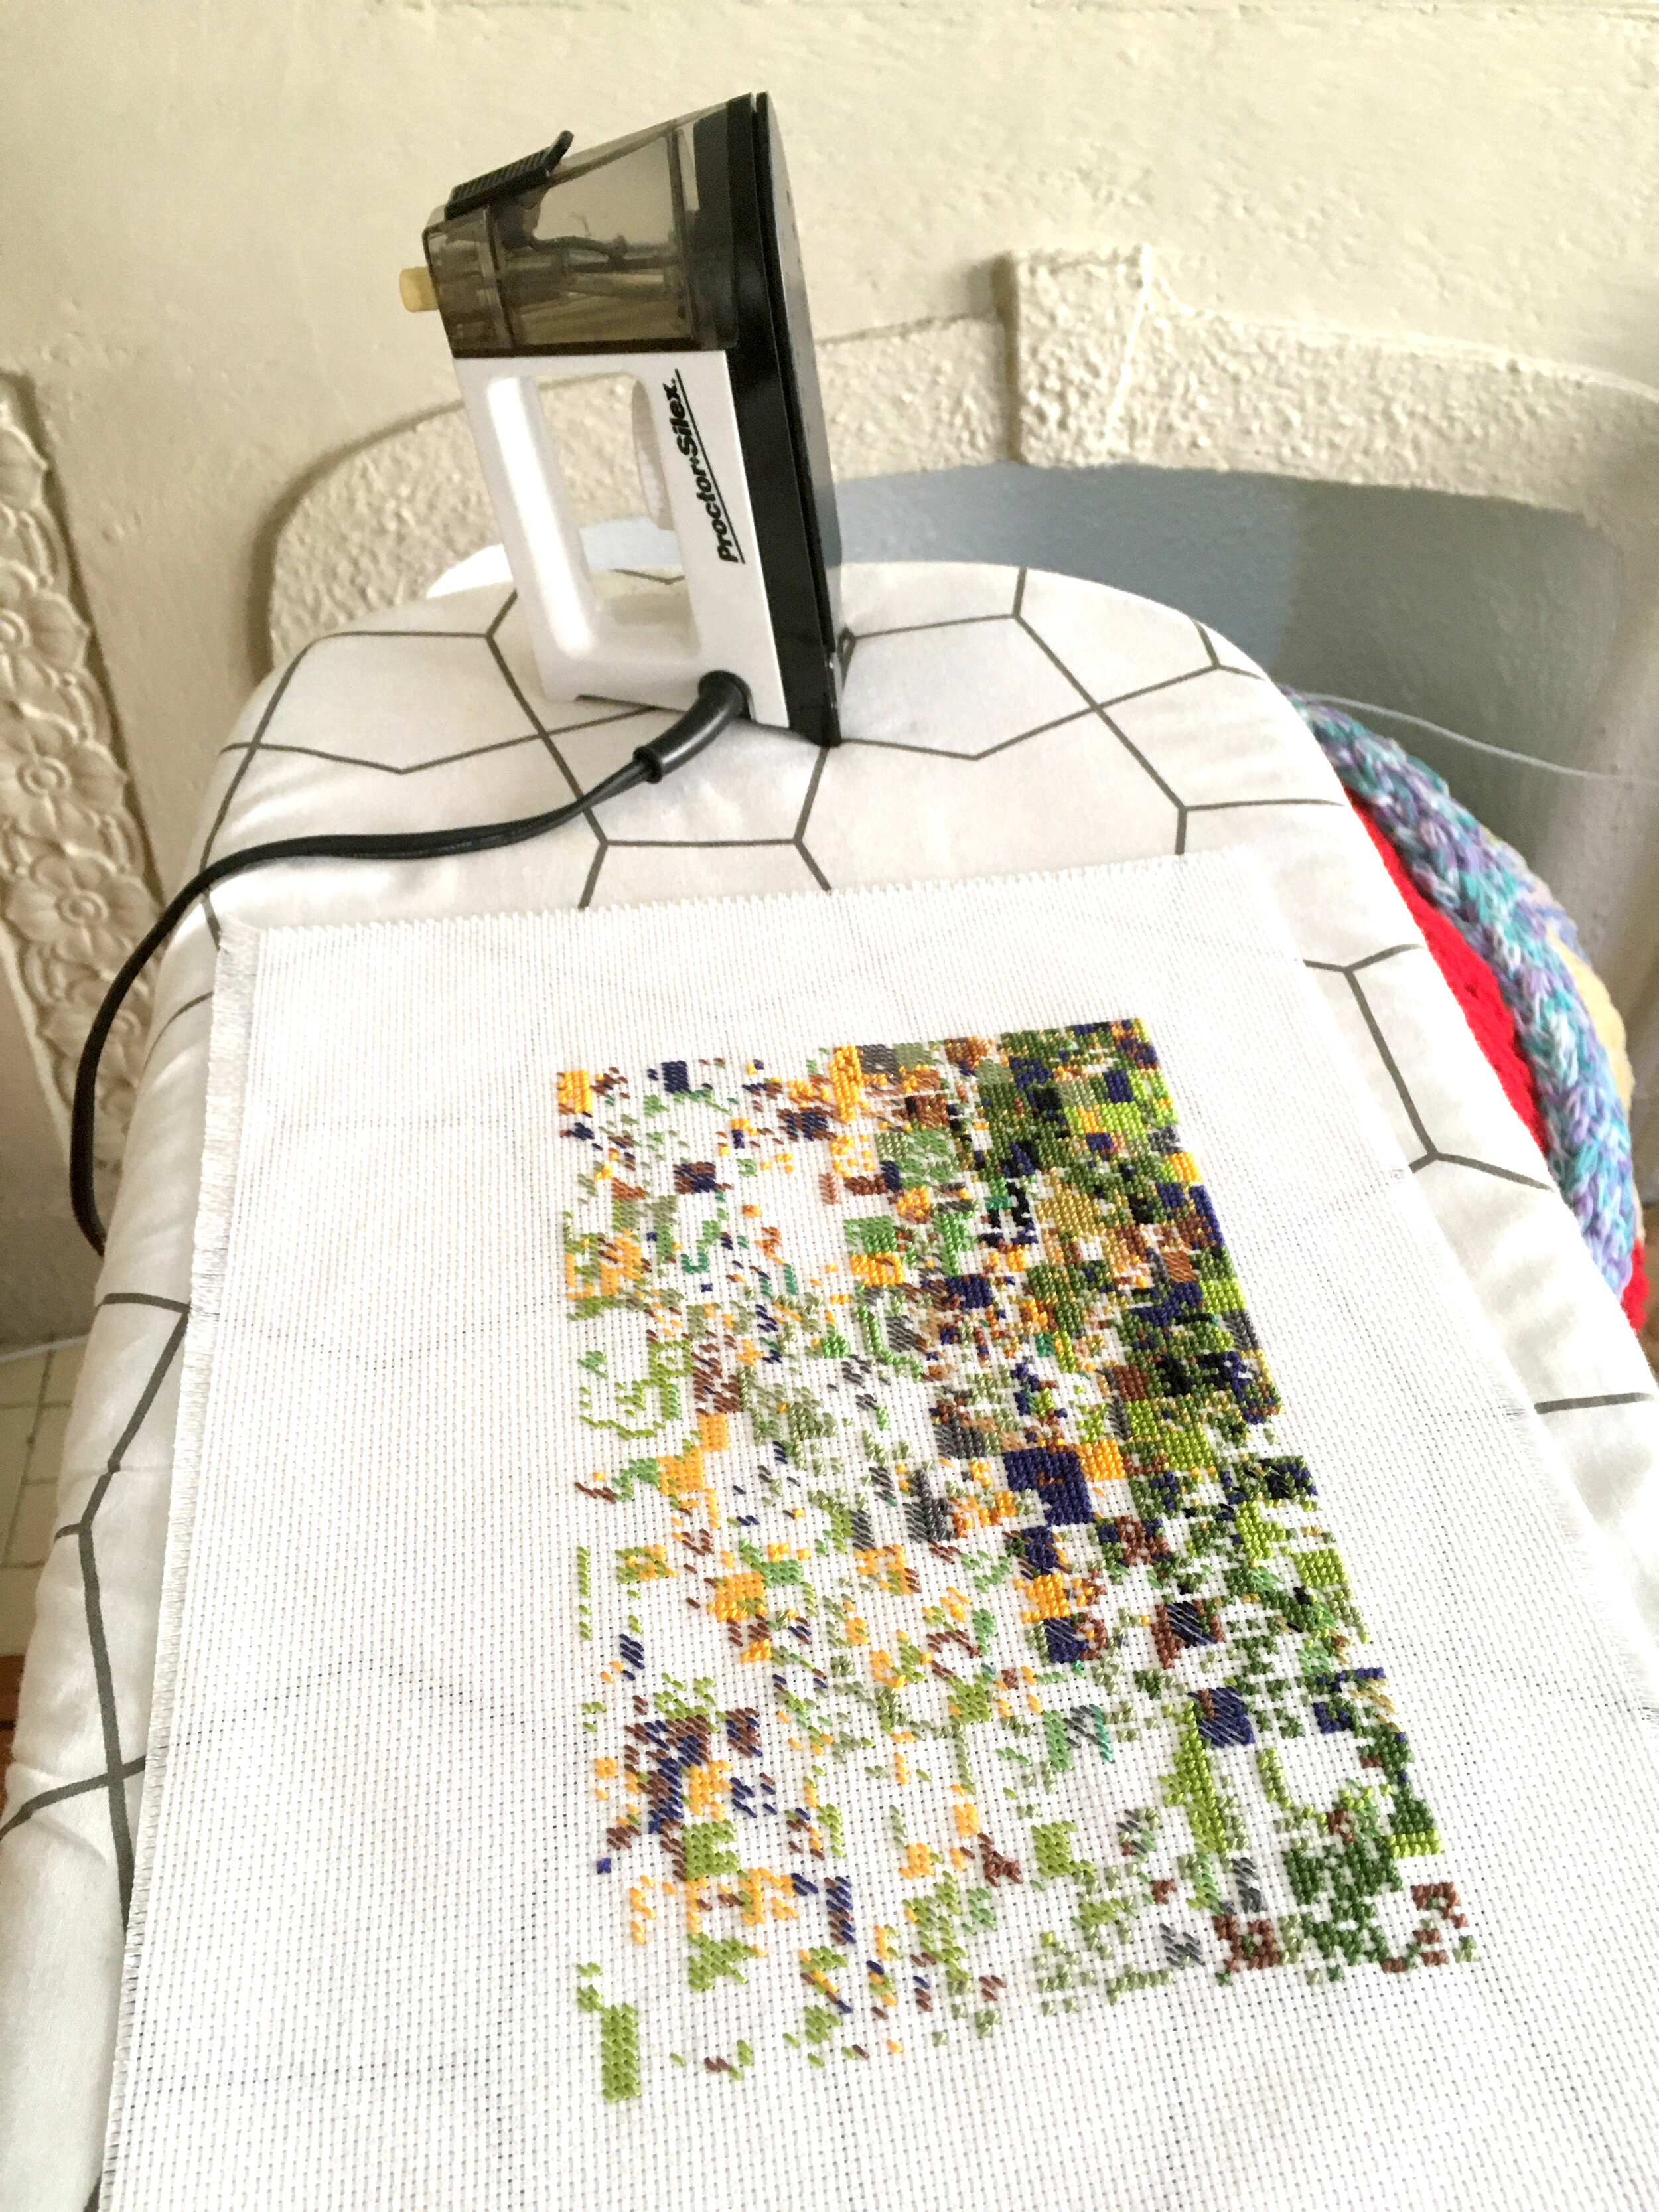
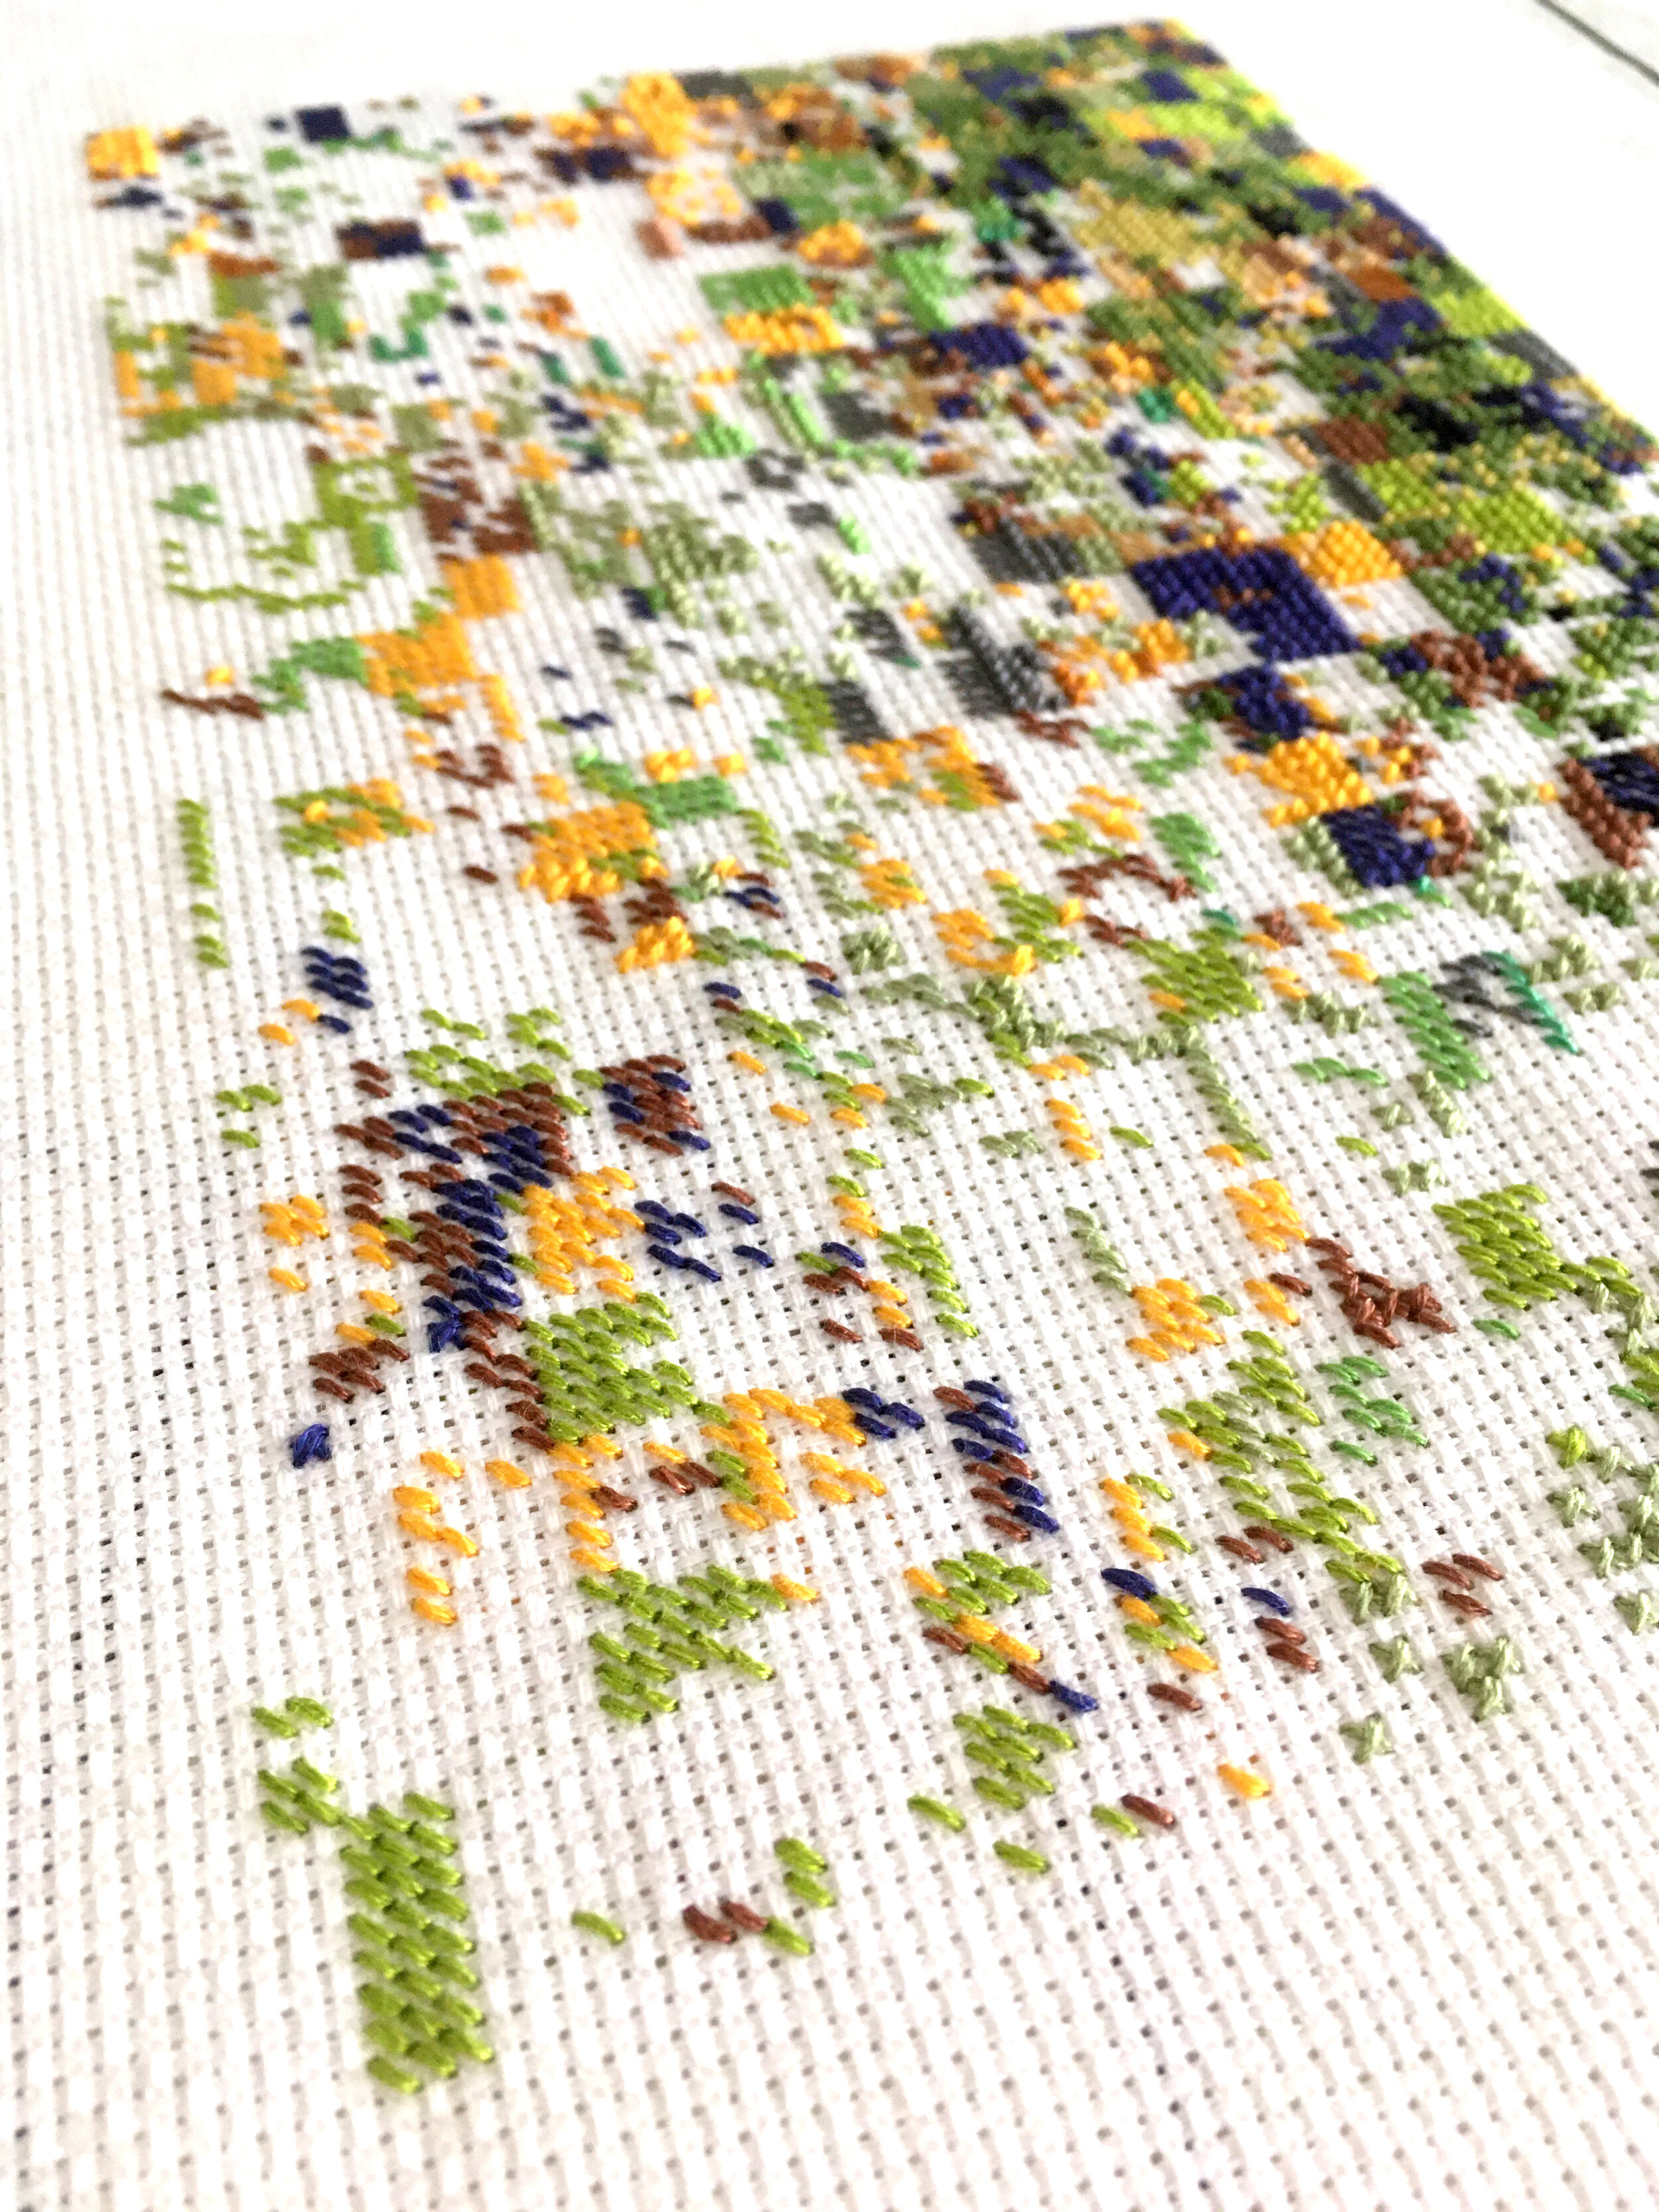
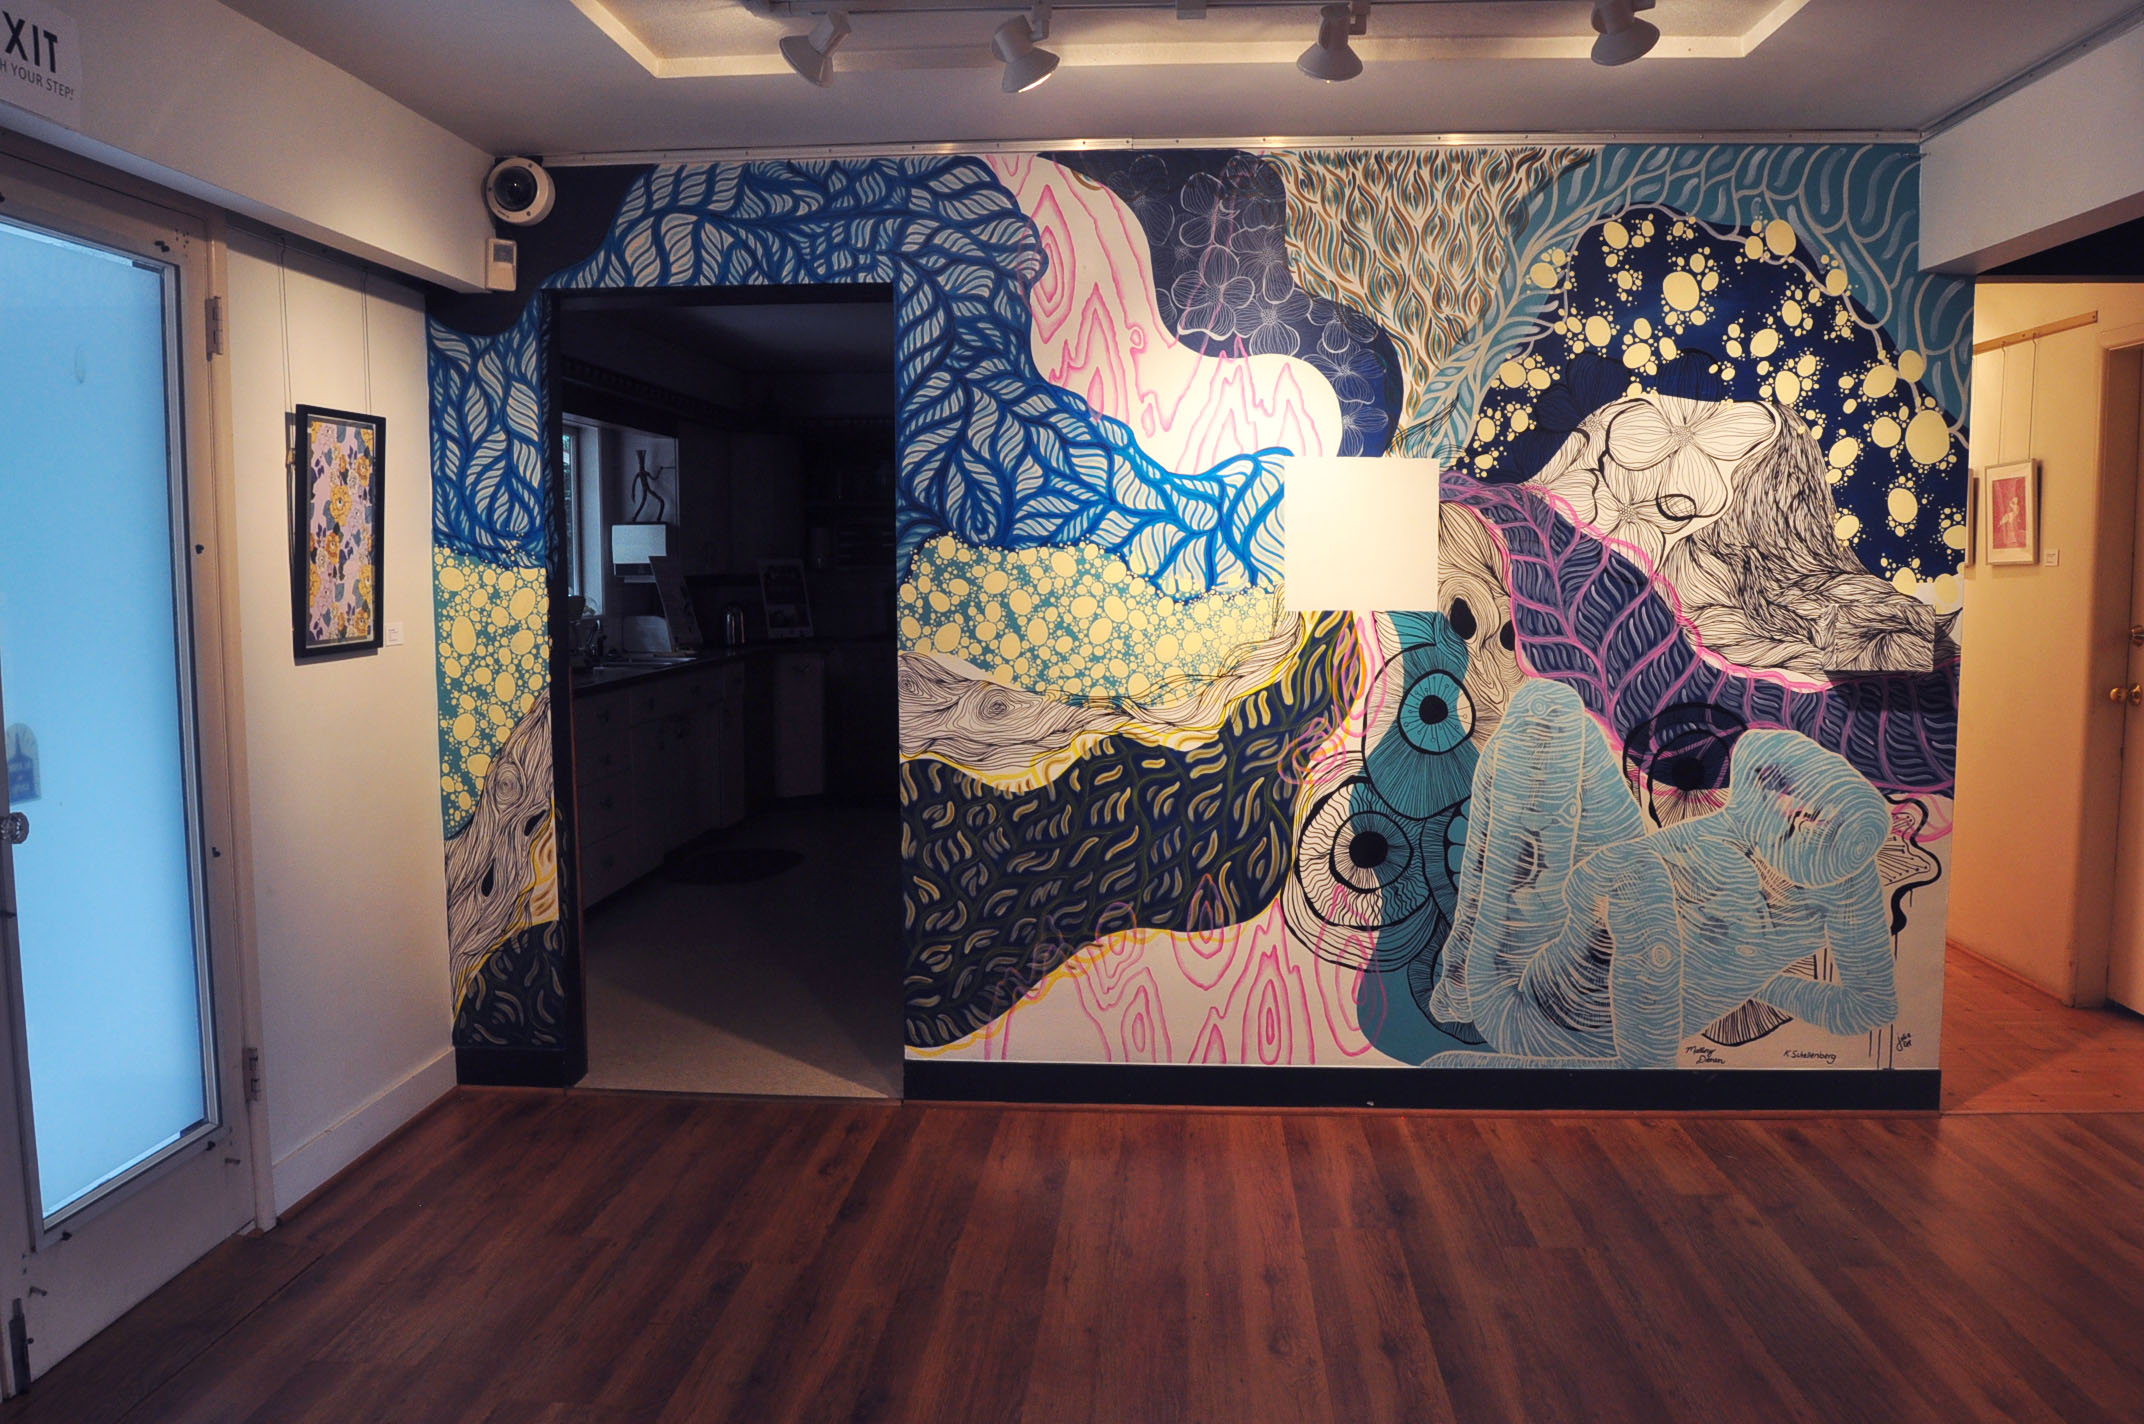
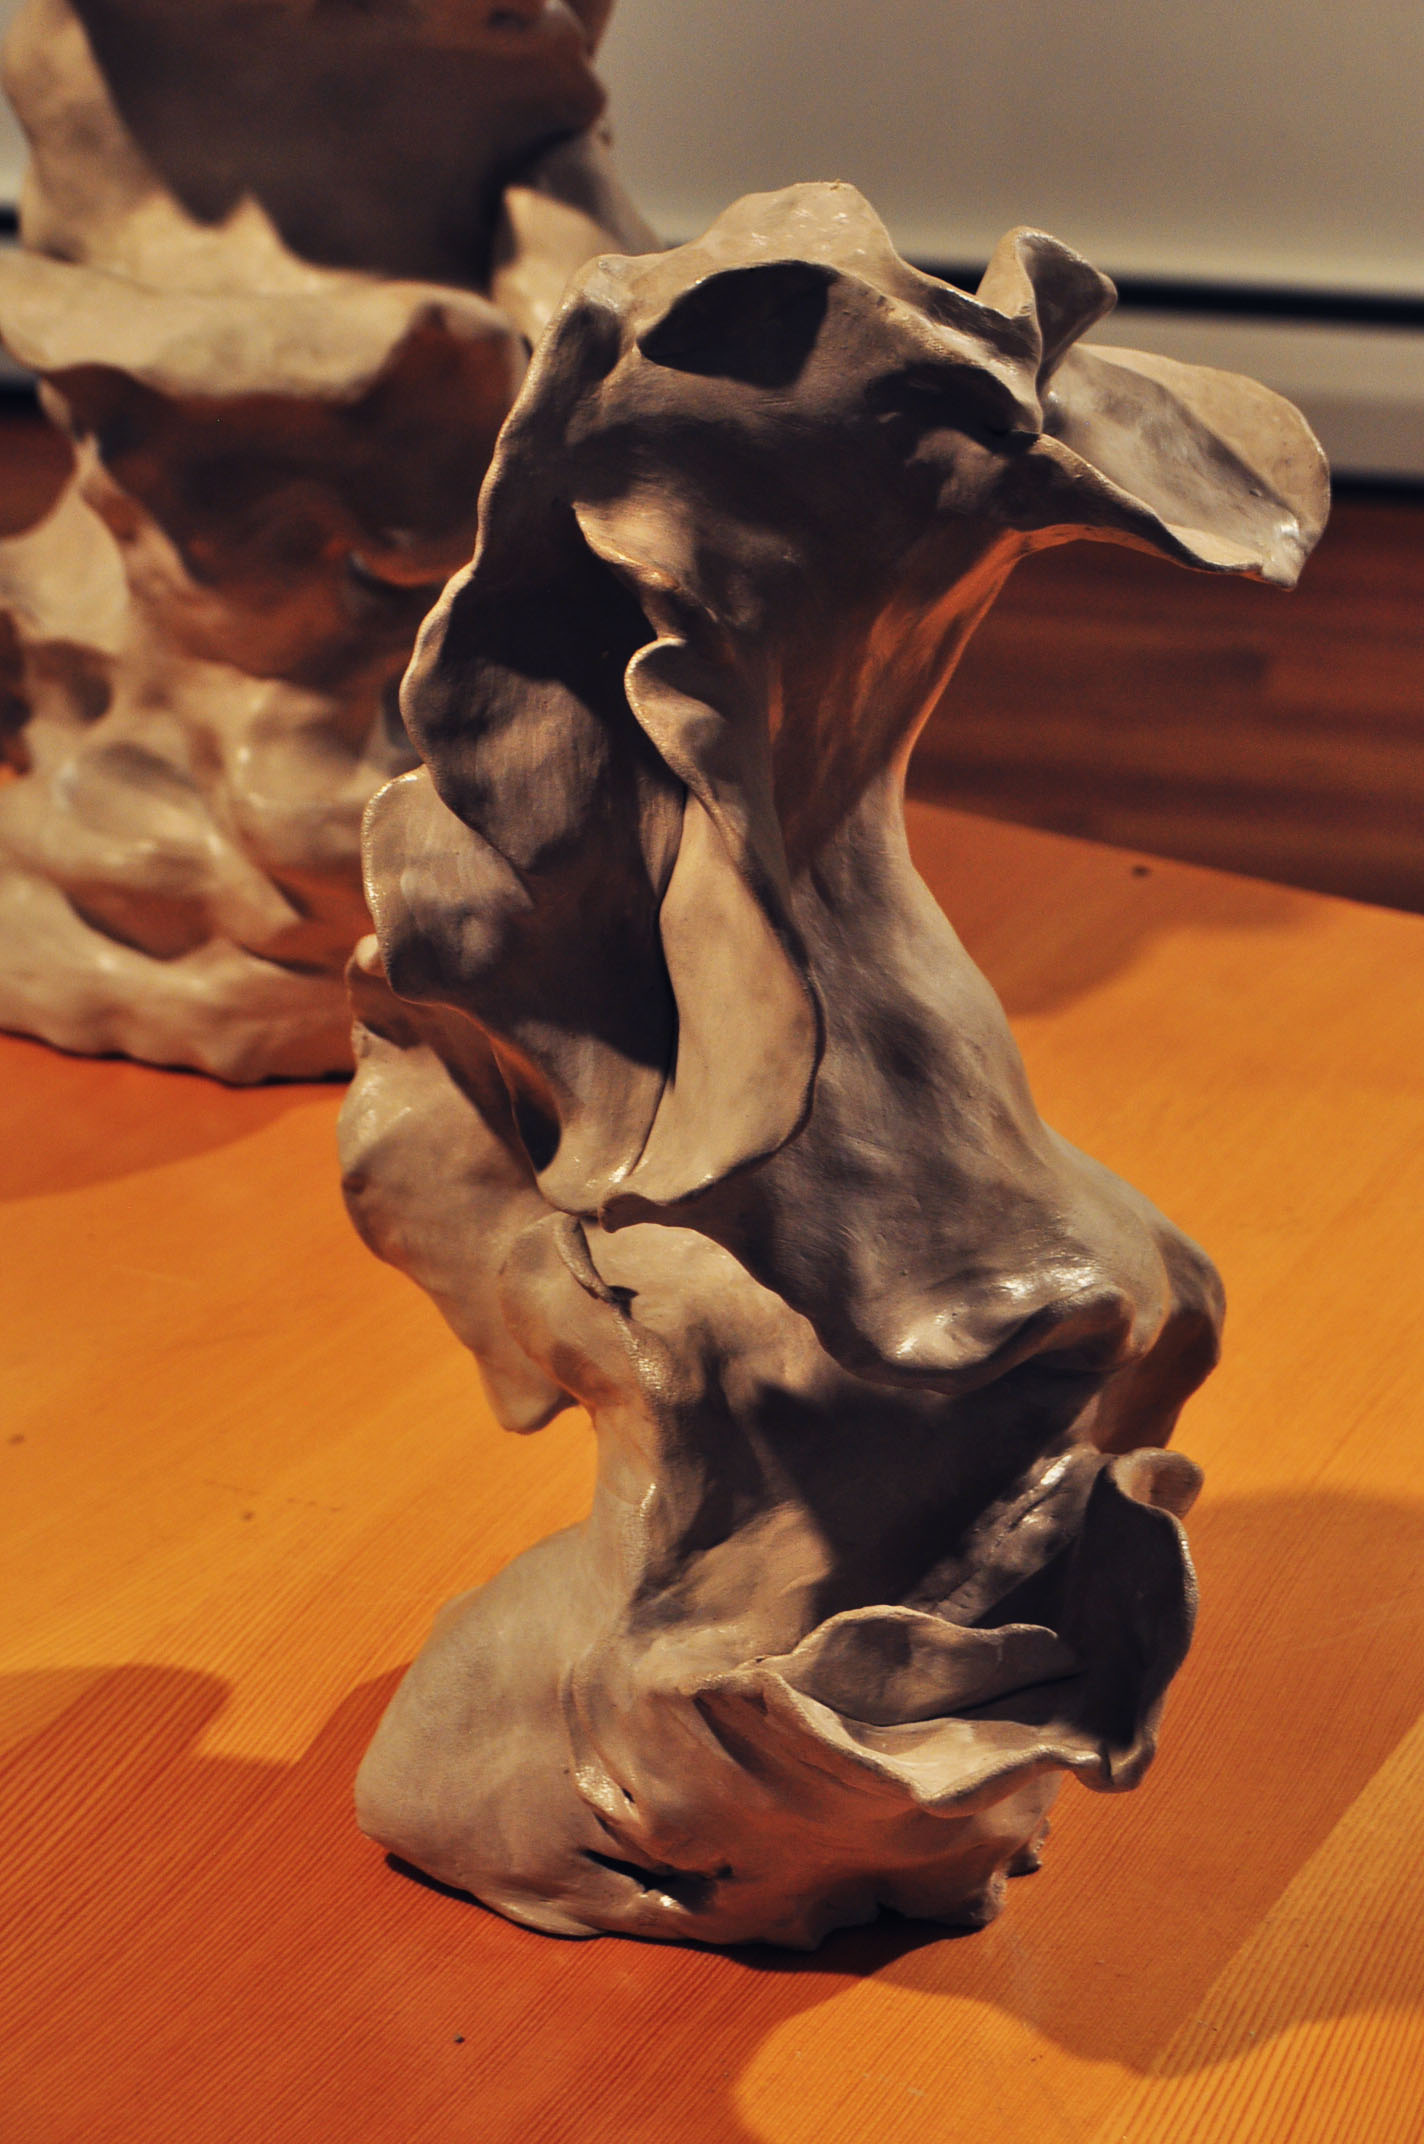
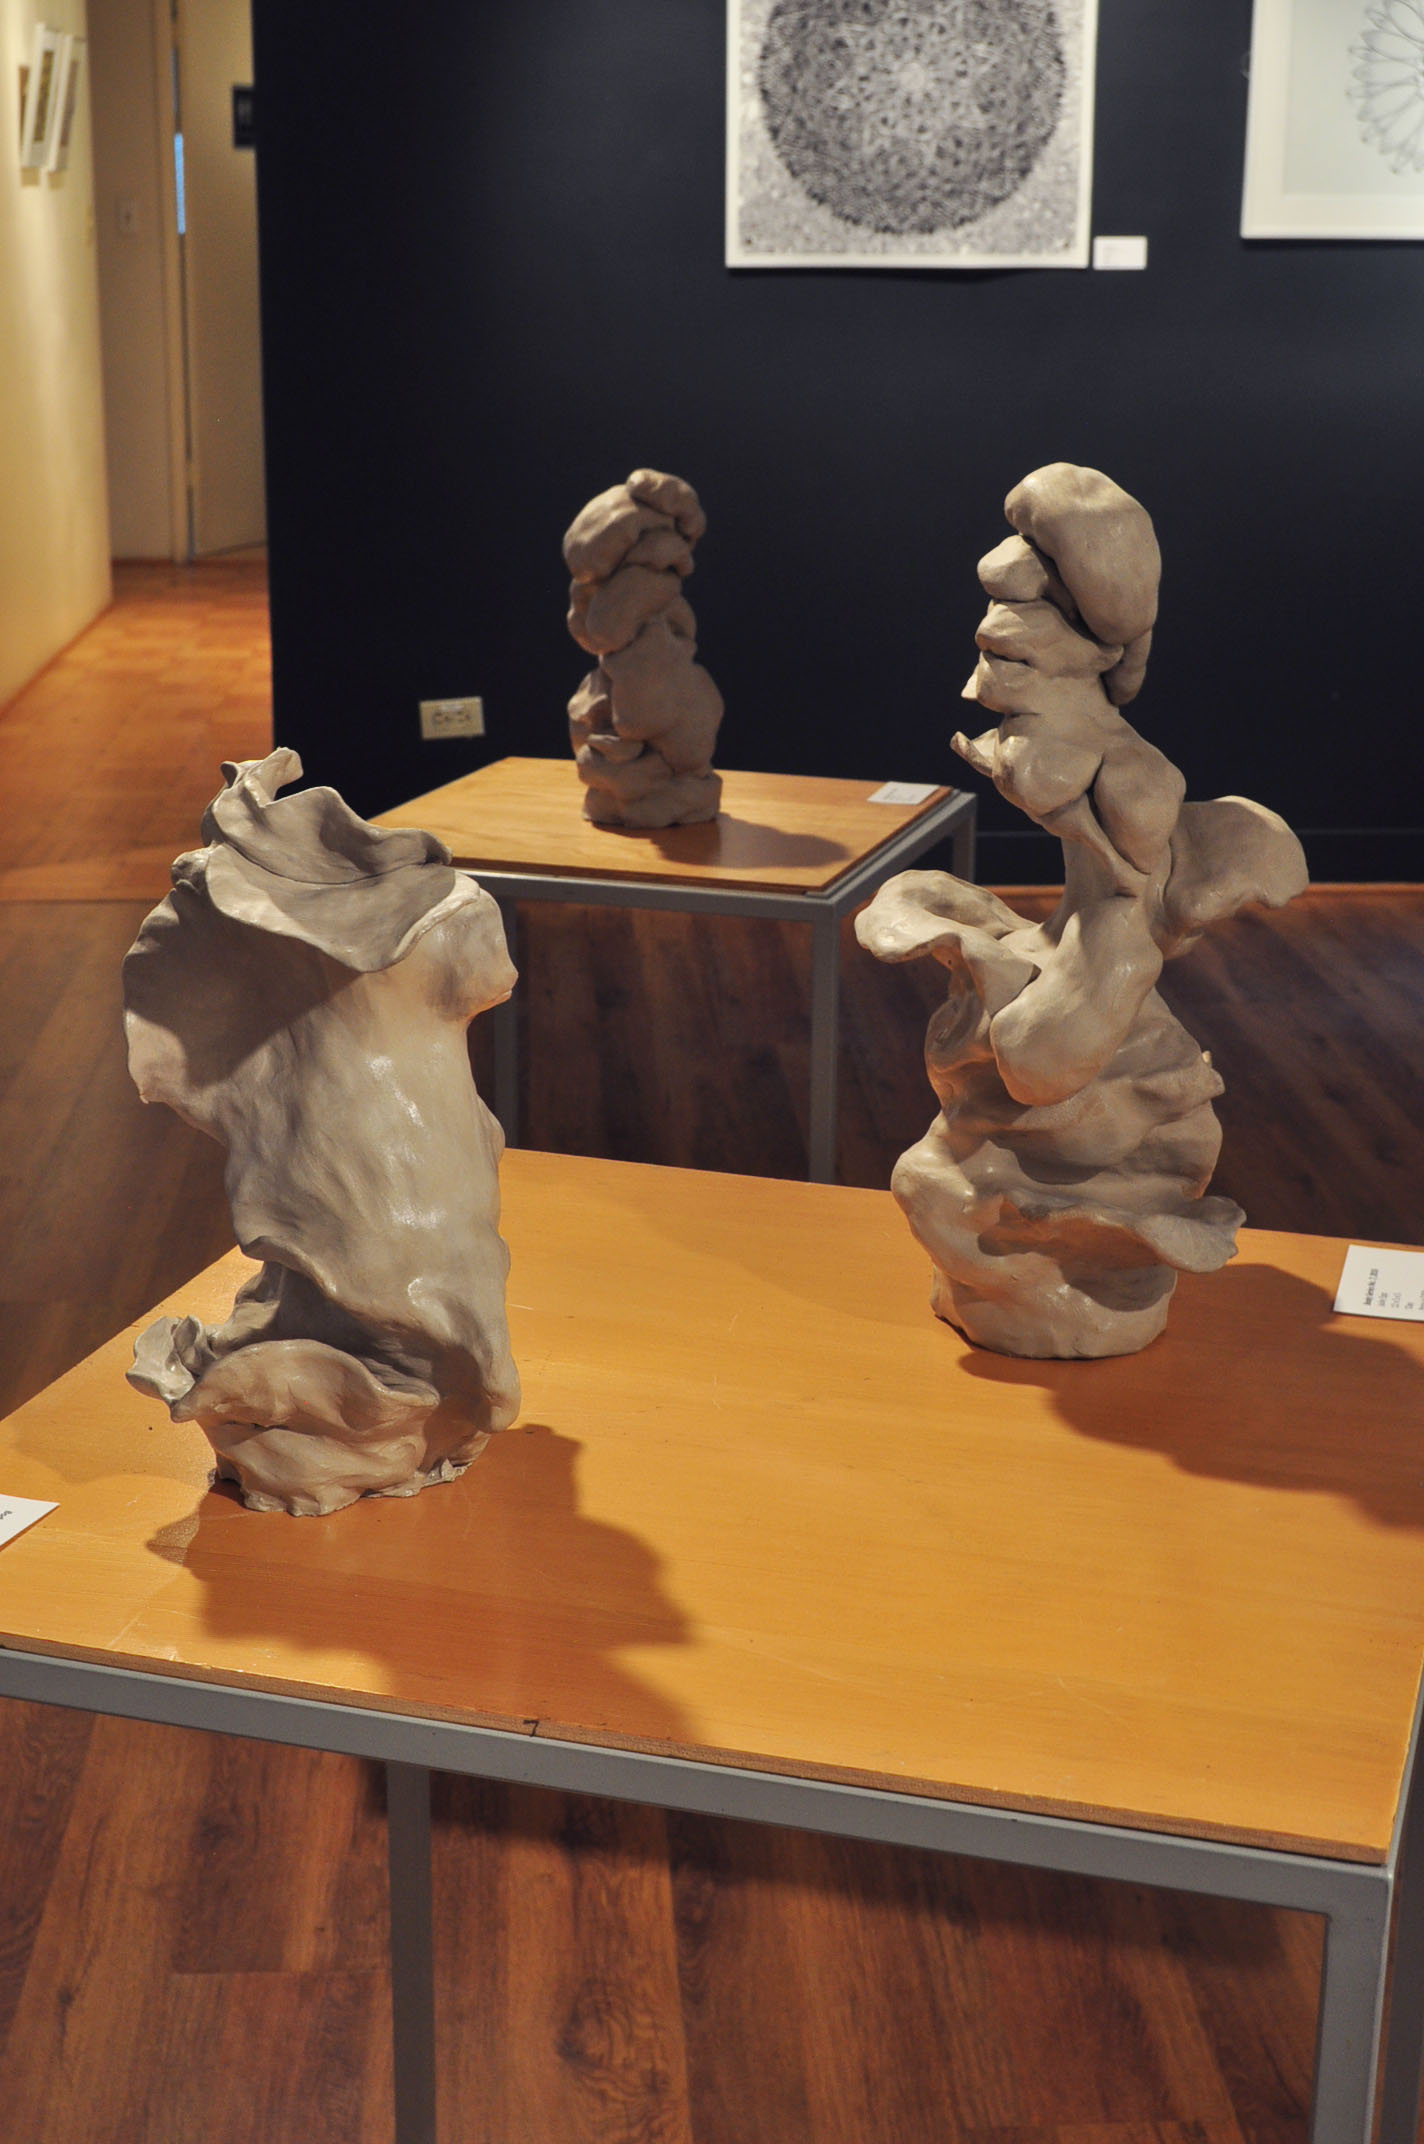
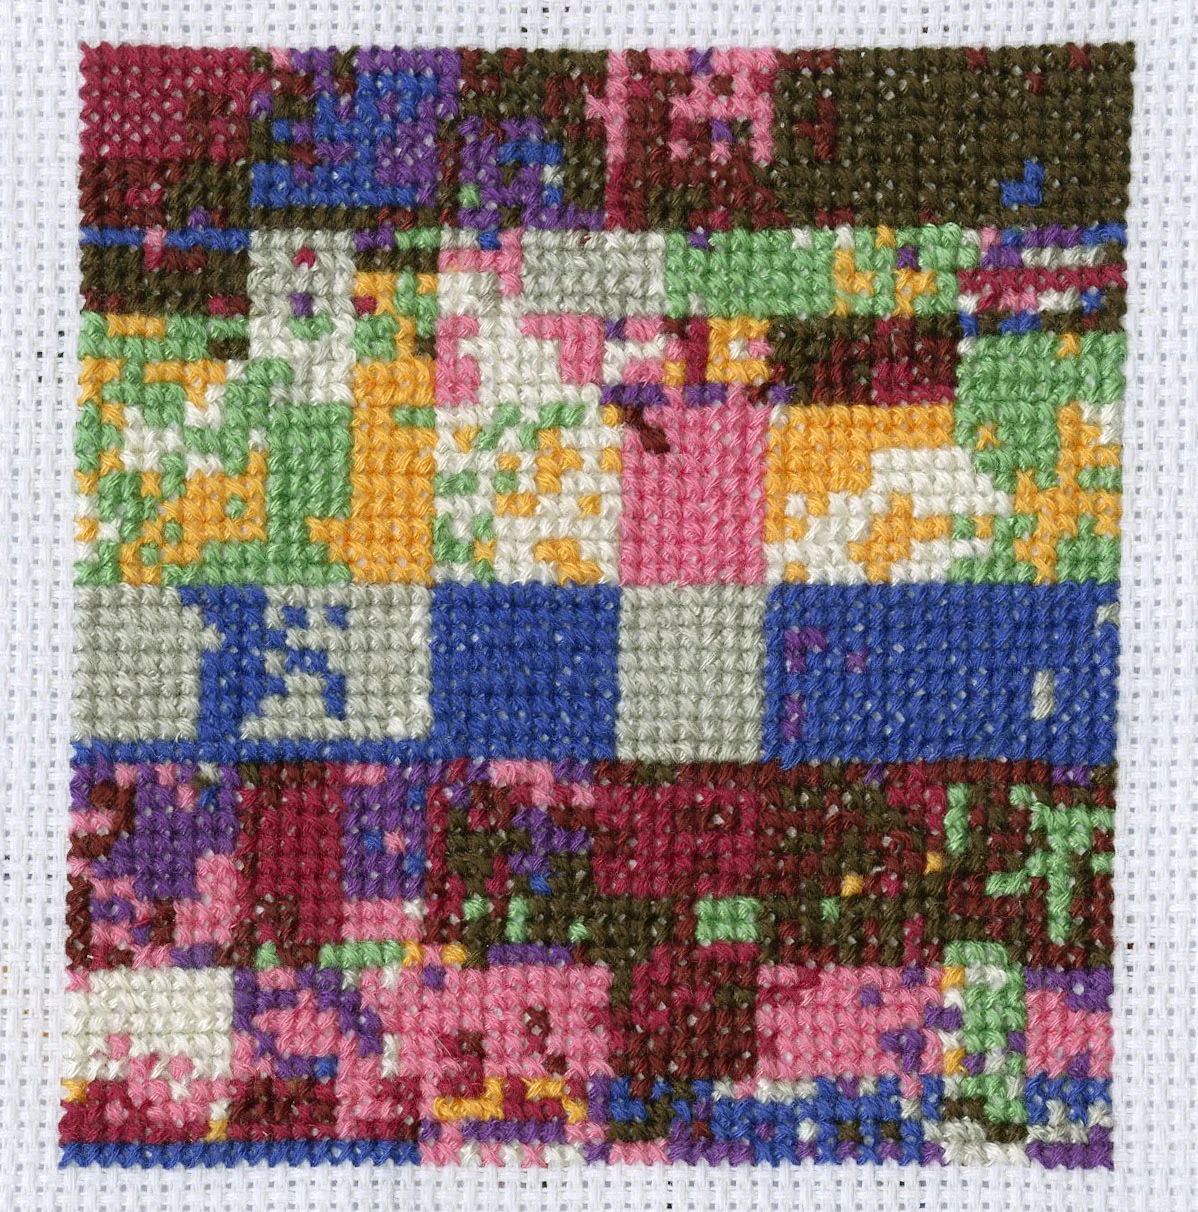
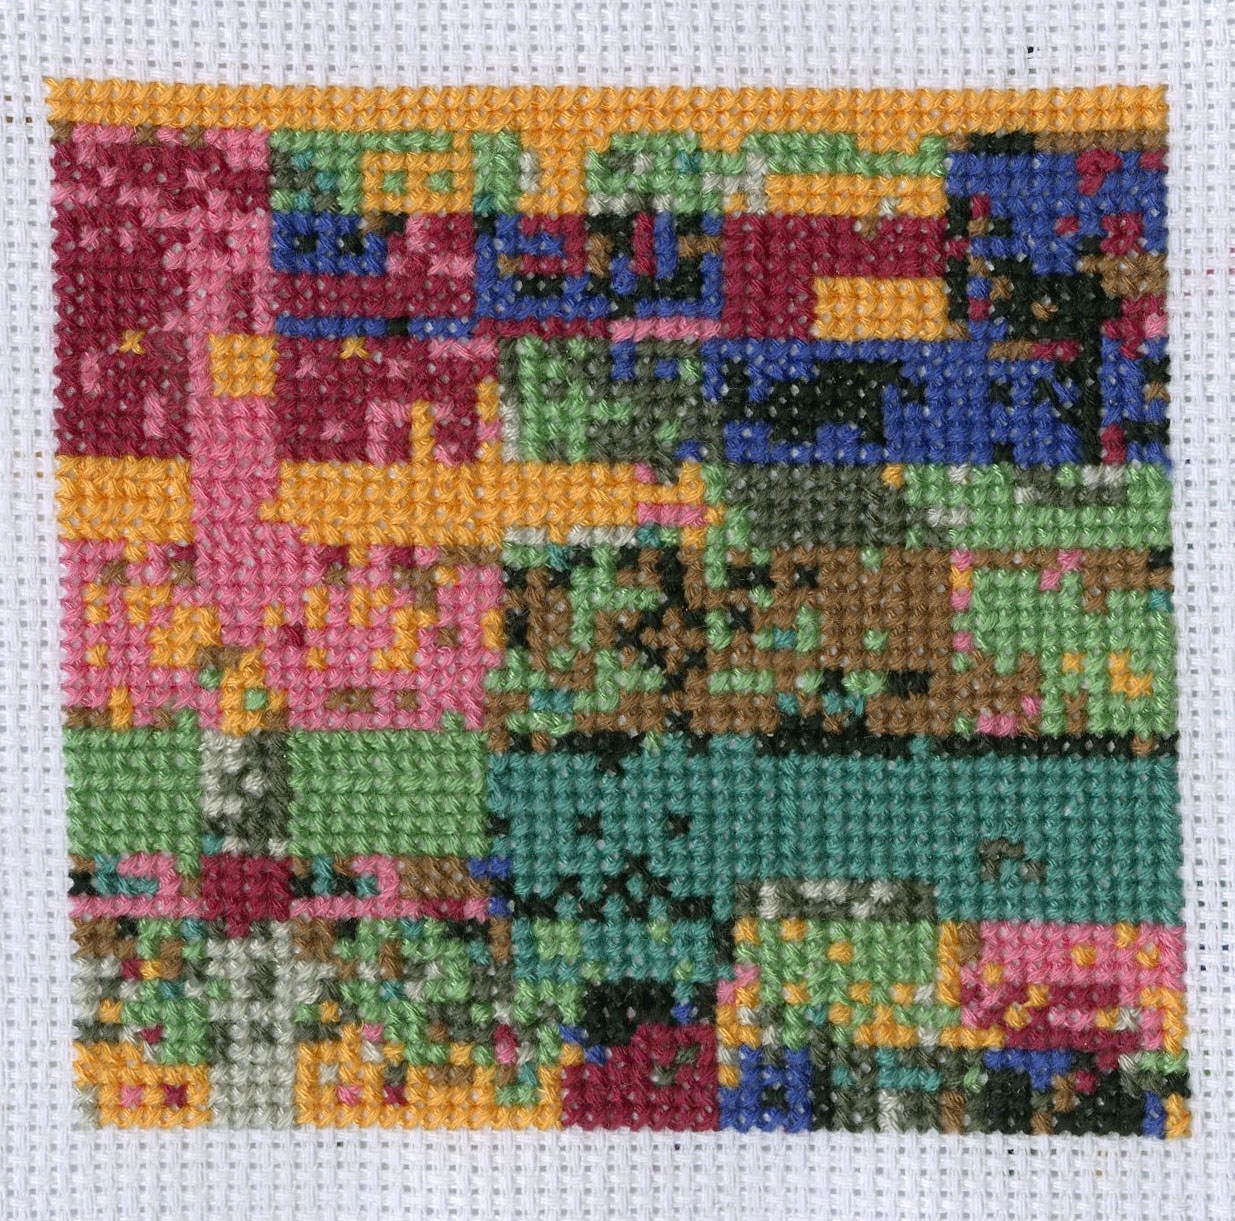
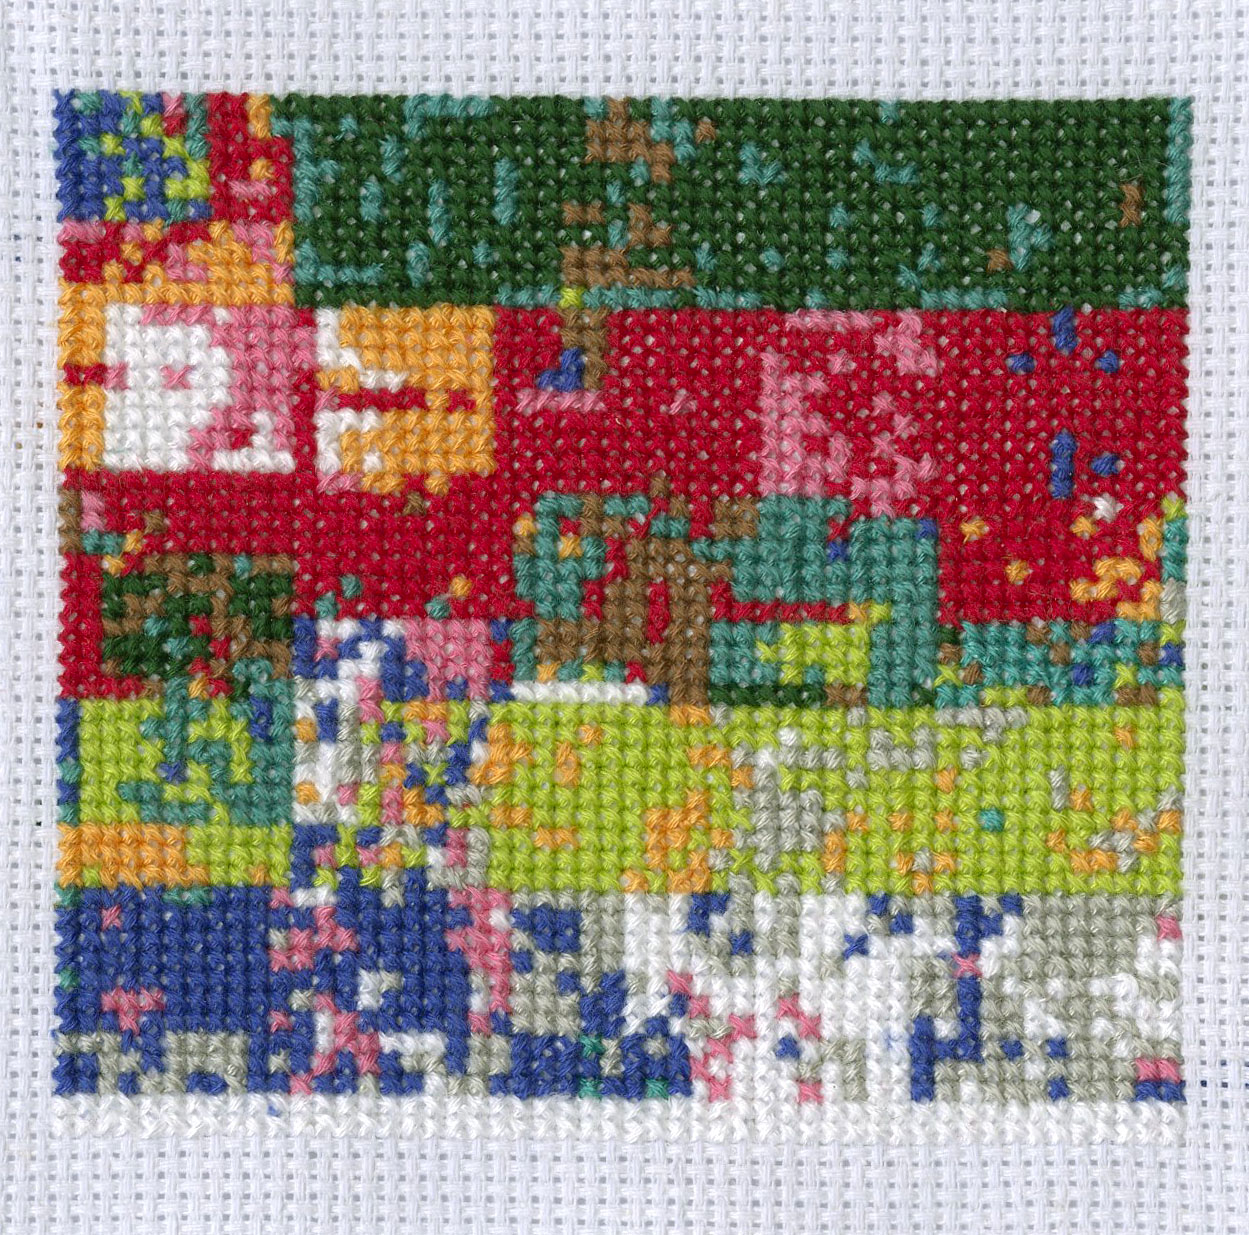
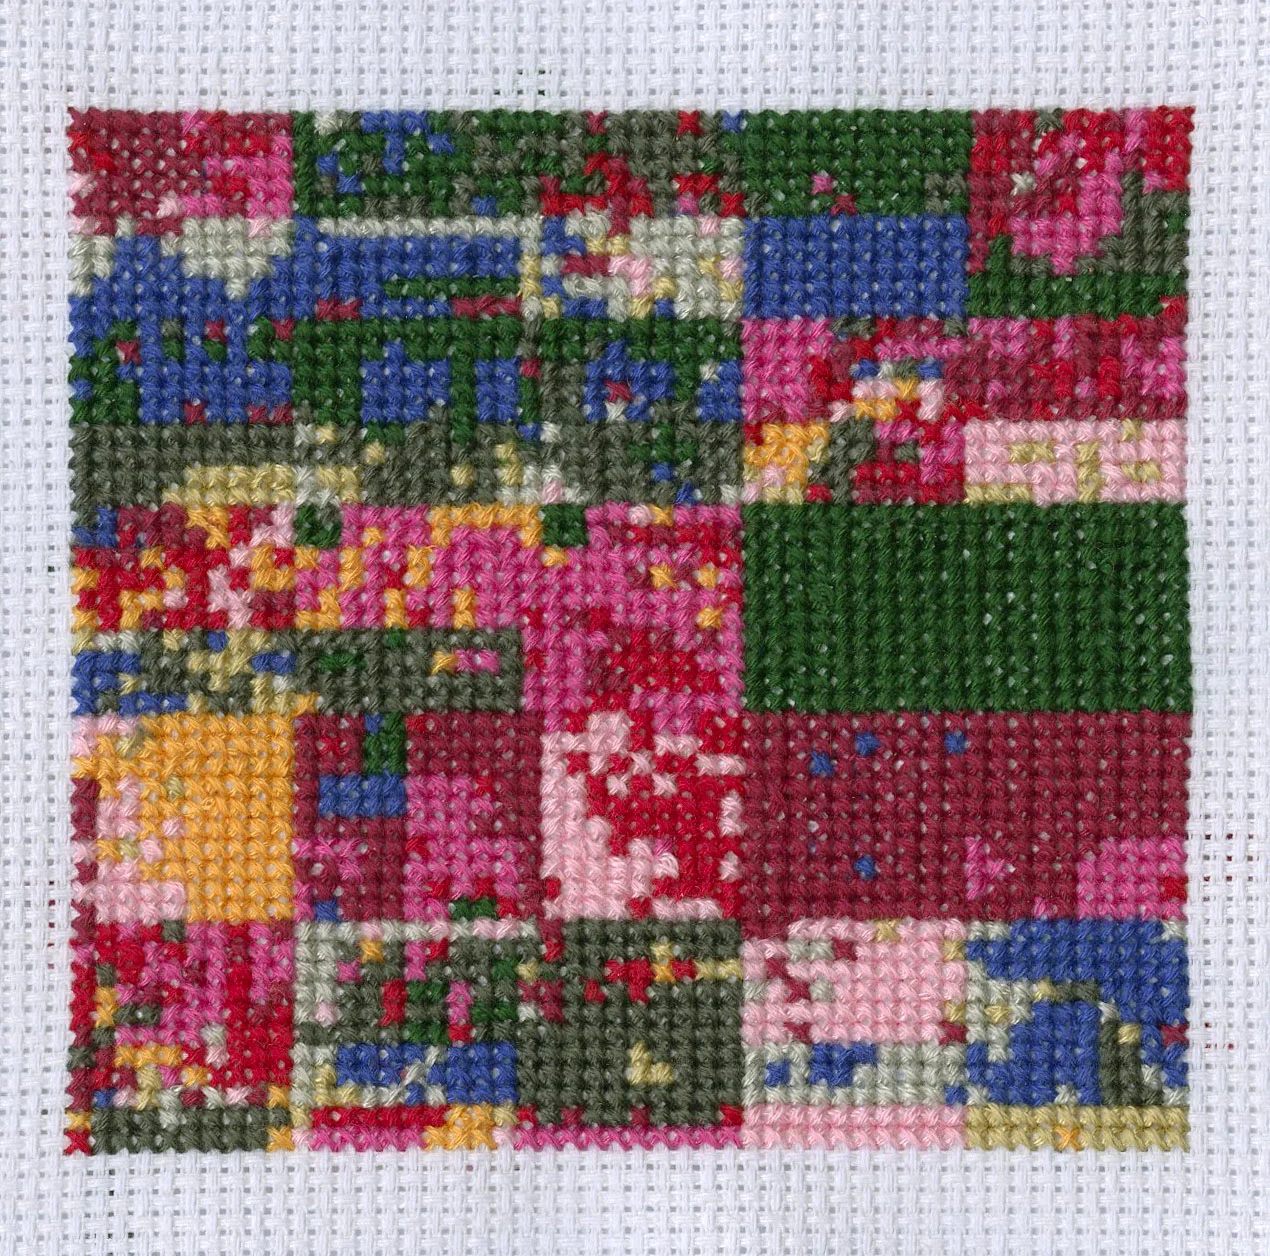
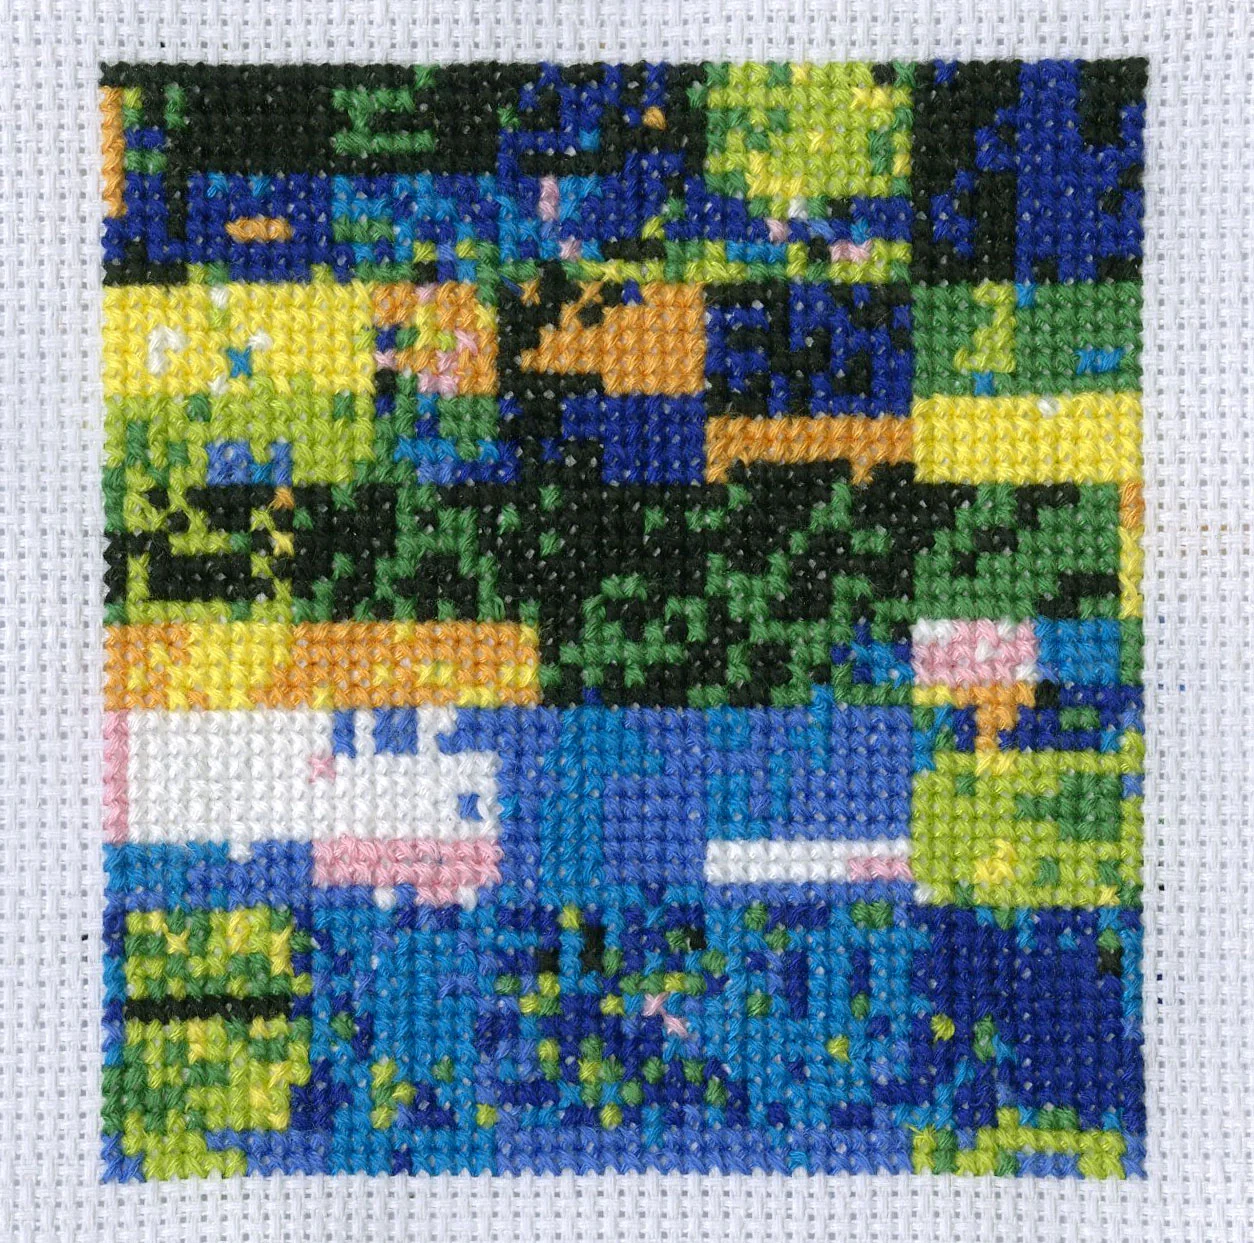
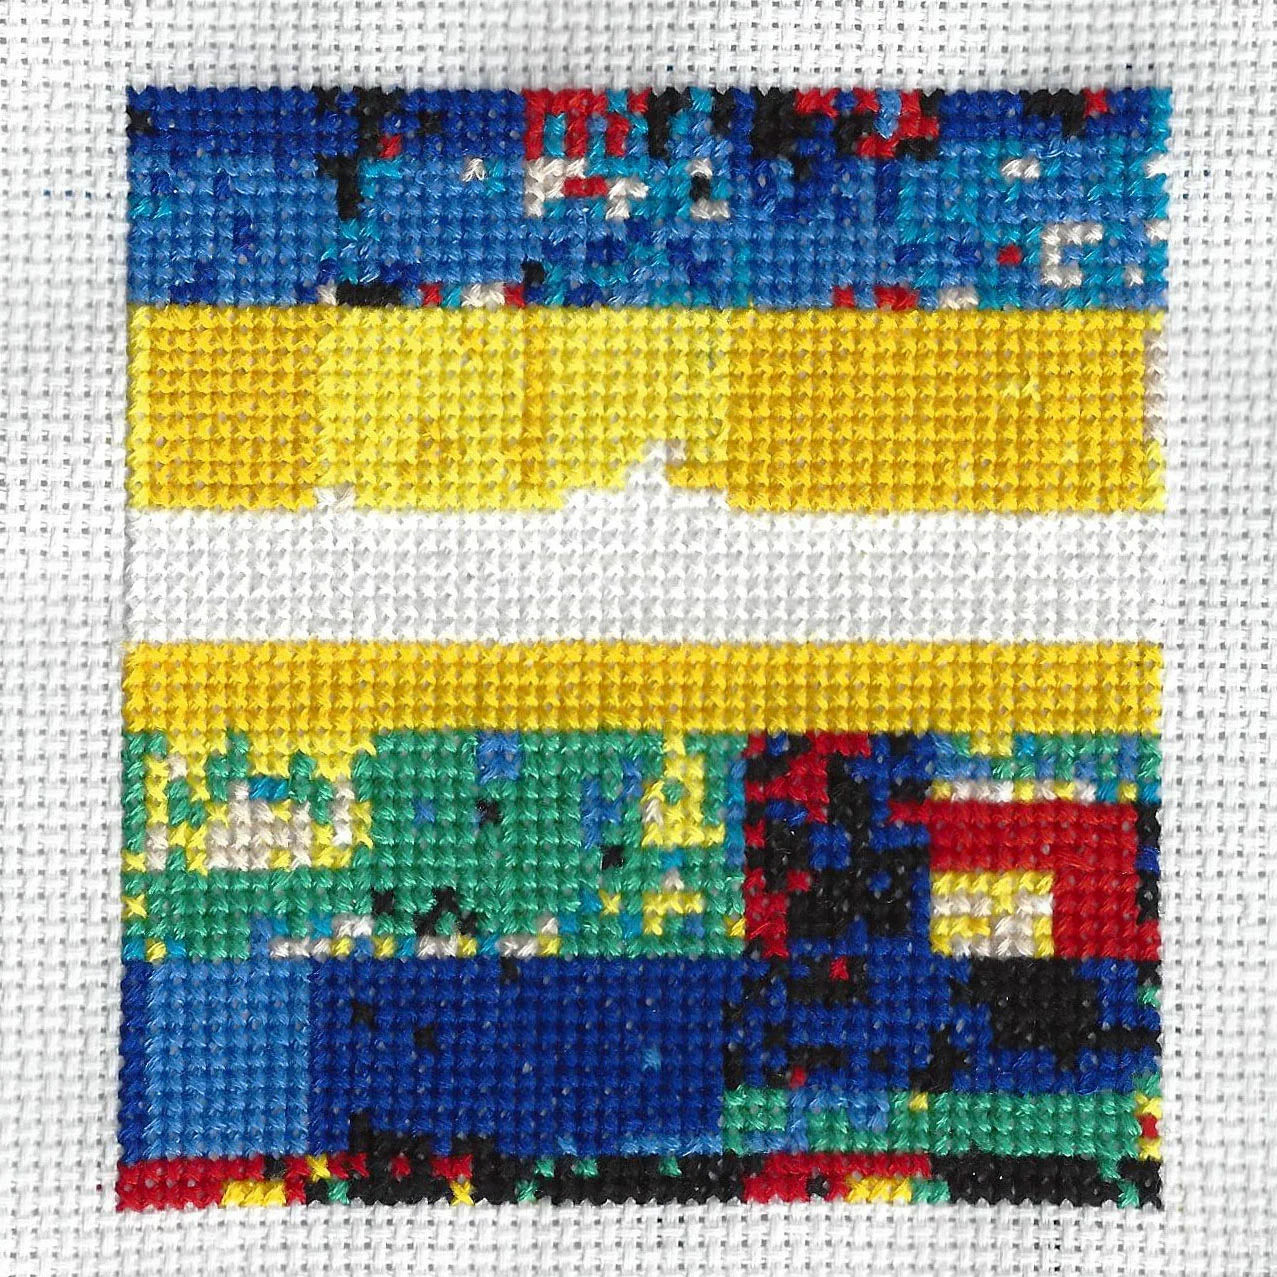
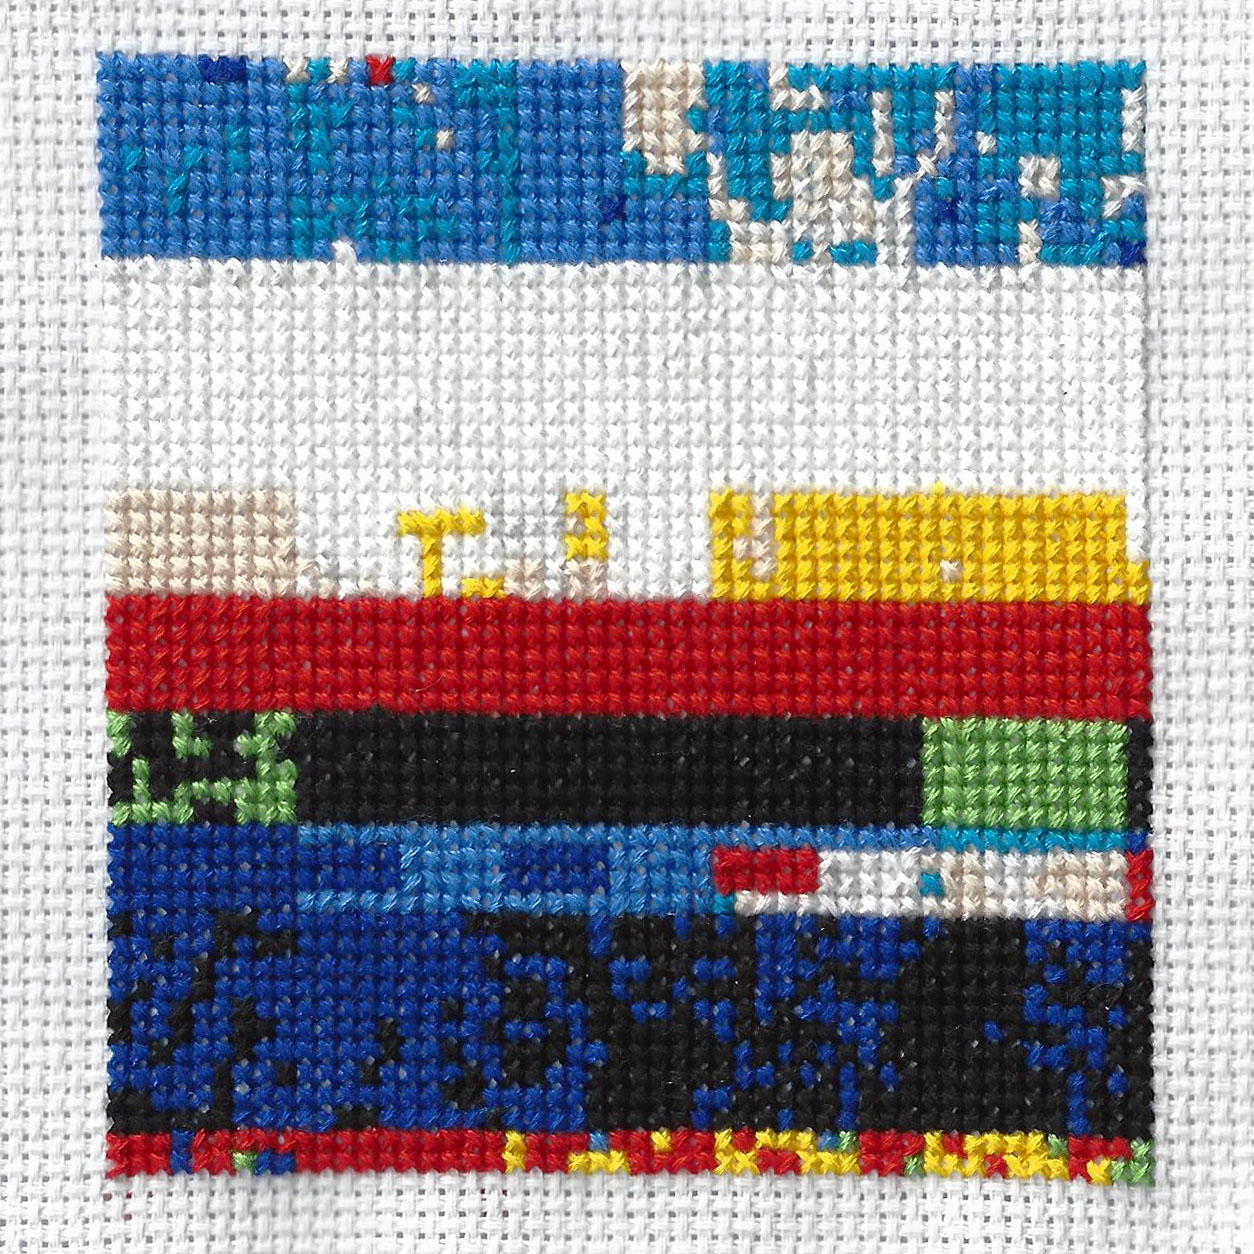
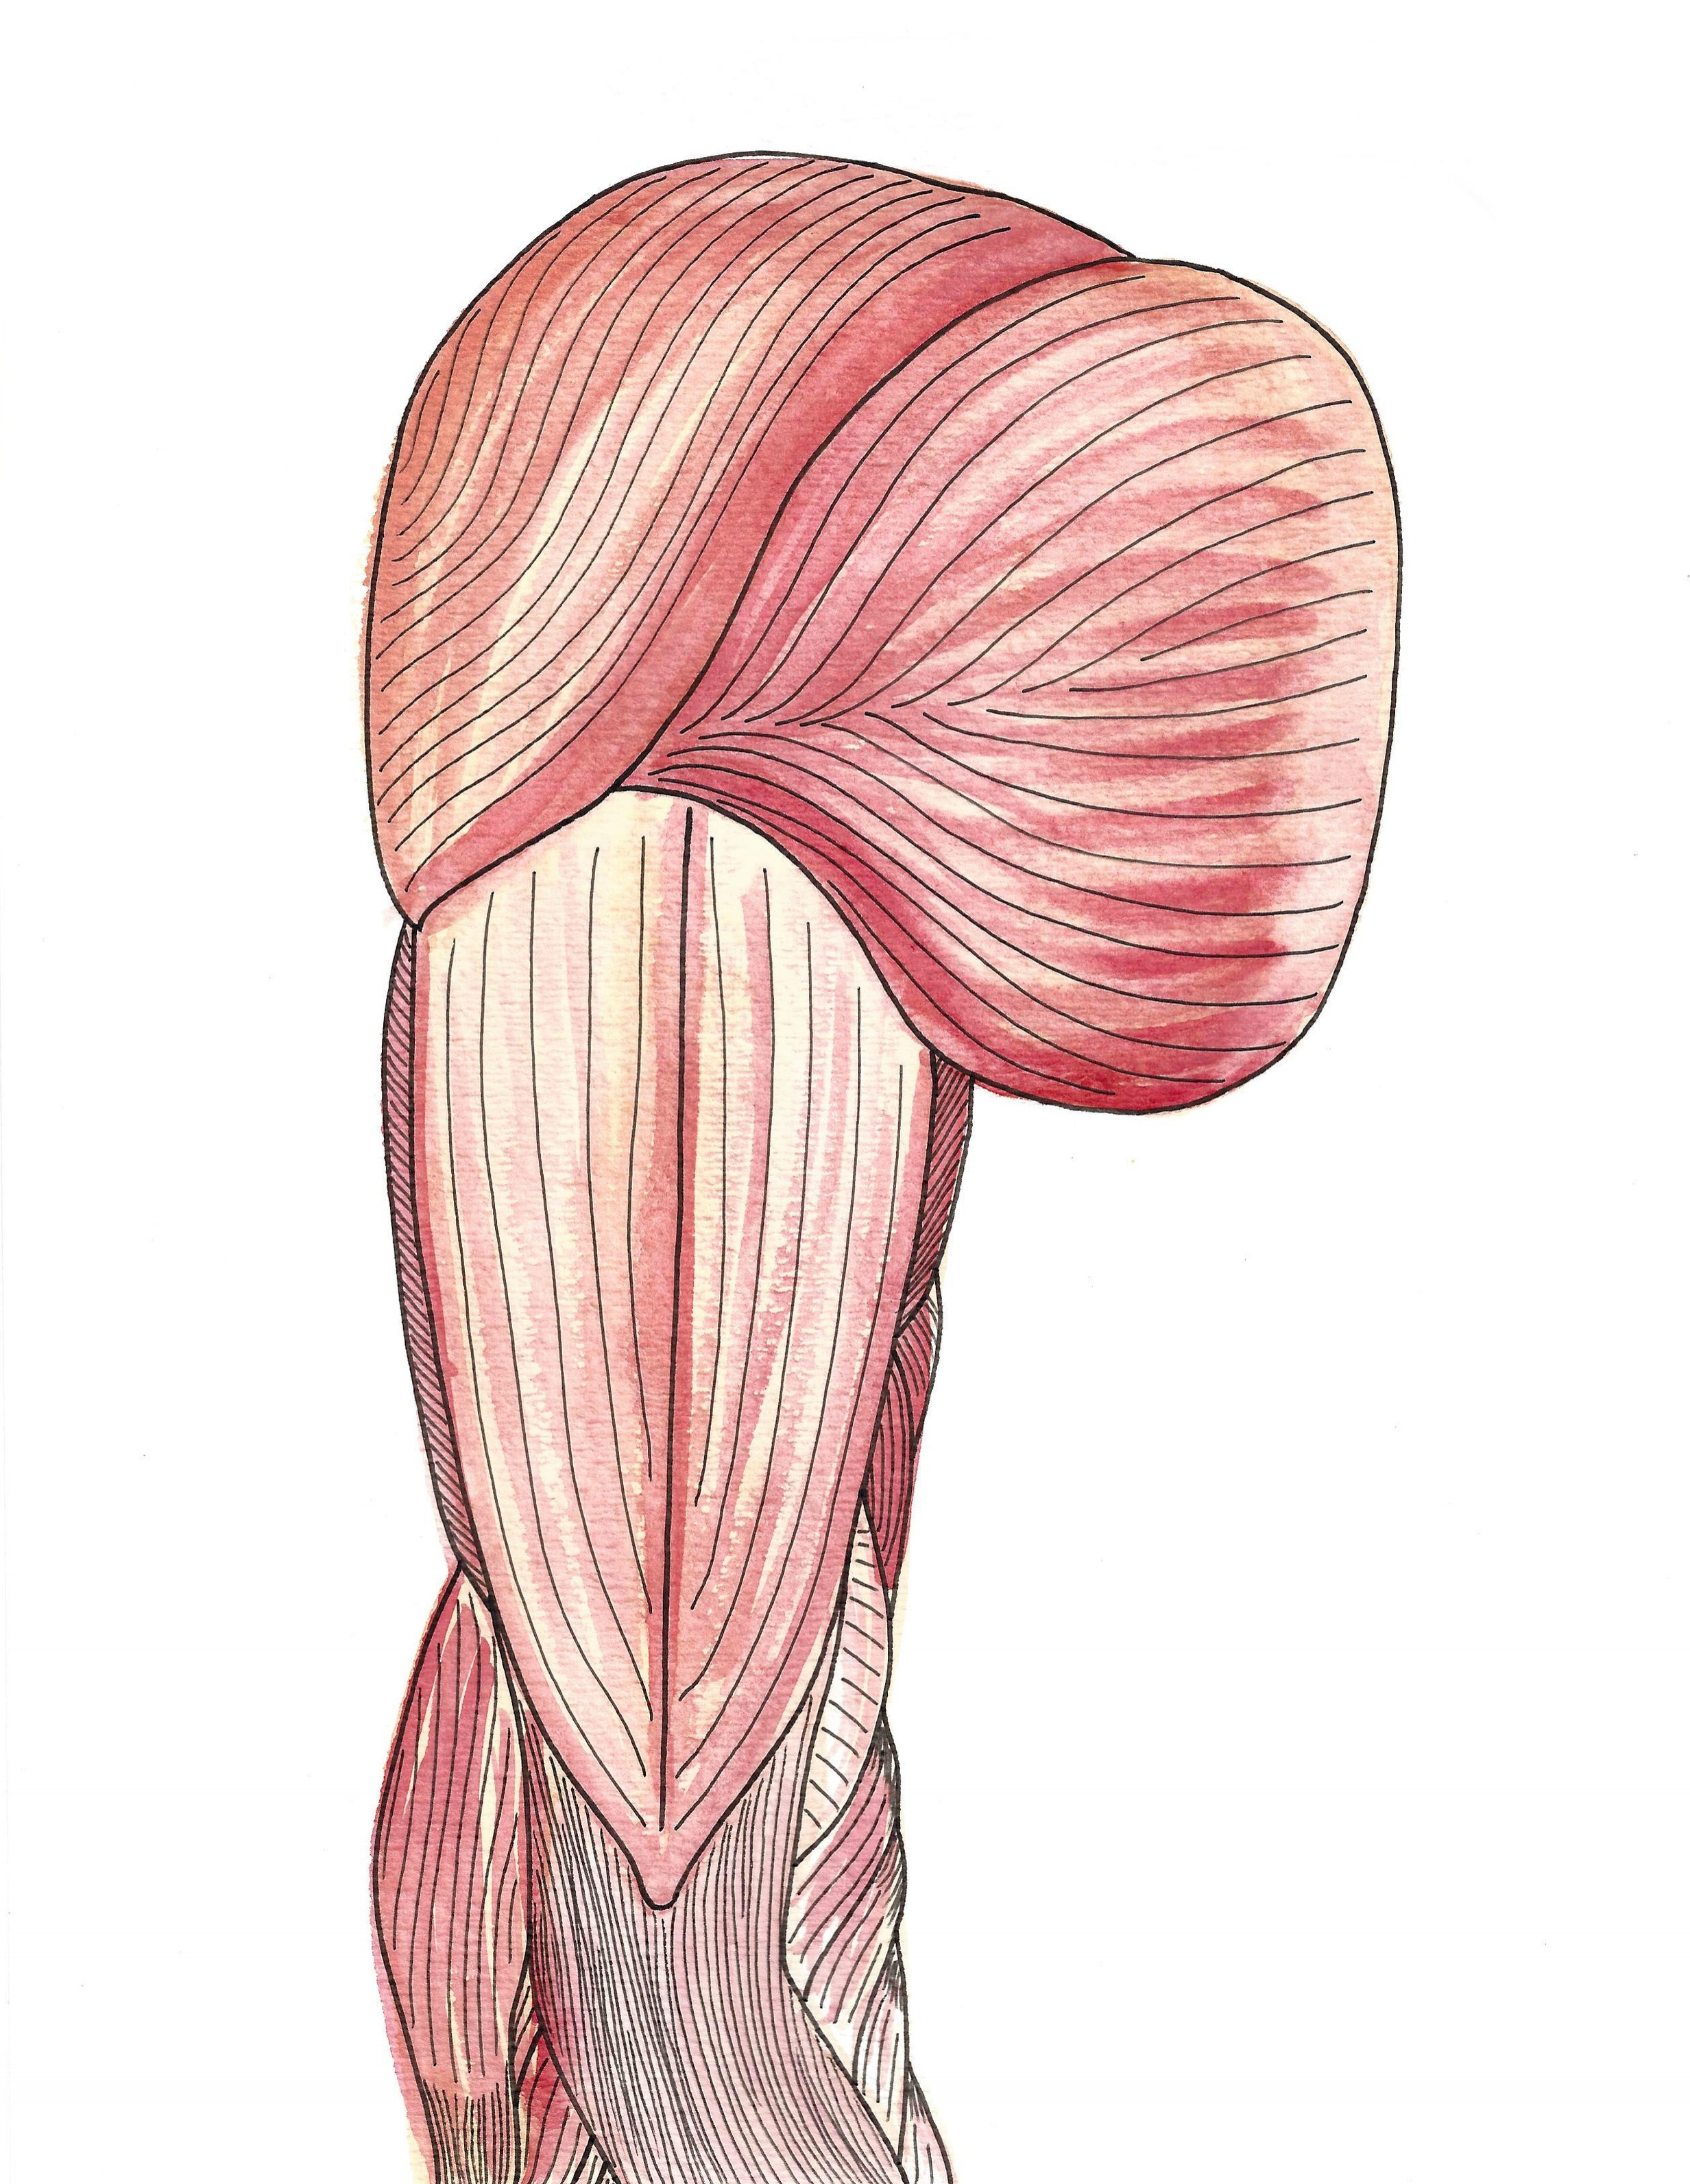
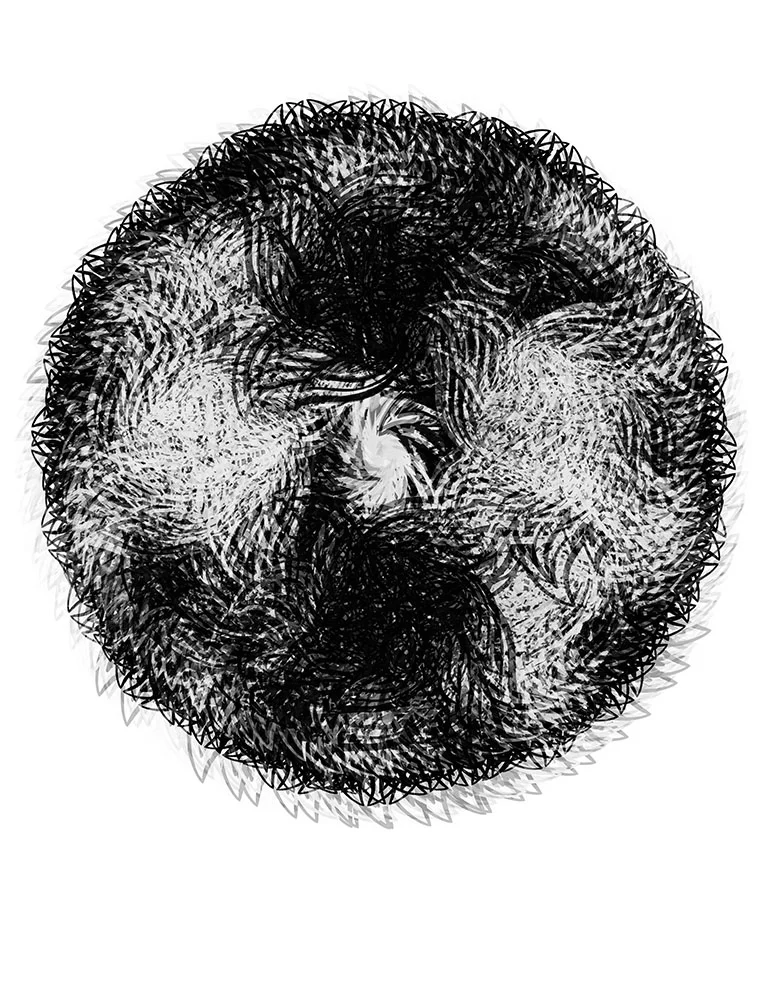
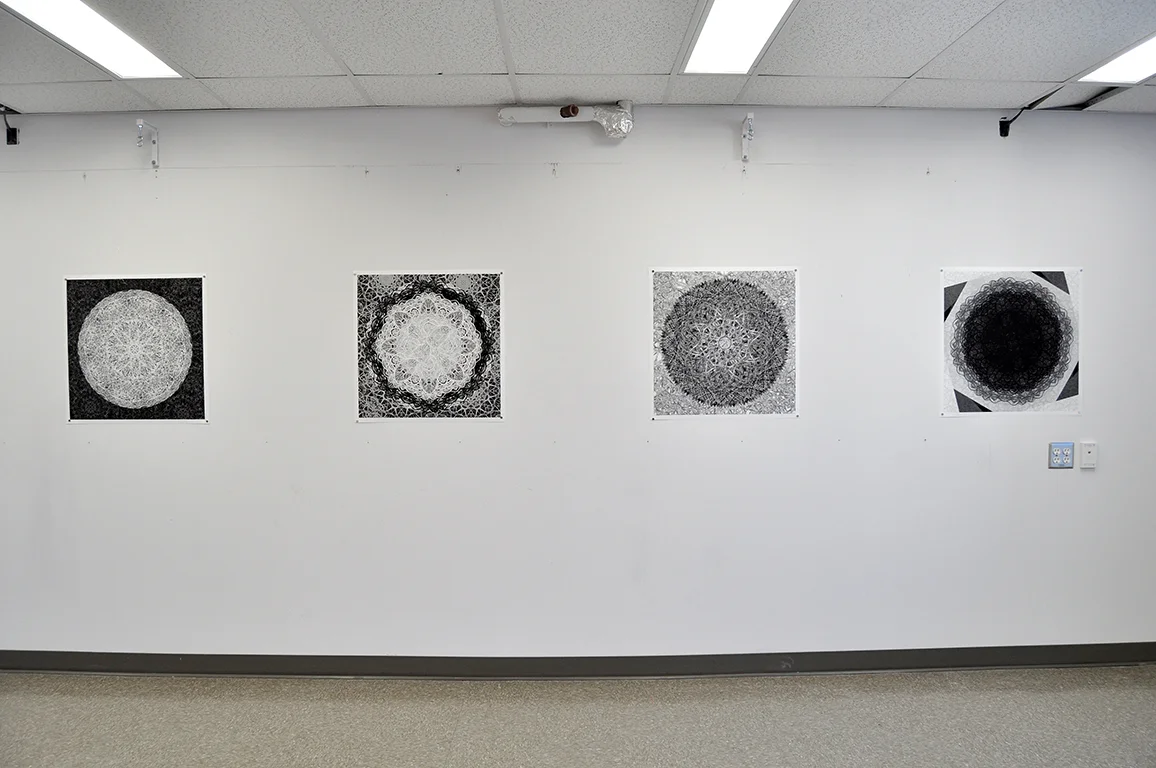
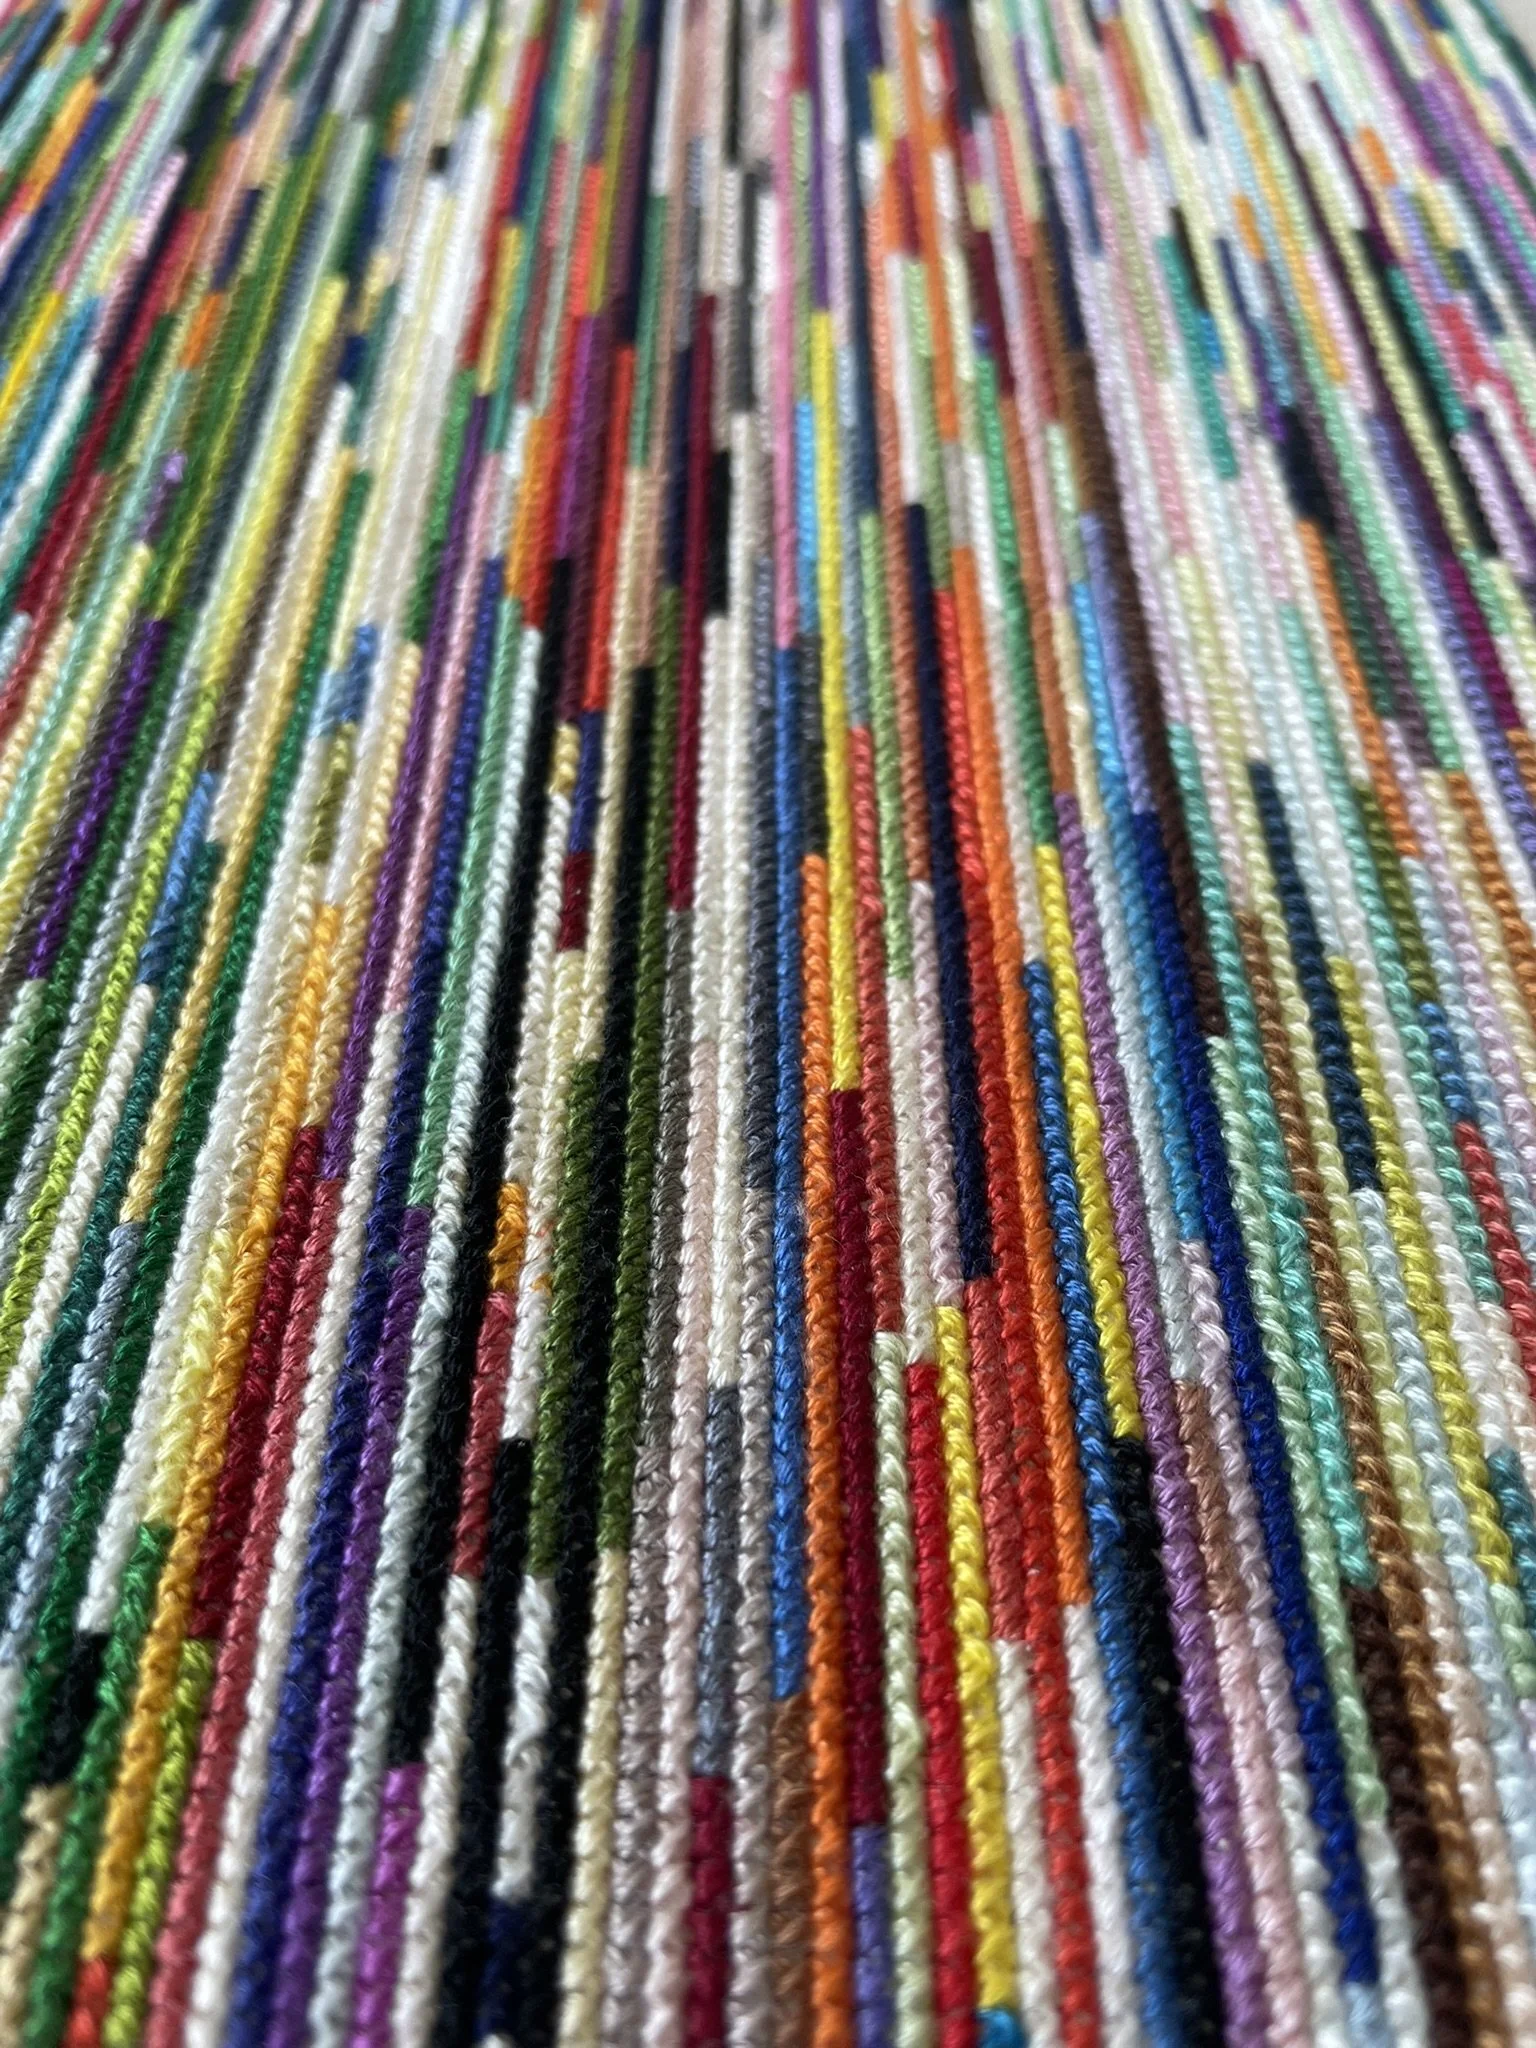
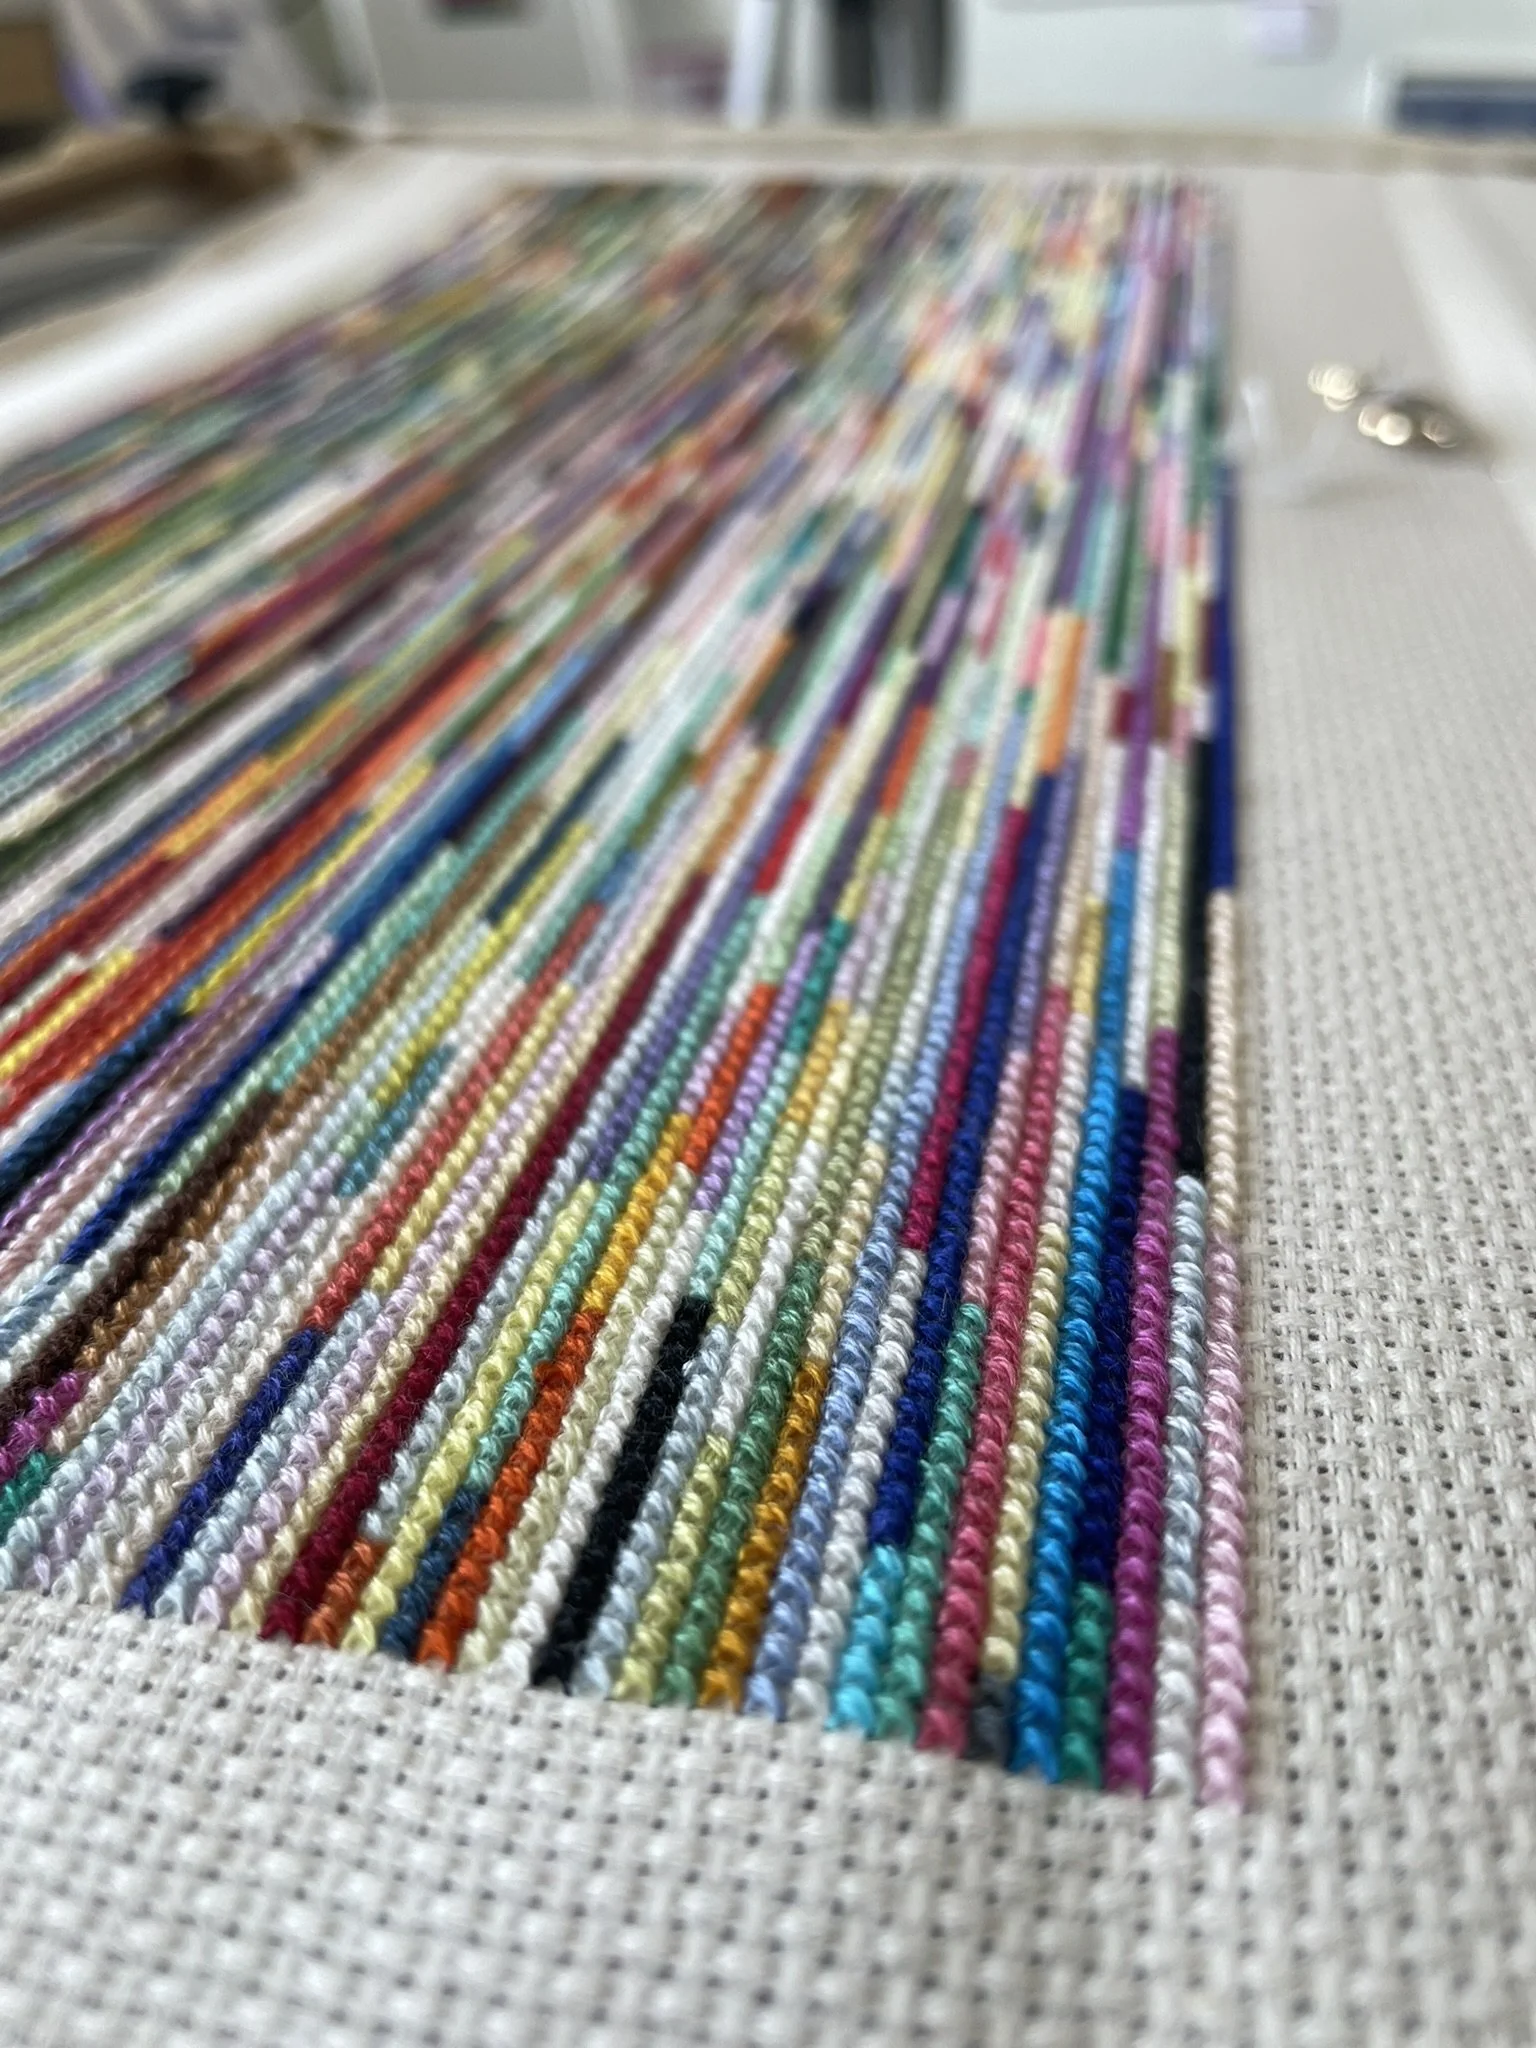
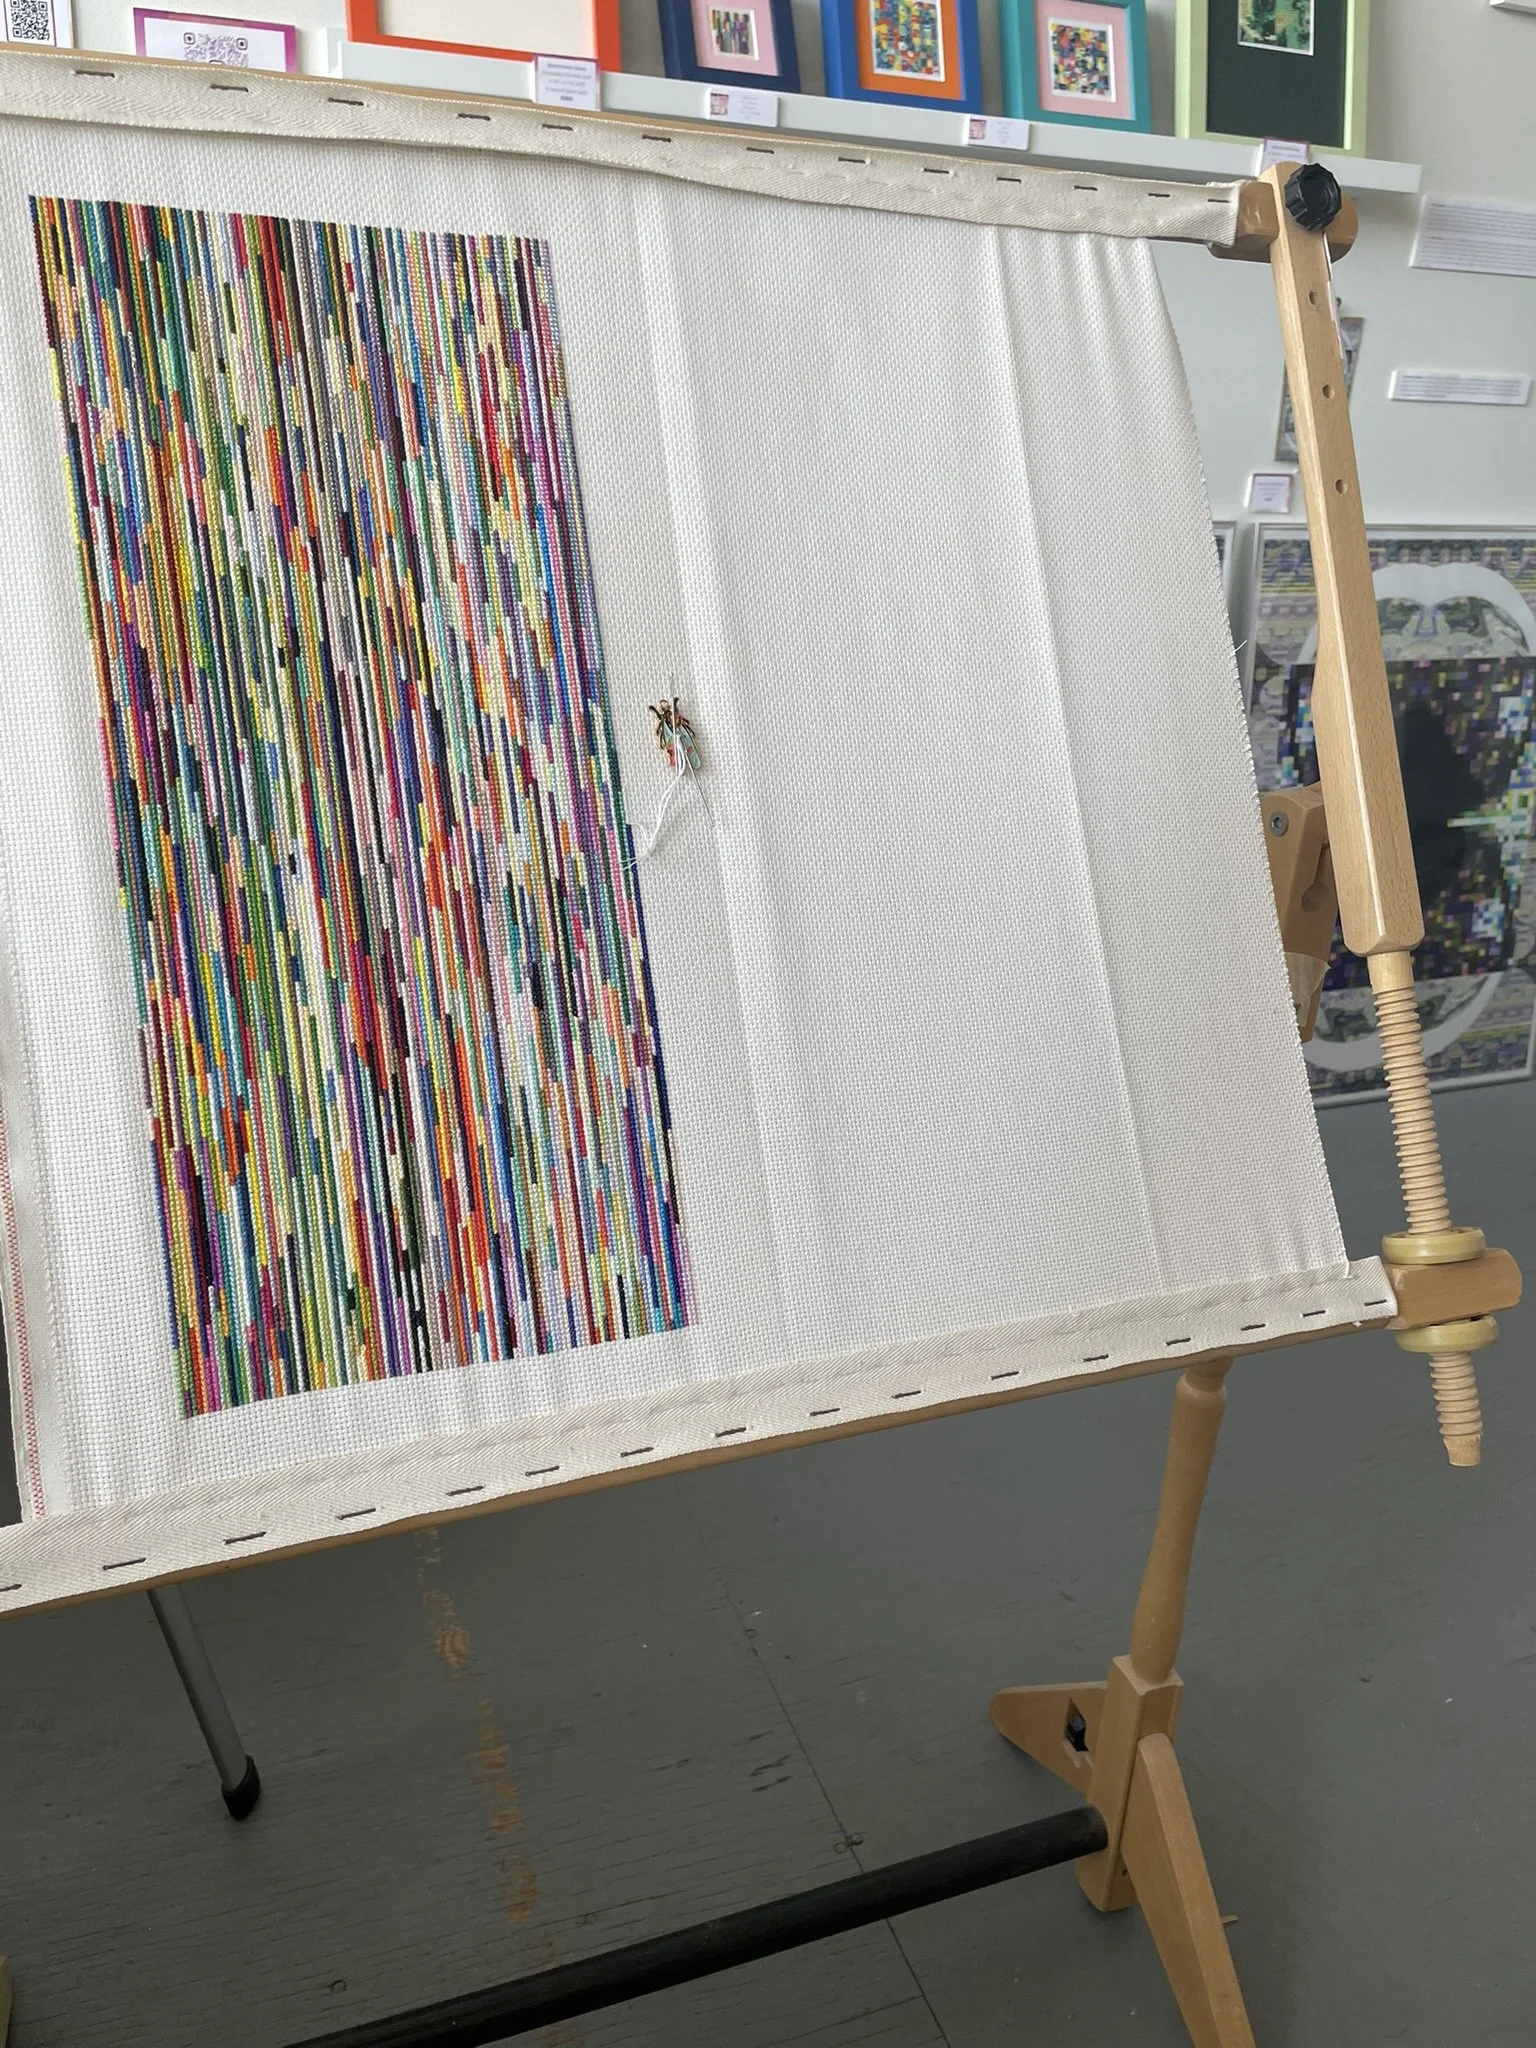
I’m taking a bit of a break from new projects right now, so I’m taking the time to slow down and work away at my ongoing project “Stitching Loose Ends” where I use up loose threads from old projects. If you’ve been following along with my art practice, you’ll know that this is a project I started back in 2018 the year I moved to Vancouver.
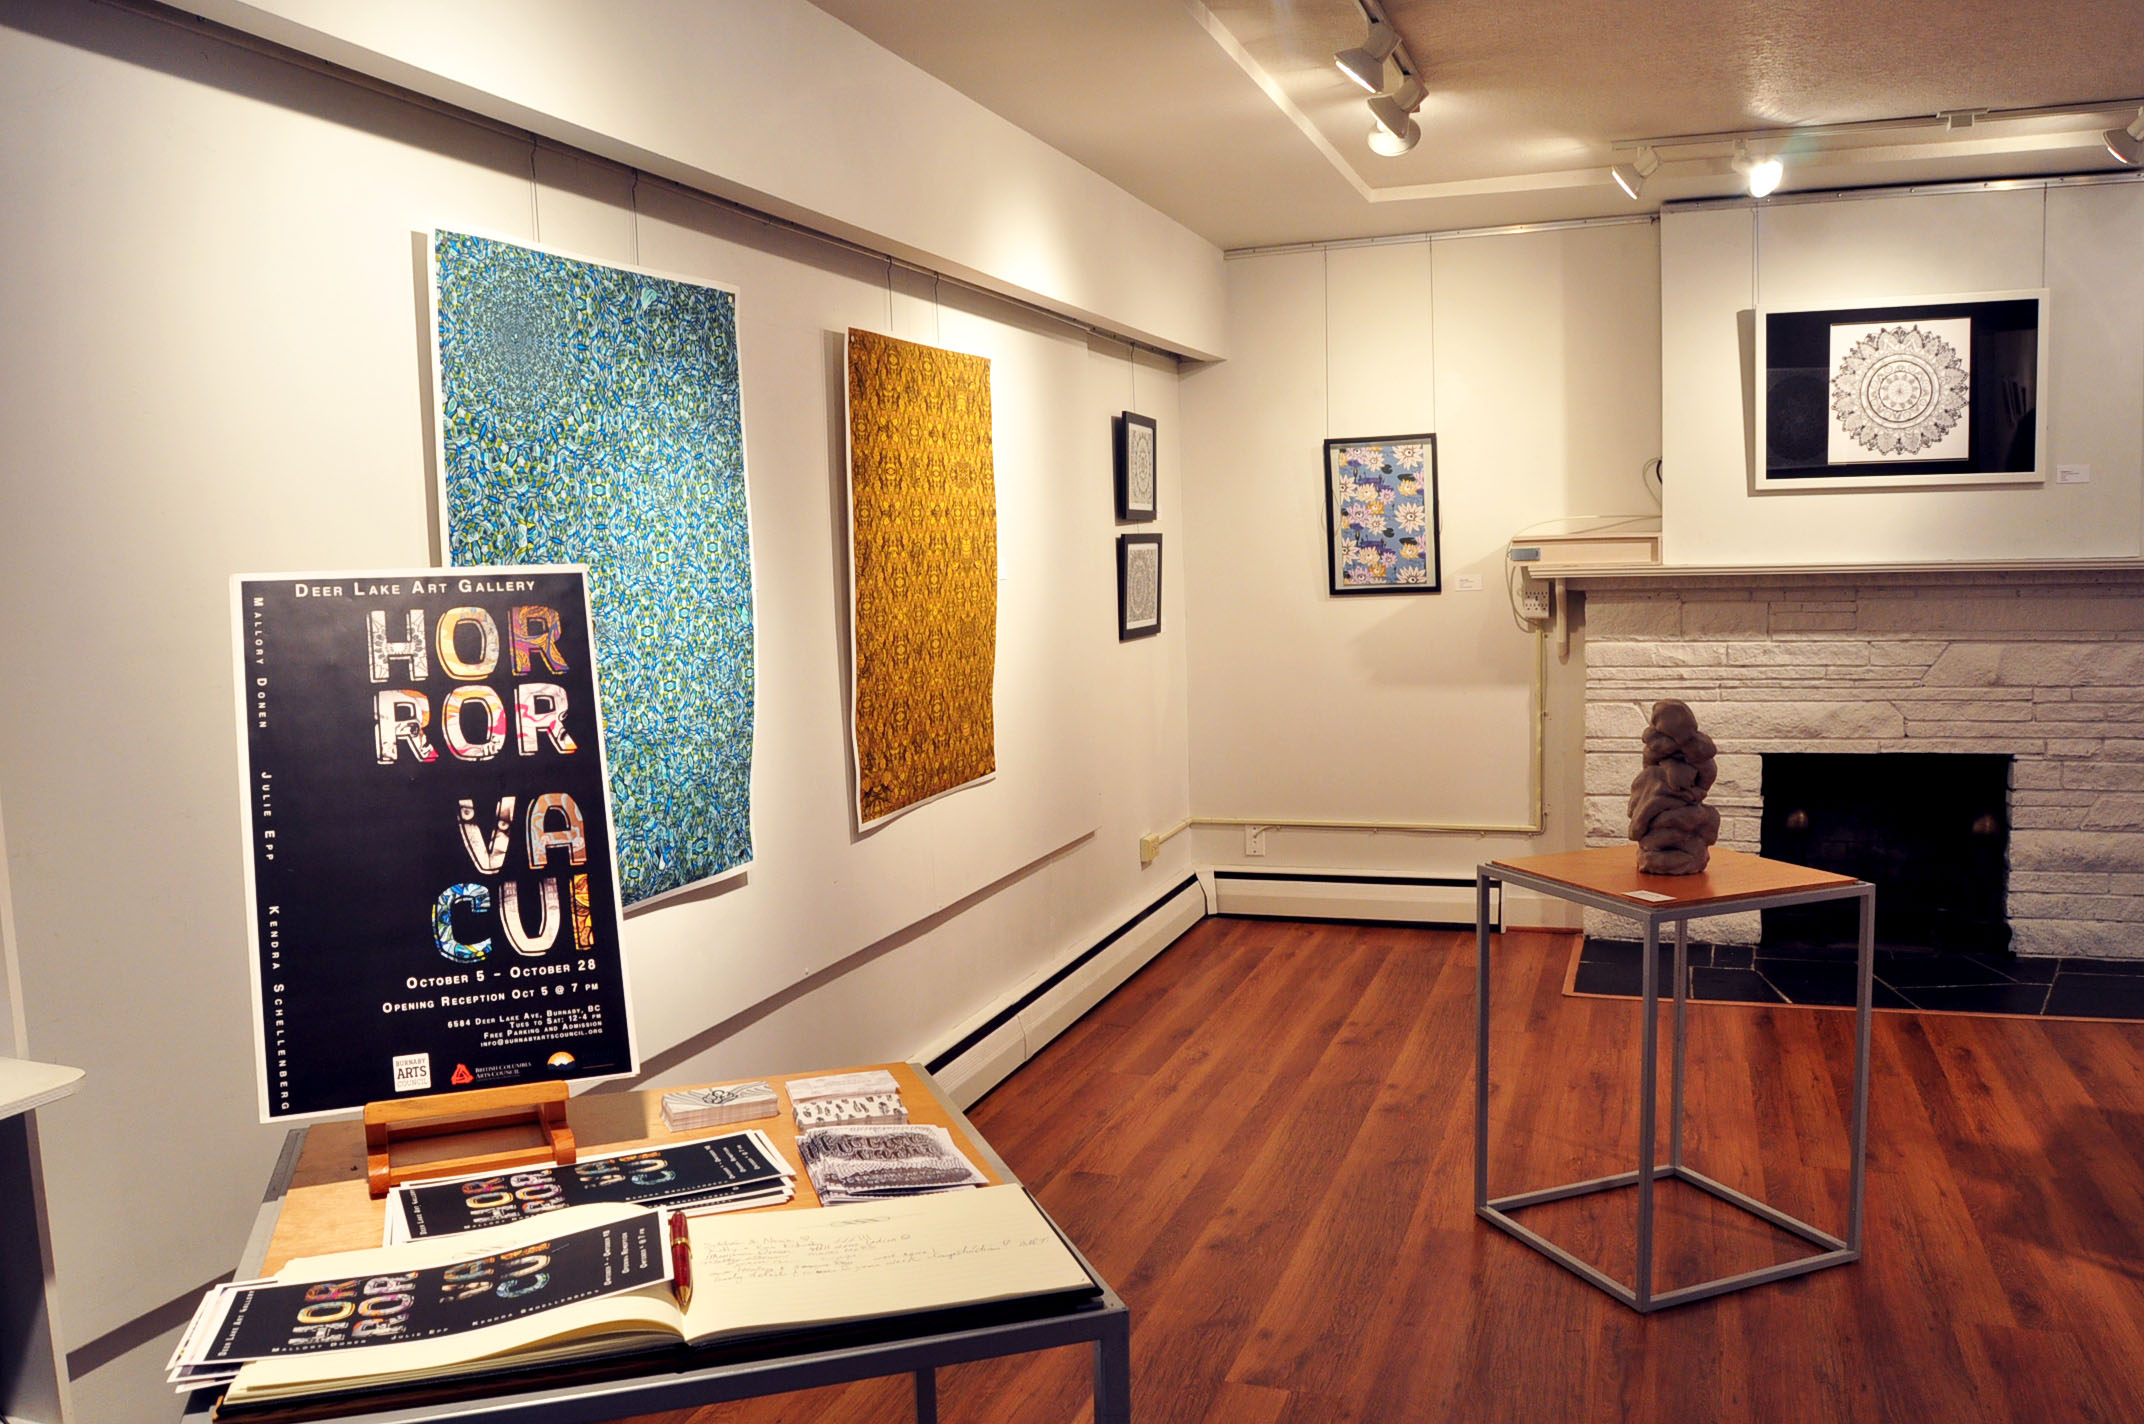
Upcoming Shows/Markets
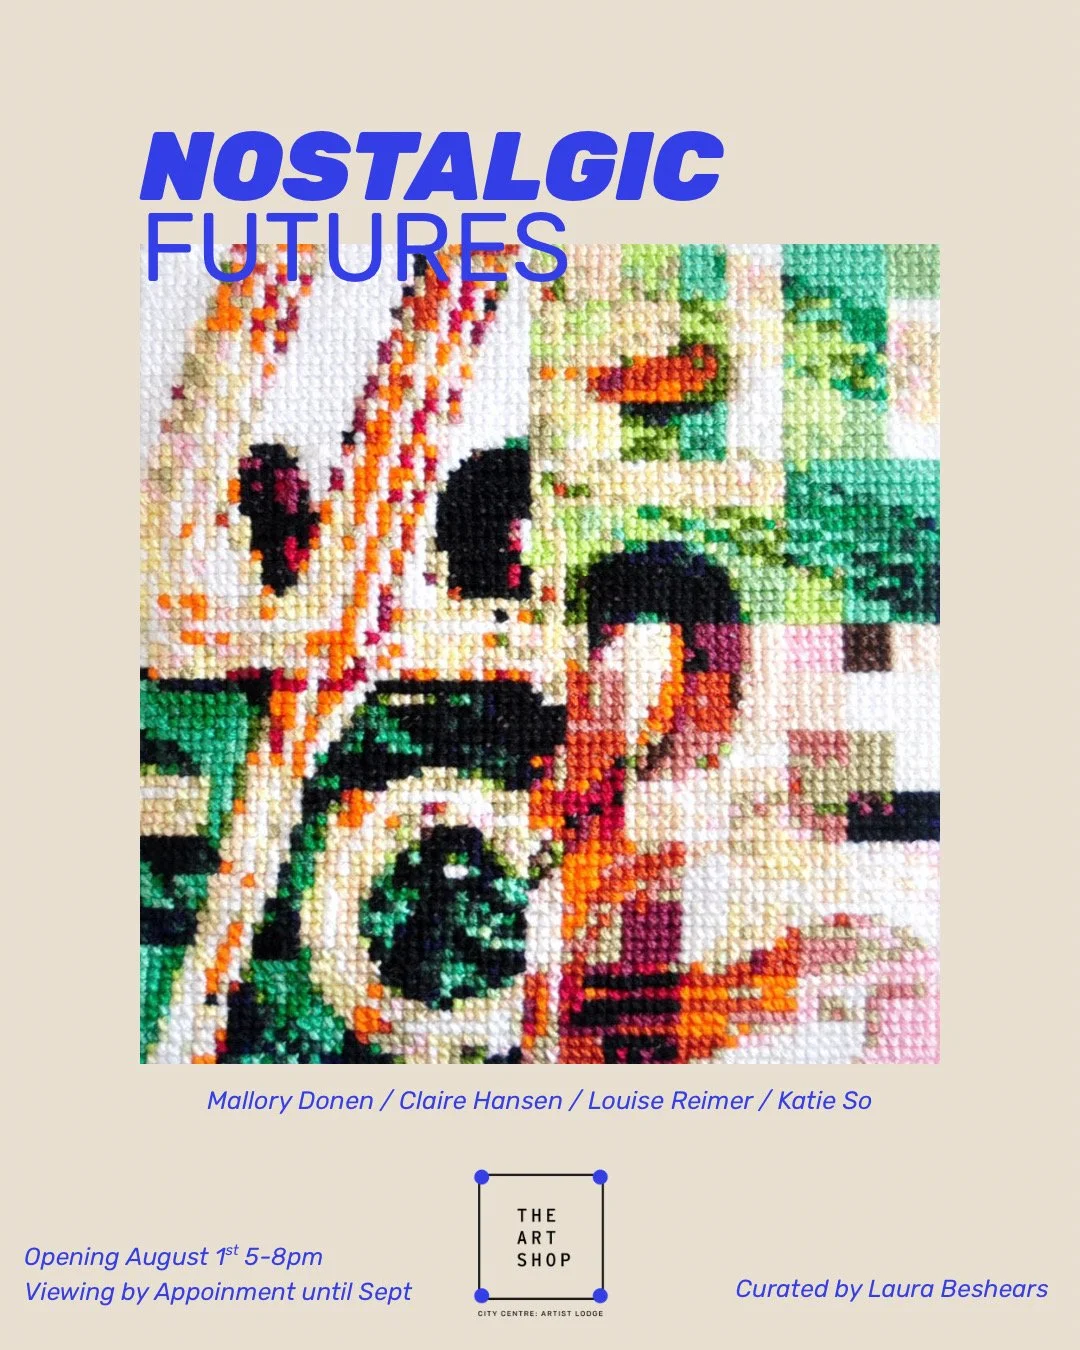
Nostalgic Futures, Group Show at the Art Shop, by appointment until September
Flats Fest, September 6, Emily Carr Campus, 12-9pm
CHAOS COLLECTIVE, September 6, group art show, Slice of Life Vancouver, 7-10pm
Car Free Day - MAIN Street, September 14, 12-7pm